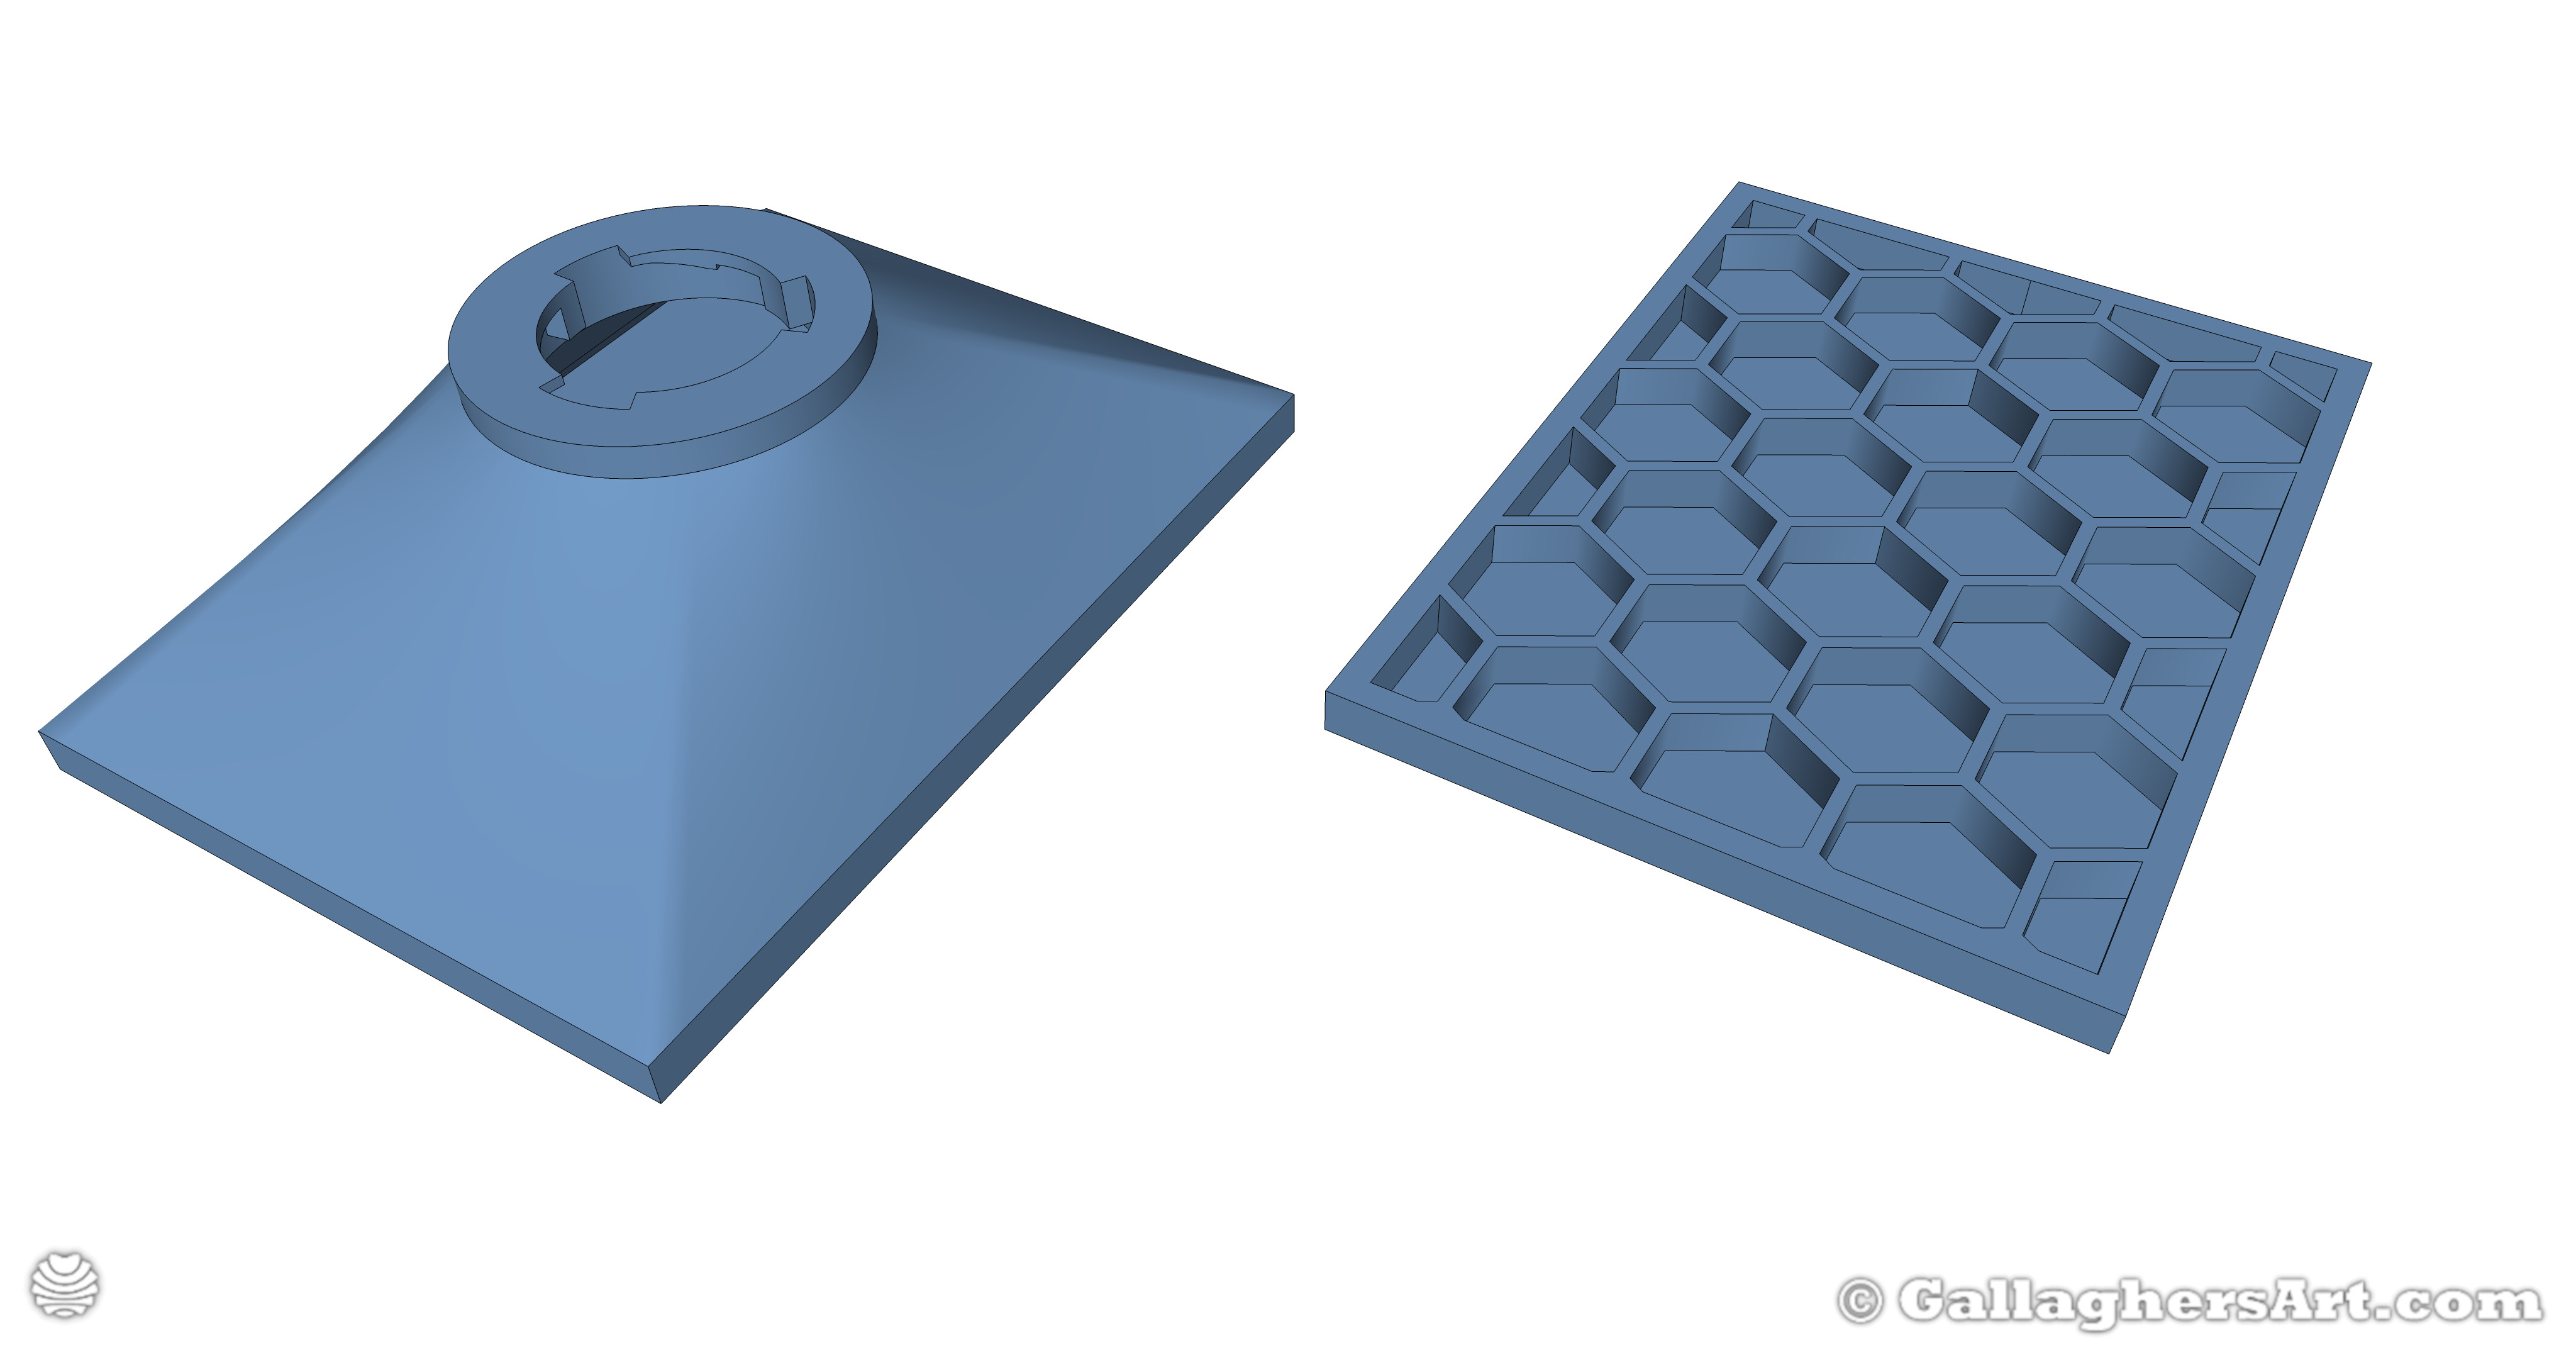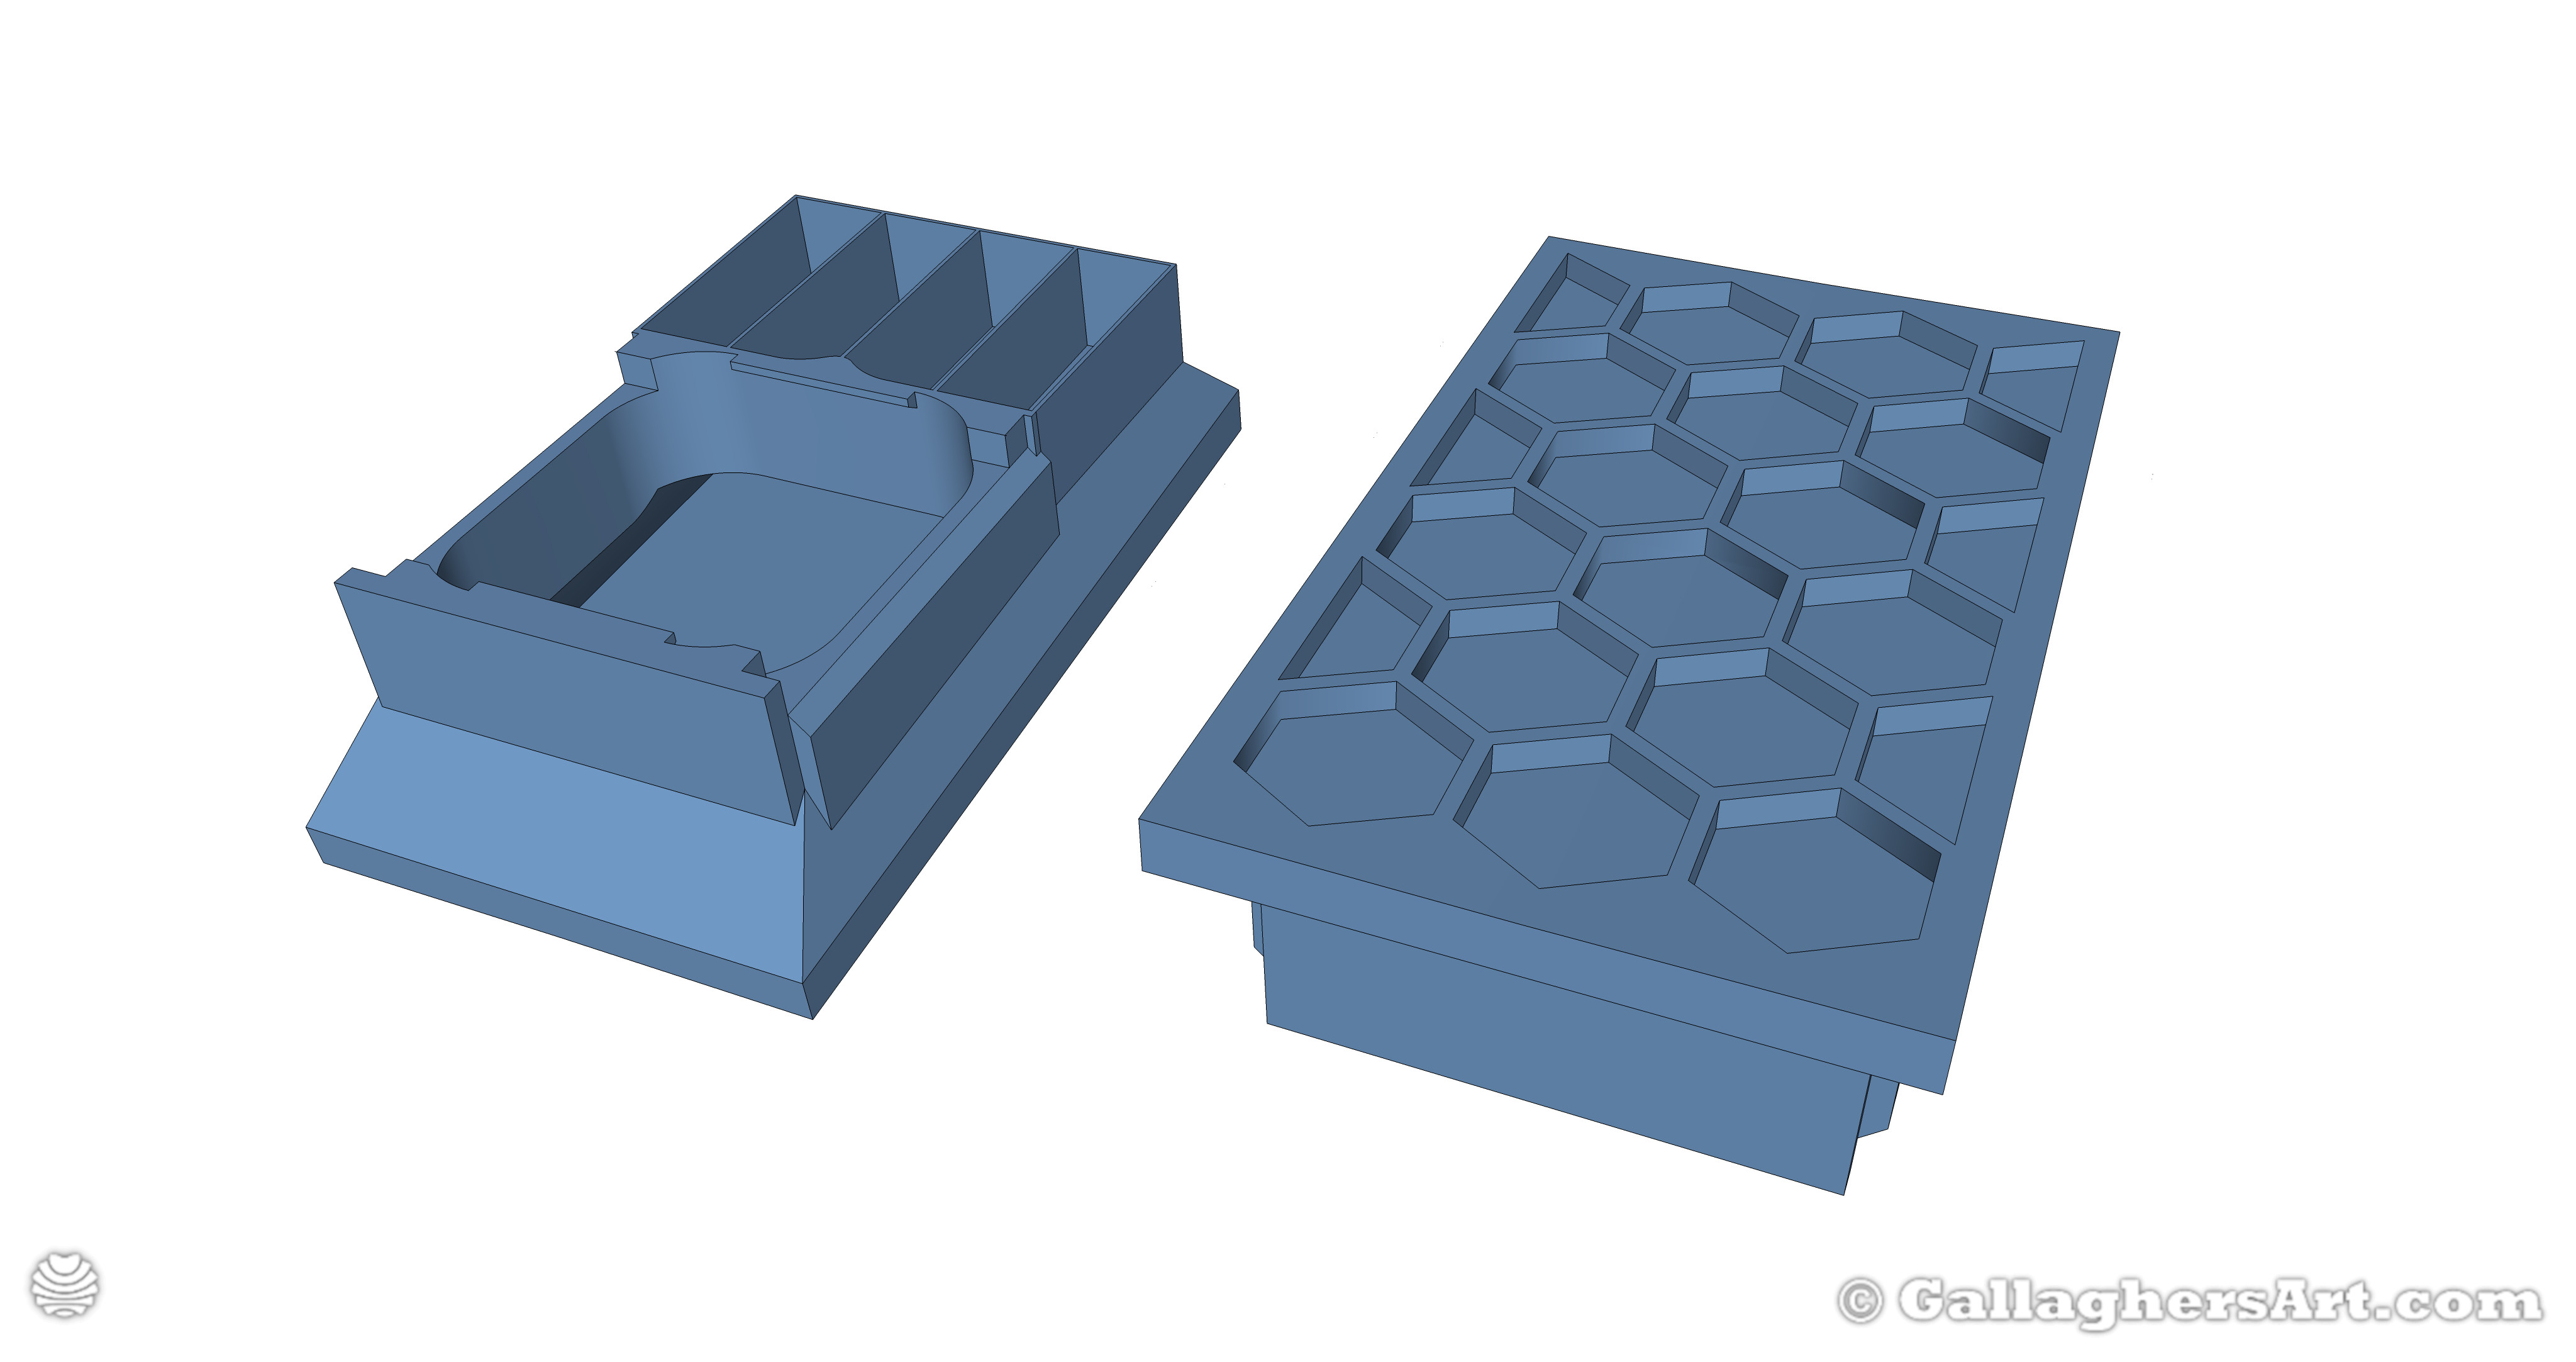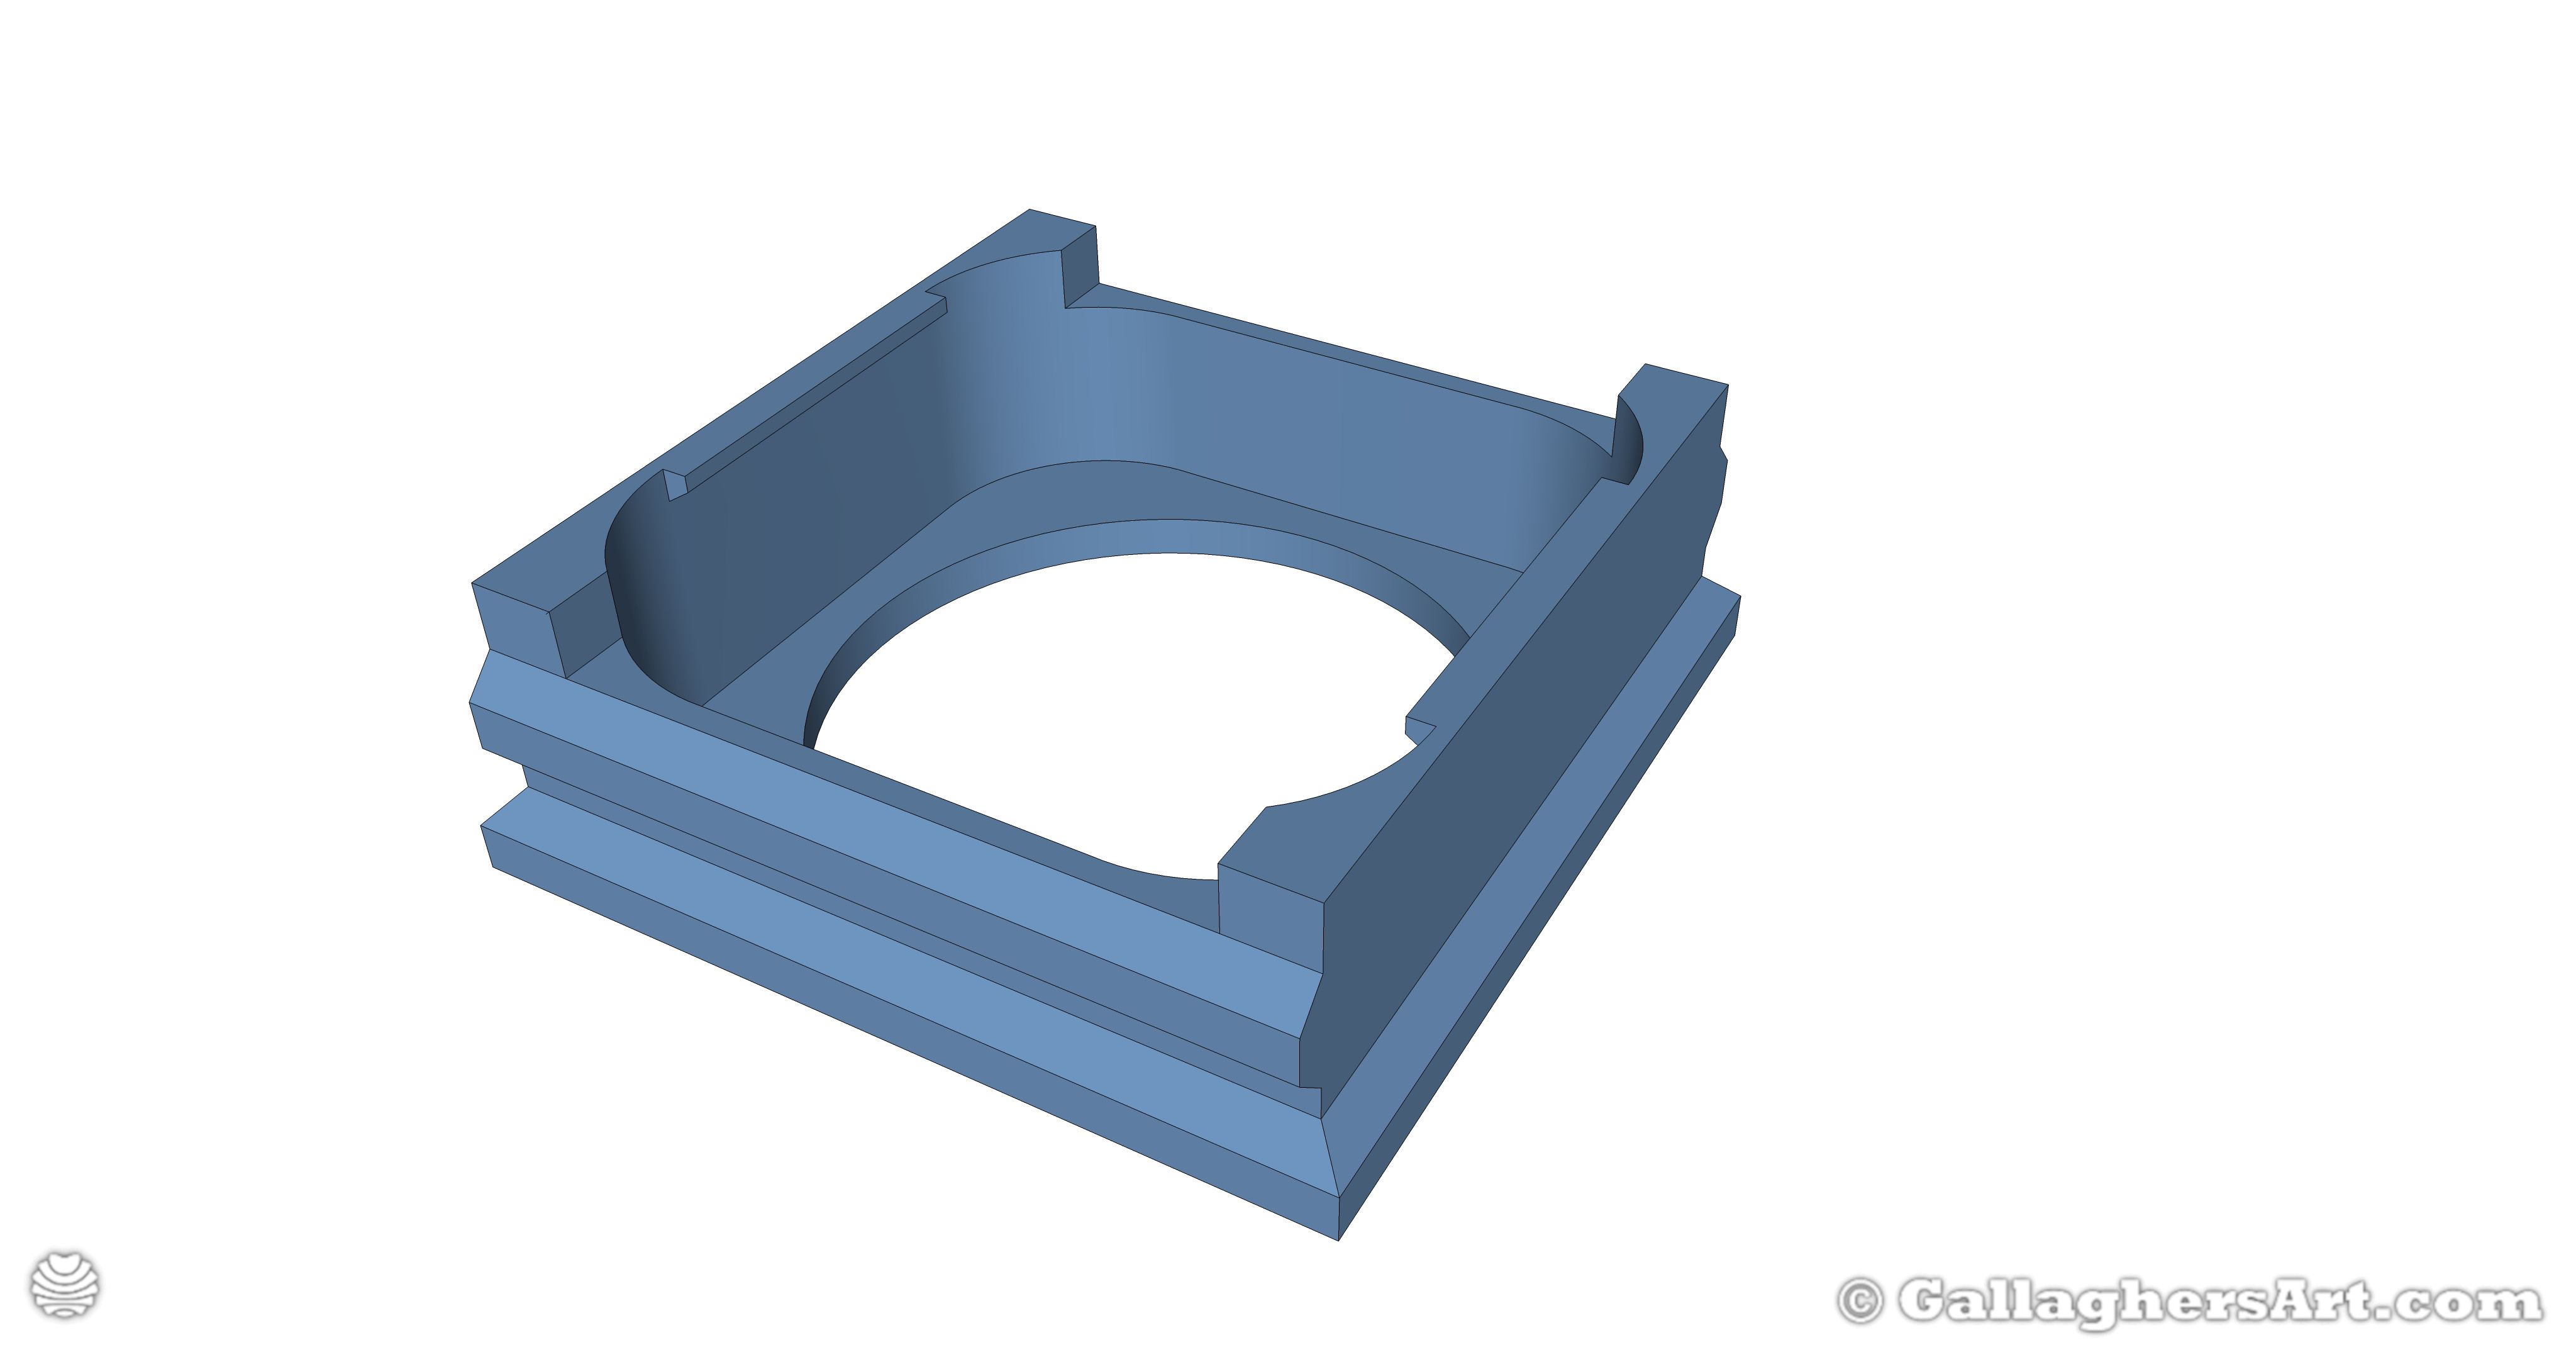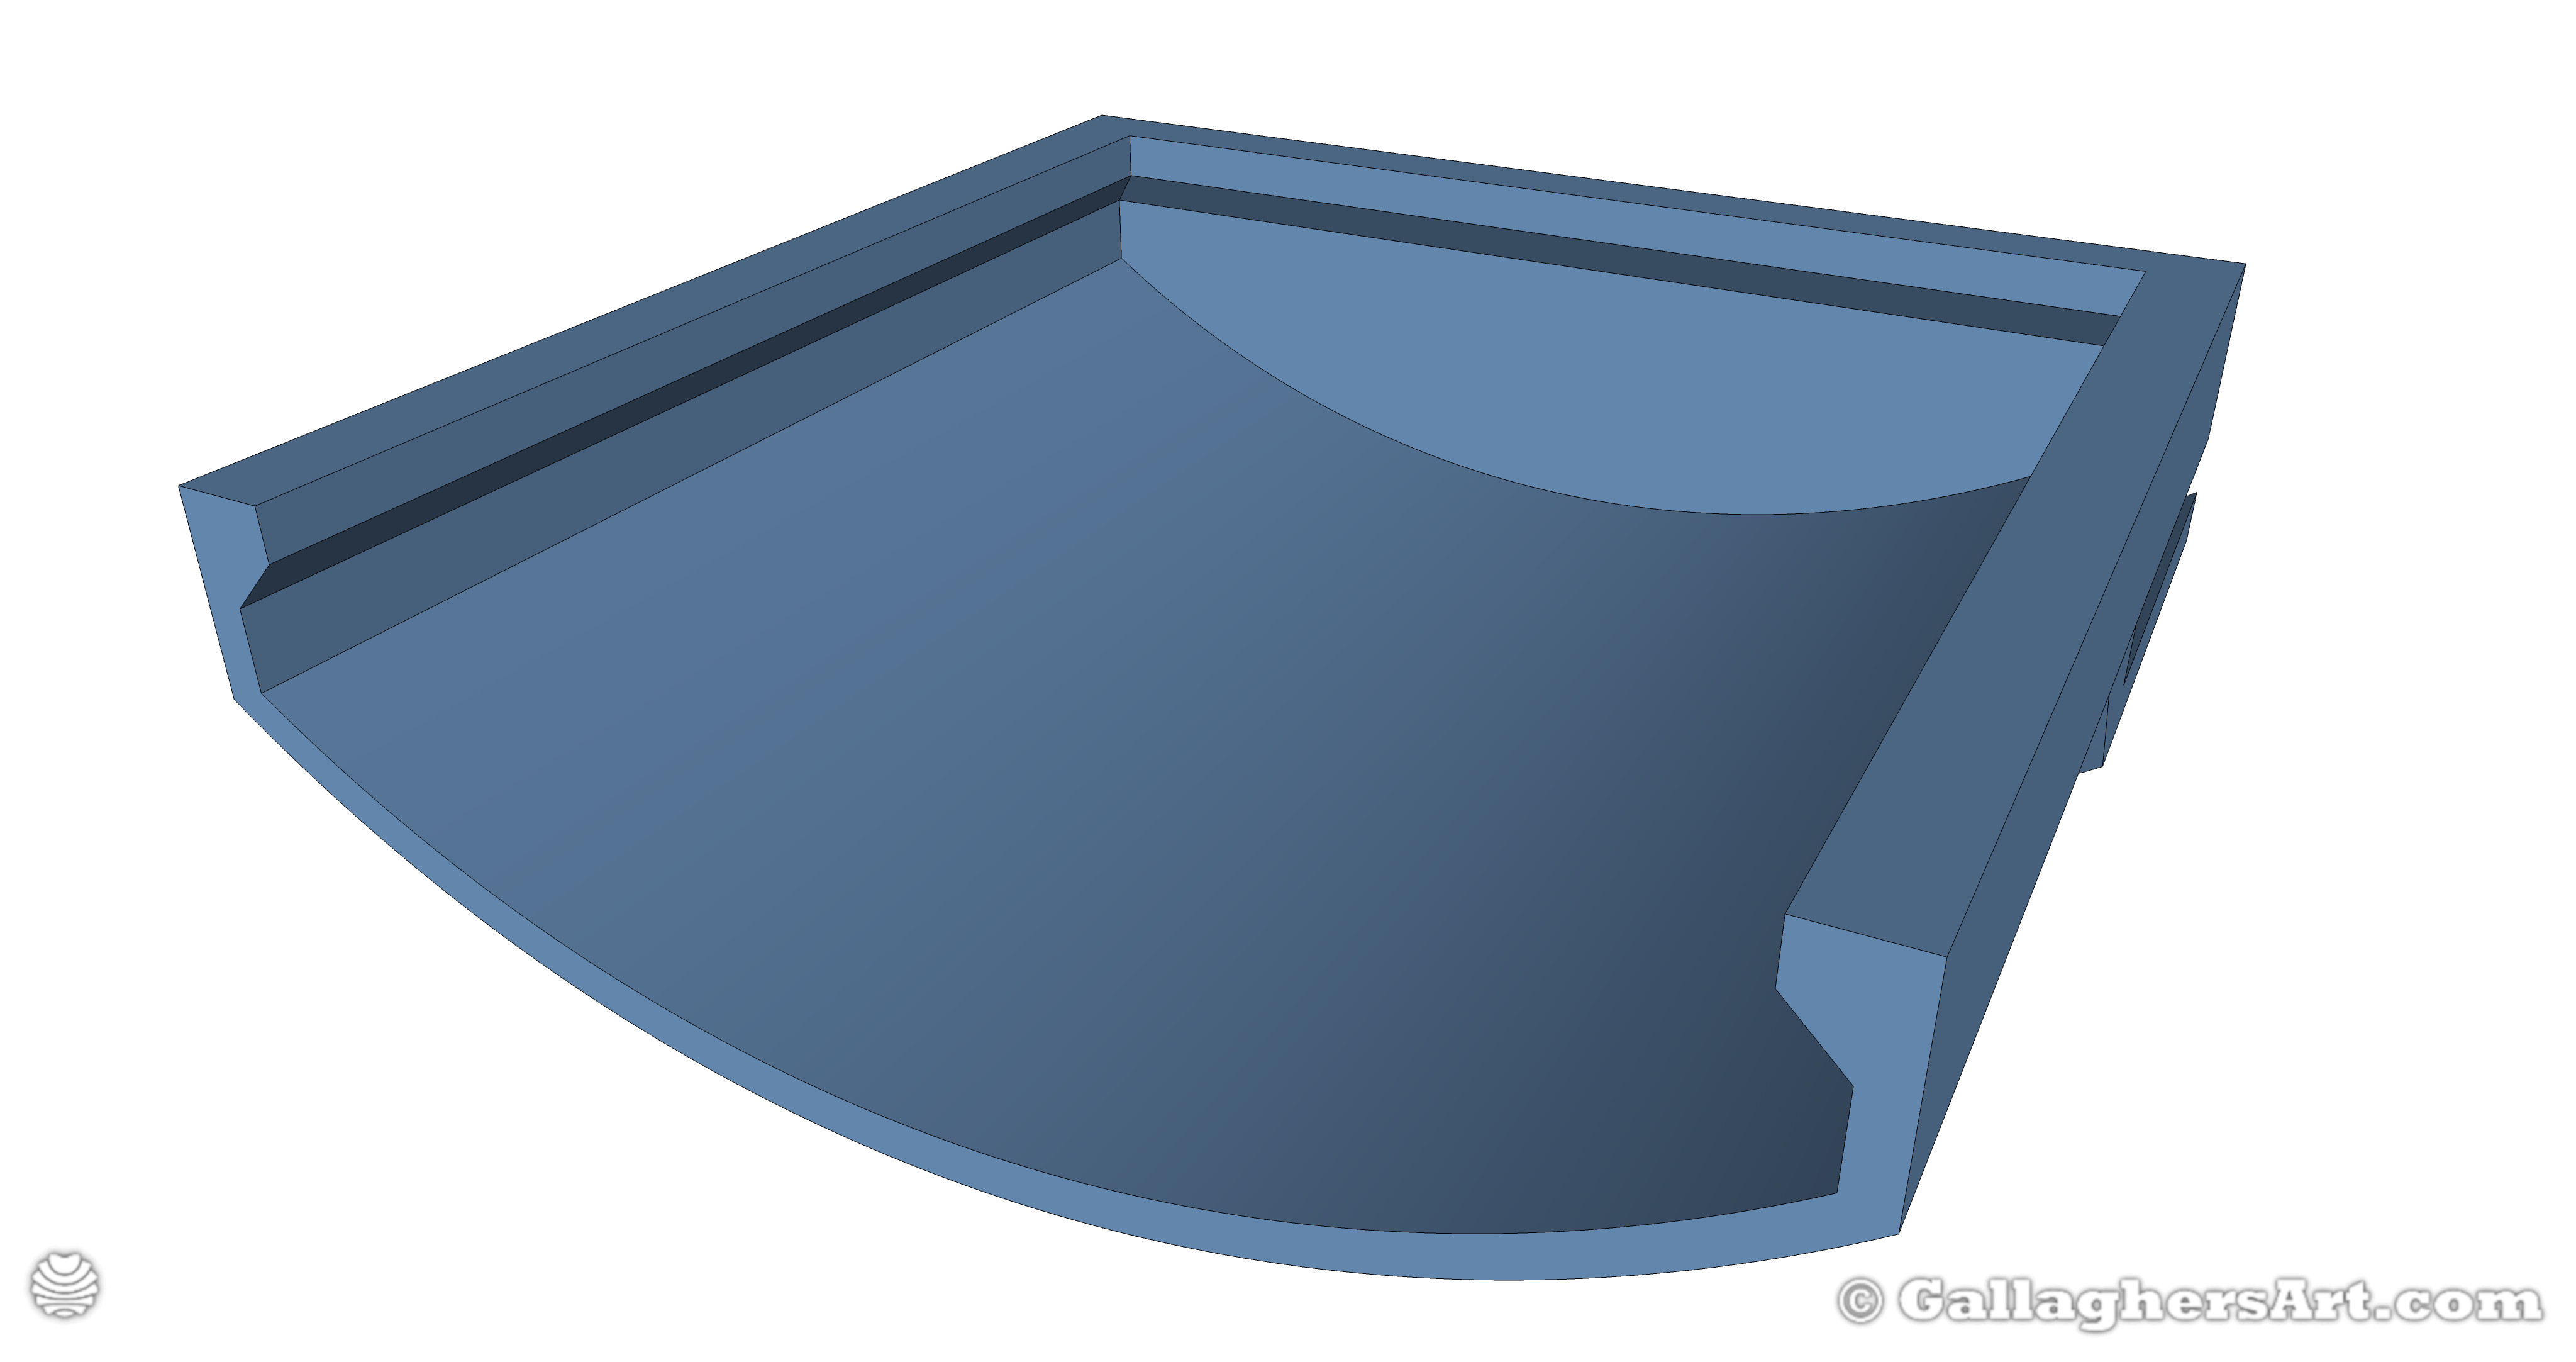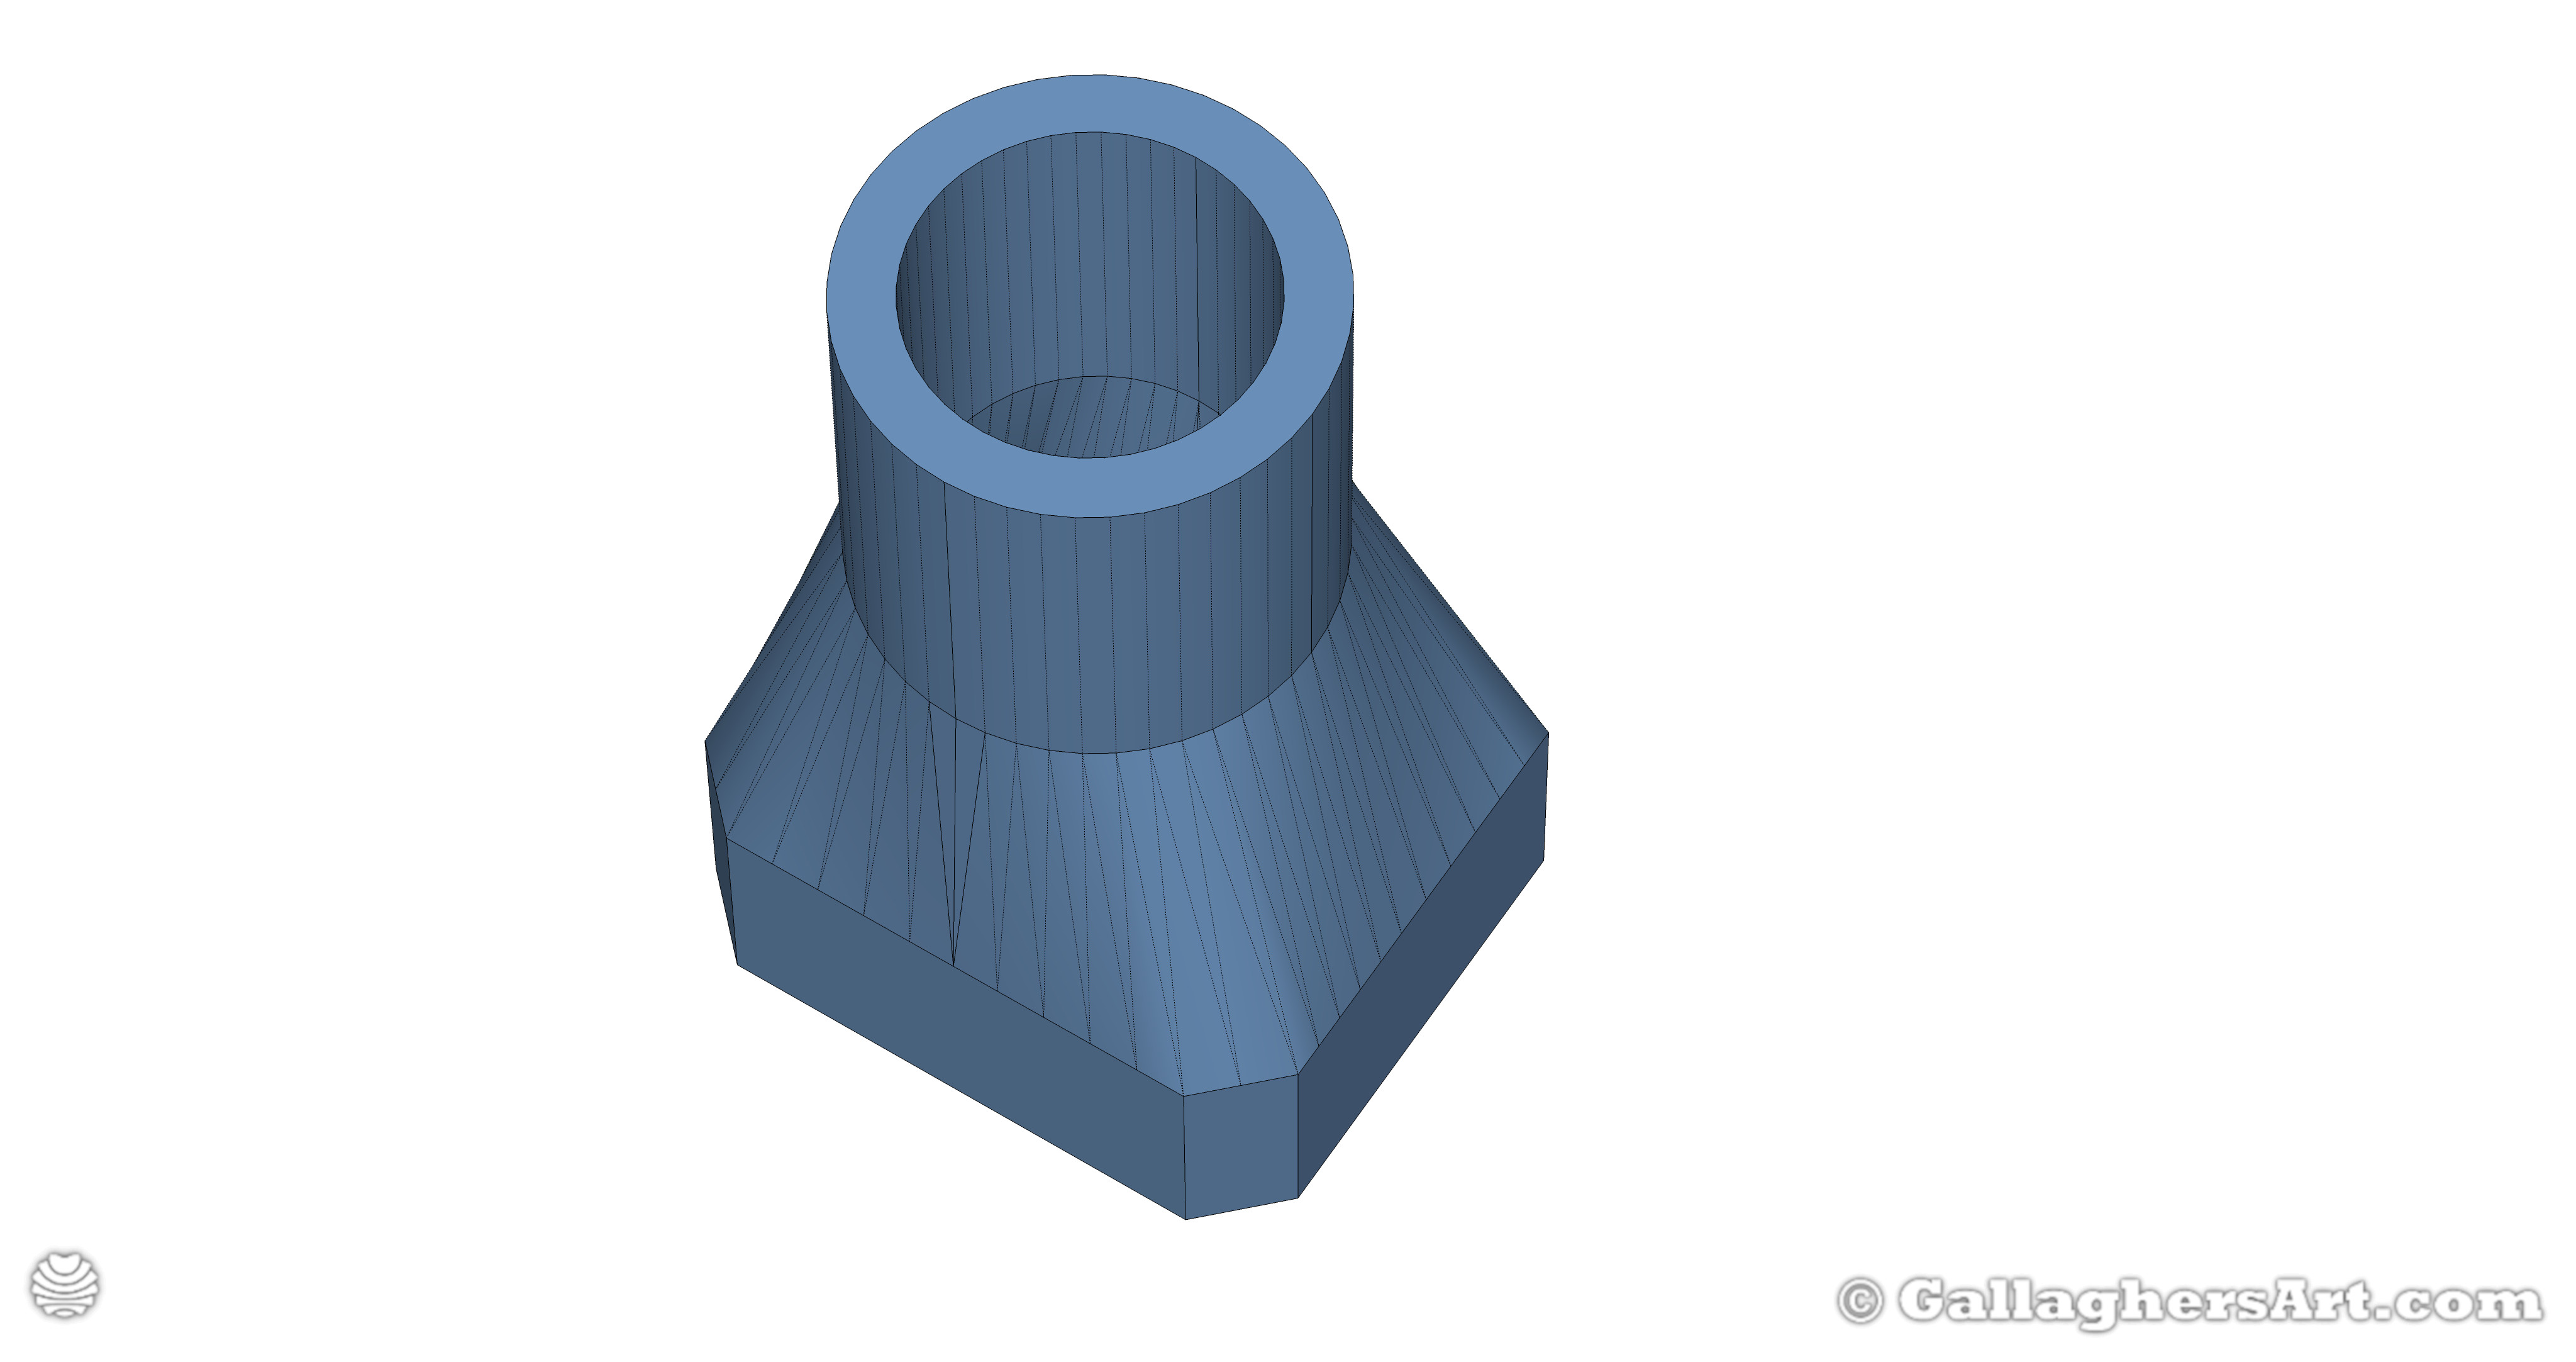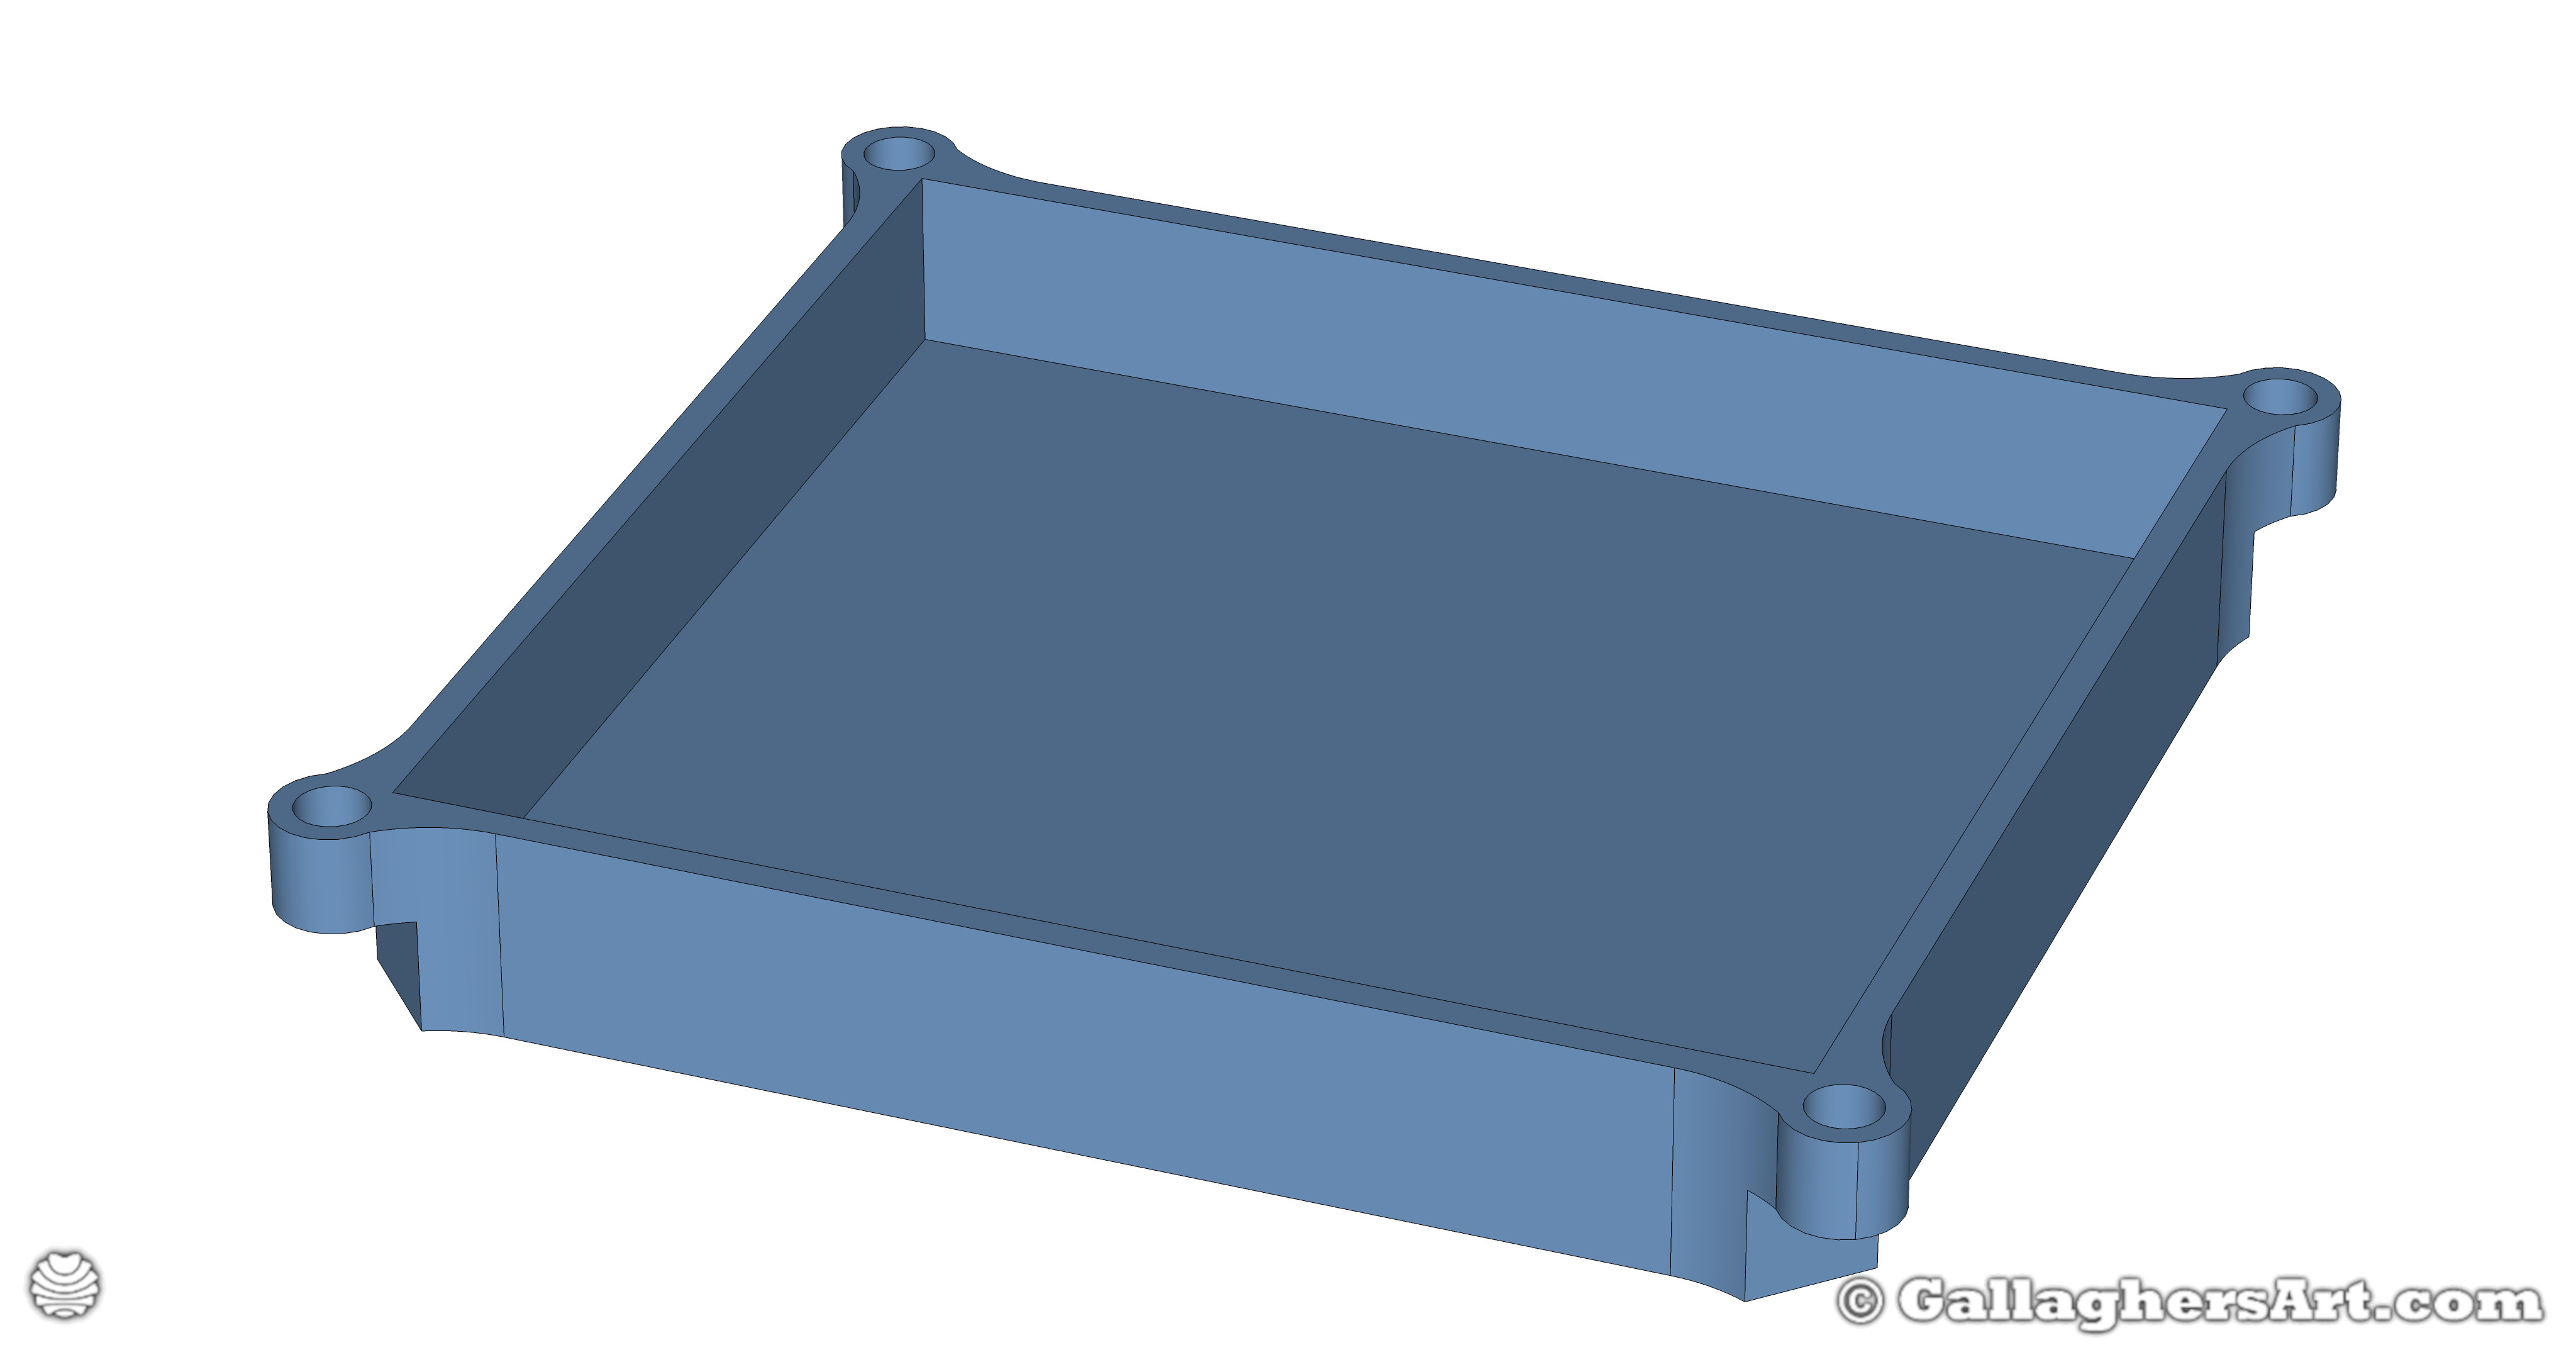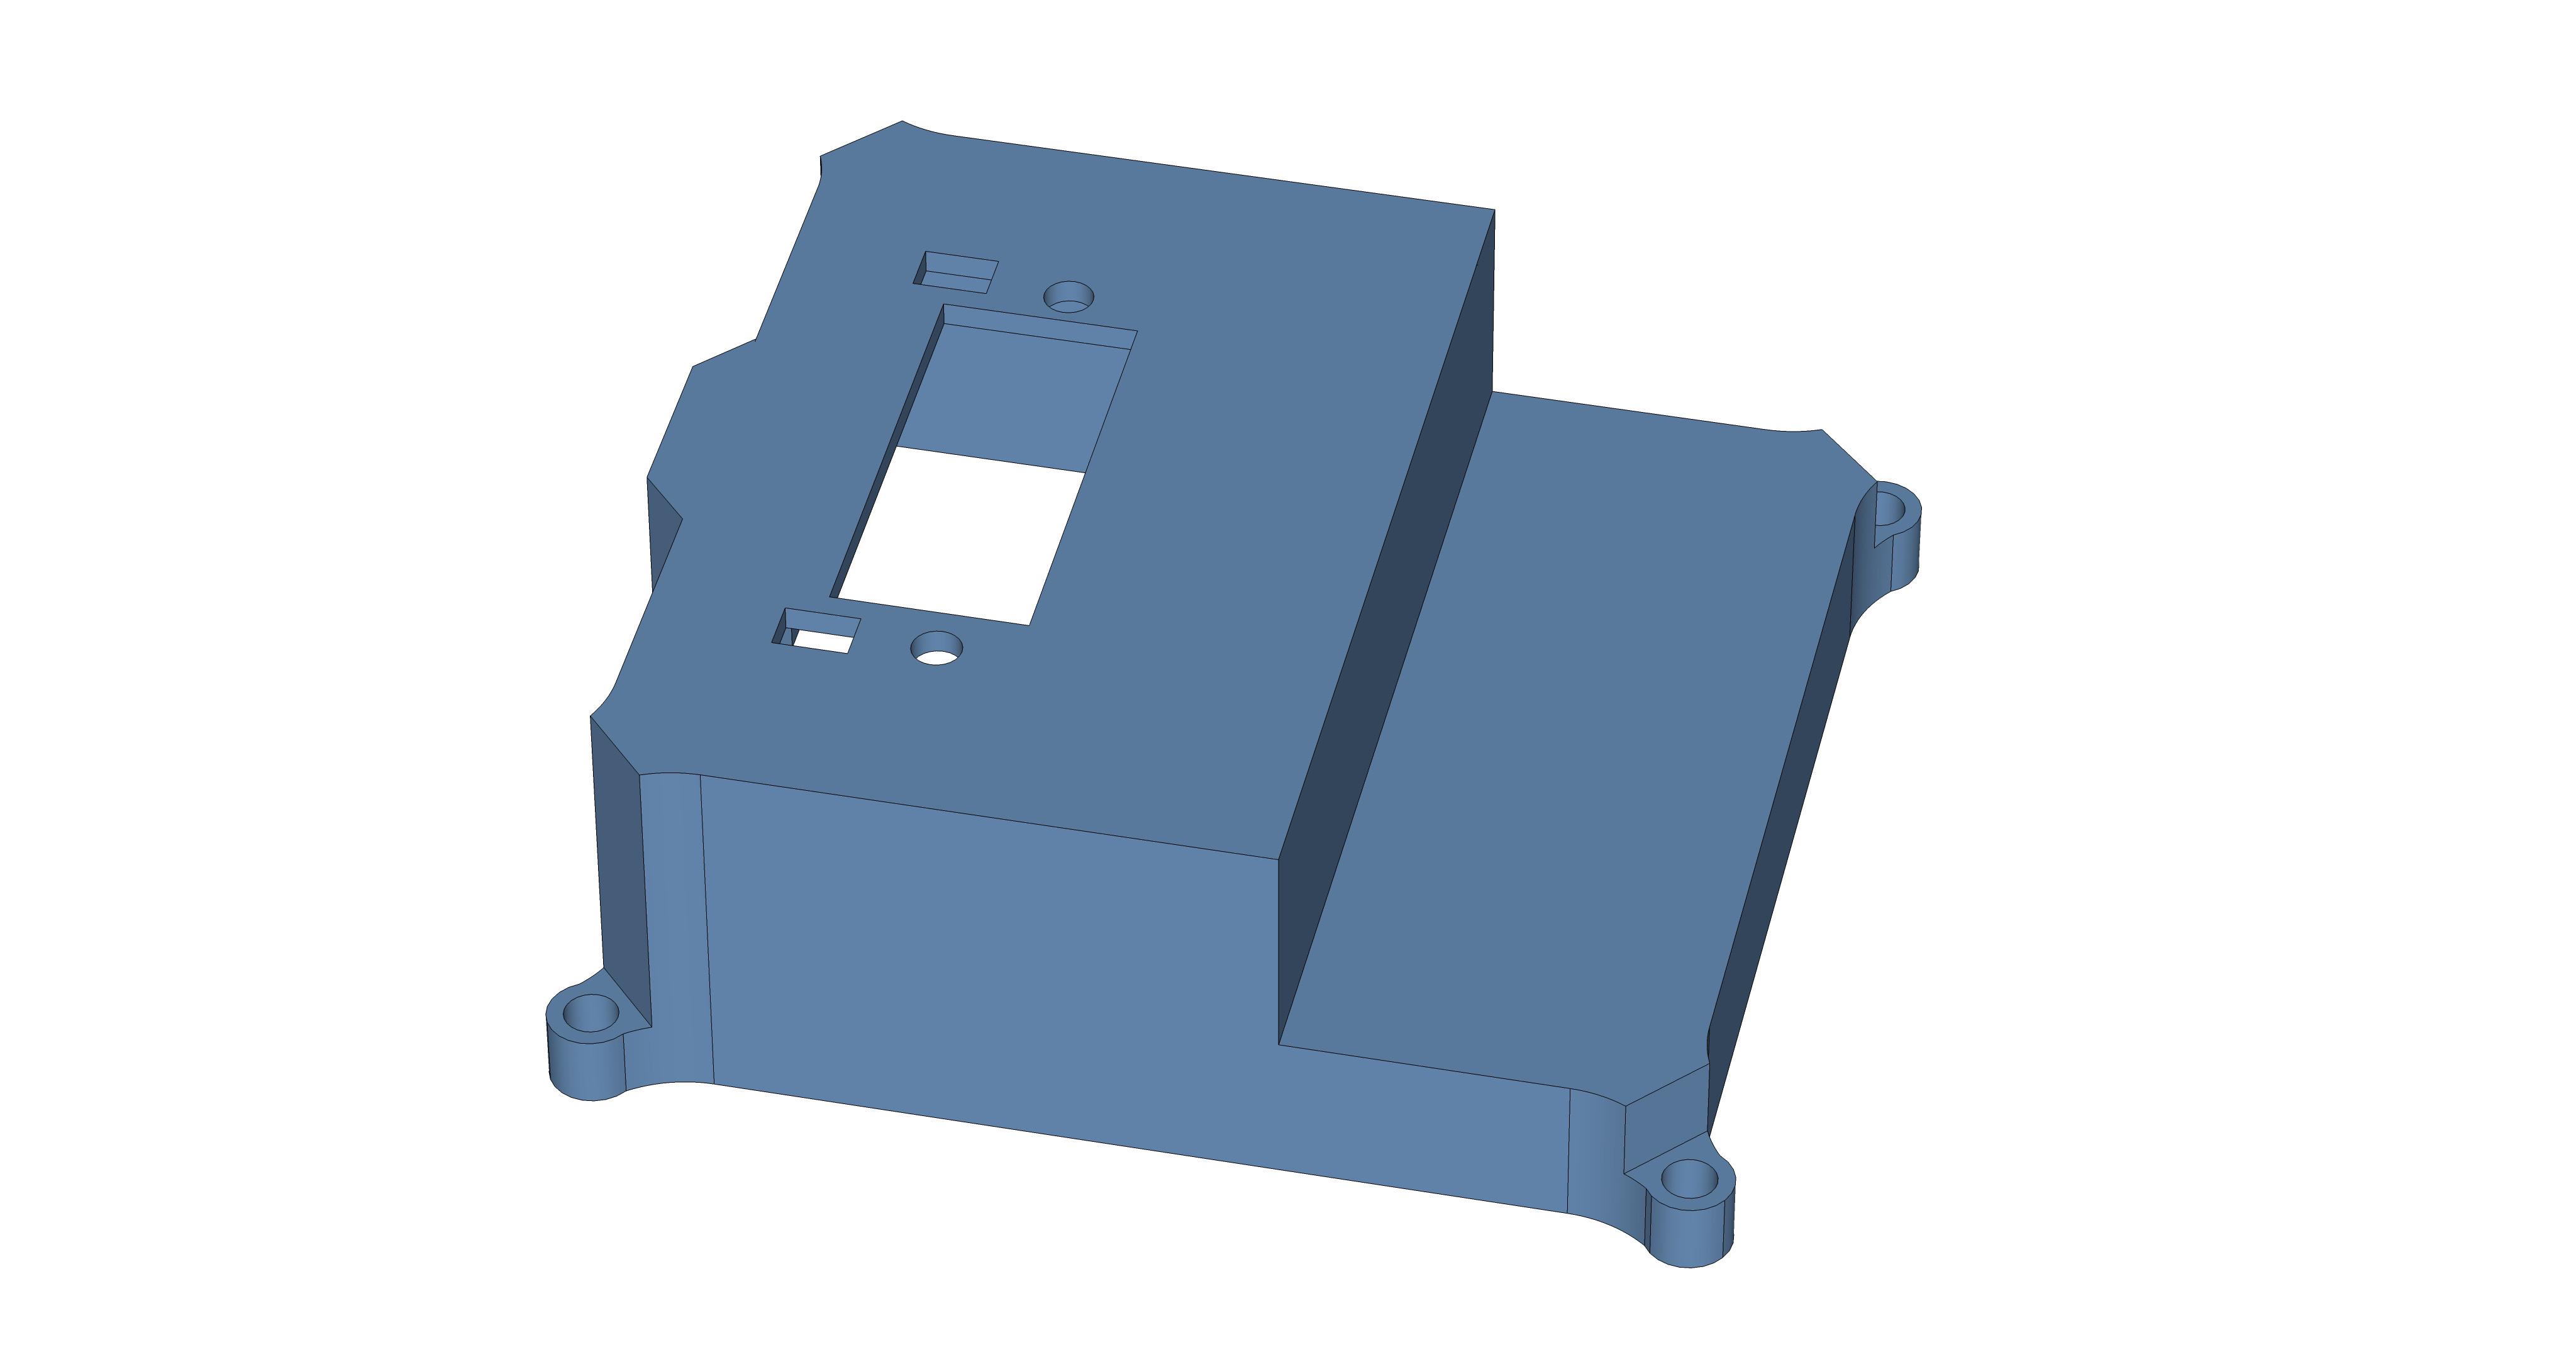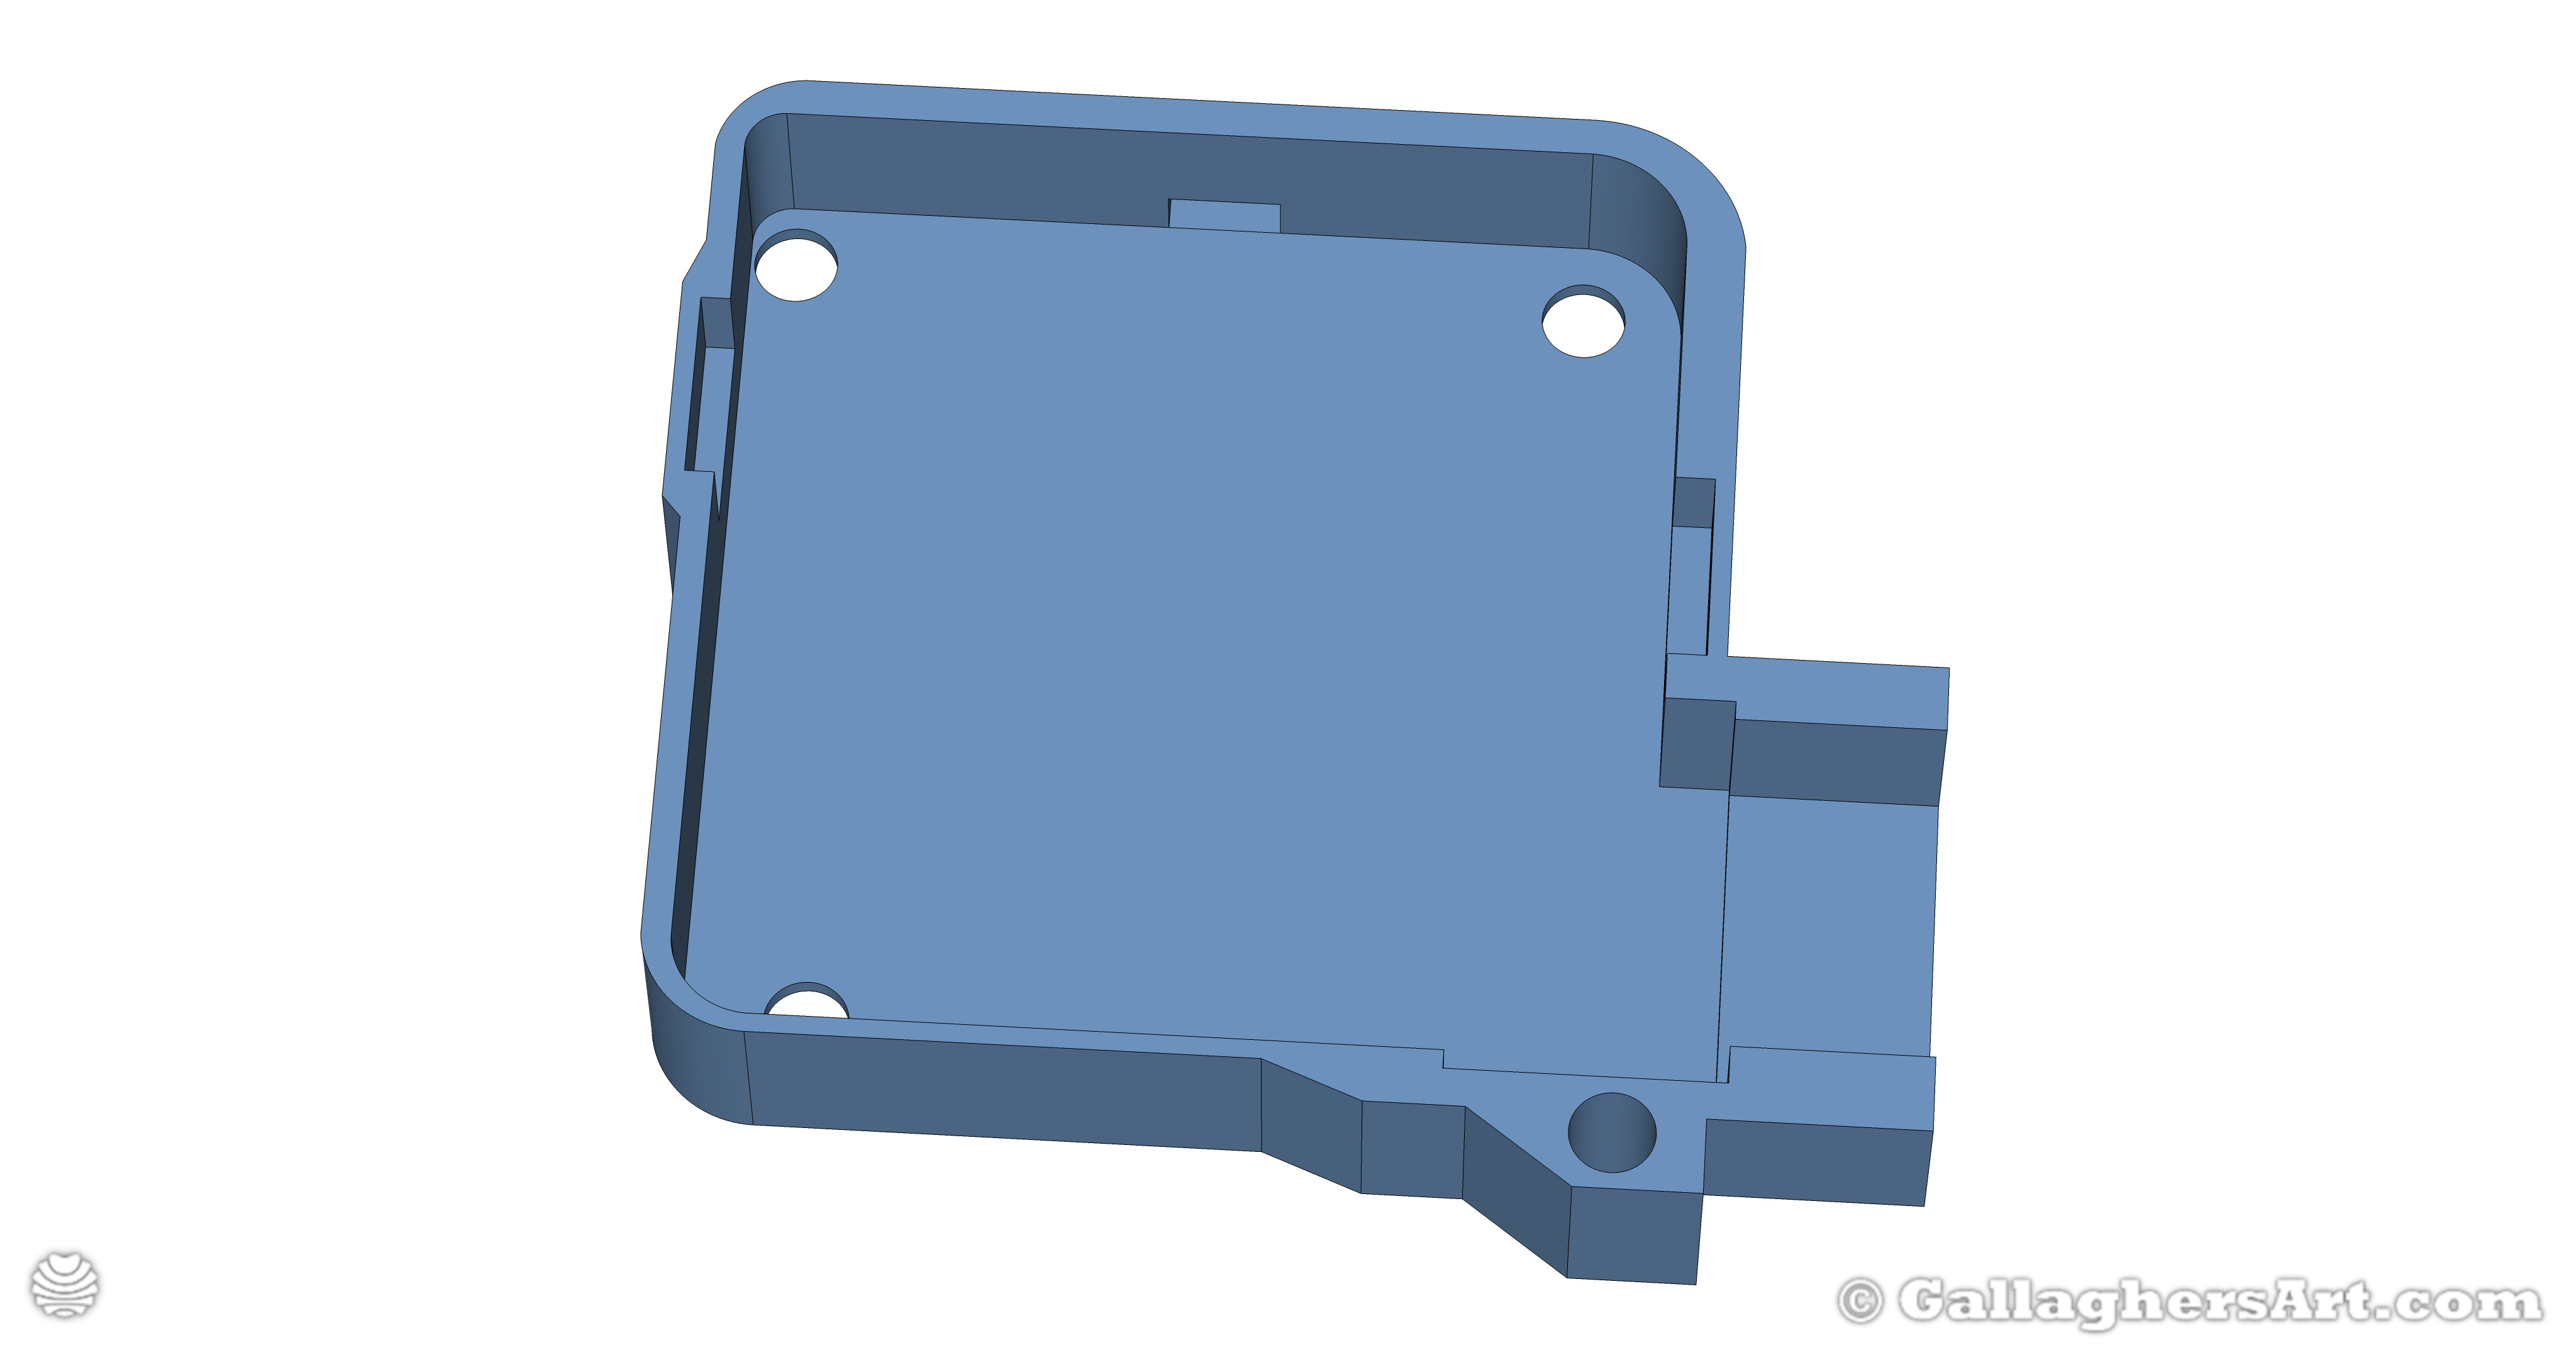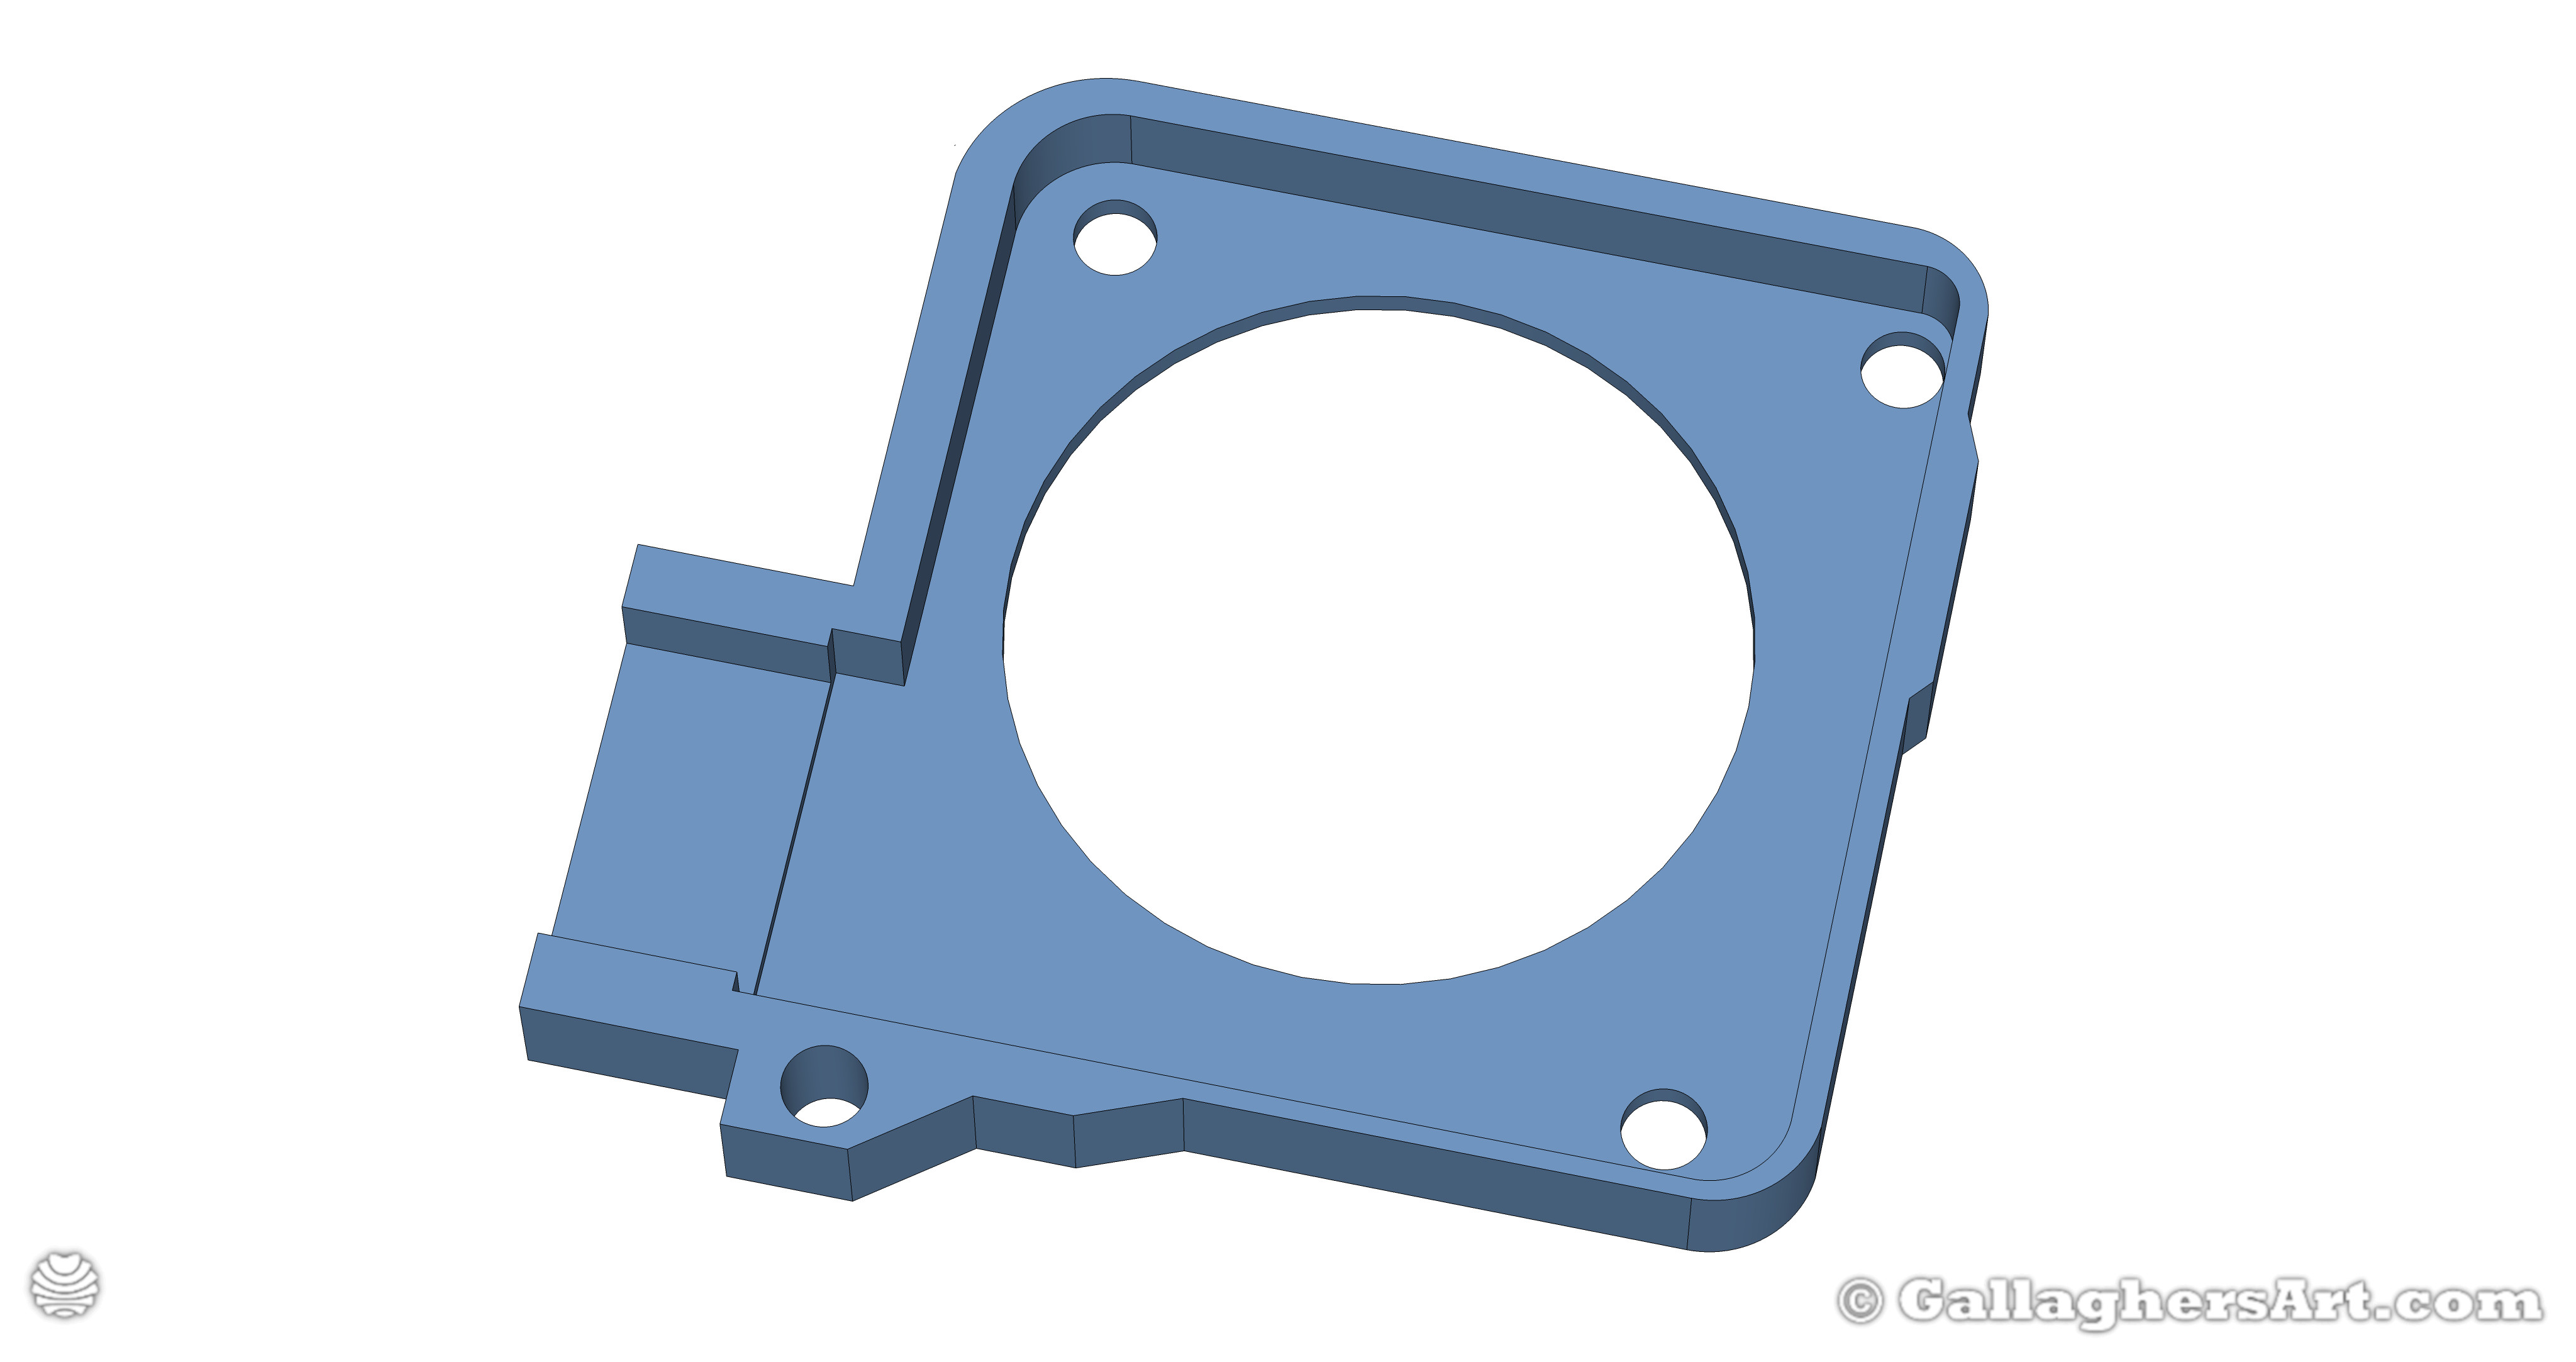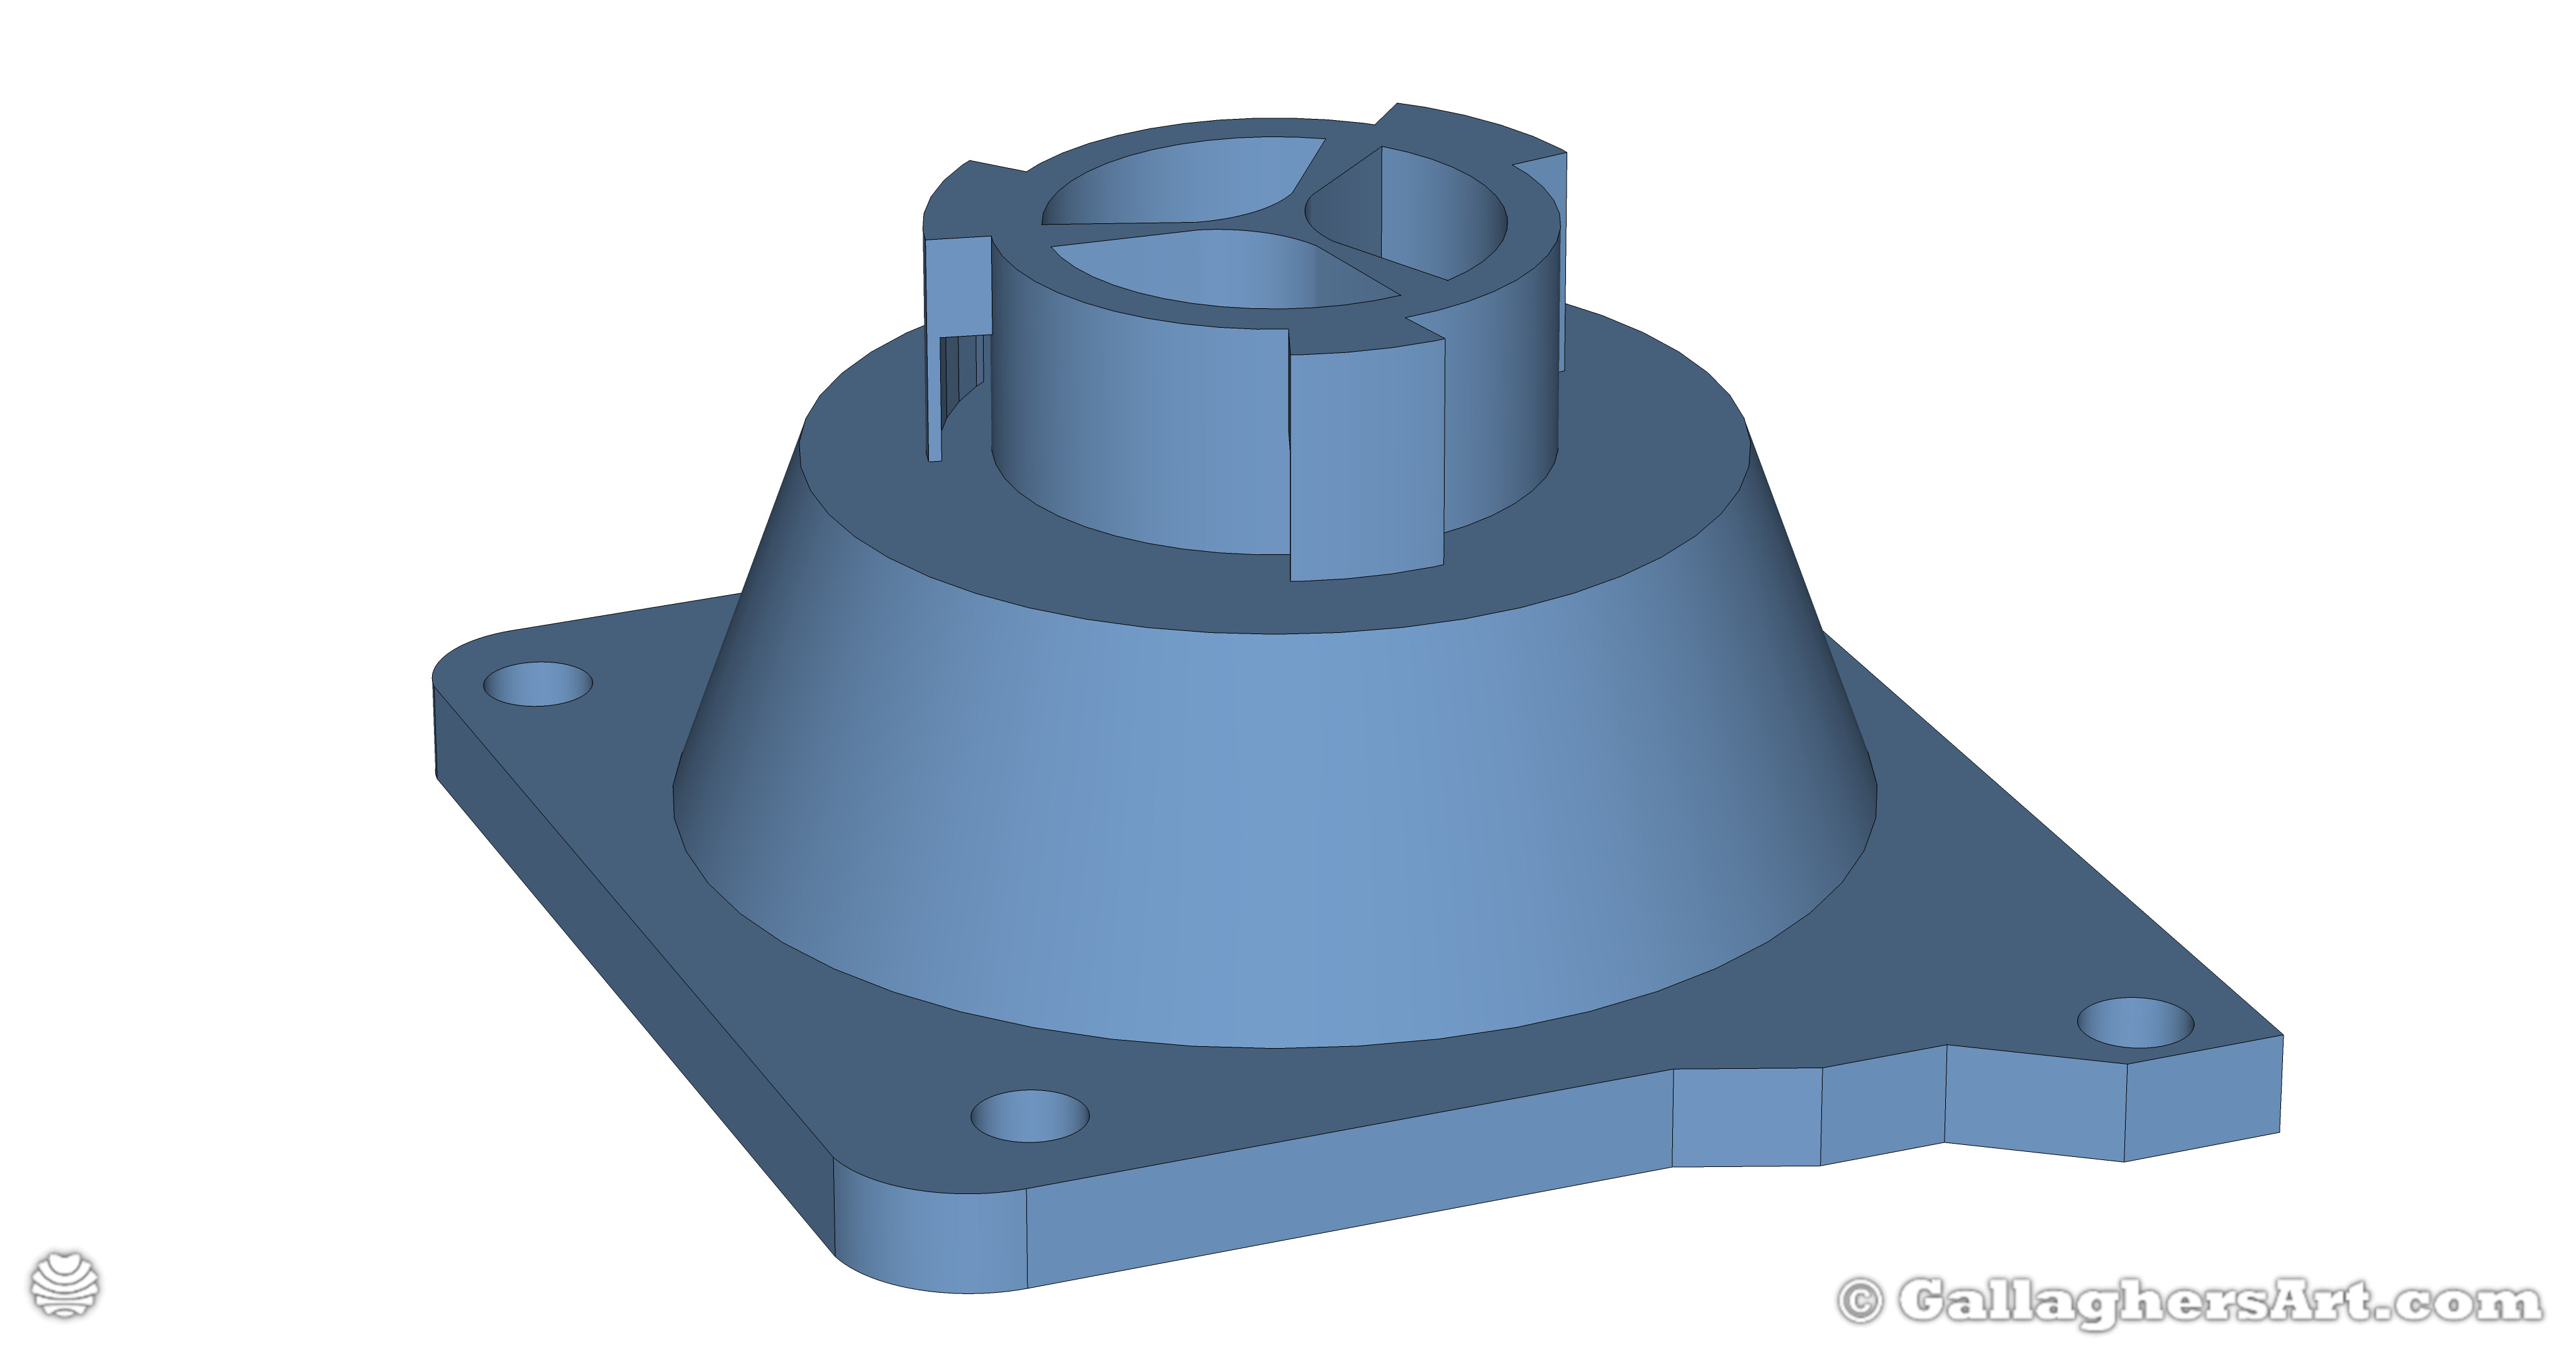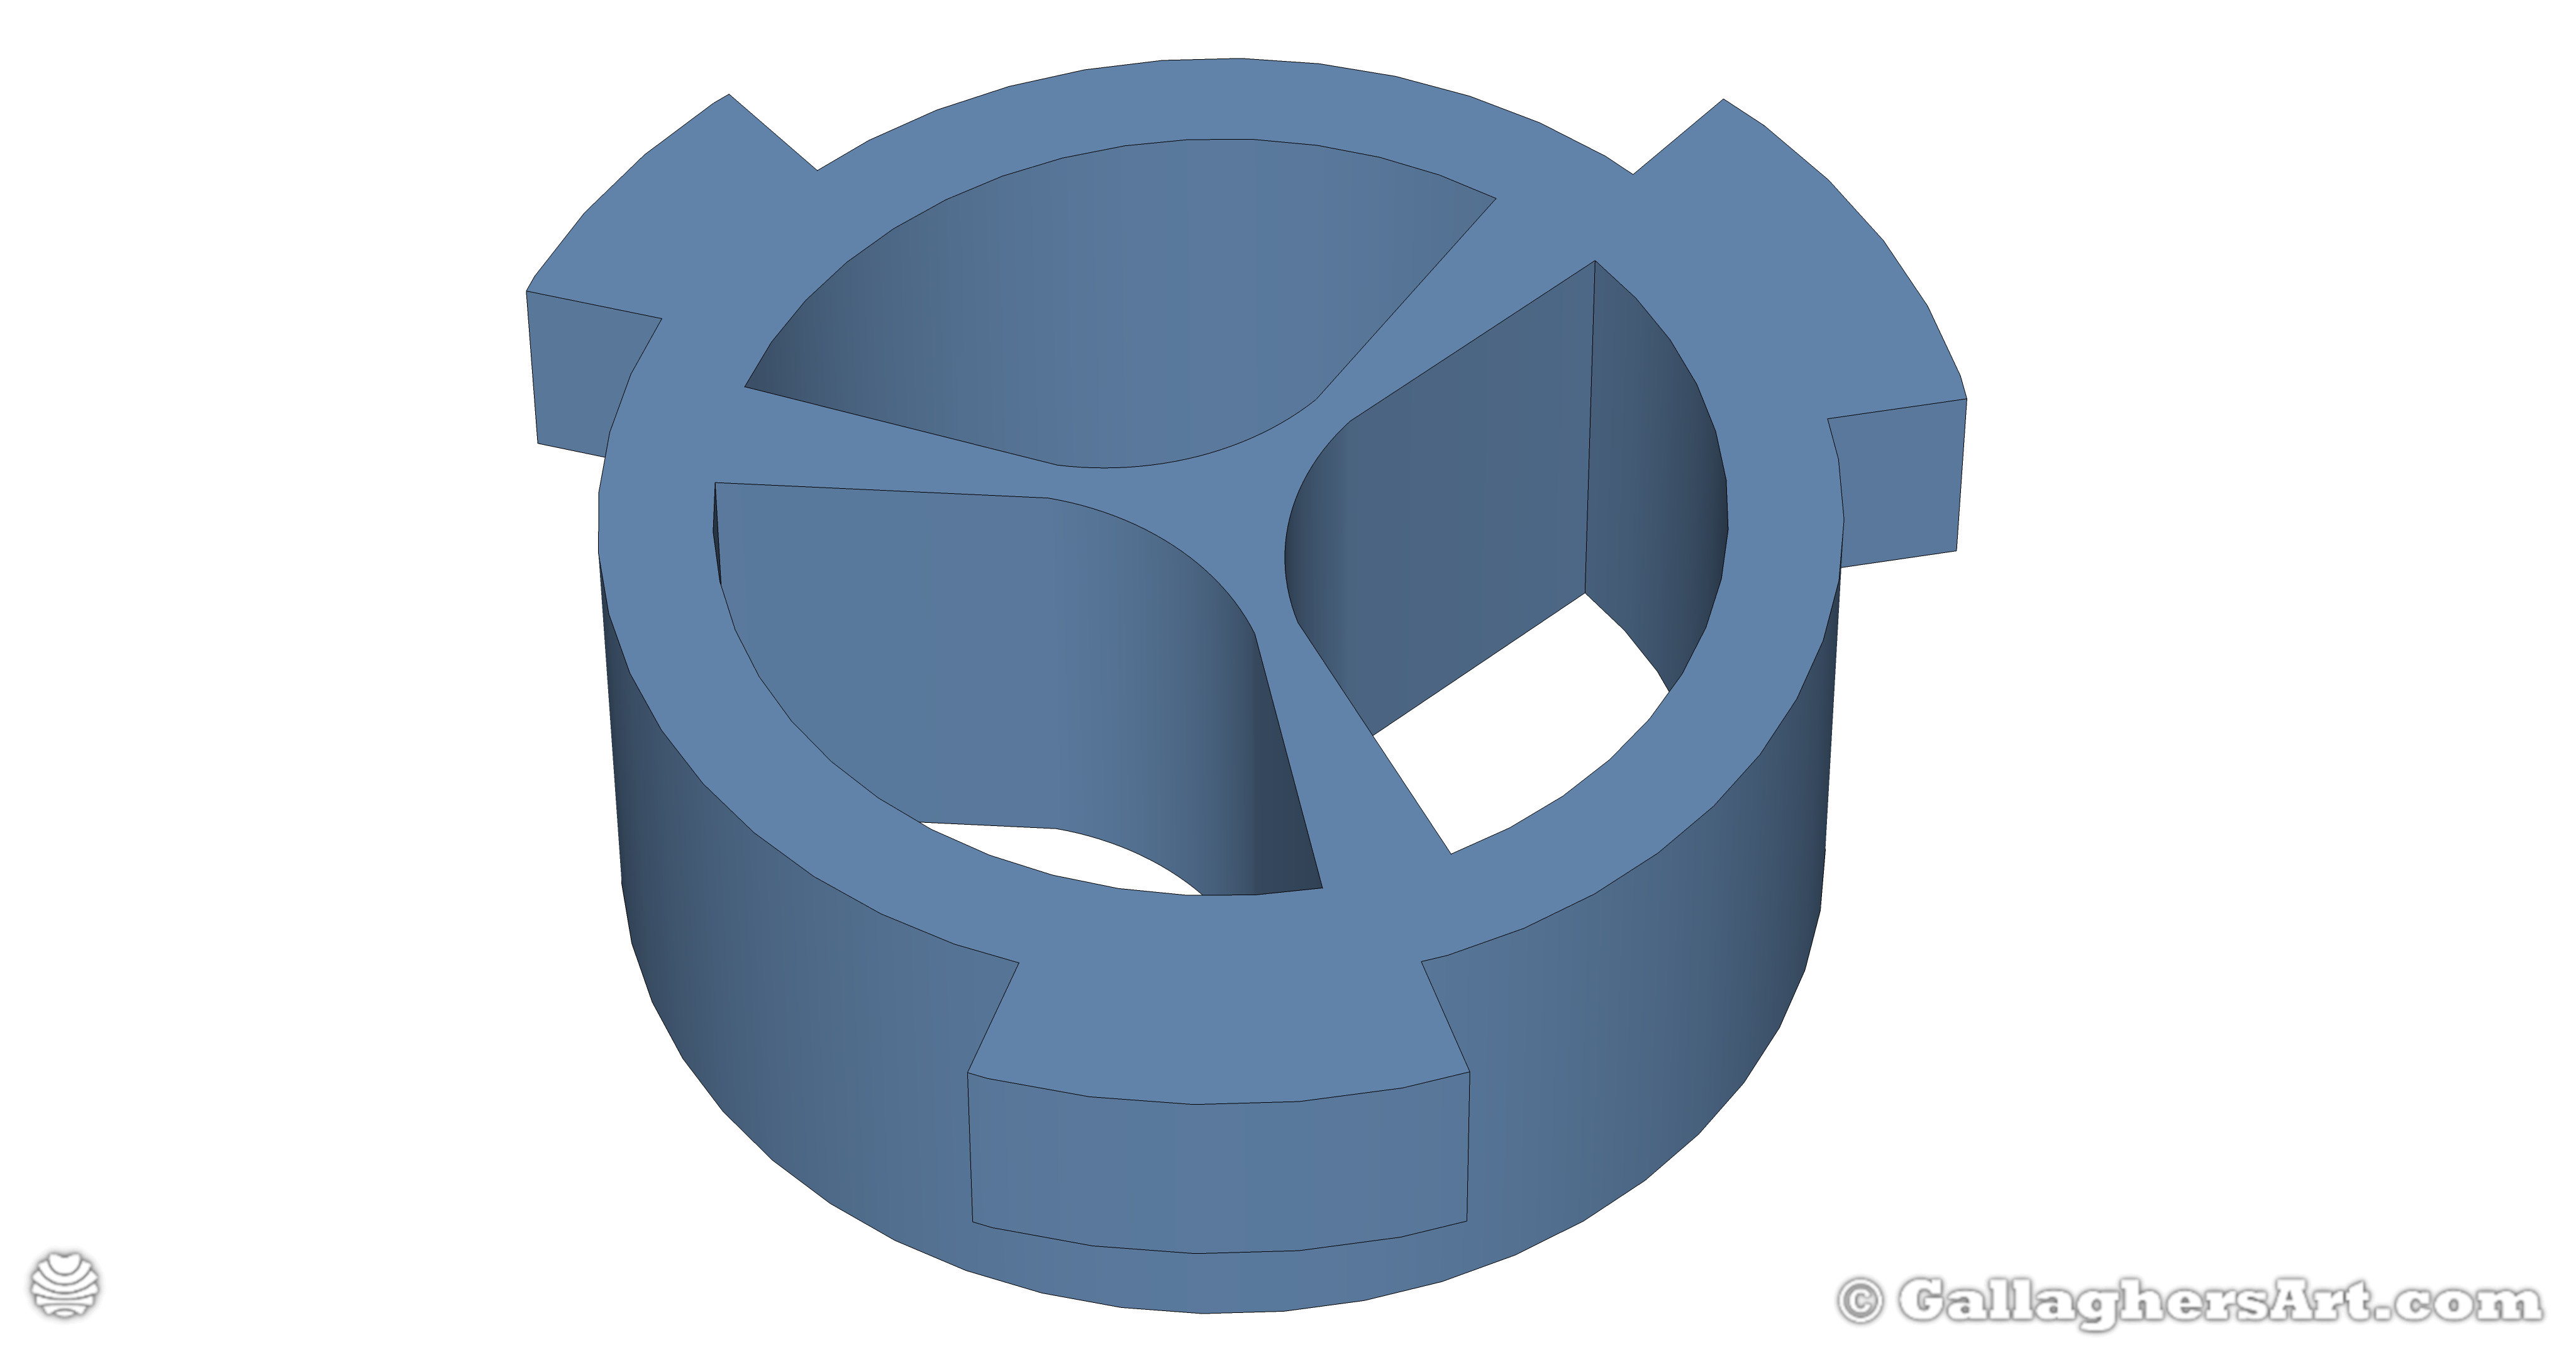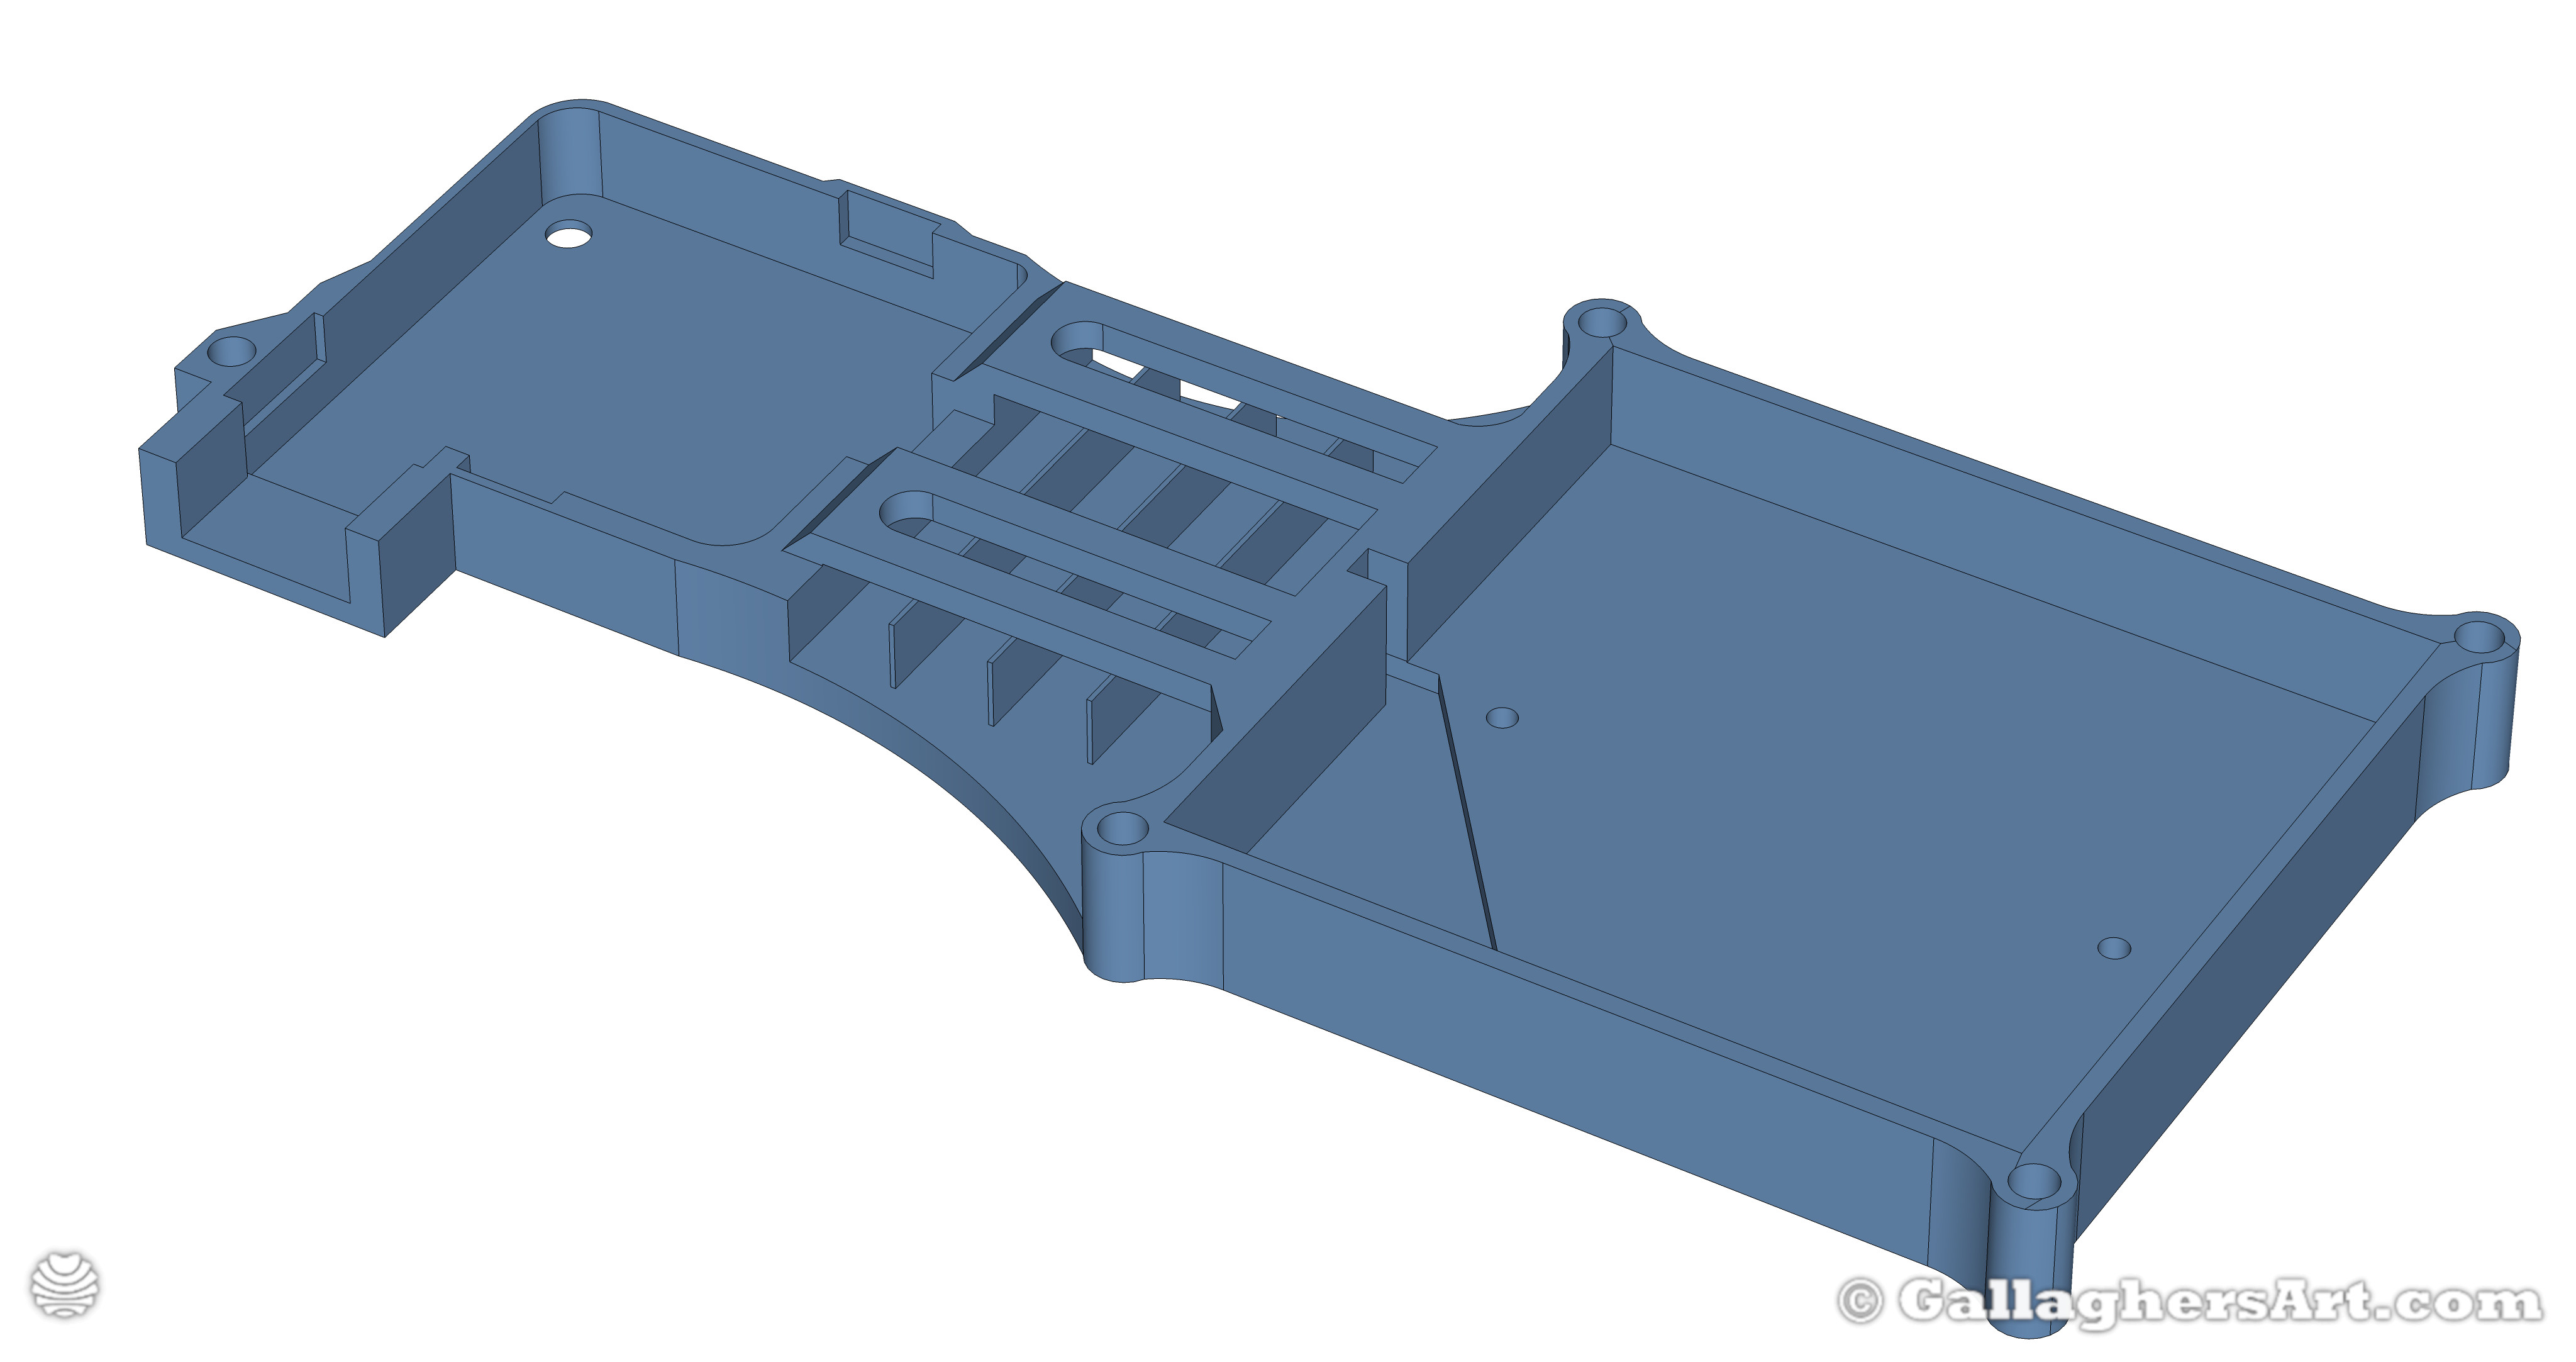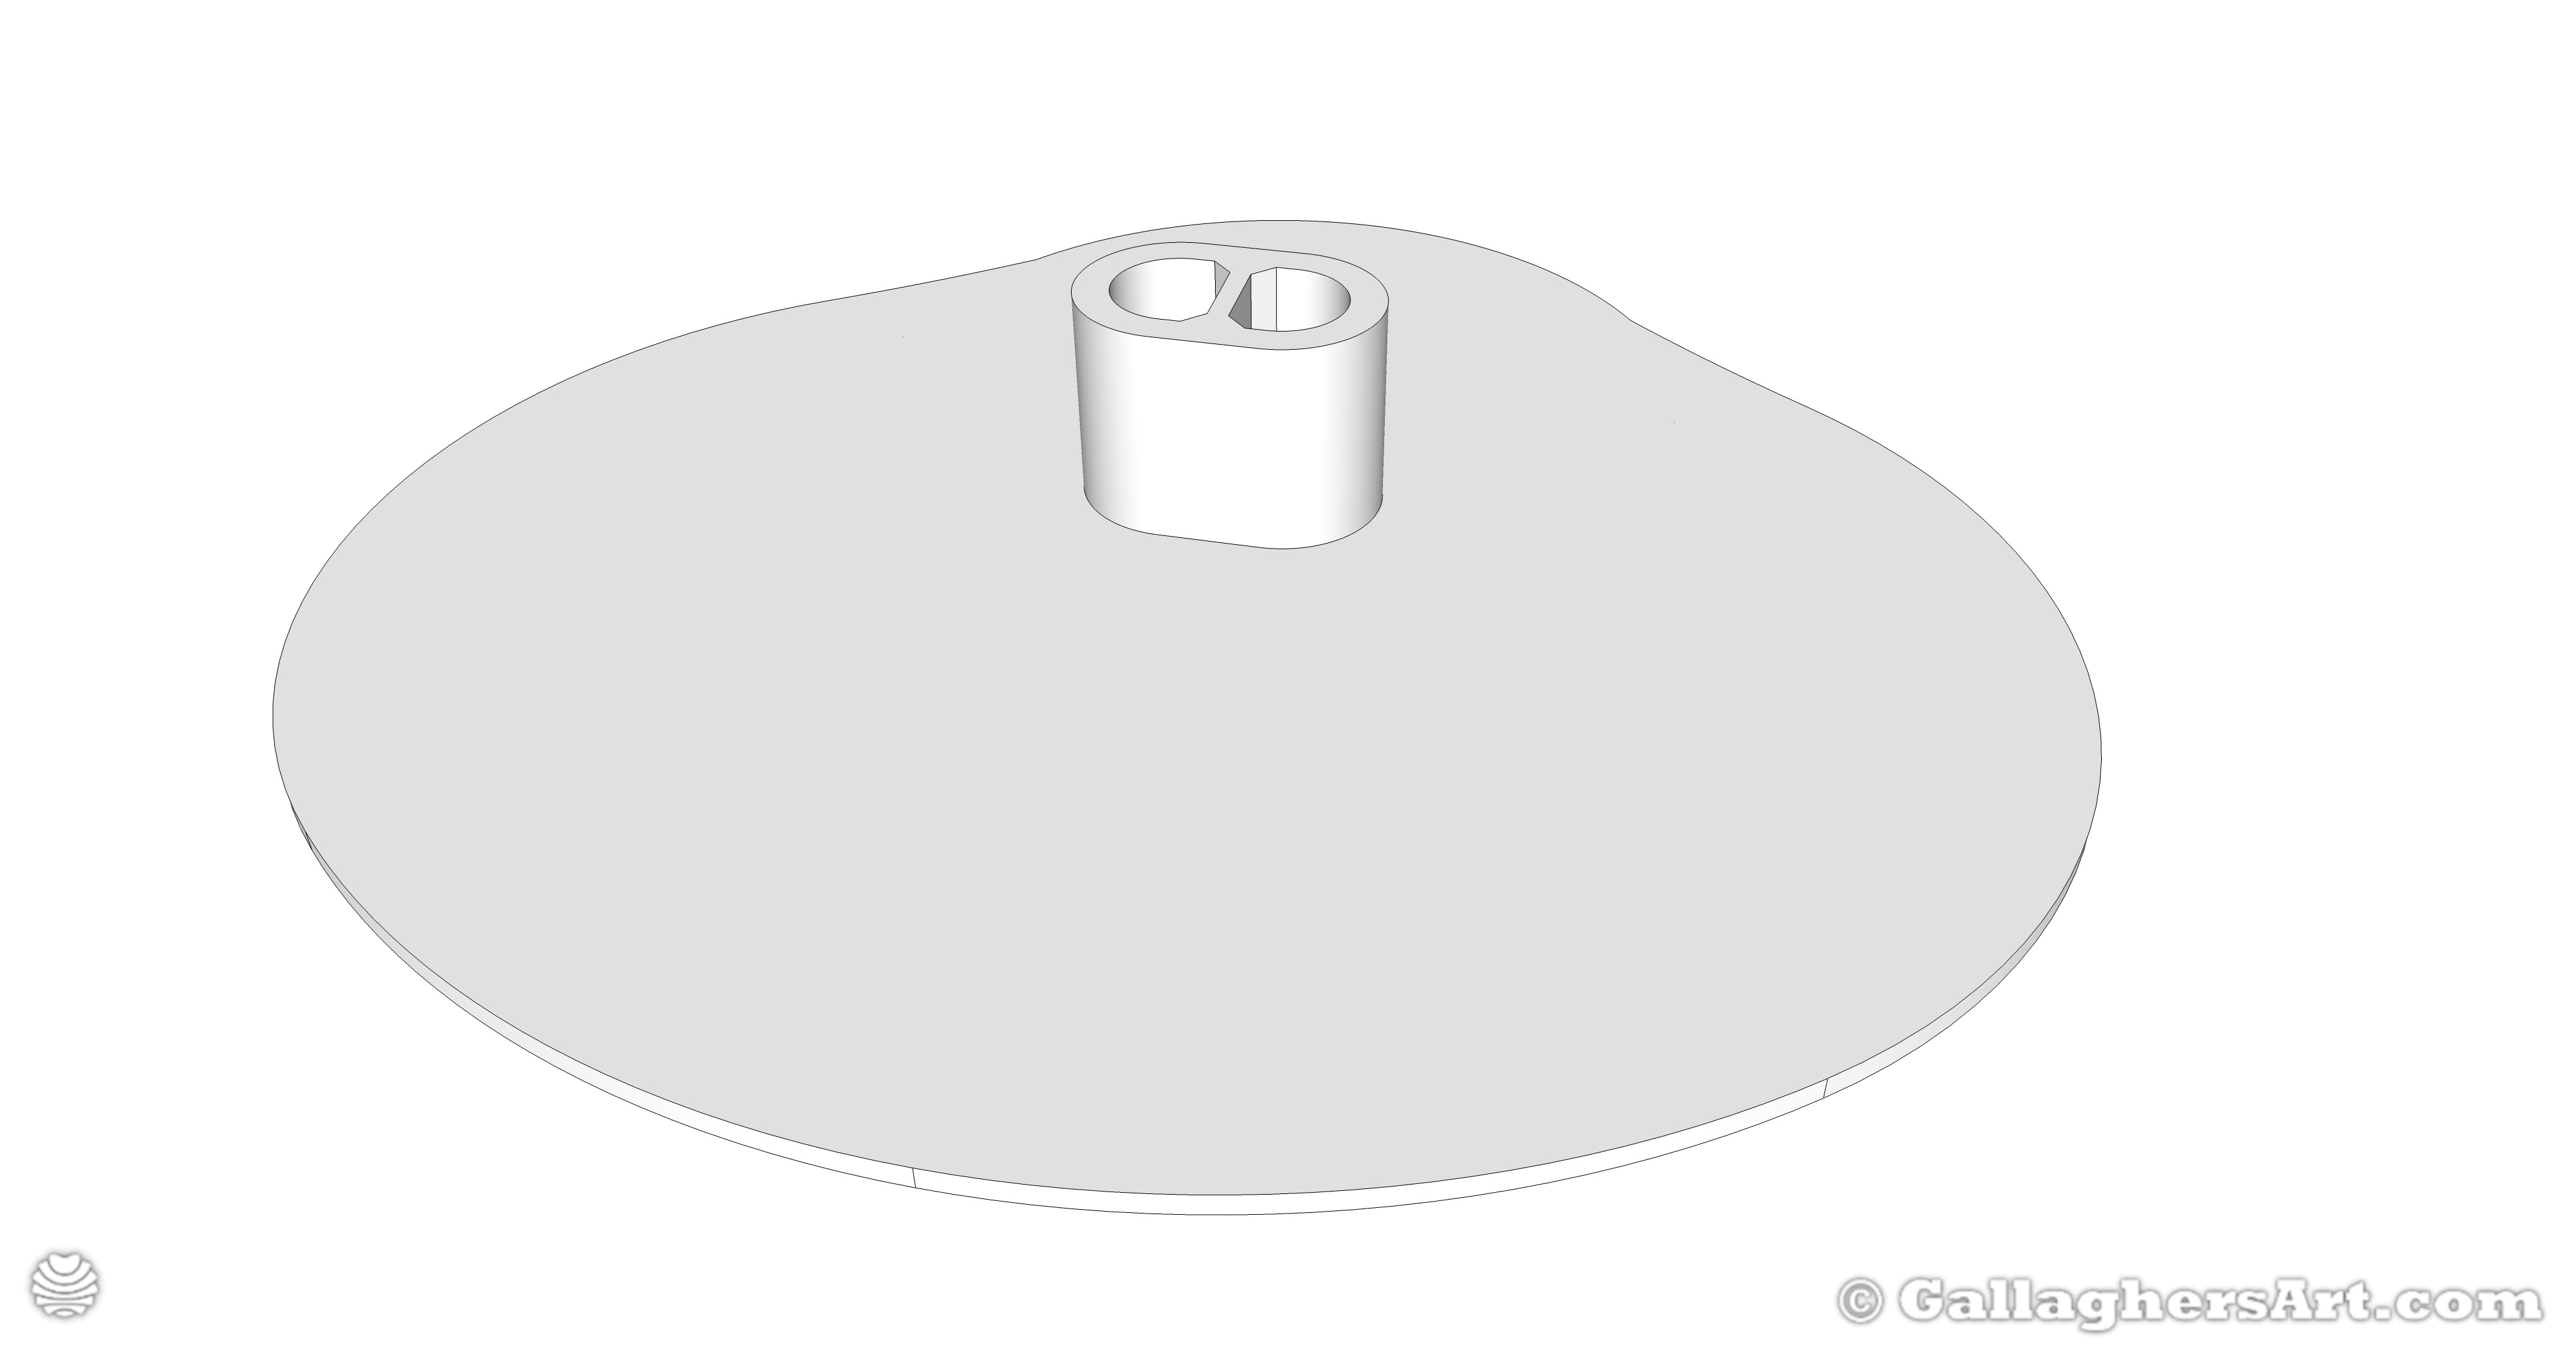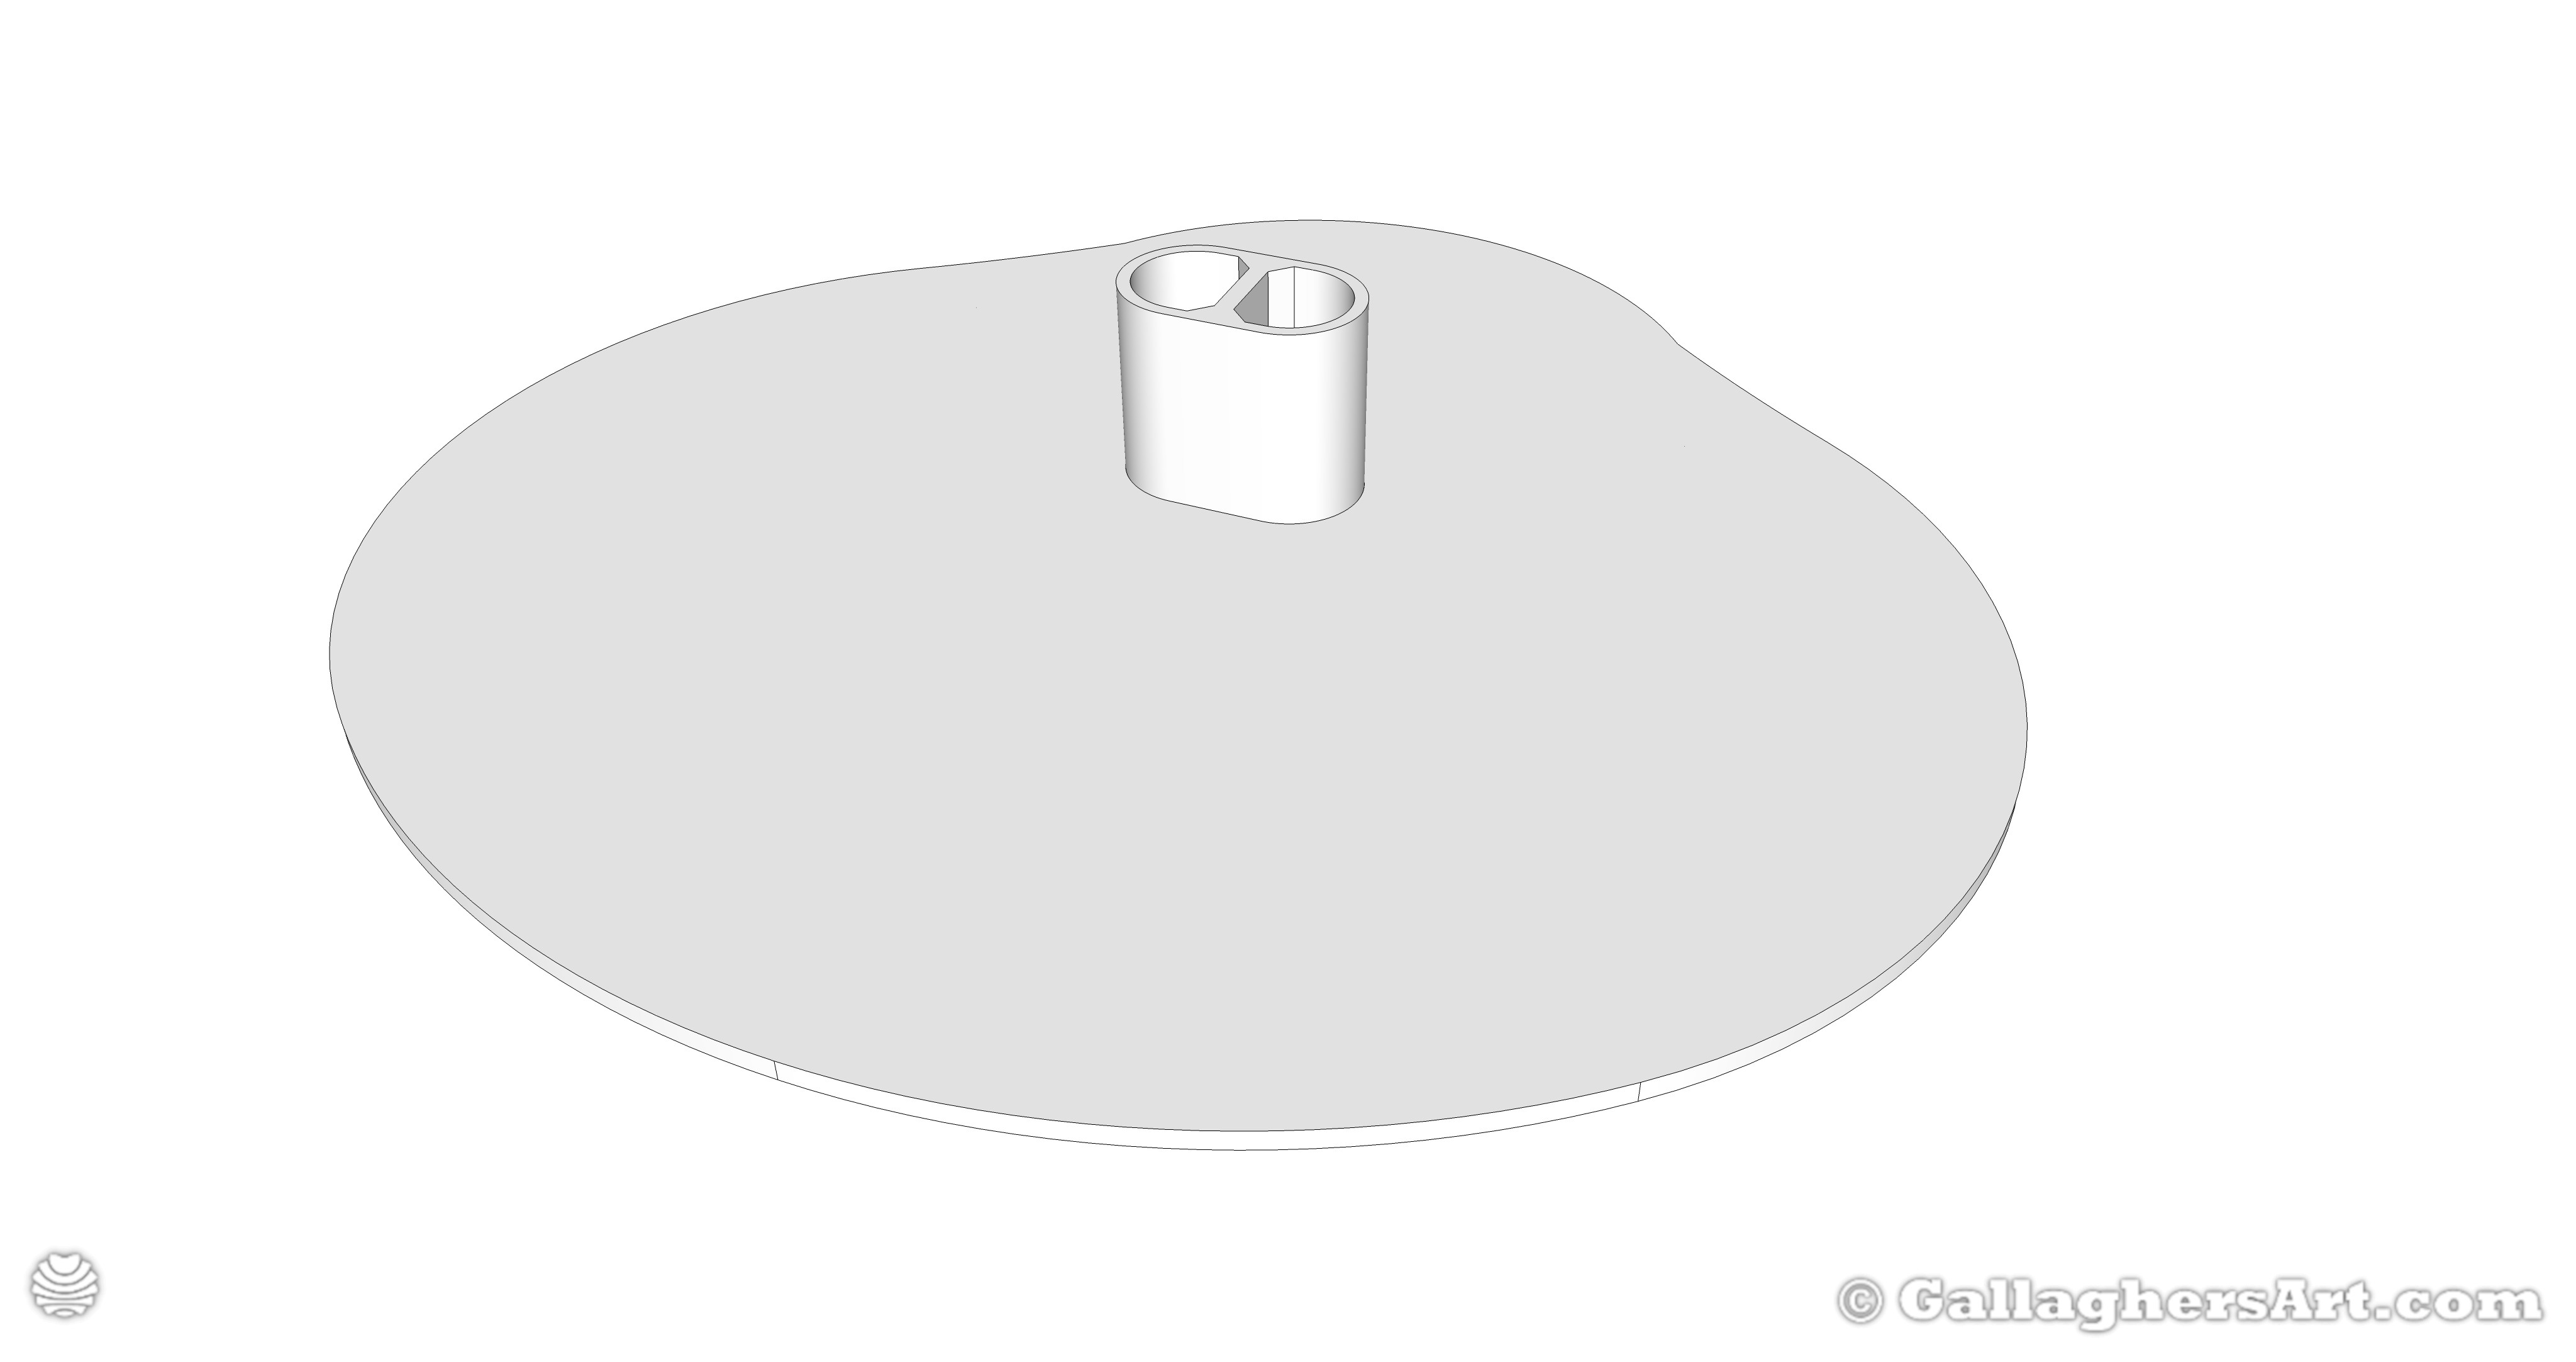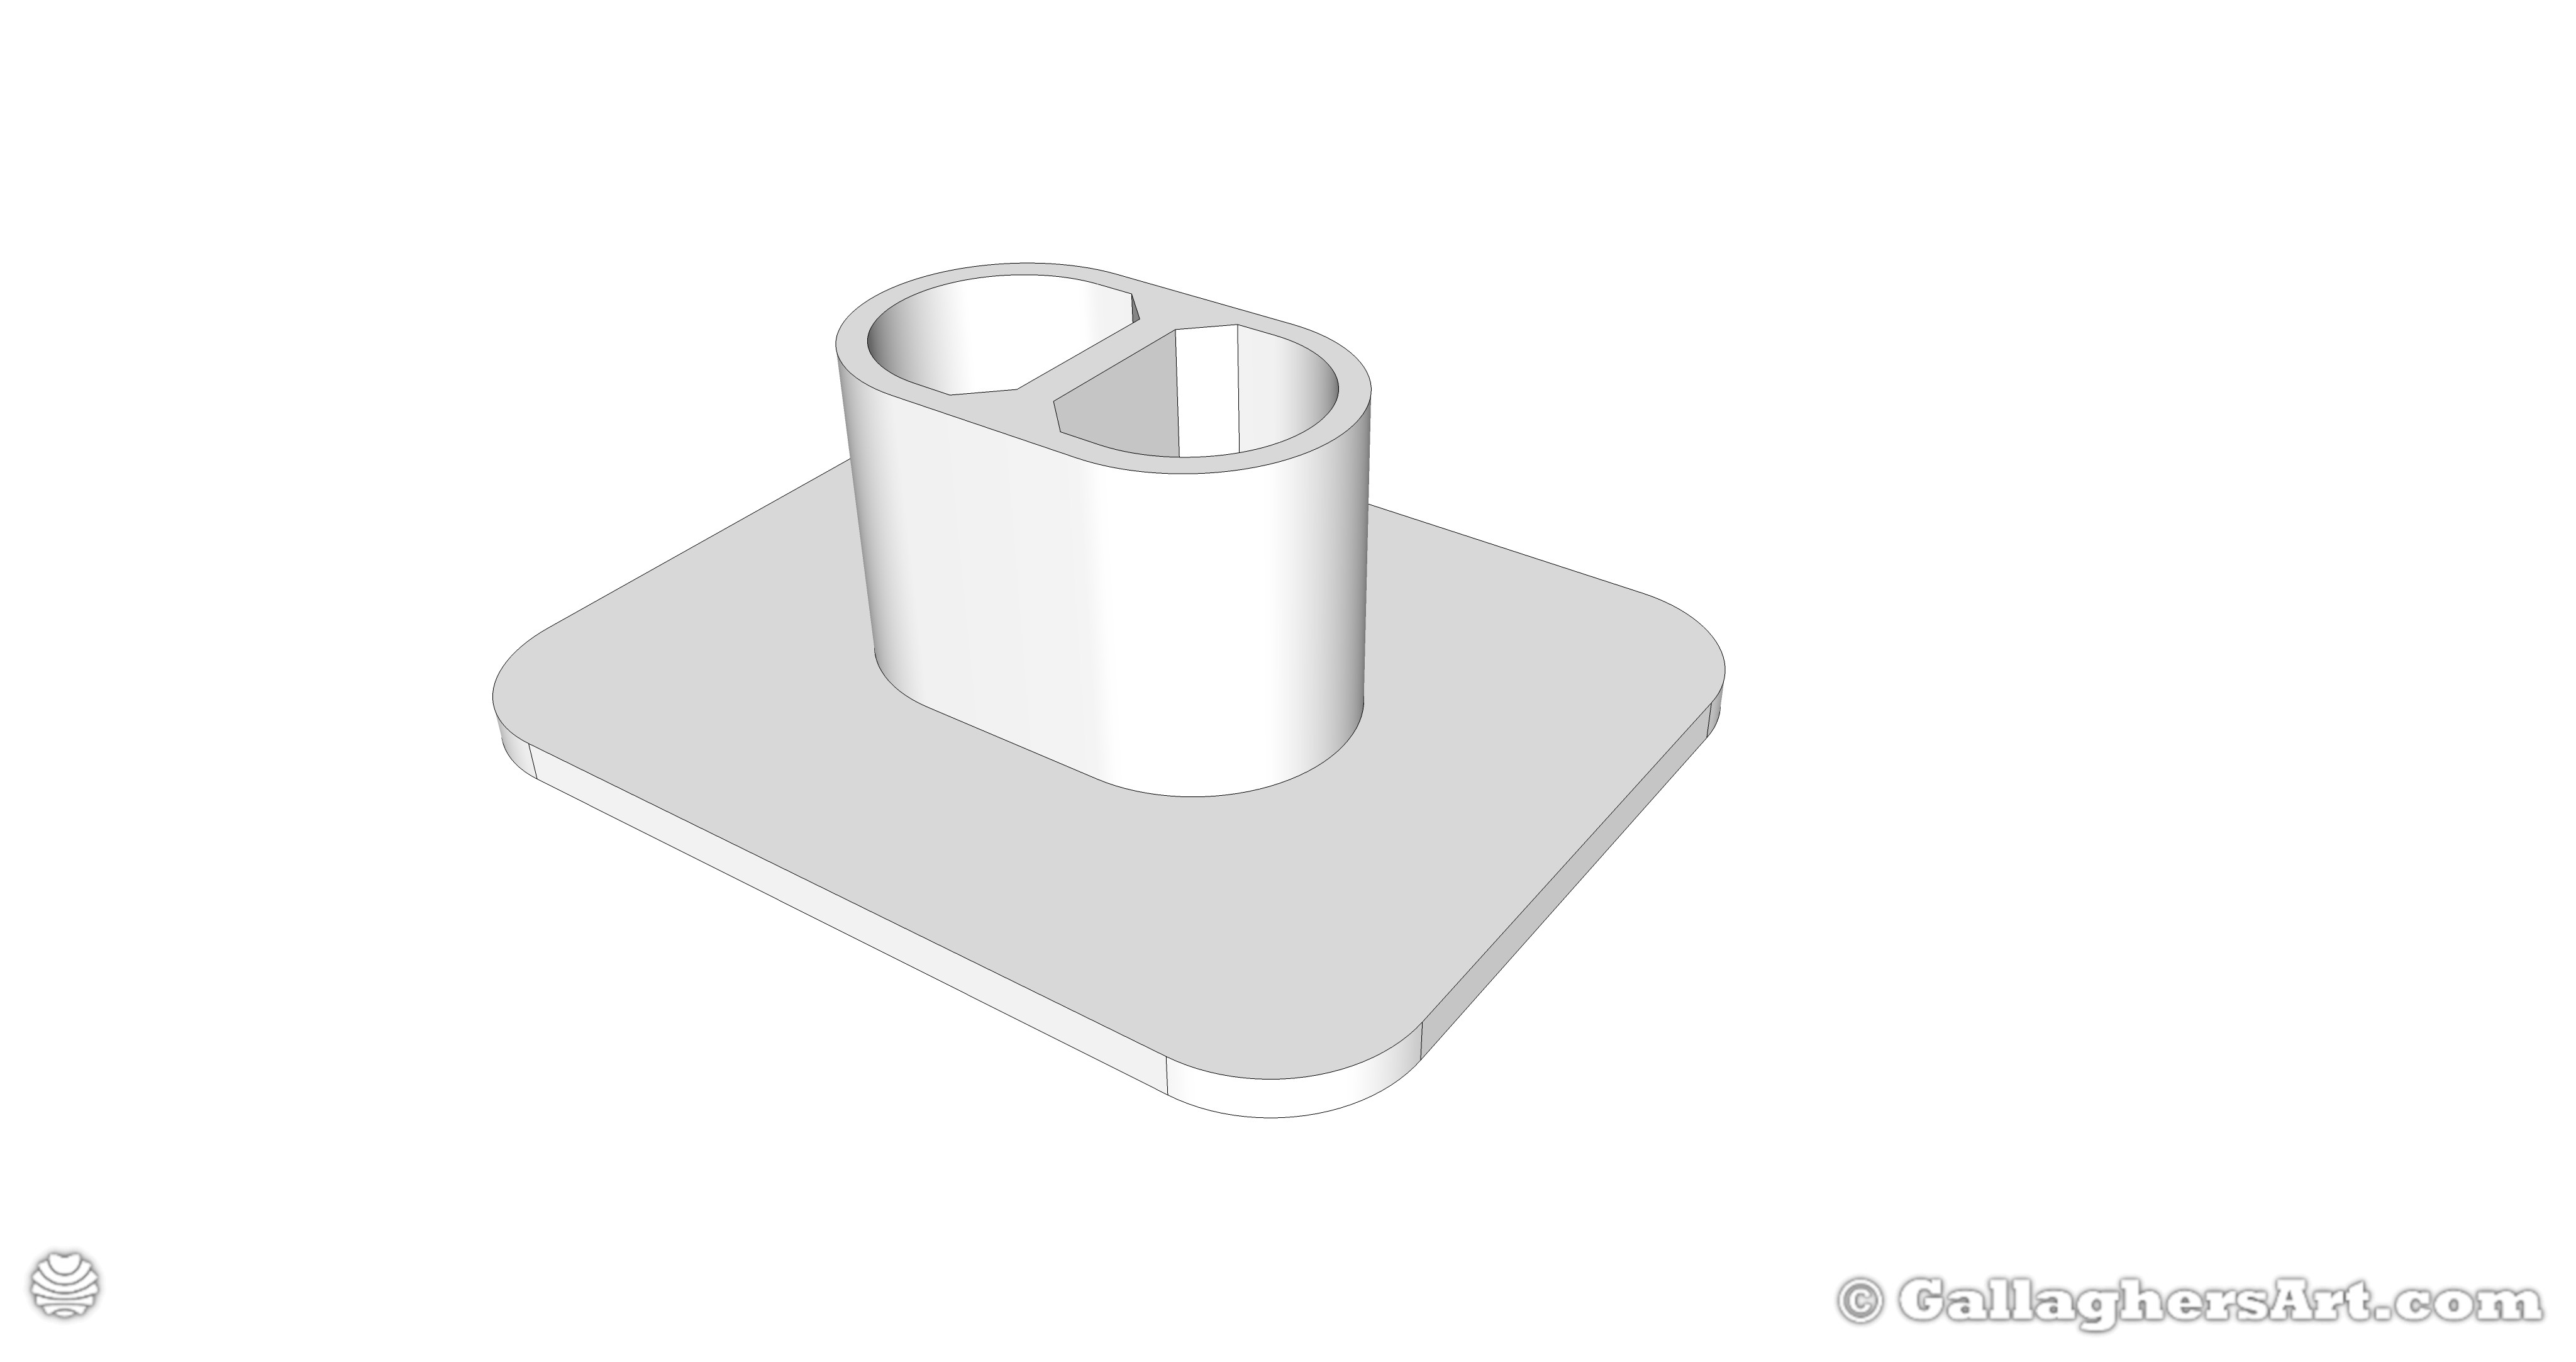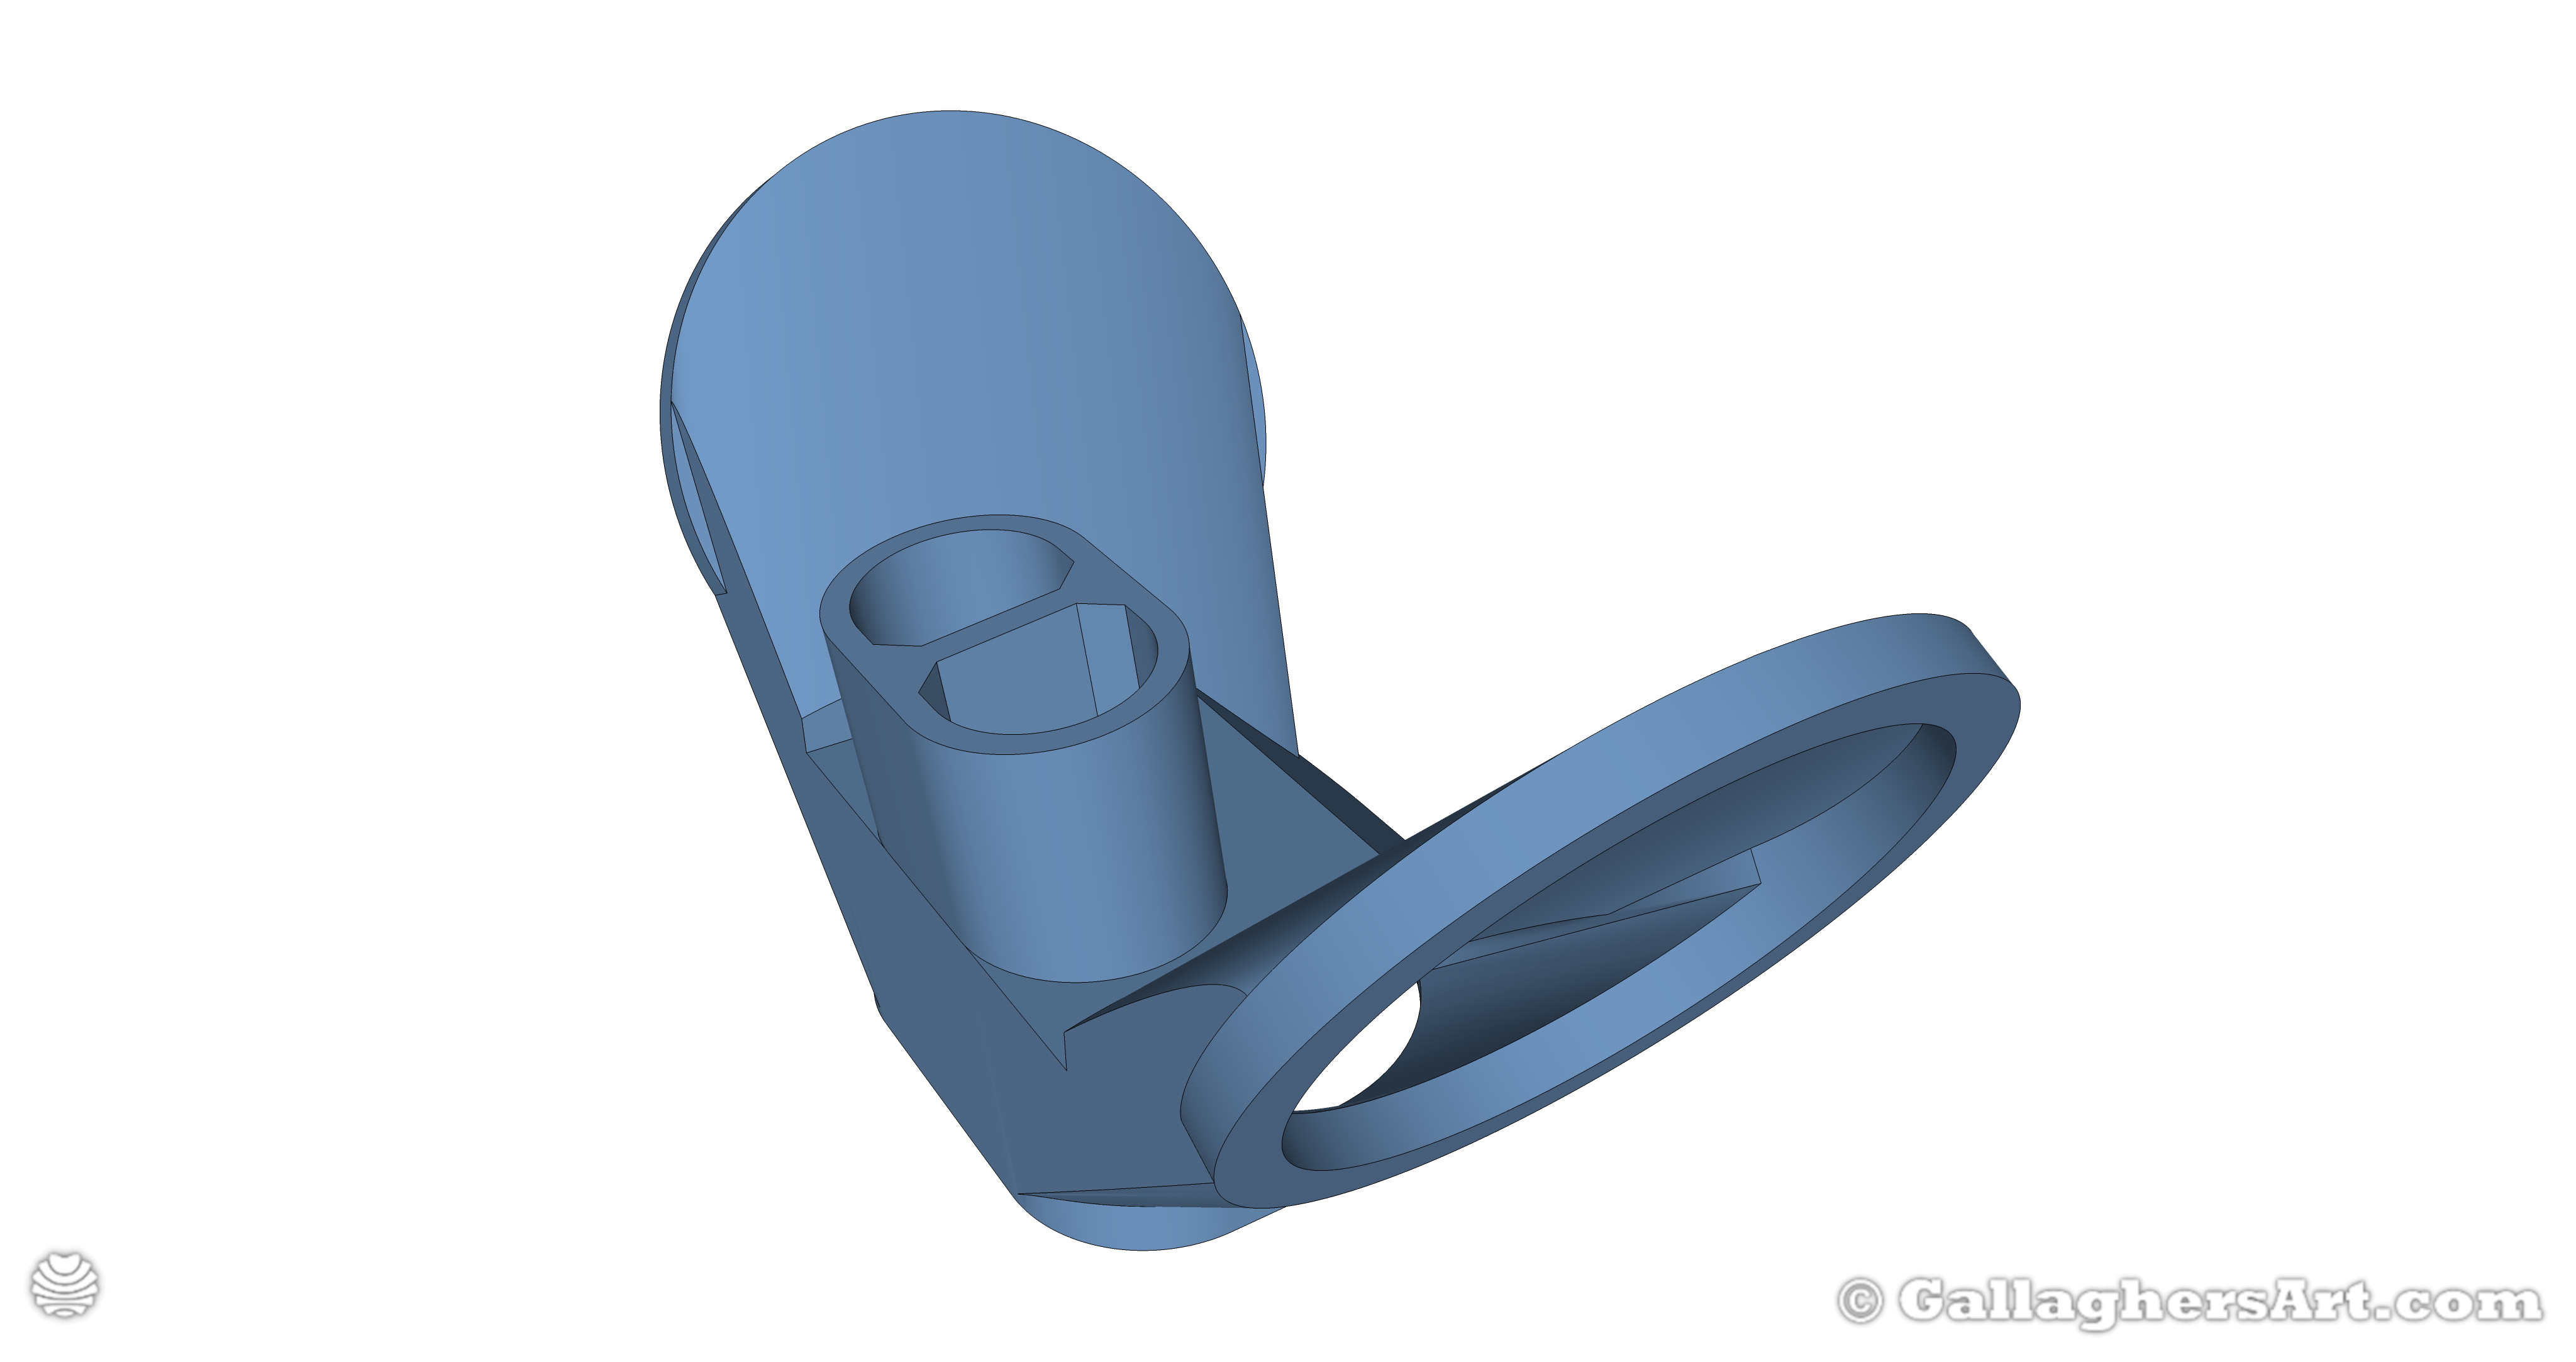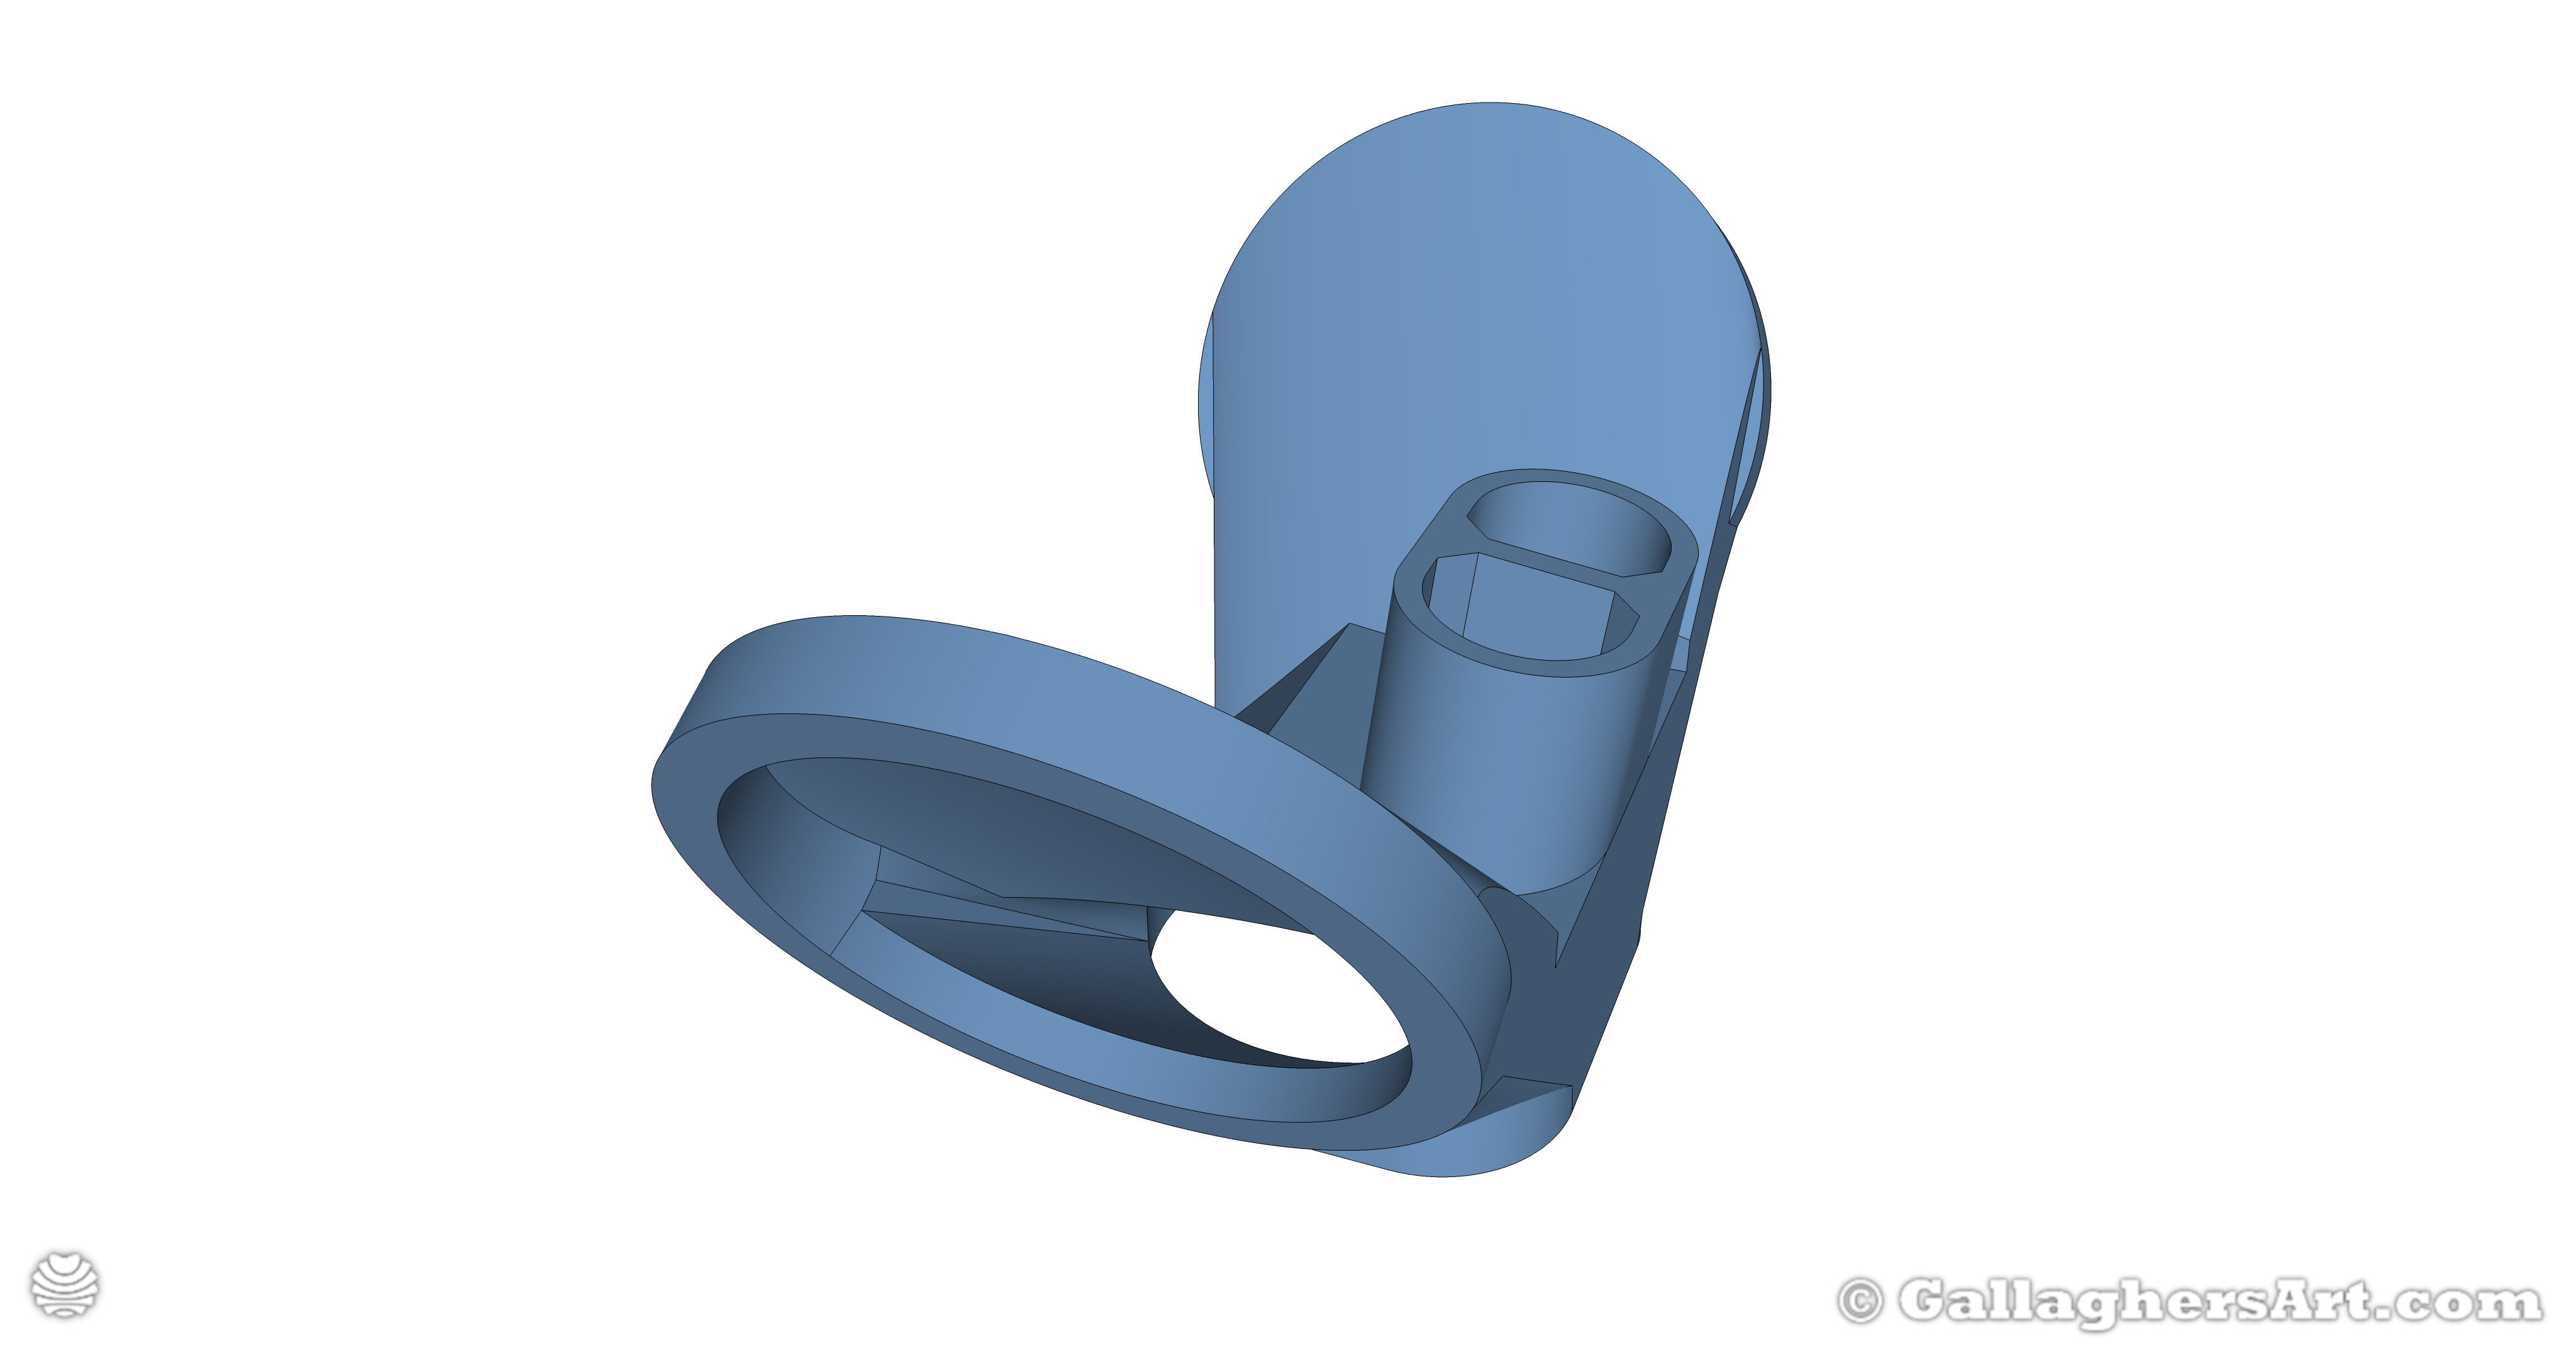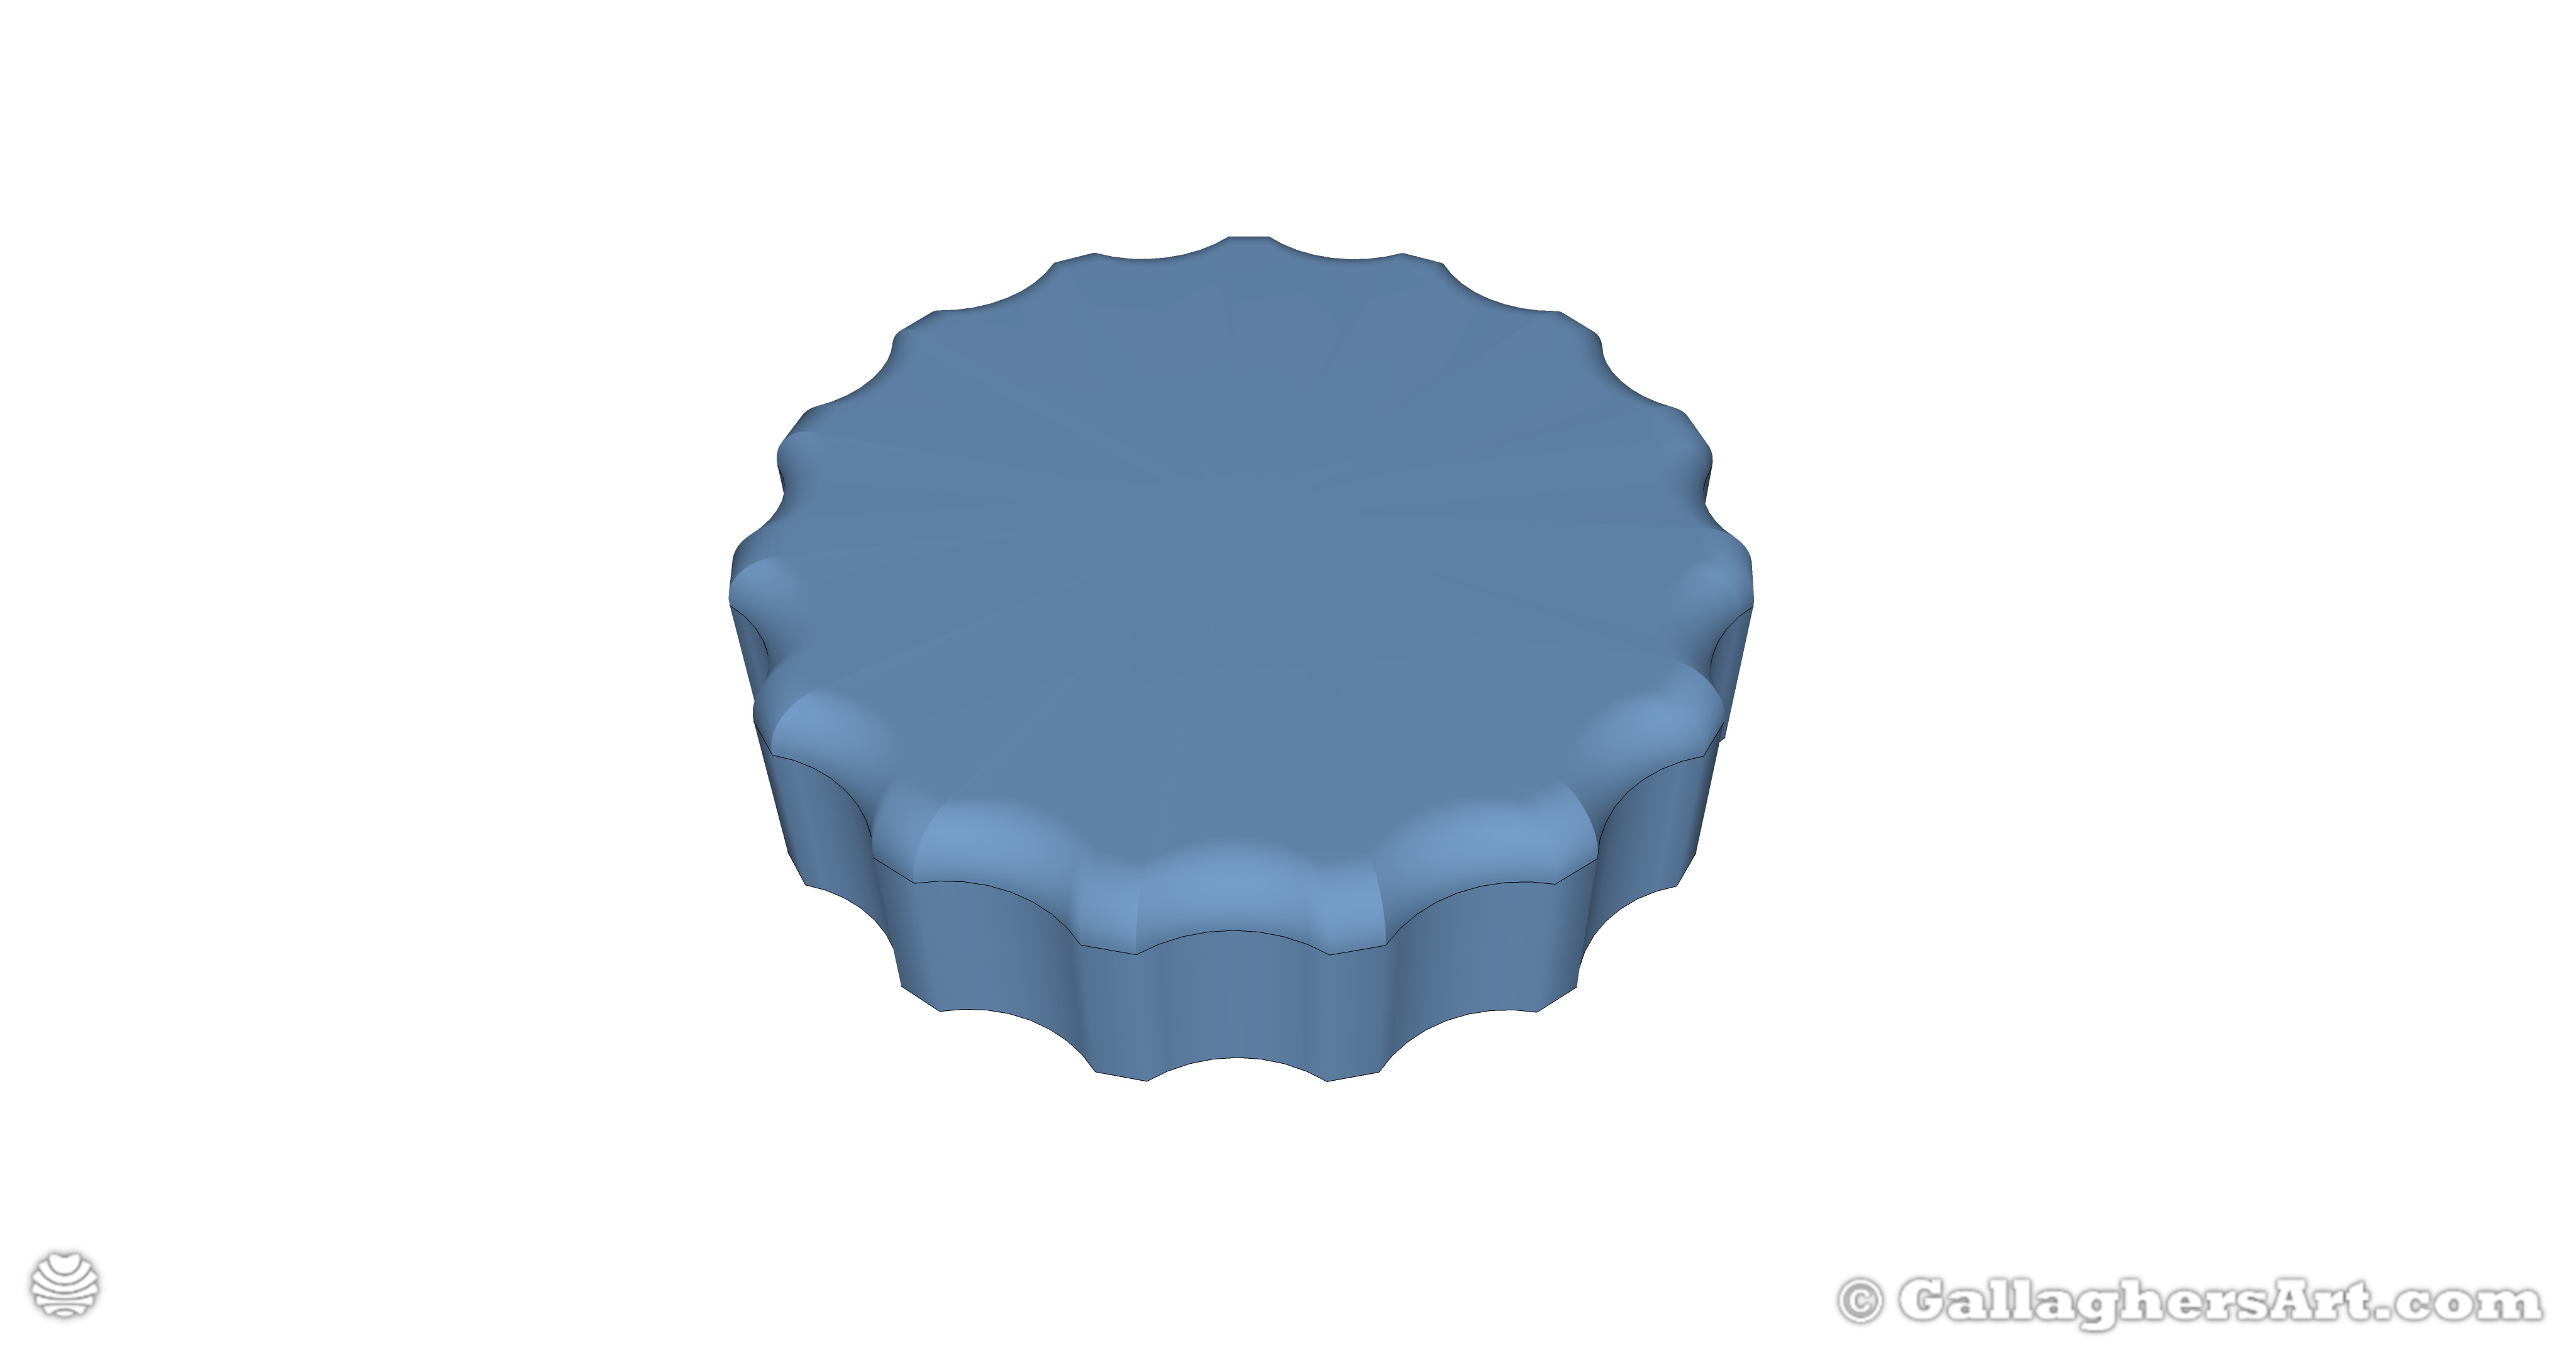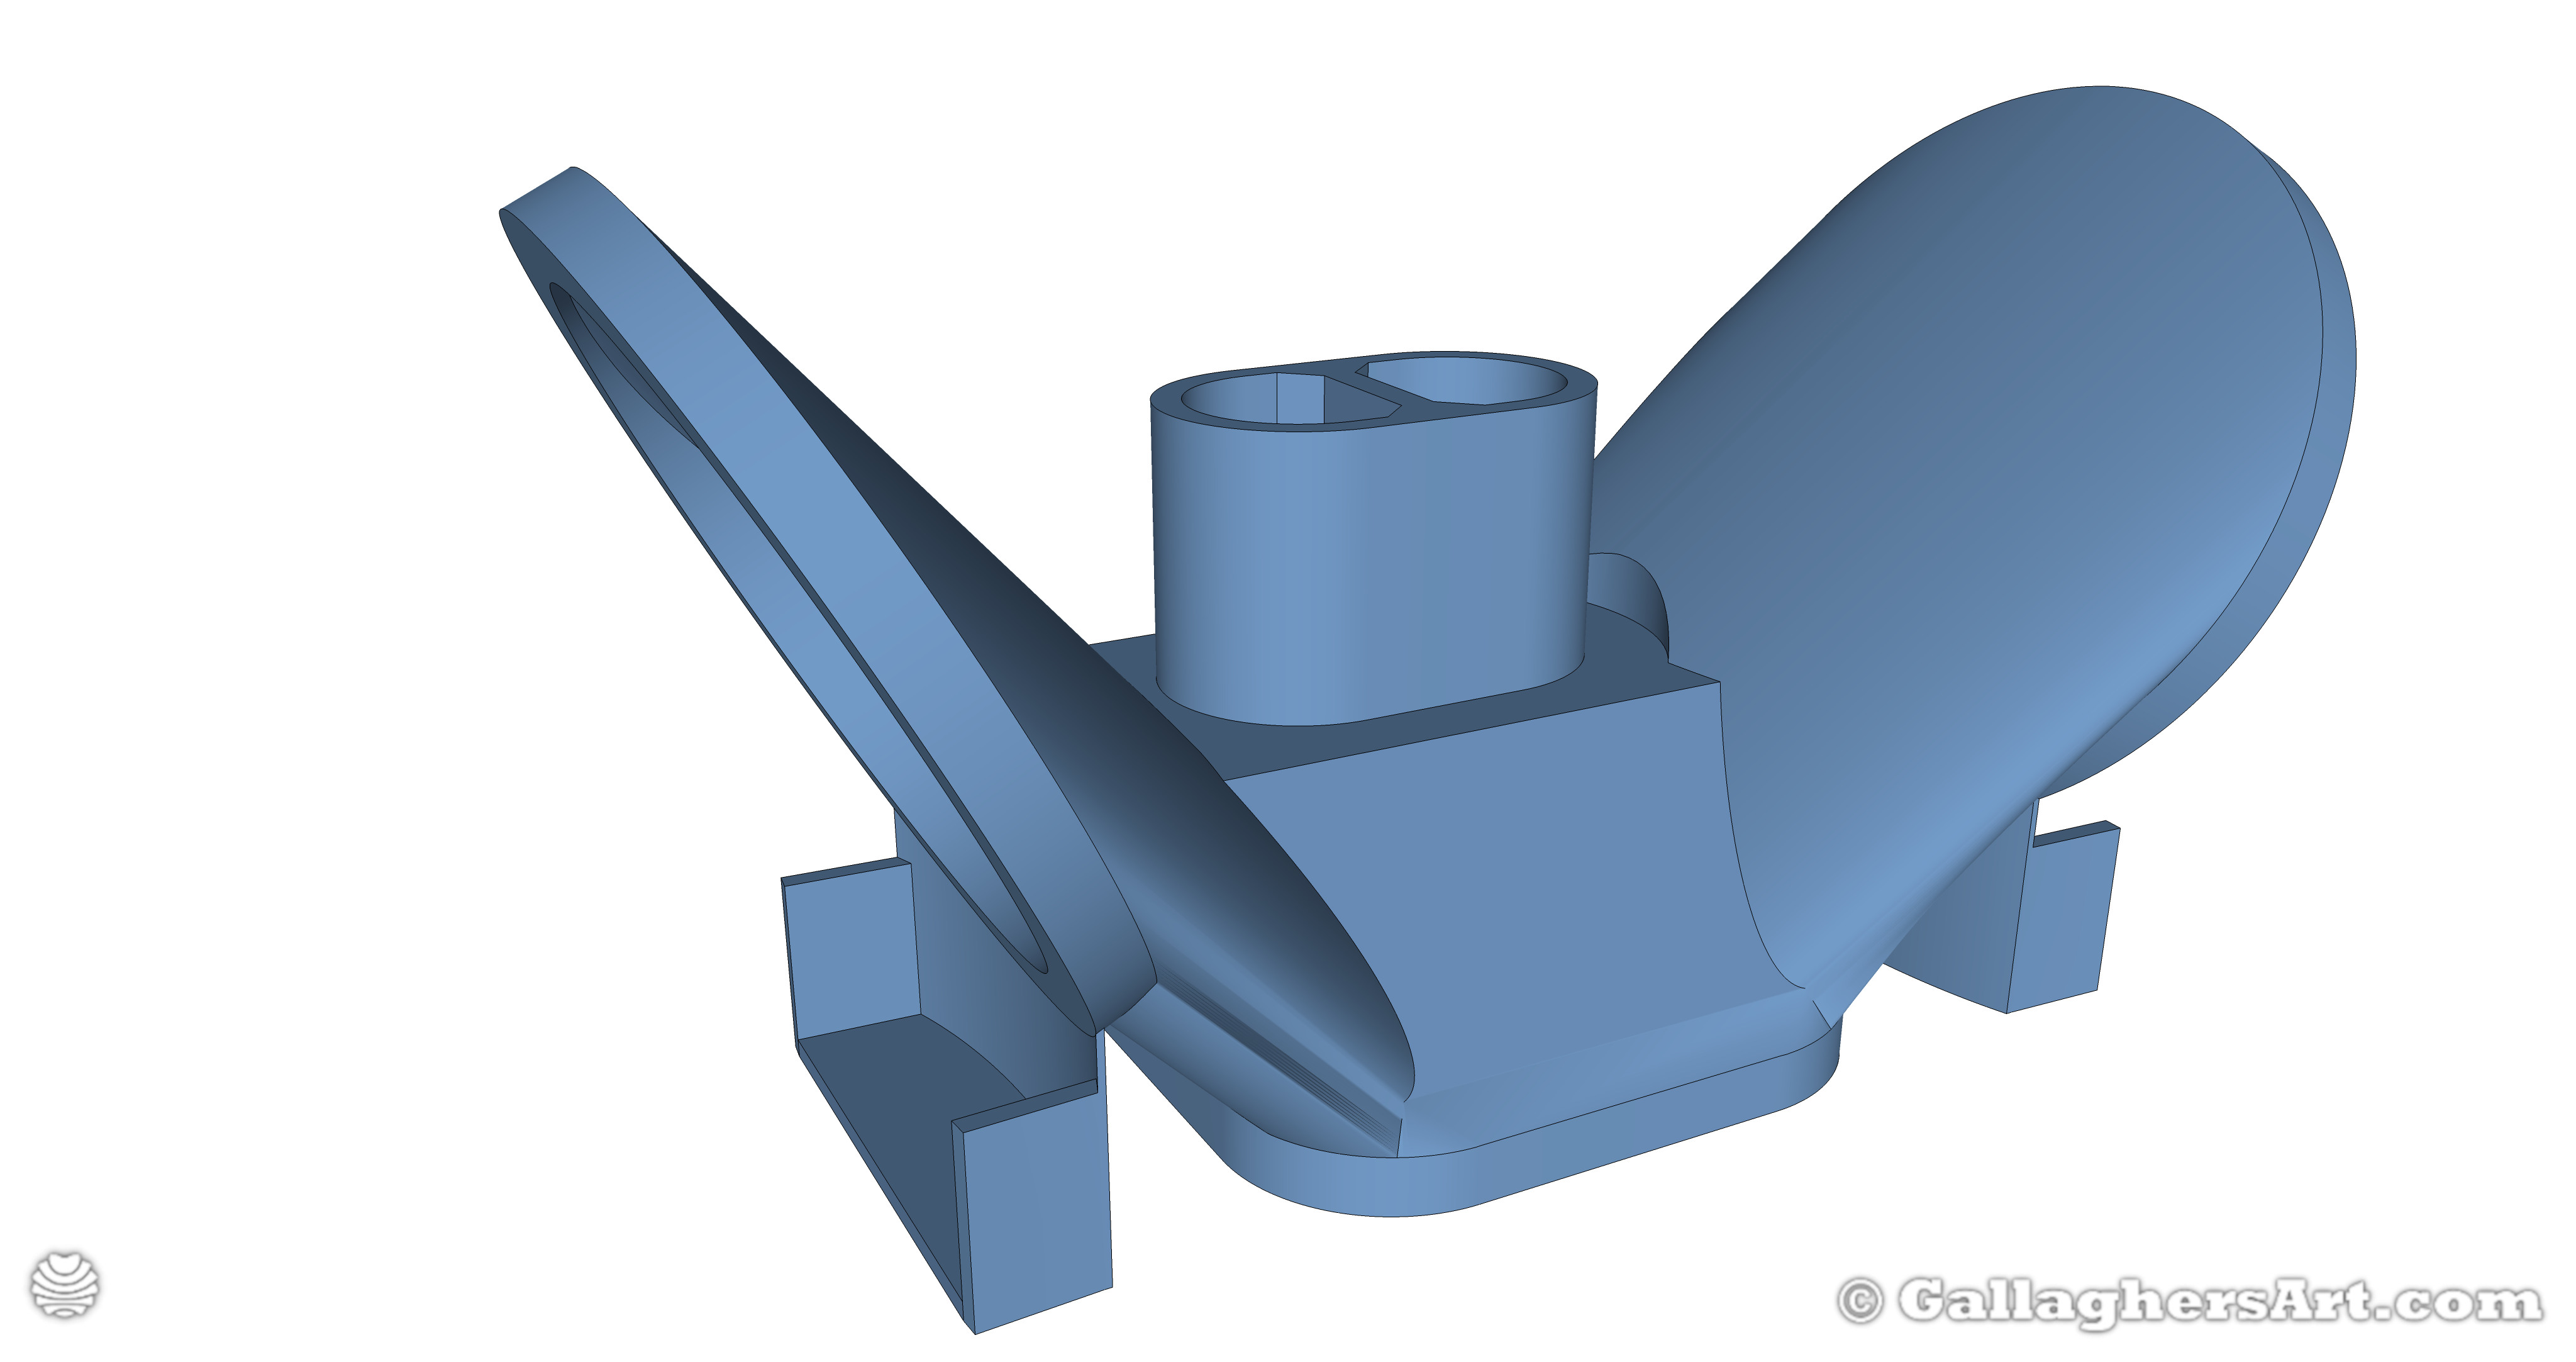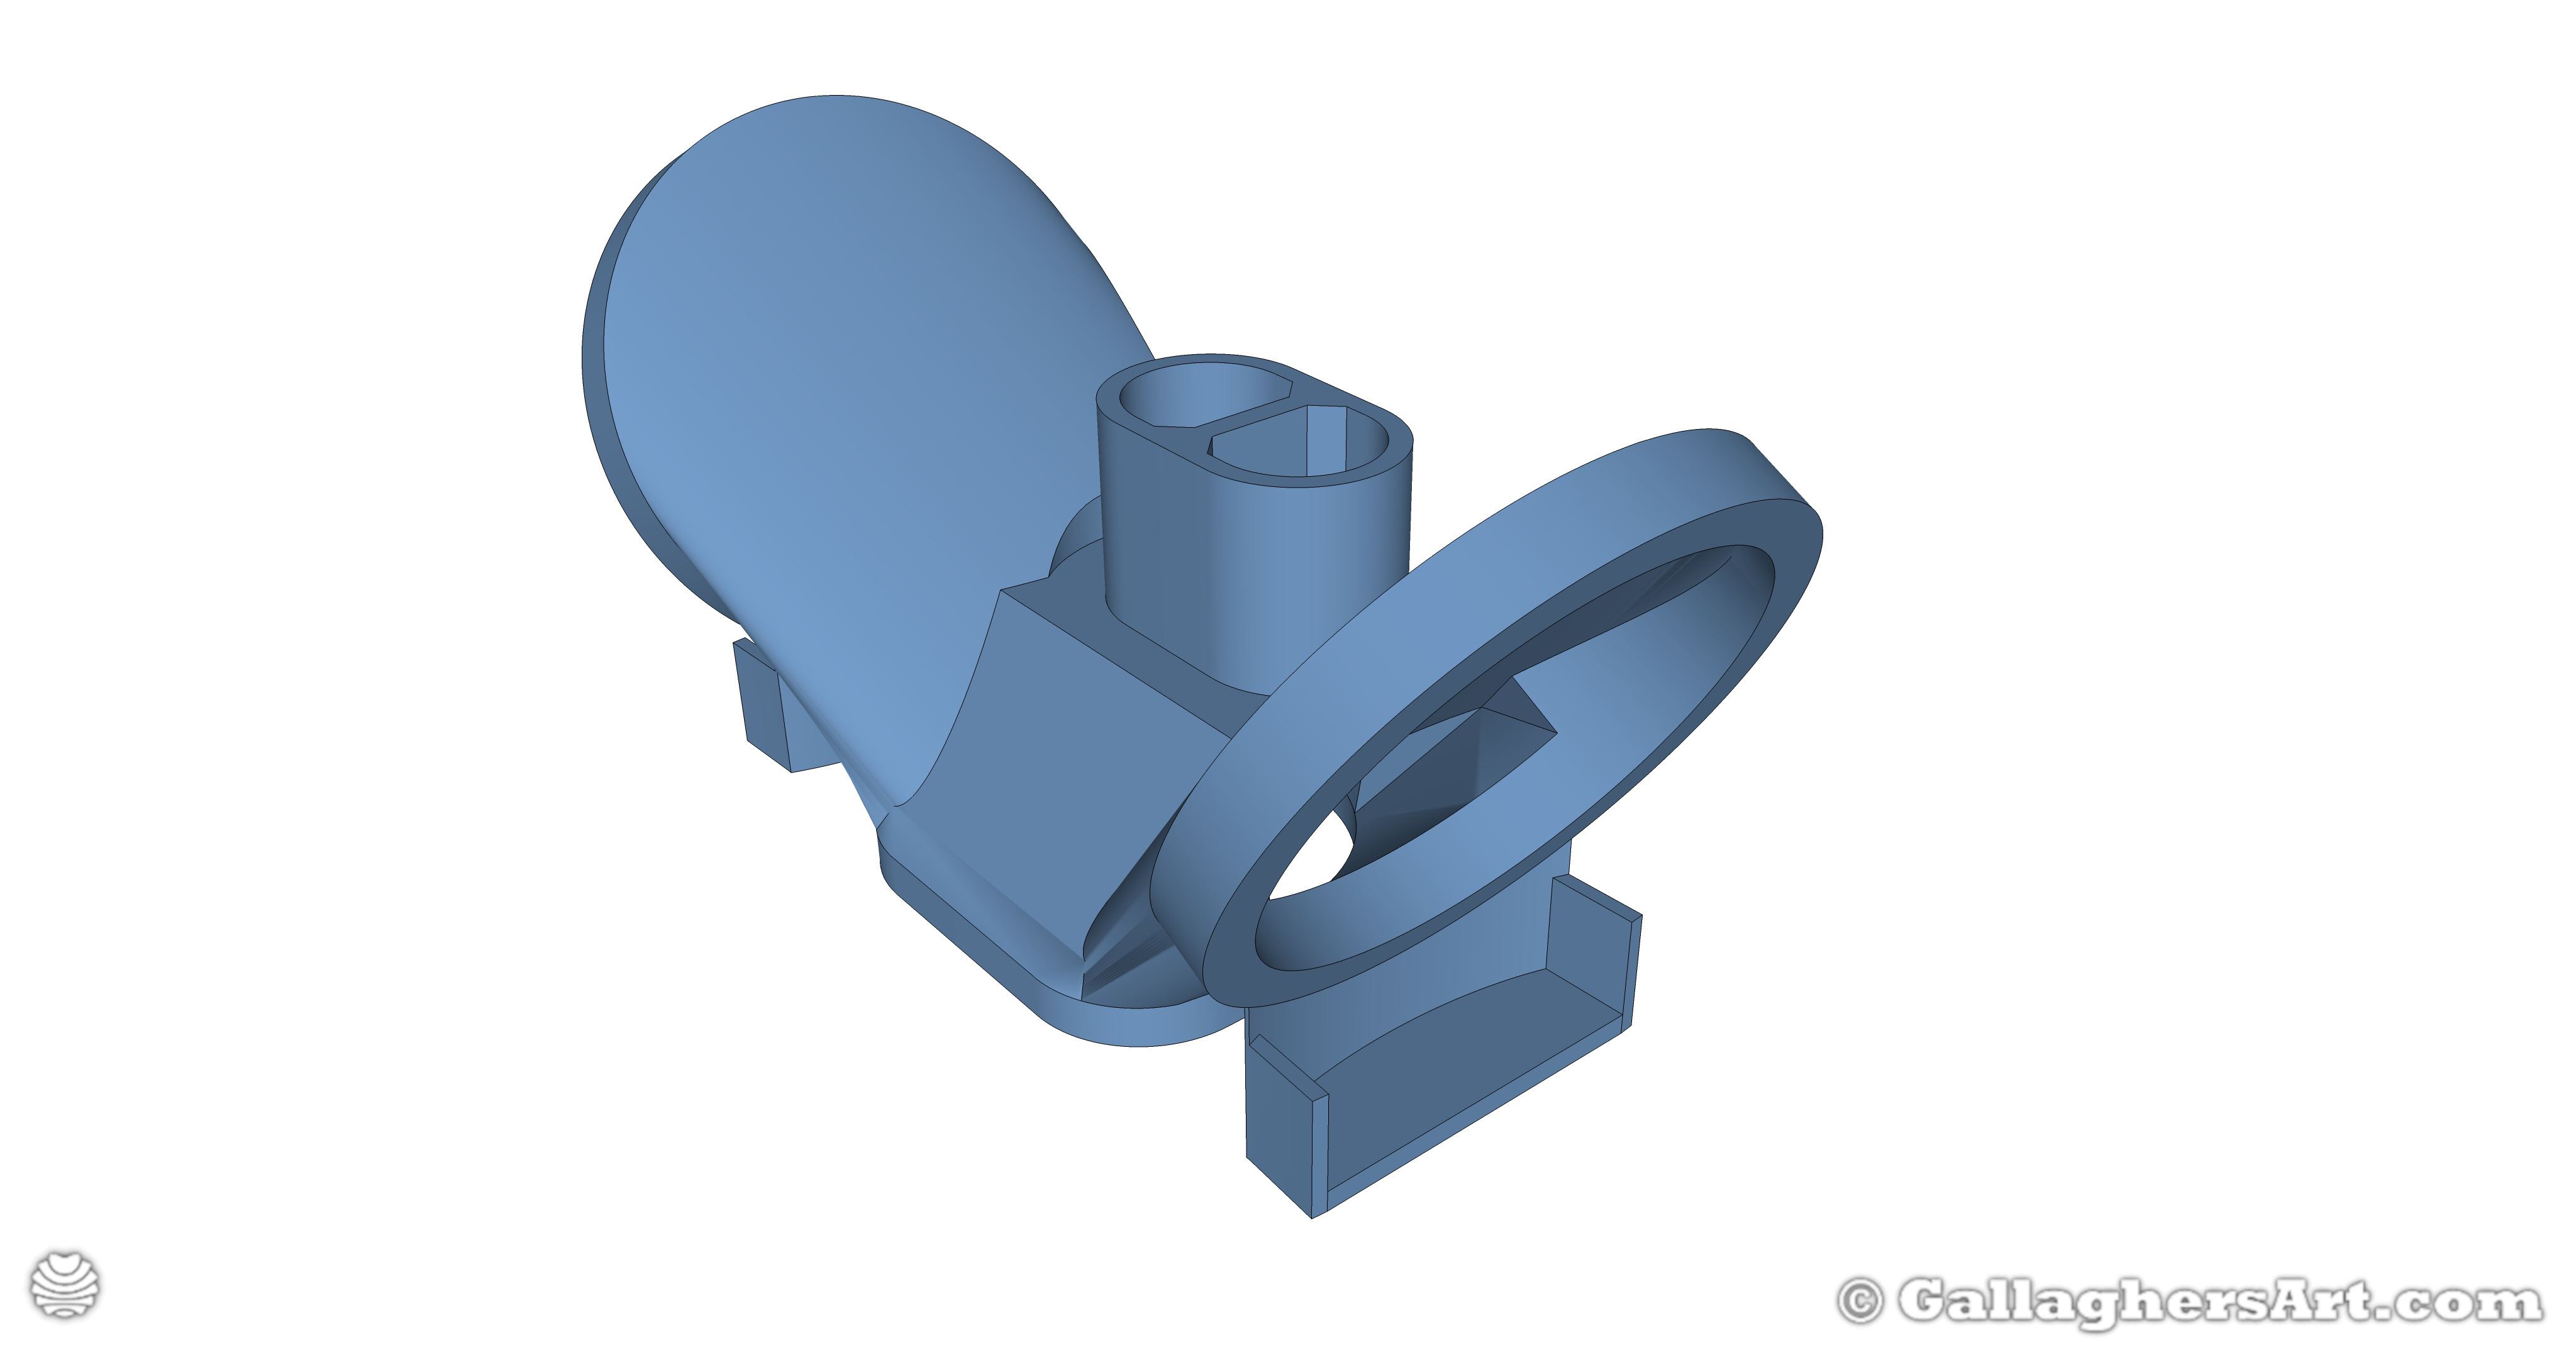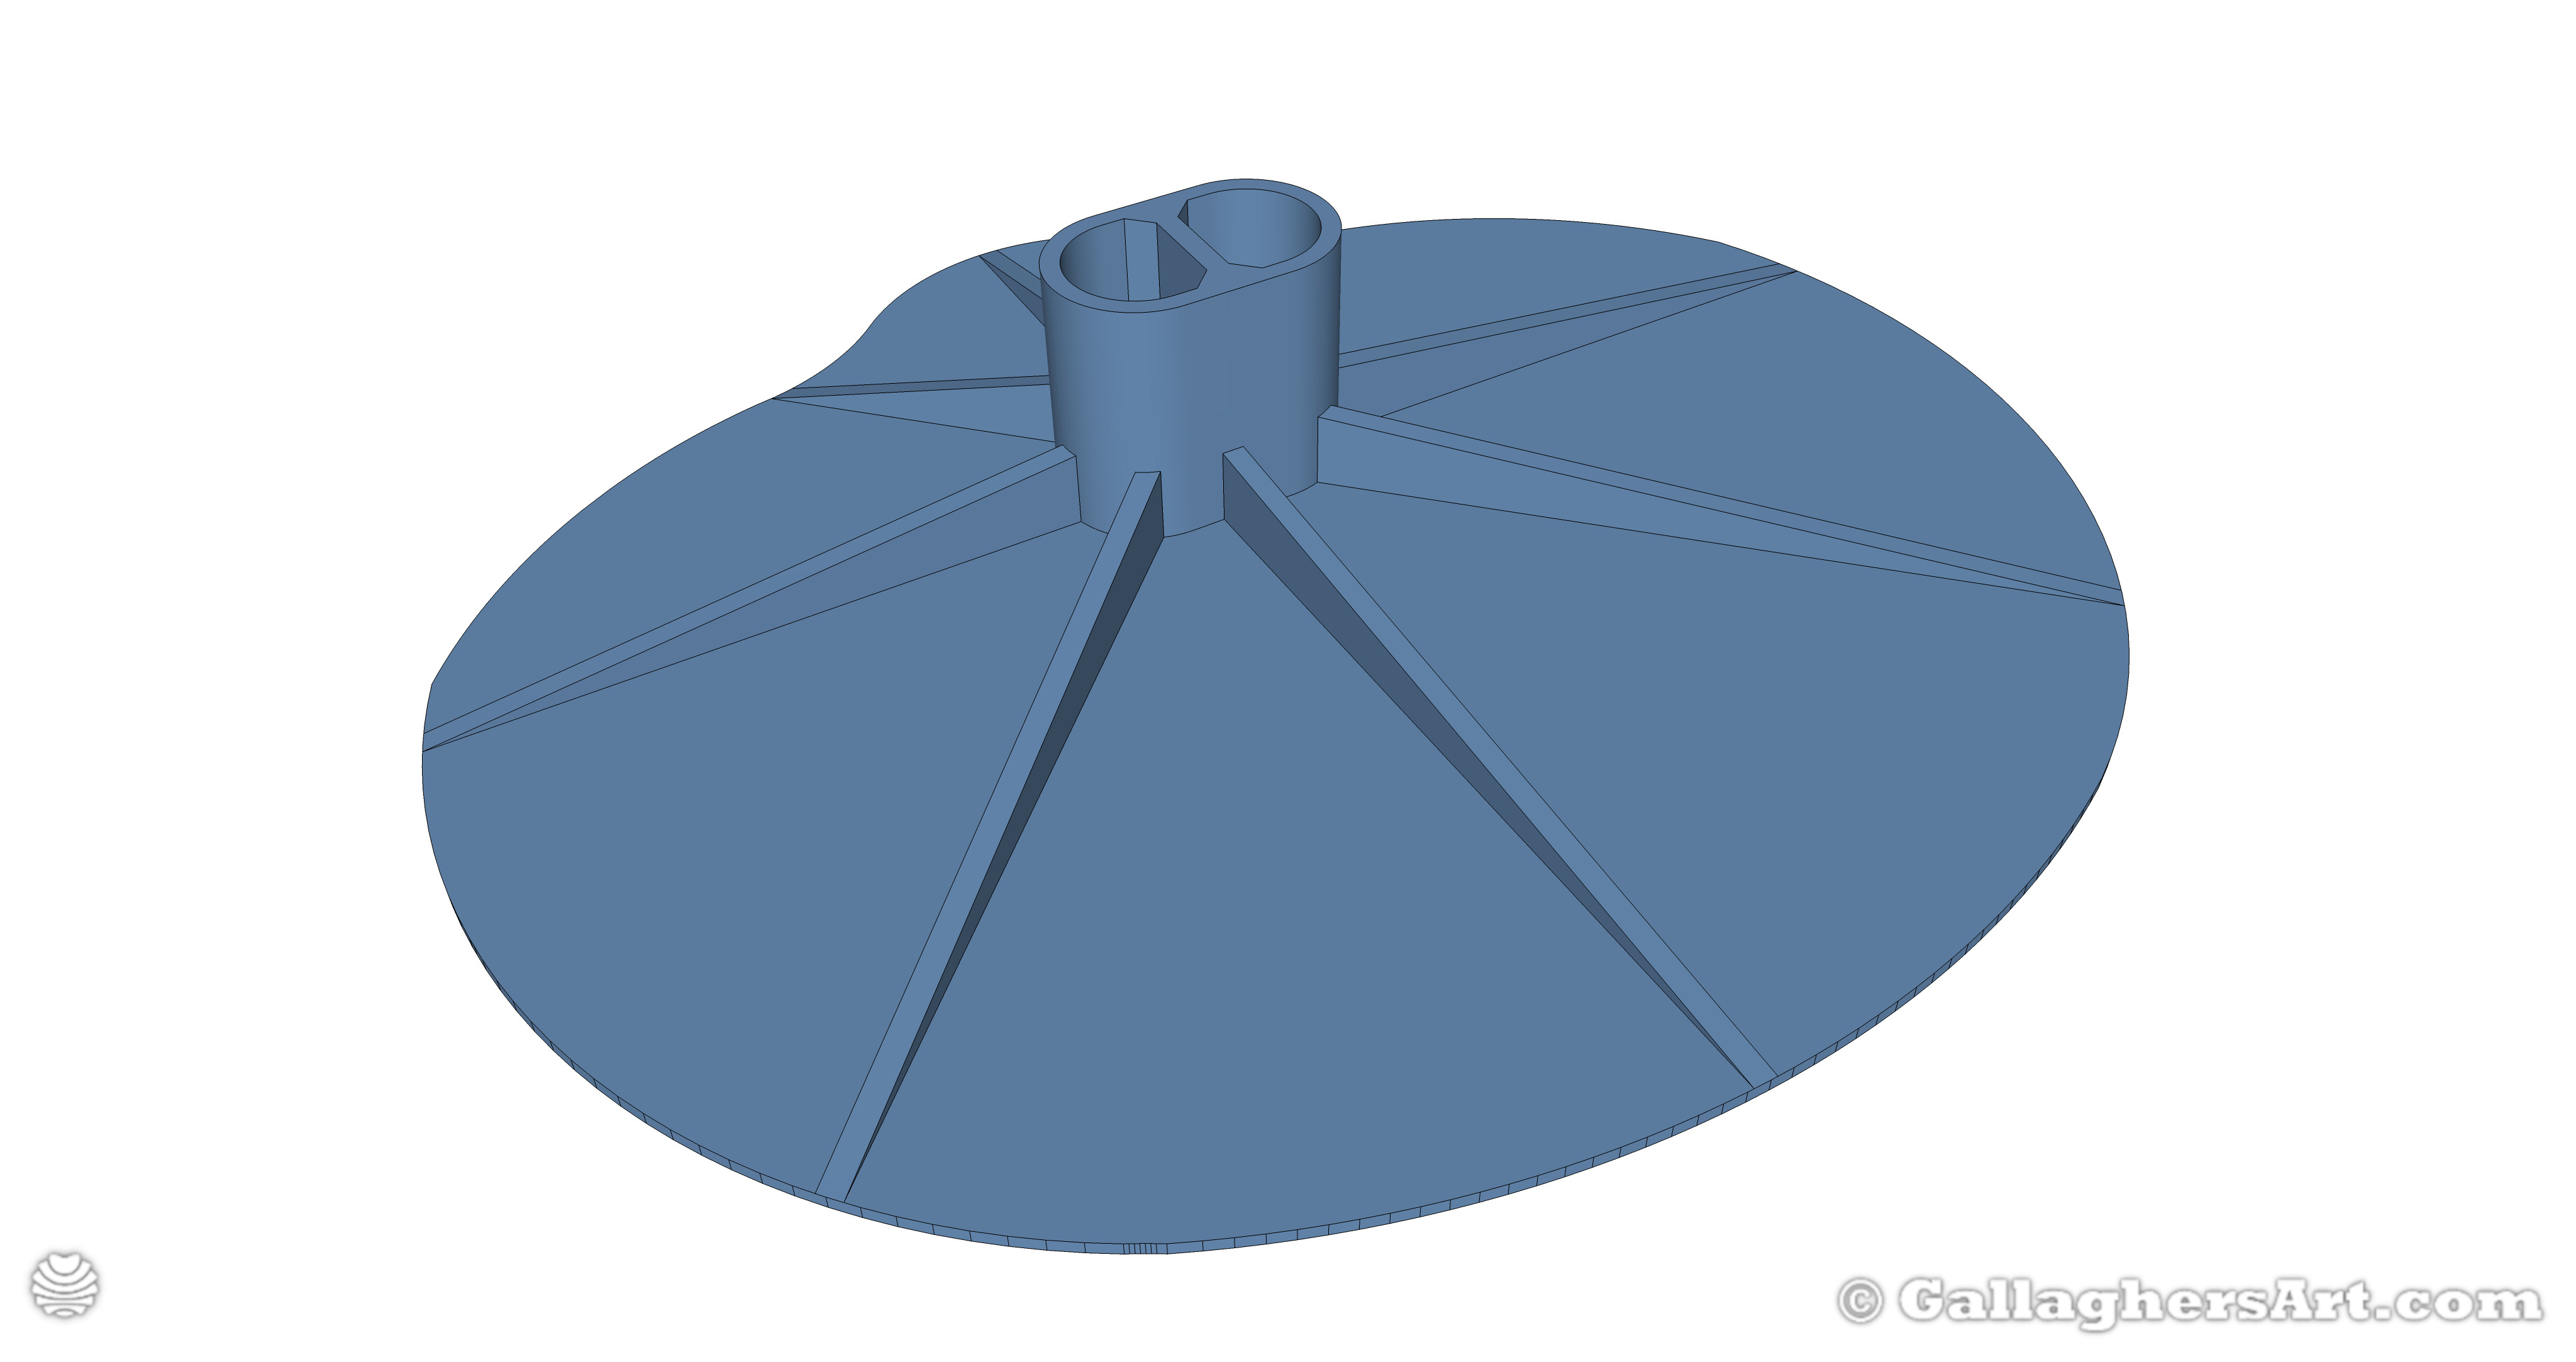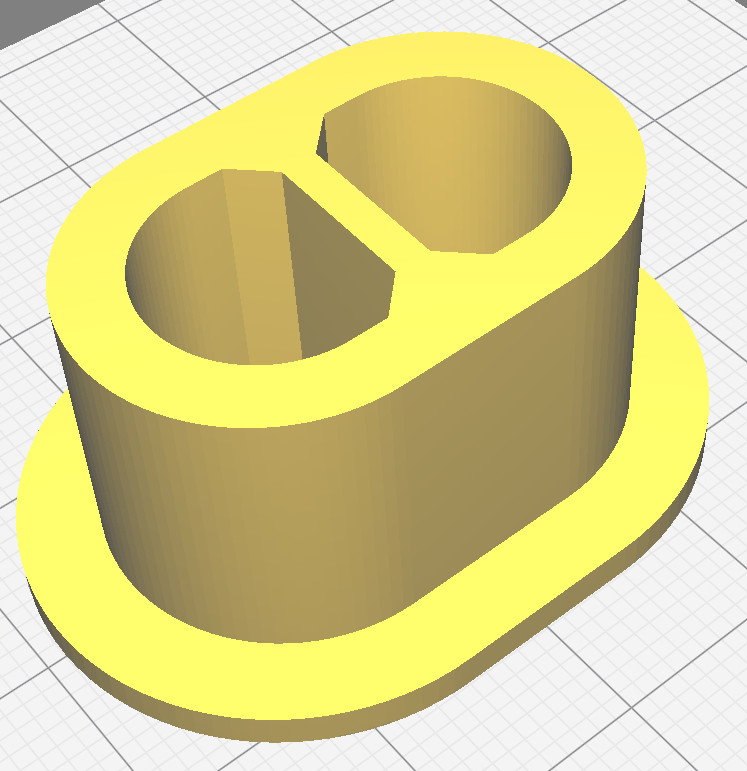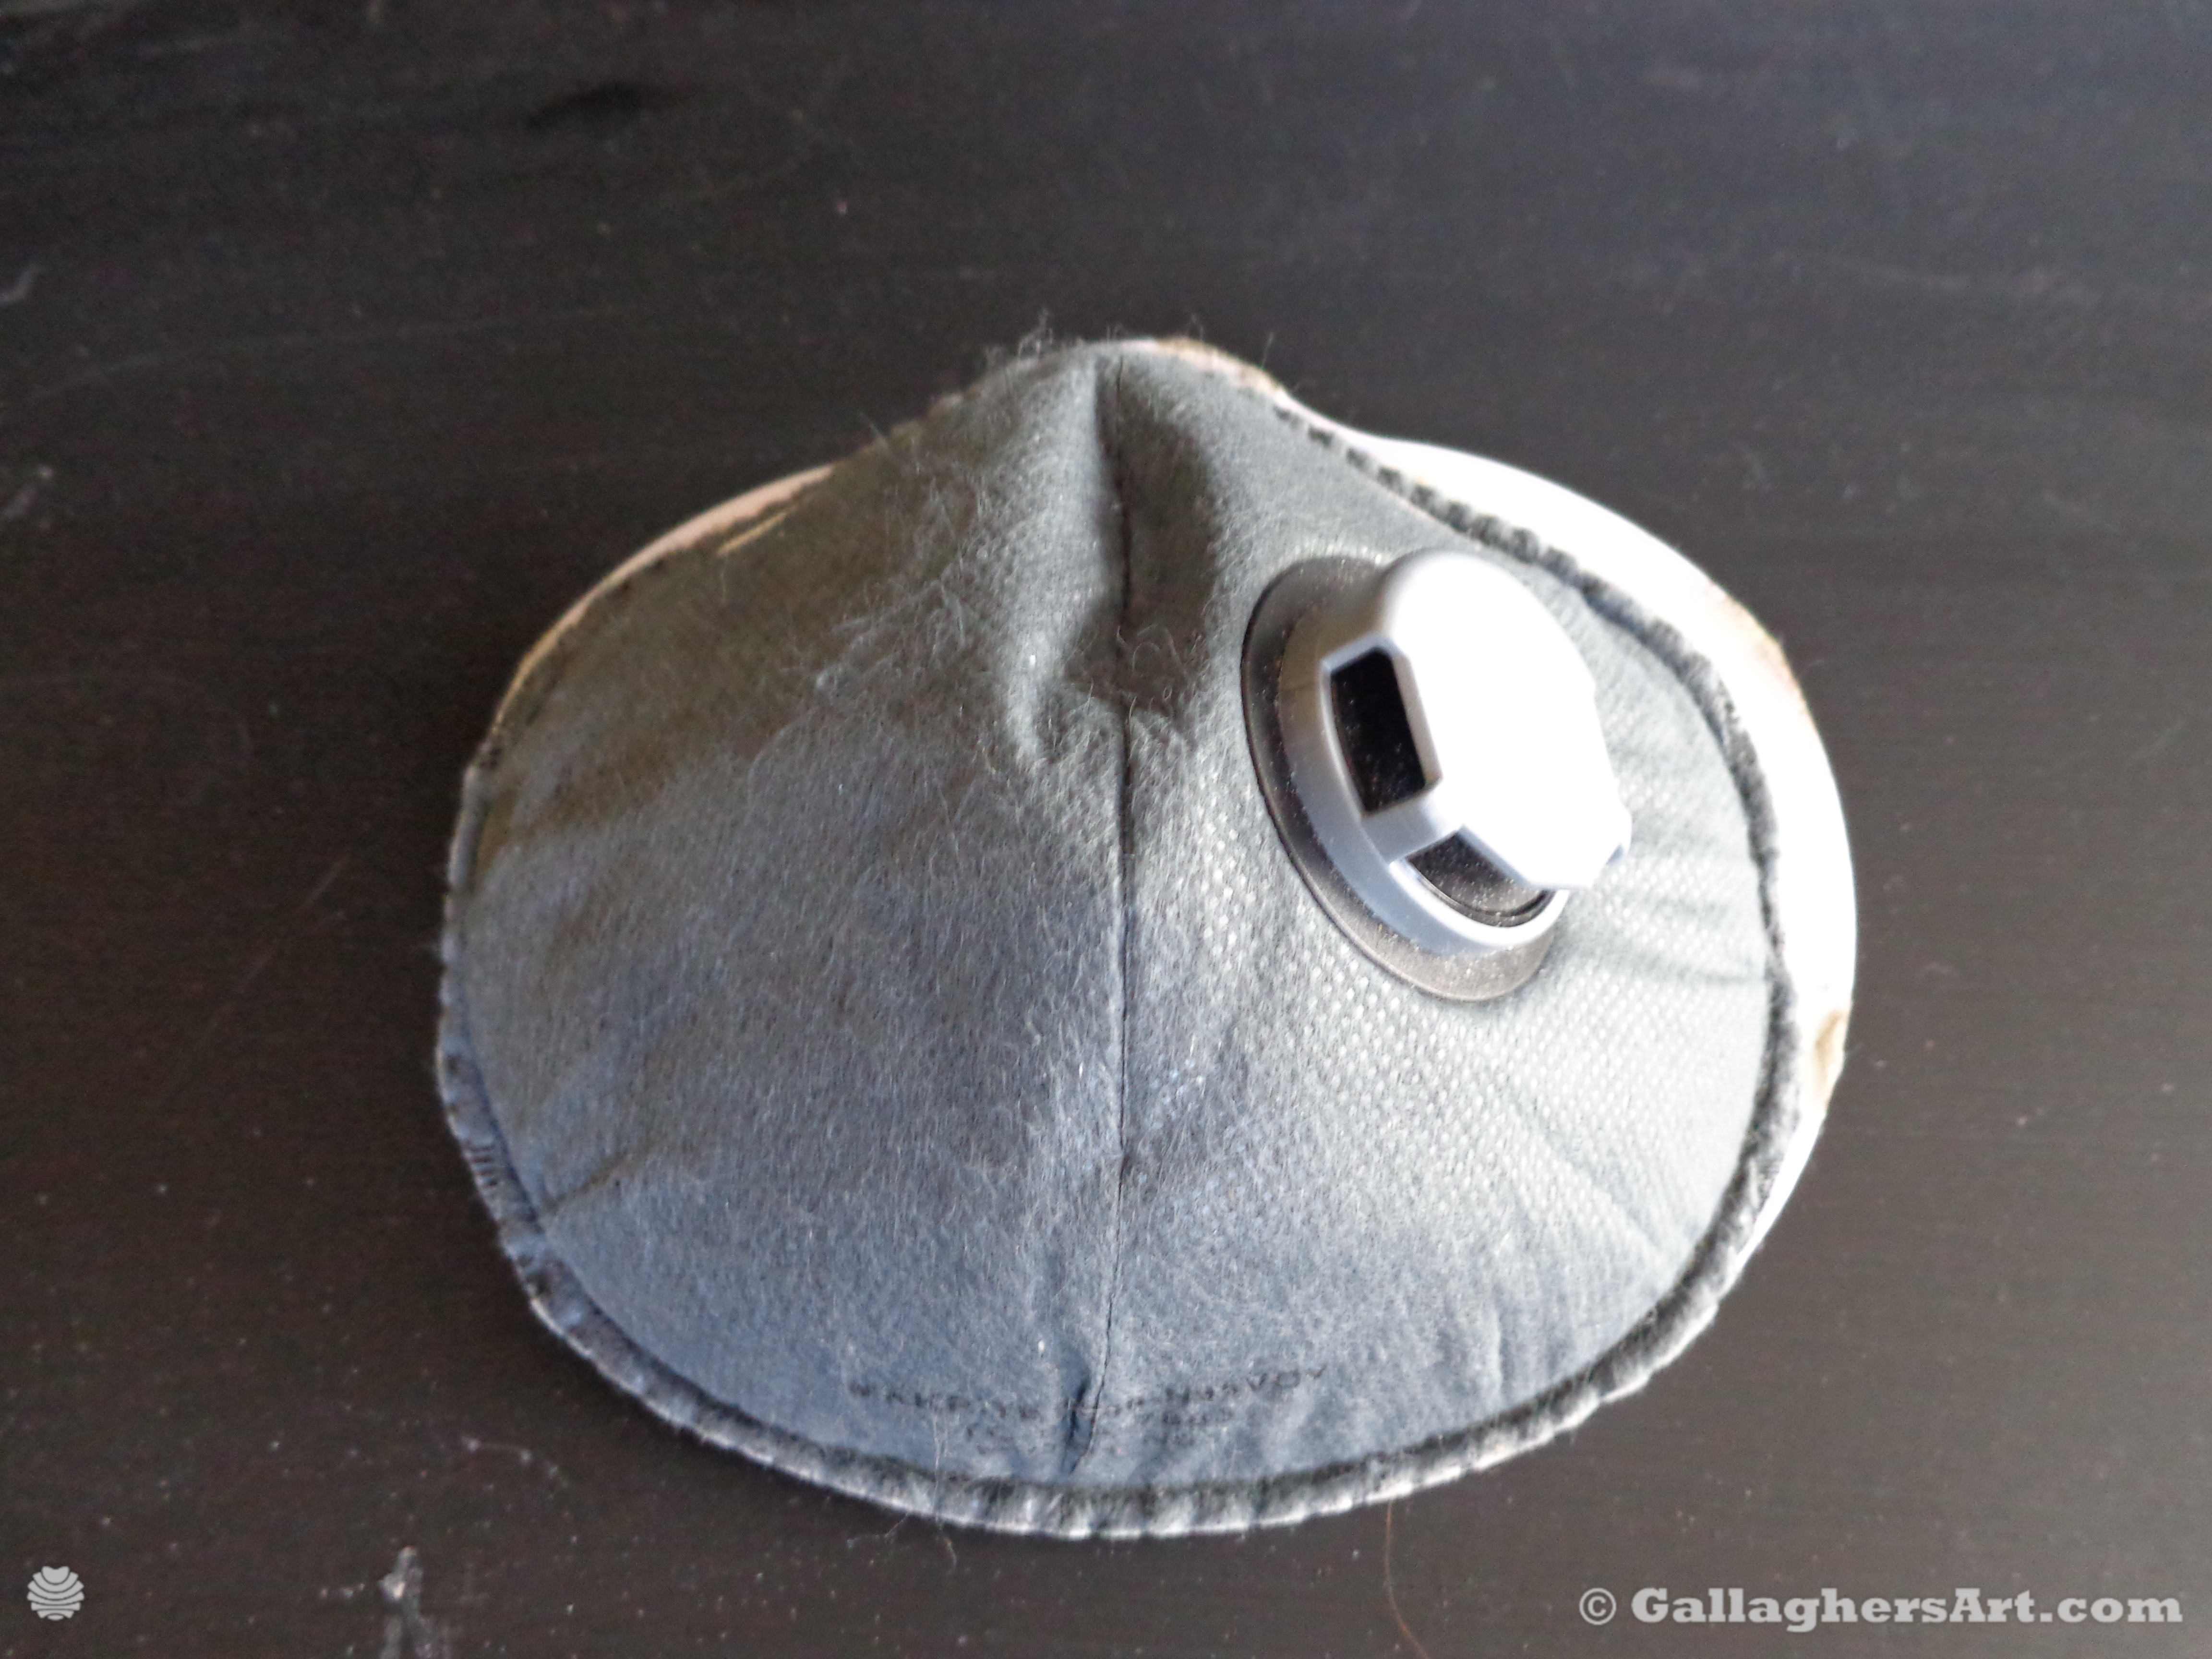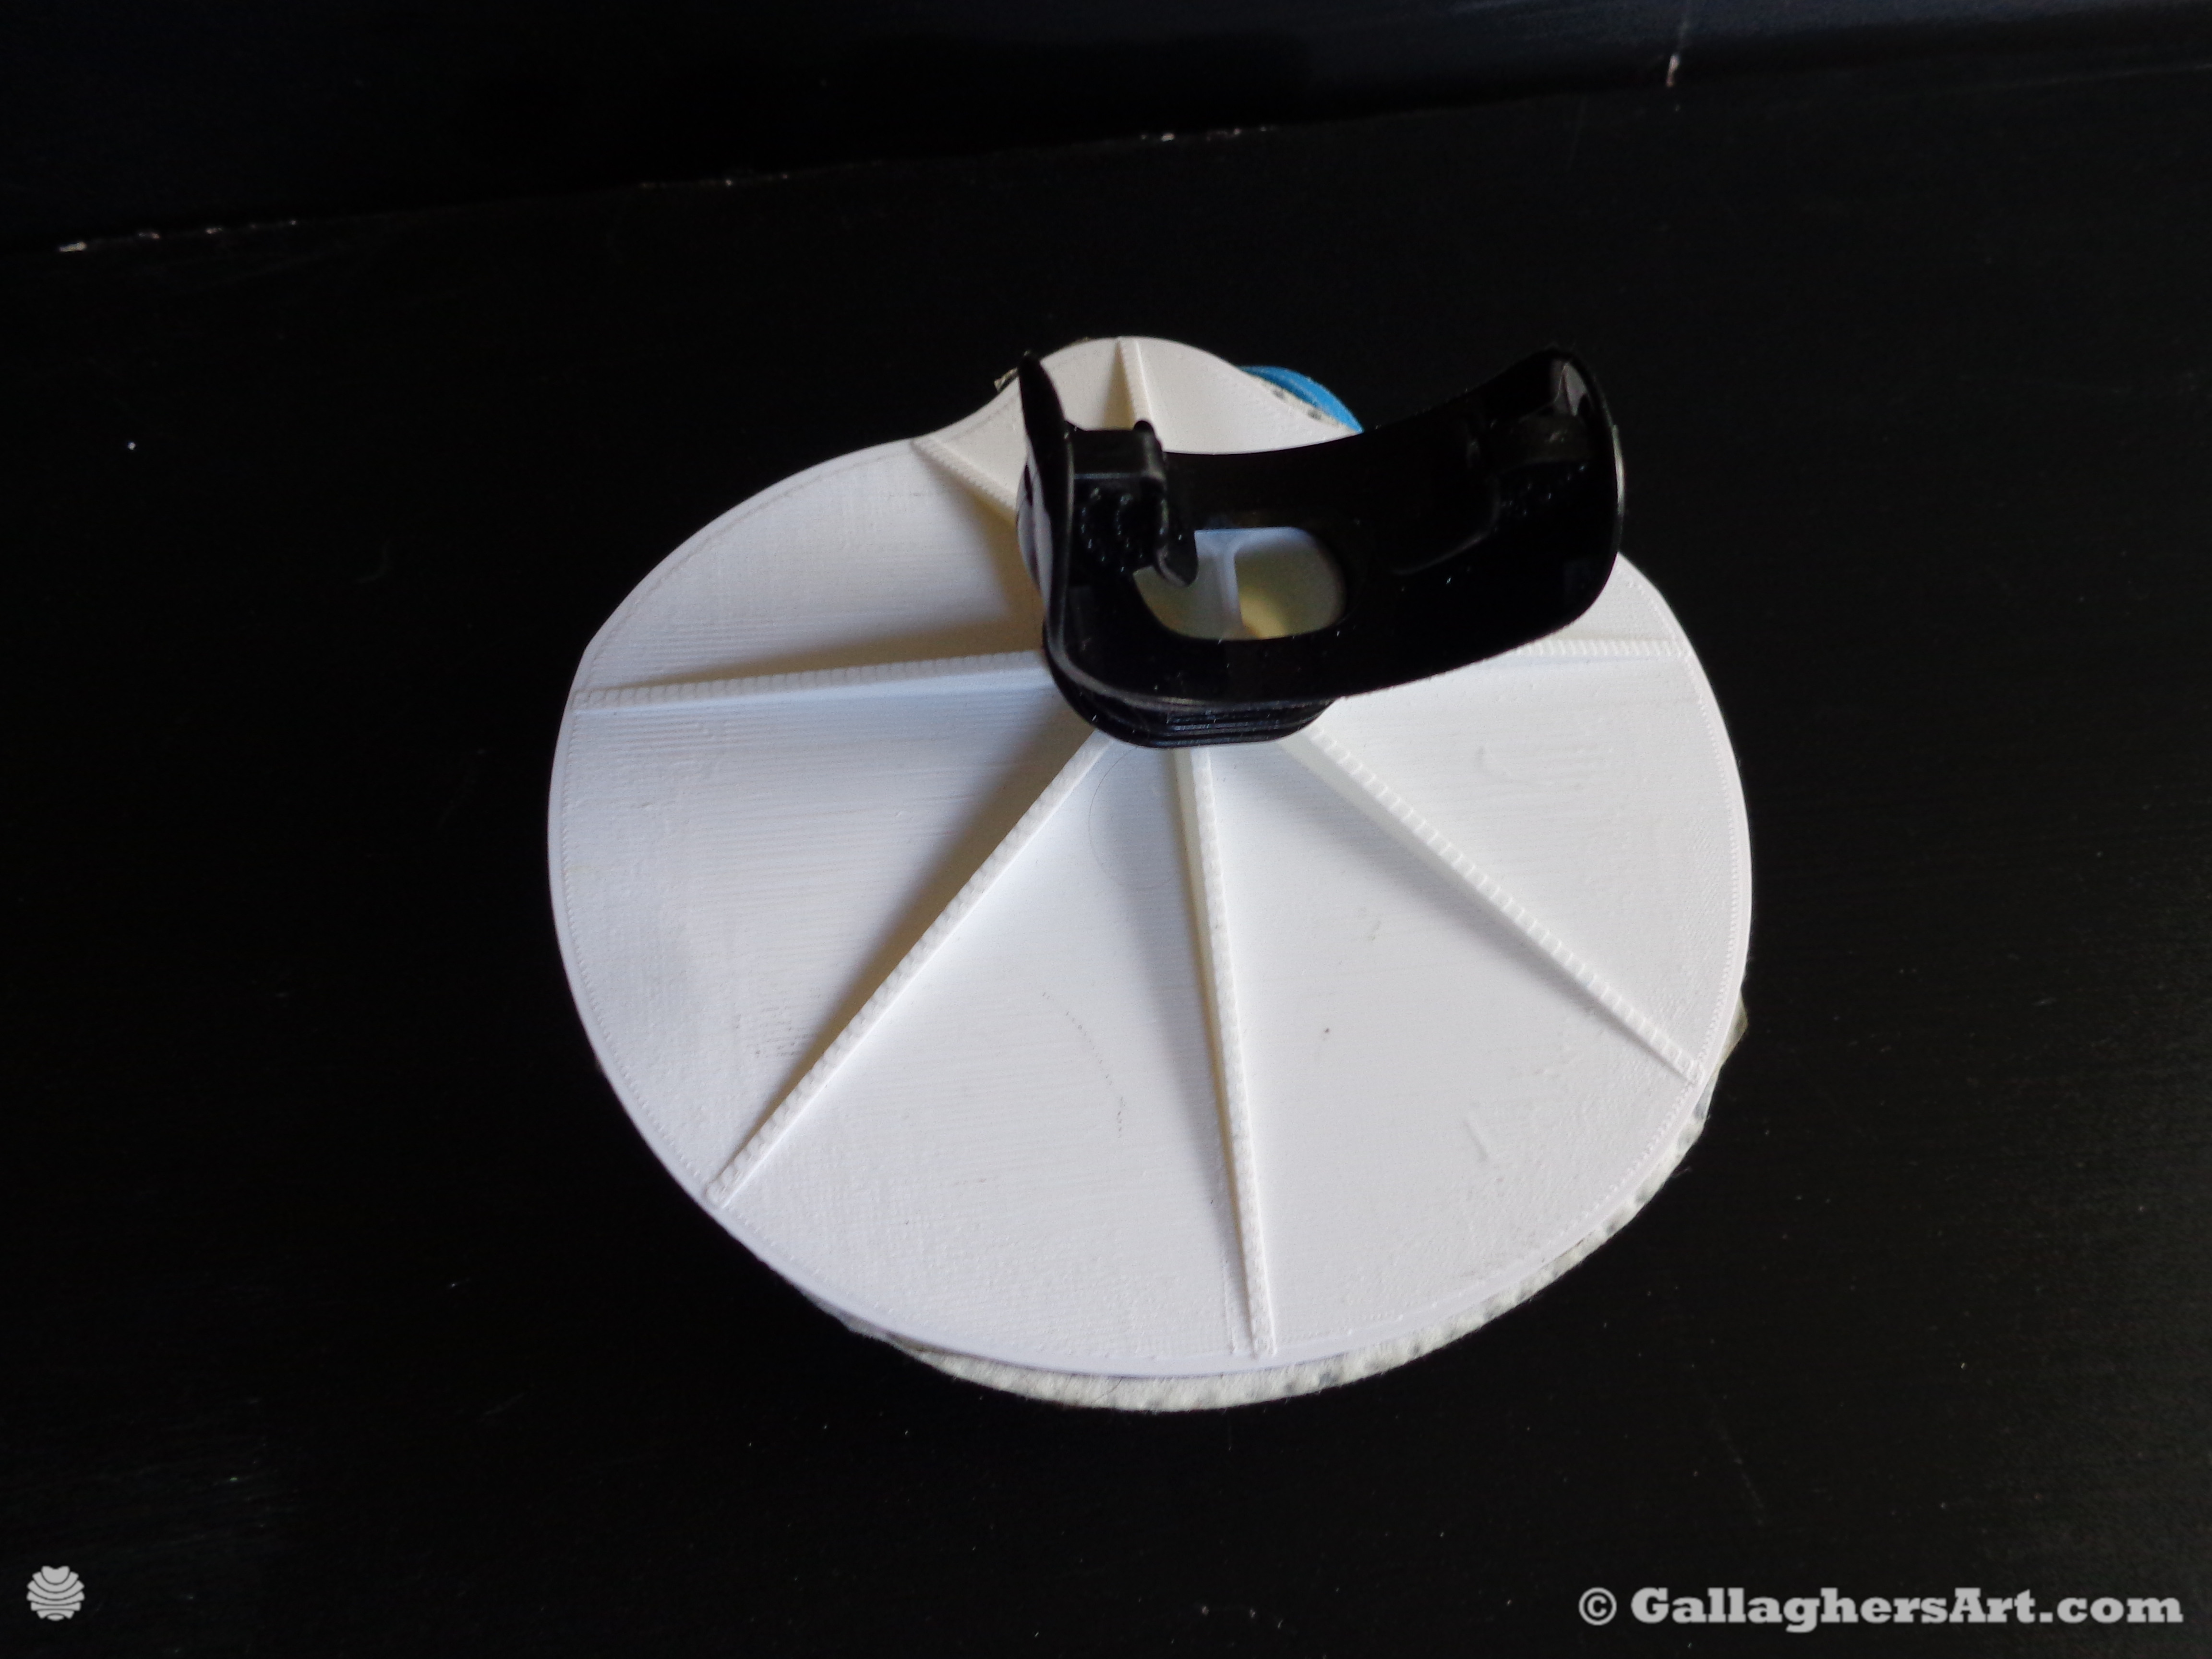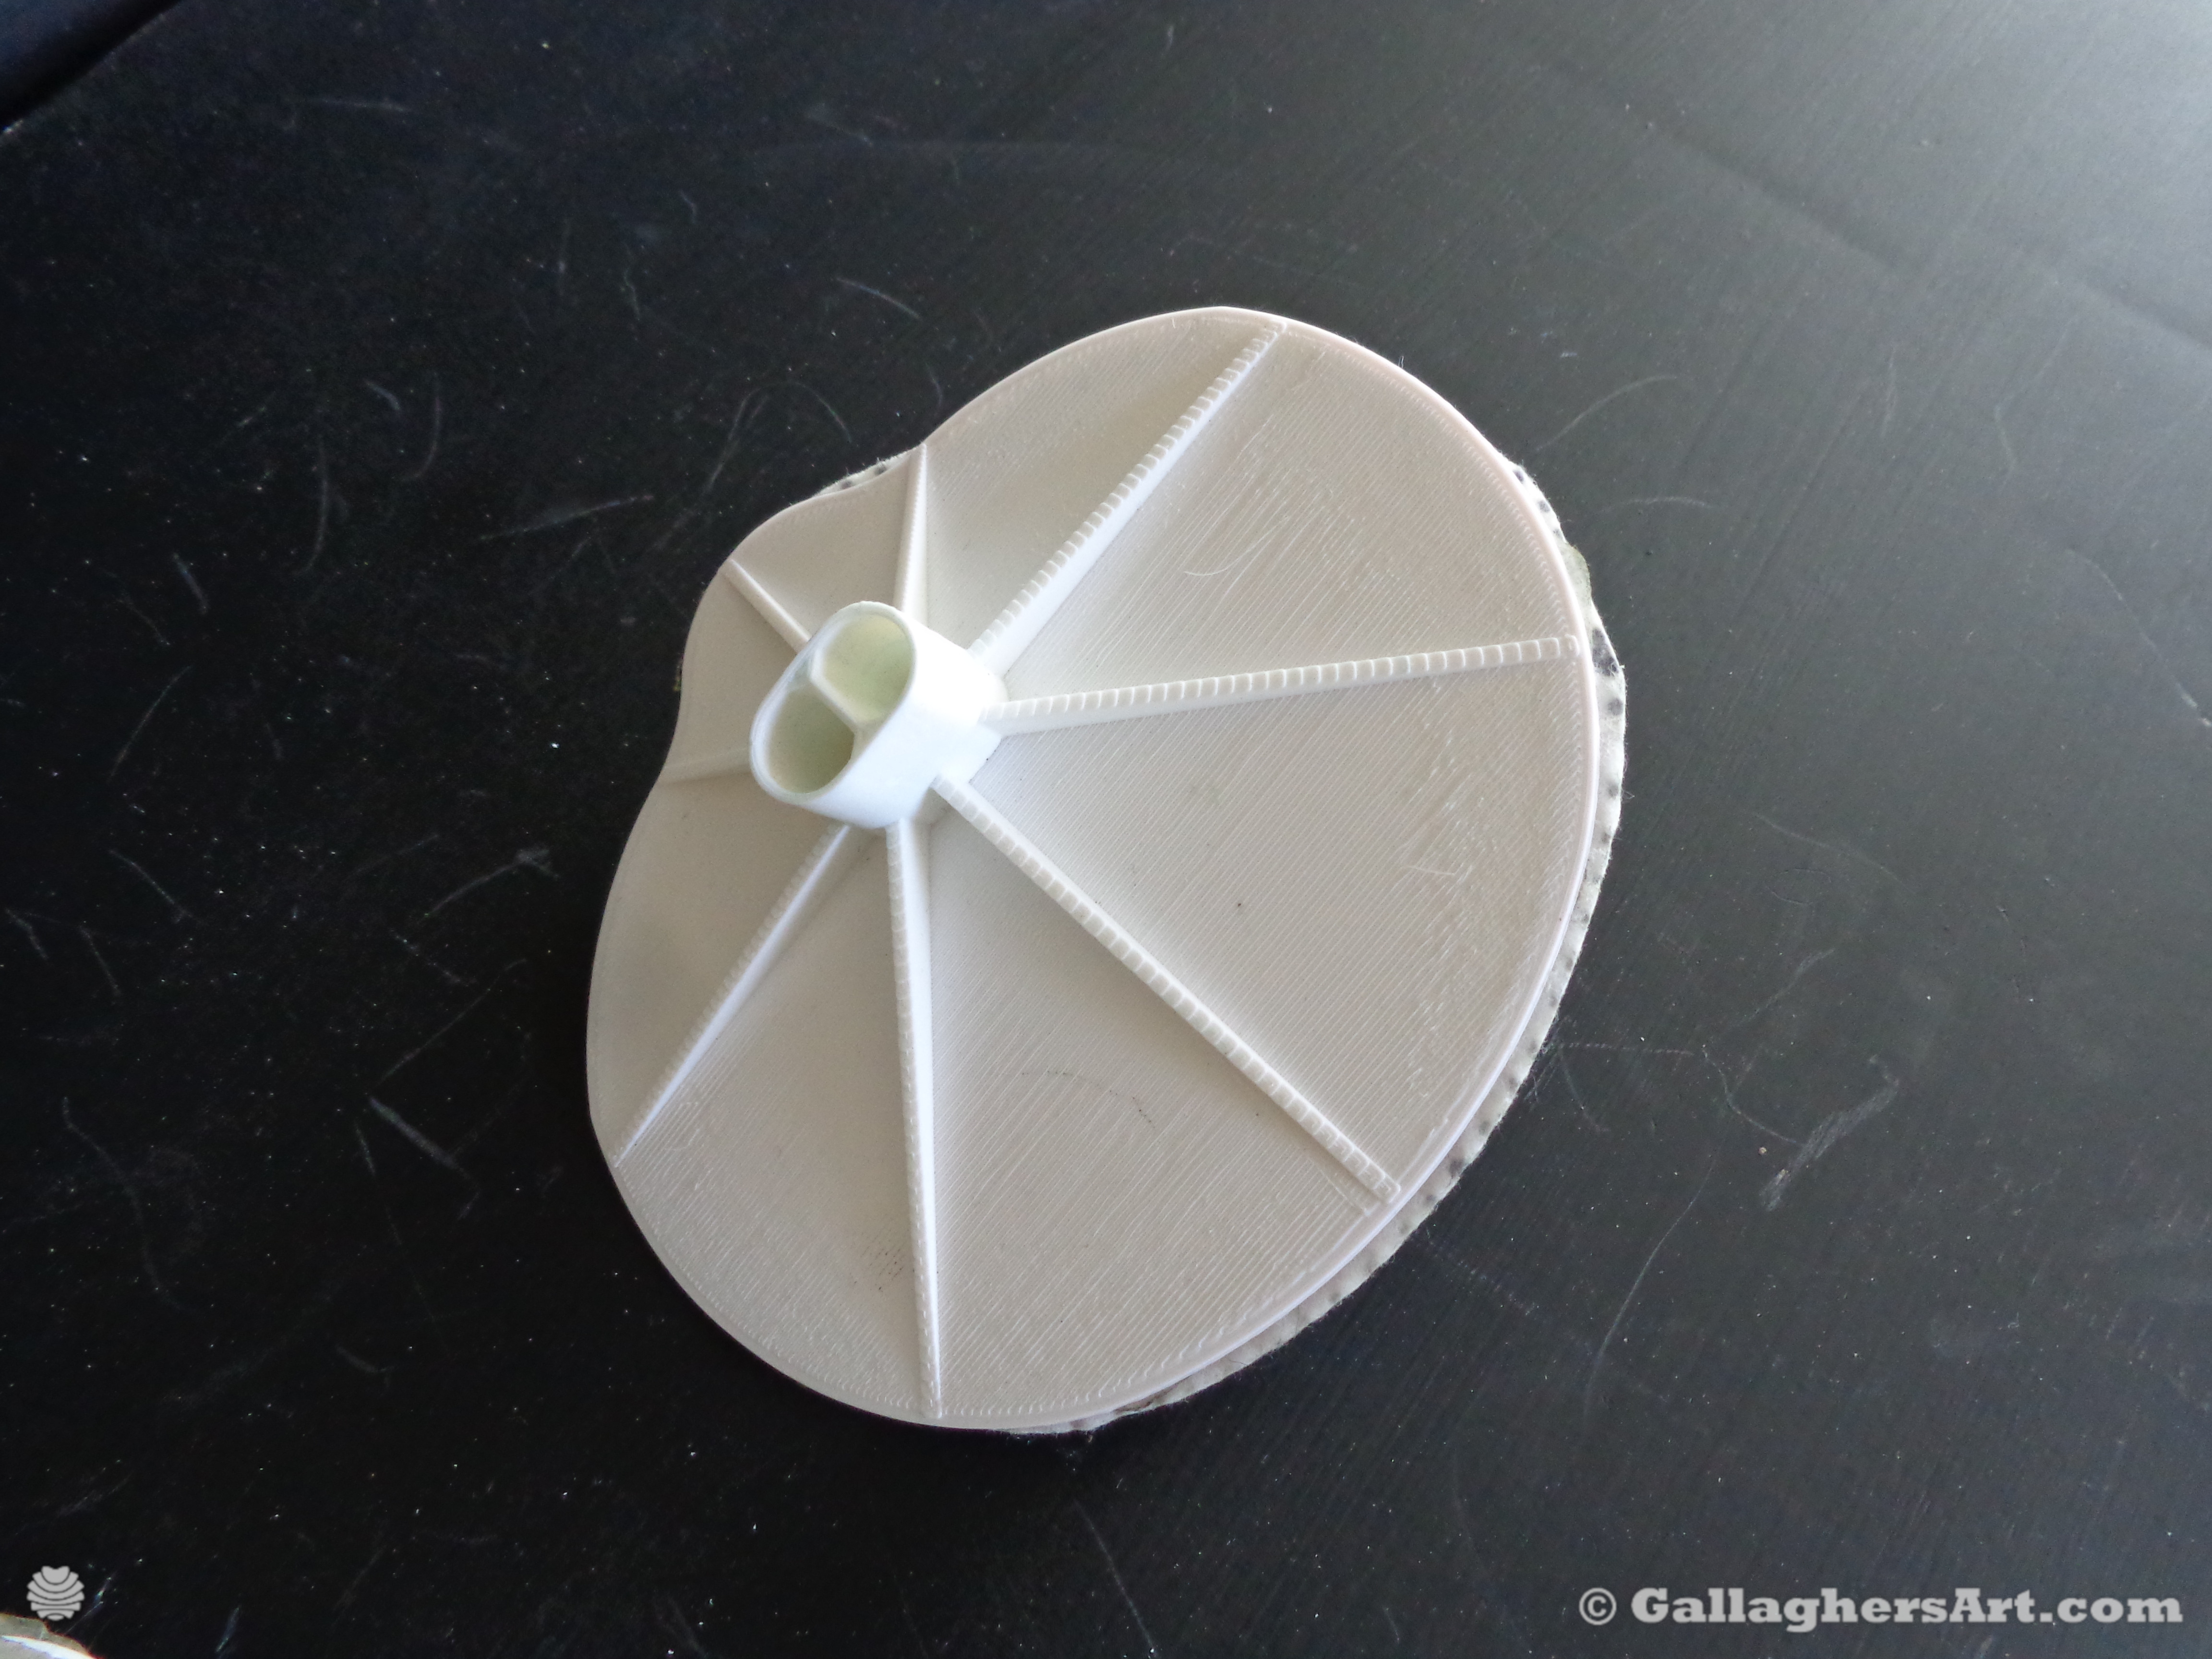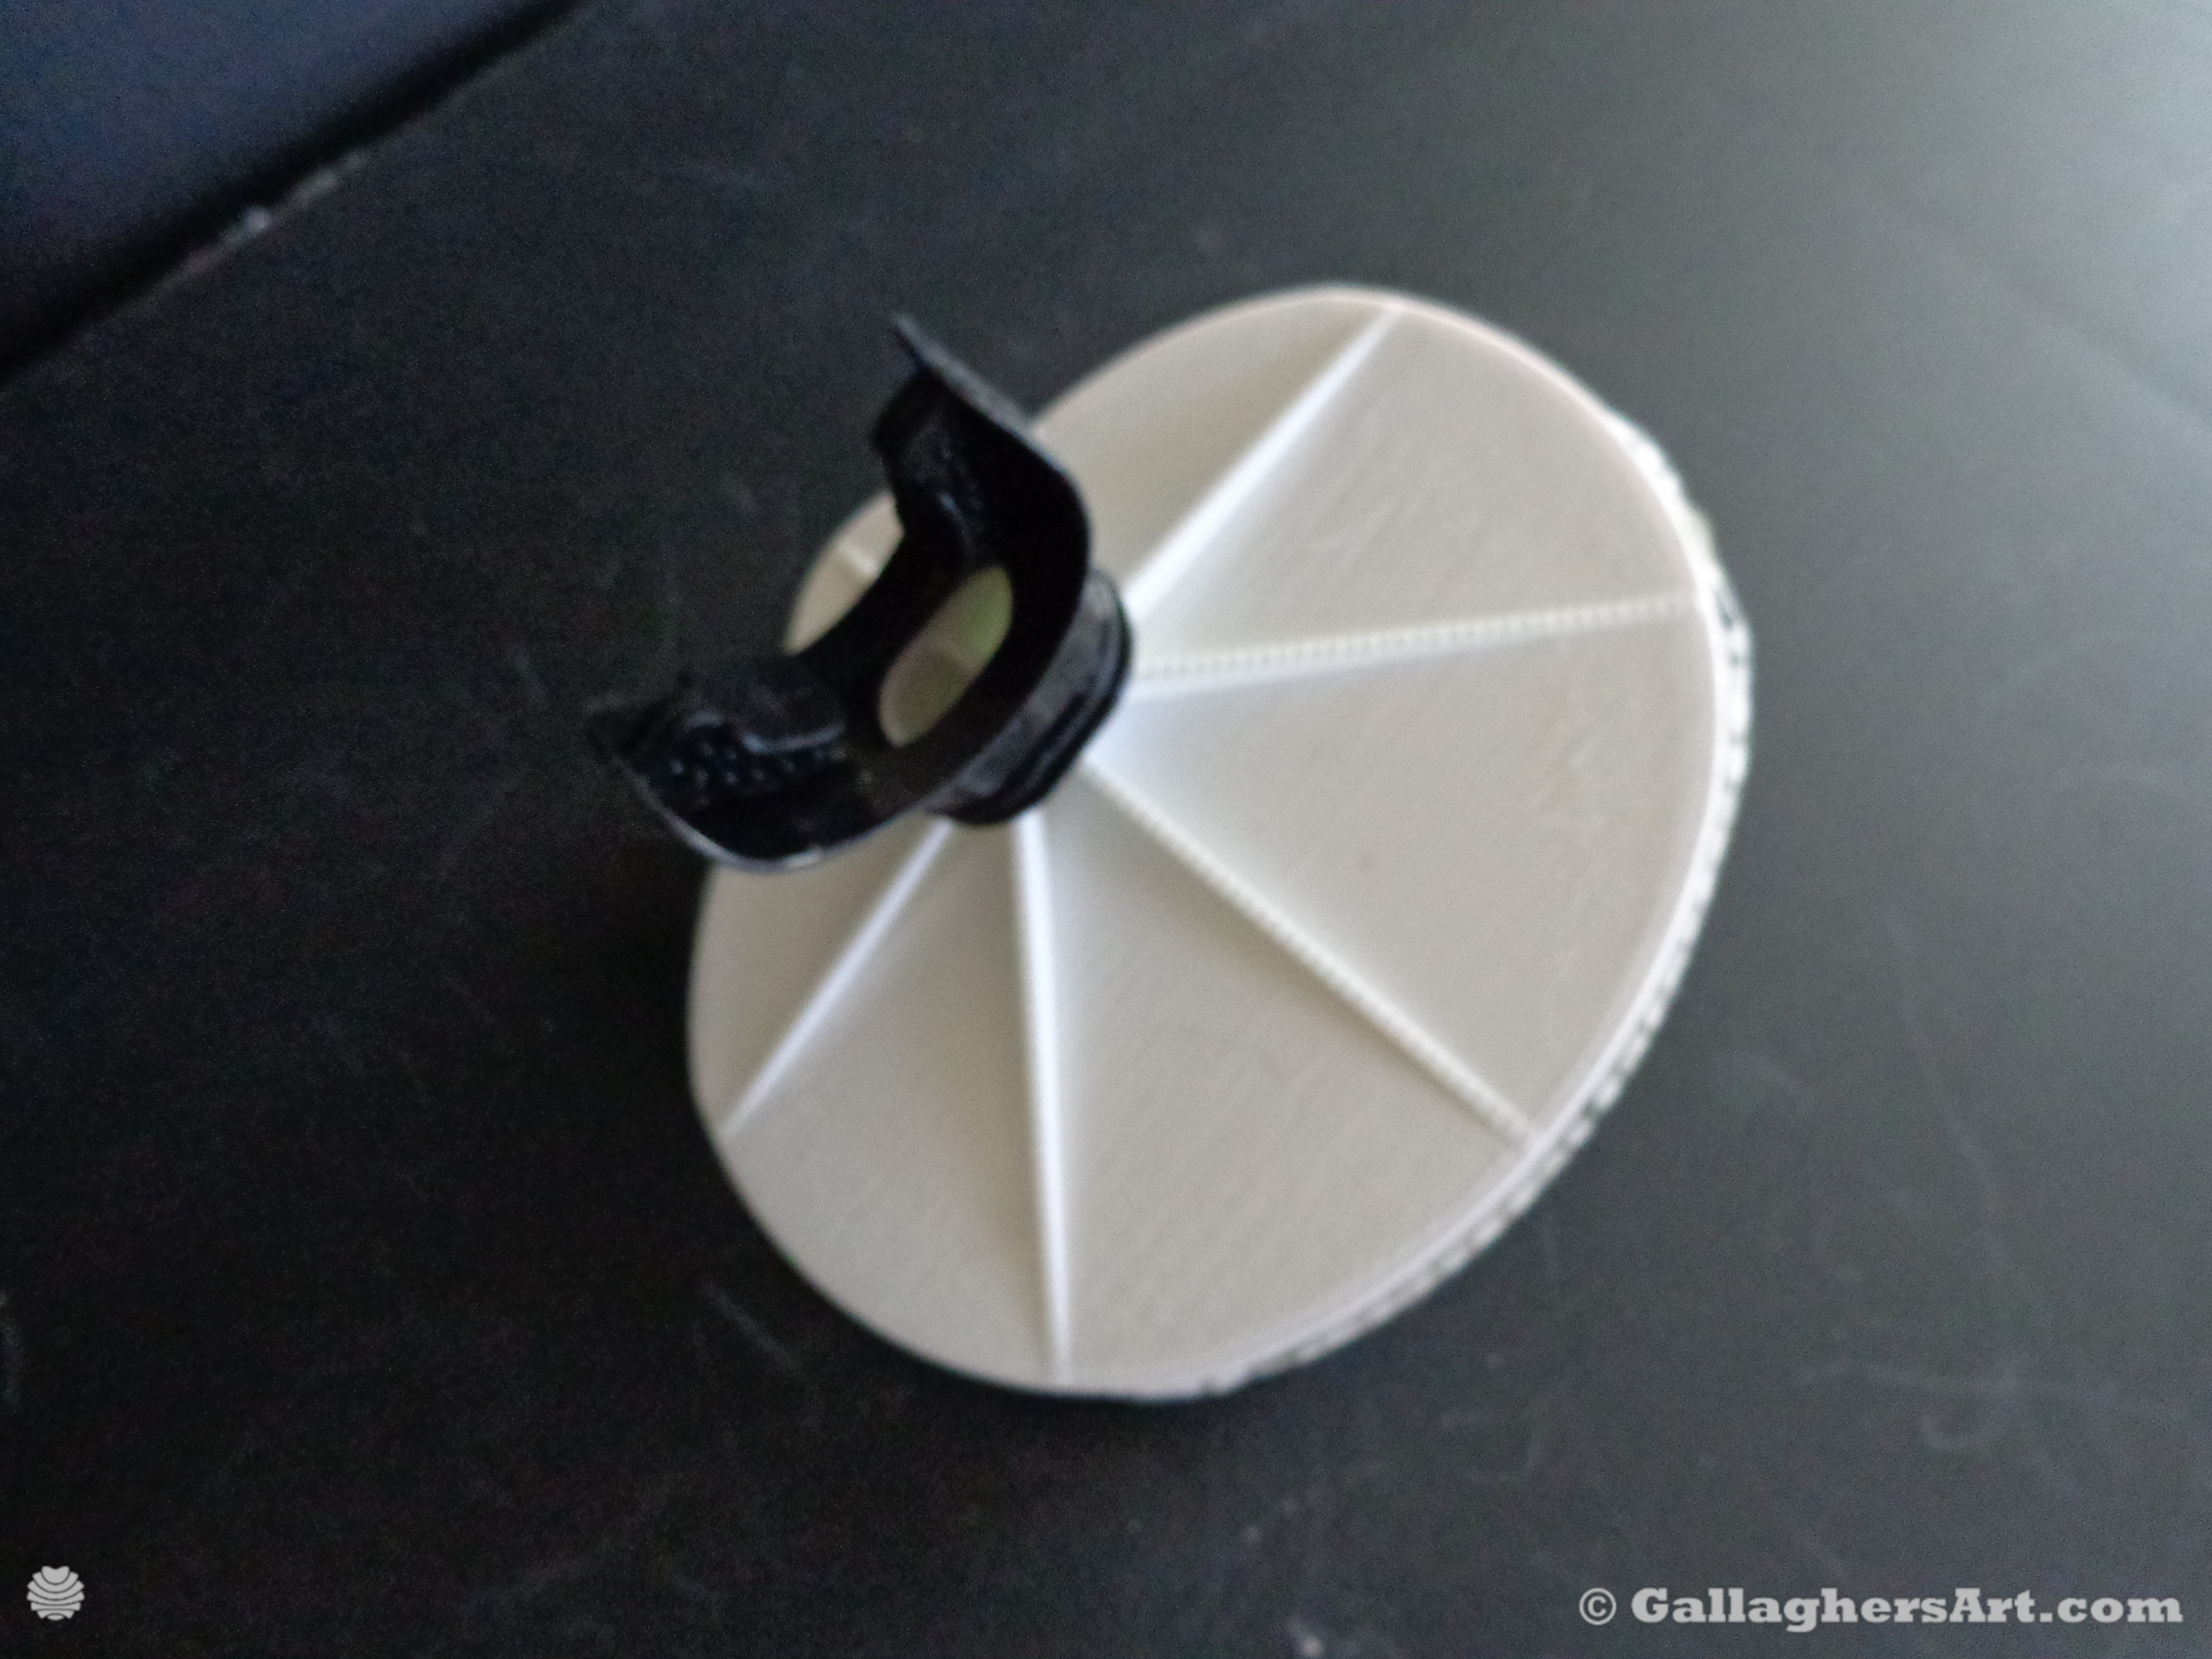

filter test version. 5th Minor changes to battery Bottom with belt. 6th added 8x18650 battery holder with Voltmeter. 7th Updated statistics for powered air from actual usage.
Apr. 9th 2020 update: 1st Modified battery part for better cable management, 2nd added another Battery cover to house volt regulator 3rd Update 3M Filter mount and split them into 2 different versions – one for cartridge and one for paper / fabric 3M filter that extends into filter to expand filter so it does not collapse. 4th Resized main parts. 5th added statistics about usage.
March 9th 2020 : Version 0.02 Large 3M® 6300 adapter part, Designed to print fast, I’m currently just under 2hrs per part. Thinner walls, tilted Mouthpiece adapter for better fit. Optimized for printing. 0.4mm nozzle. 0.5mm lines and parameters width. 2 parameters with alternating 3rd 20% fill – grid – connecting lines. 3 floor 3 tops, no support.
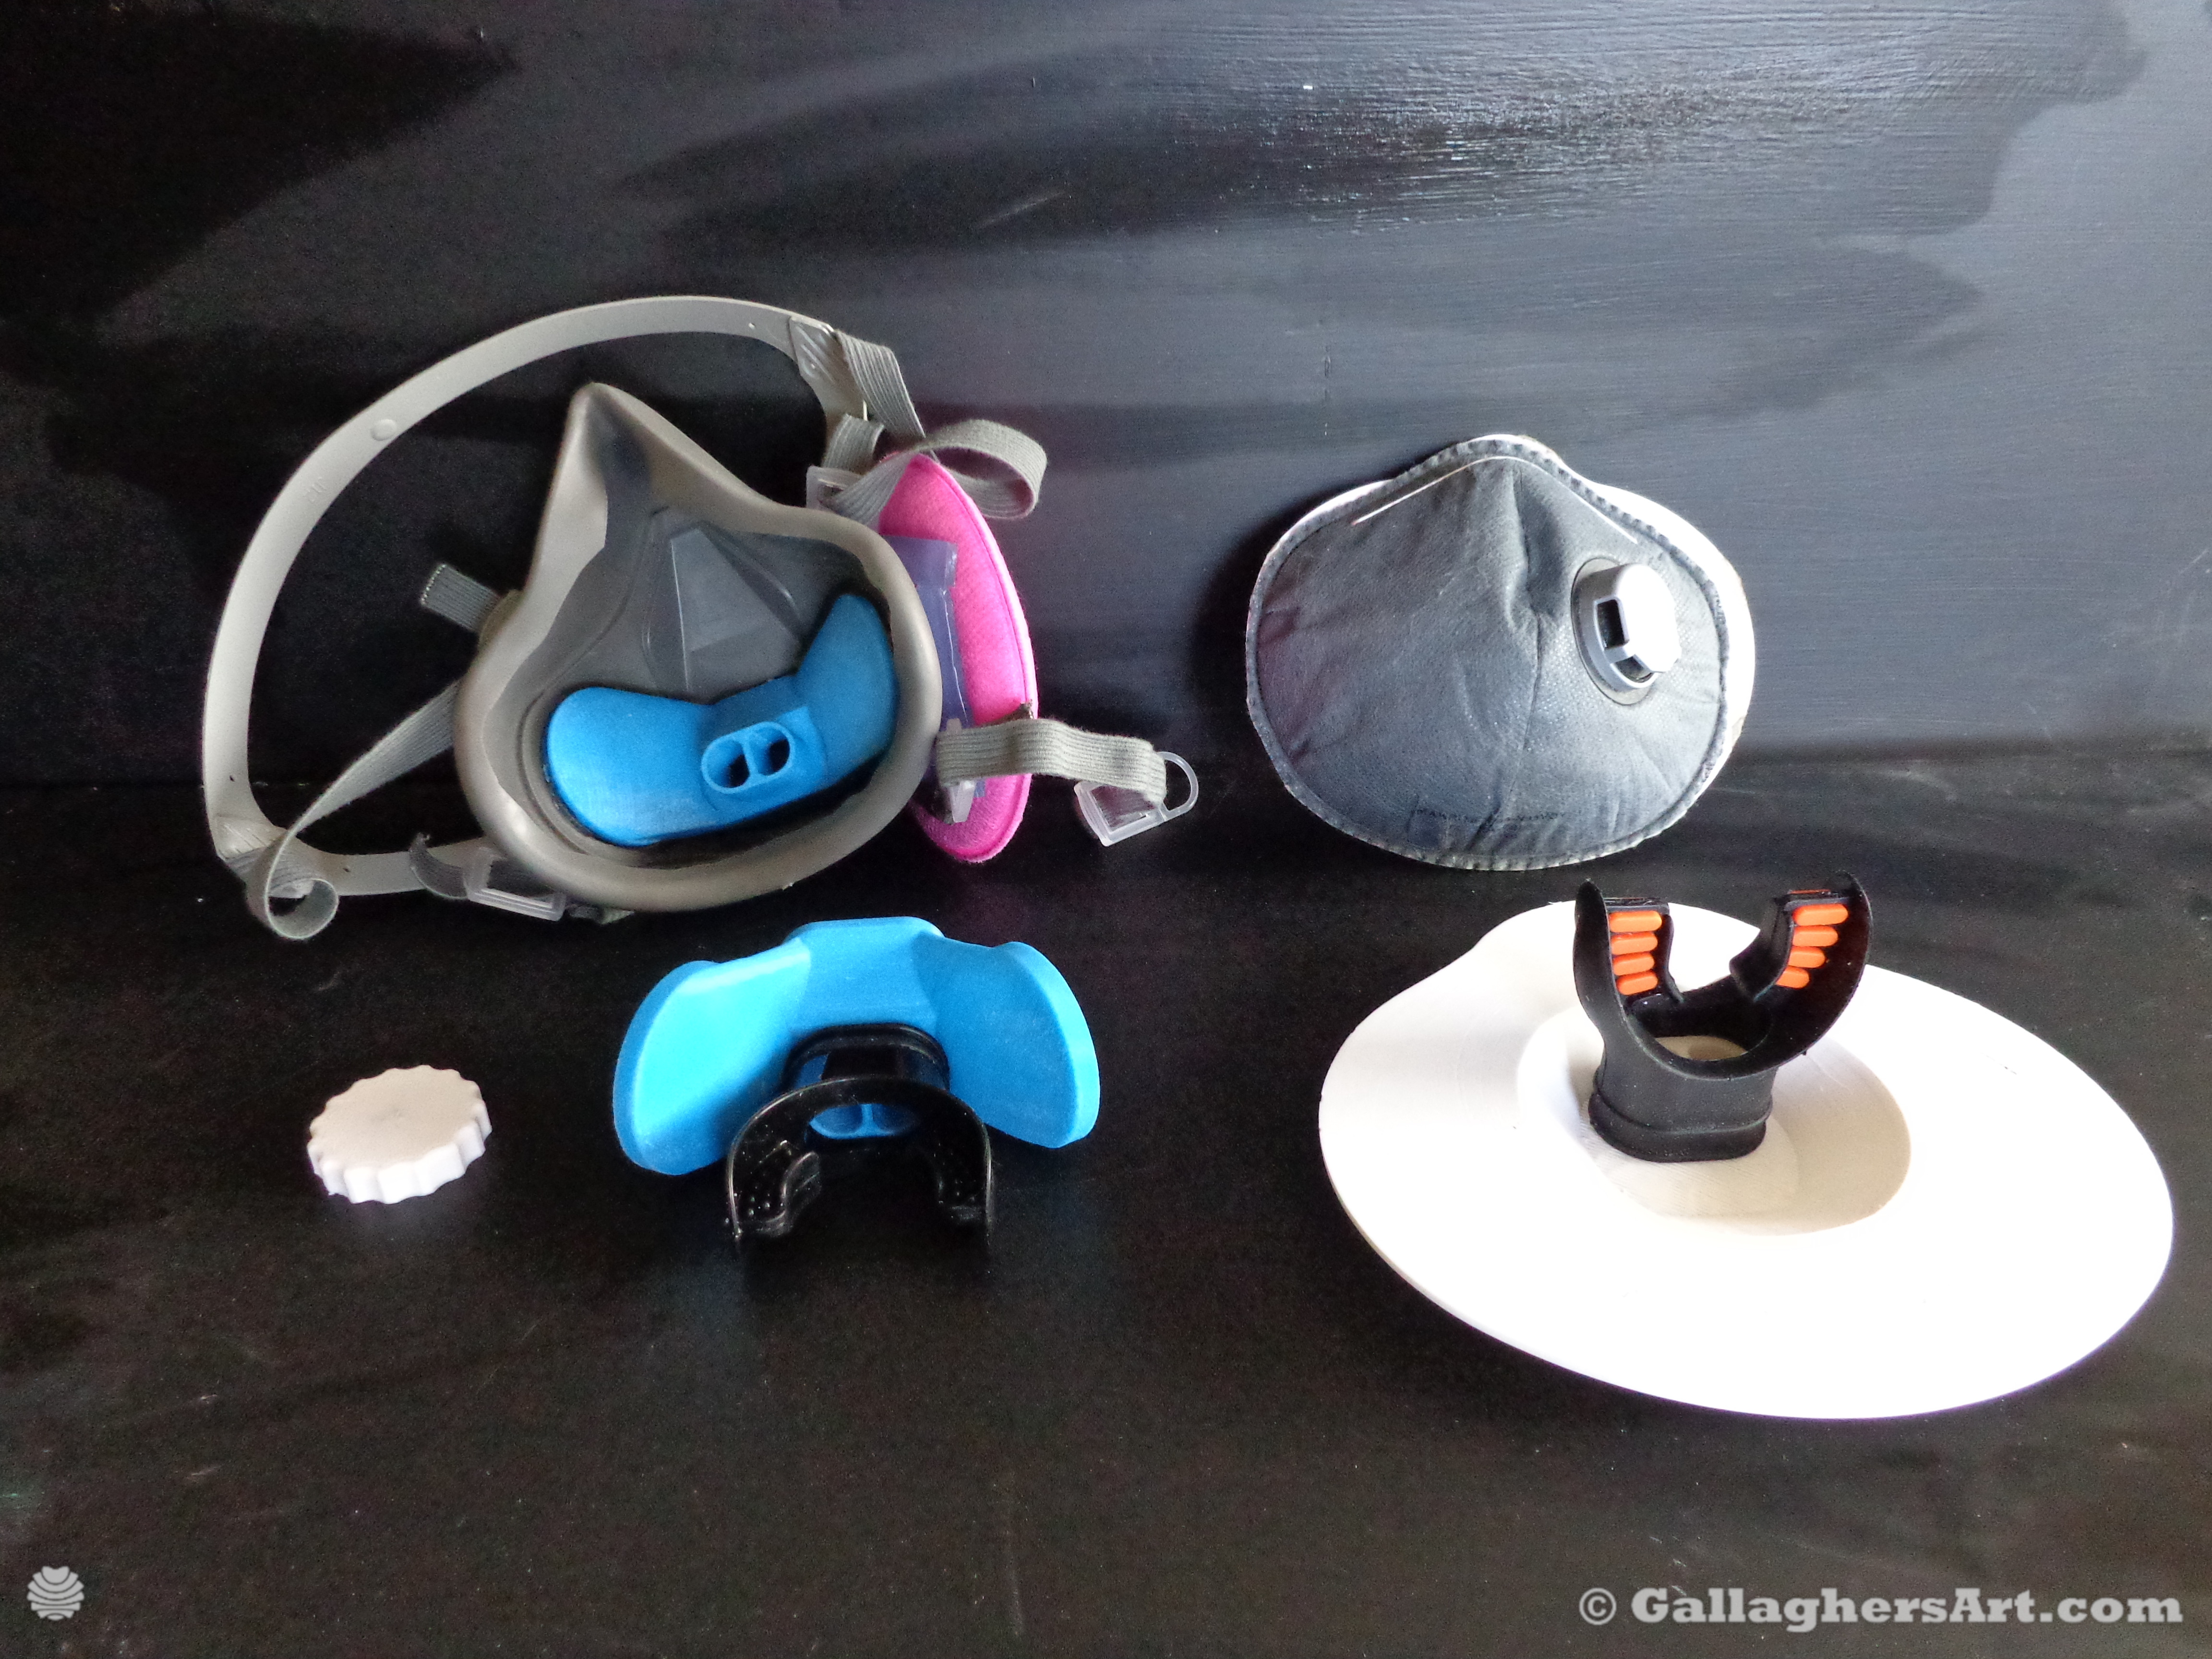
I have been working on these designs a few years ago and have plans for commercial plastic injection molded add-ons / that enable disposable and face respirators to be airtight. They require a scuba mouthpiece and nose clips.
Once installed ALL air goes through scuba mouthpiece and through air filters, NO leakage from side of masks or for people with beards (like myself and why I created these, so I do not have to shave my beard).
Due to COVID-19 I’m posting my 3D prototypes for personal use. With hopes of finding support and funds that I have no way to get myself.
Please donate so I can purchase all other types of disposable and half/ full face respirators and find the best nose plugs and mouthpieces. ALL proceeds will go to this, my time is donated at this time.
My plastic injected mods would-be one-piece adapter with mouthpiece. Washable and reusable. Just swap out masks/ air filter.
Currently I only have the 3M 6300 Large half face mask. With donation I would need 3 of each face mask to build adapters. (1 to cut up, 1 to use as prototype, and one that will have final modifications done to them). I could also use one of the Super high-resolution 3d scanners that is capable of reverse engineering the units, so far, the price tags for these 3D scanners is $25k -to - $50,000 for the units. I hope someone out there may work with me so I could borrow a scanner. I live in Massachusetts – so if you have one of these please let me know if we can work out some things for temporary use.
This is ongoing and more mods will be posted once I have printed them and verified, they work. Also, versions that people can just use what ever fabric/ filers they have as a last resort.
Please note at this time use at your own risk. I can not be liable for anything. And use in face respirators may void your warranty. But when used correctly these only make the masks and respirators truly airtight.
Currently I’m using “magic tape” that is double sided and 2mm thick for my 3M 6300 face mask. This tape is reusable by washing with water then air drying. (still testing this myself). With the face respirators I planned the final version to be single silicone piece and the pressure from the face mask should keep things airtight (not verified yet, need more masks to test.) If not, magic tape may be end solution (if you make magic tape I need some that has backers on both sides of tape so I can more easily cut to correct shape – please contact me)
My end goal would be mods that people can 3D print themselves across the world. And Commercially made injection molded part mods that can be purchased at a low cost. Also, a cardboard version that can be given out in emergency situations at a super low cost, while using cheap disposable masks.
Enjoy!
`mike
Links to parts, NOT affiliated, just links, I get nothing if you buy. And Prices have skyrocketed since I ordered them
$5K+ would enable me to
$100K+
$500K
Thanks for your time, your comments, and donations to get this idea going.
Stay safe and love all,
Michael Gallagher
GallaghersArt.com
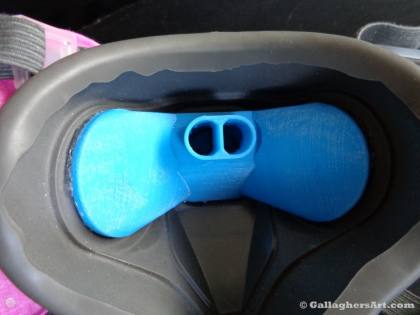 Place Magic Tape that is 2mm thick on the 3 sides of add-on part while leaving 2nd side film on tape, cut to size. Only 3d printed part that meet up with mask will be using tape. Do not have any Extra tape in the Inside diameter of the add-on part, this may stick with air vent flaps and will not work as designed. Some outside diameter tape is ok. If you have a beard the tape could attach. after parts are installed you can dirty up any of the magic tape that may extend past part. This will make tape not sticky.
Once all tape is cut to size and ready to be installed – press tape hard against part on all areas. Using your fingers and pressing around works best, do no press whole part against table or press – that’s overkill, and failure will happen. Verify device fits correctly, and do some test installs before removing tape backing for finial install.
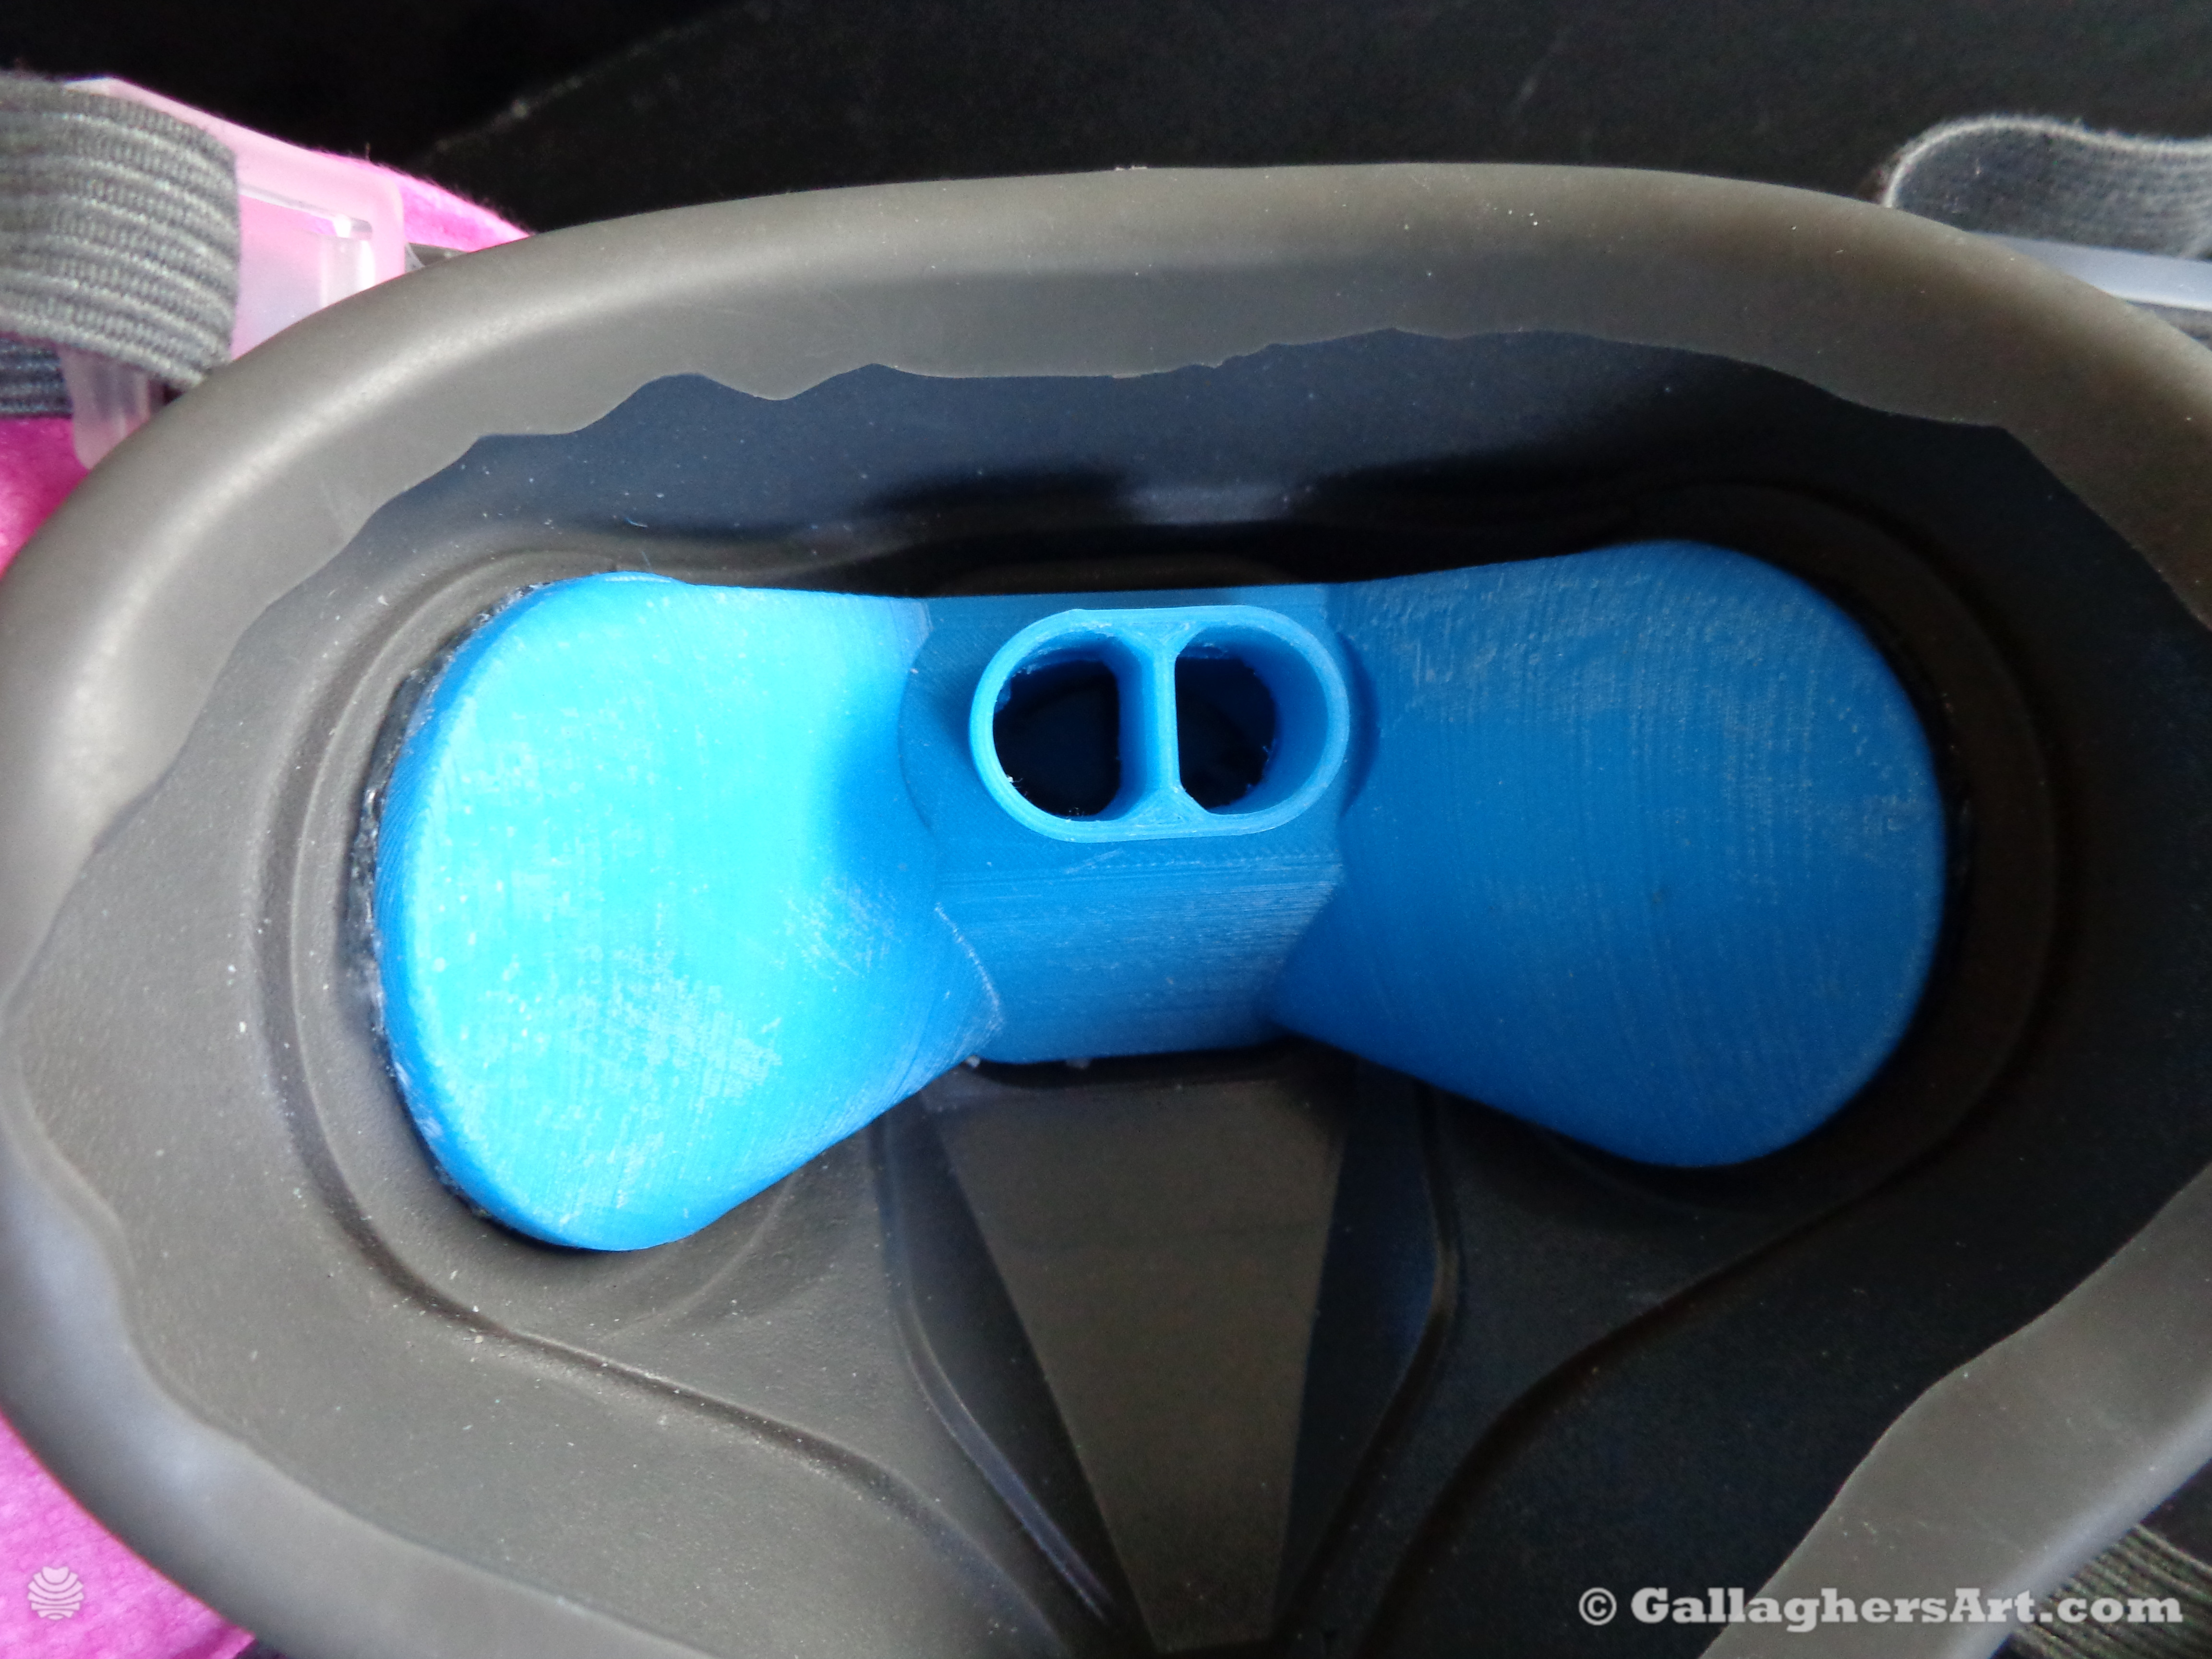
Place 3M 6300 mask on hard supportive surface with opening facing up. Best if 2 people do this. You will want to remove the film from all 3 sides. Then other person will for open the mask from the sides so part can be dropped into place while only gluing to 1 side (center, bottom). Press part into mask. Then have second person release sides then press sides together.
Test Unit# SO far in testing only high-pressure leaks were within the mask. (high-pressure = human breath). It will not be 100%. With normally breathing it is good, only when sucking or a real pressure as if you are blowing up a balloon is when air leaks.
·
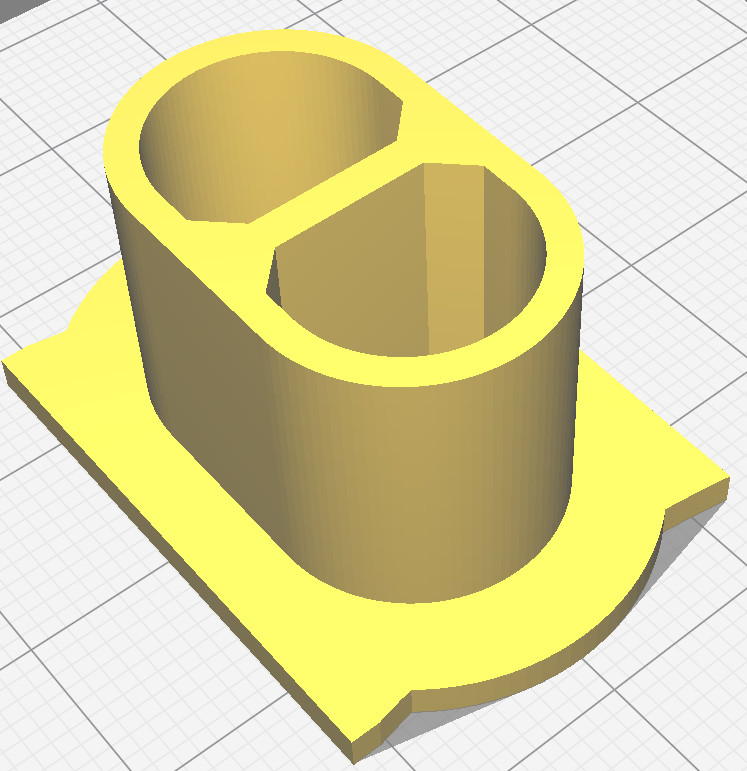
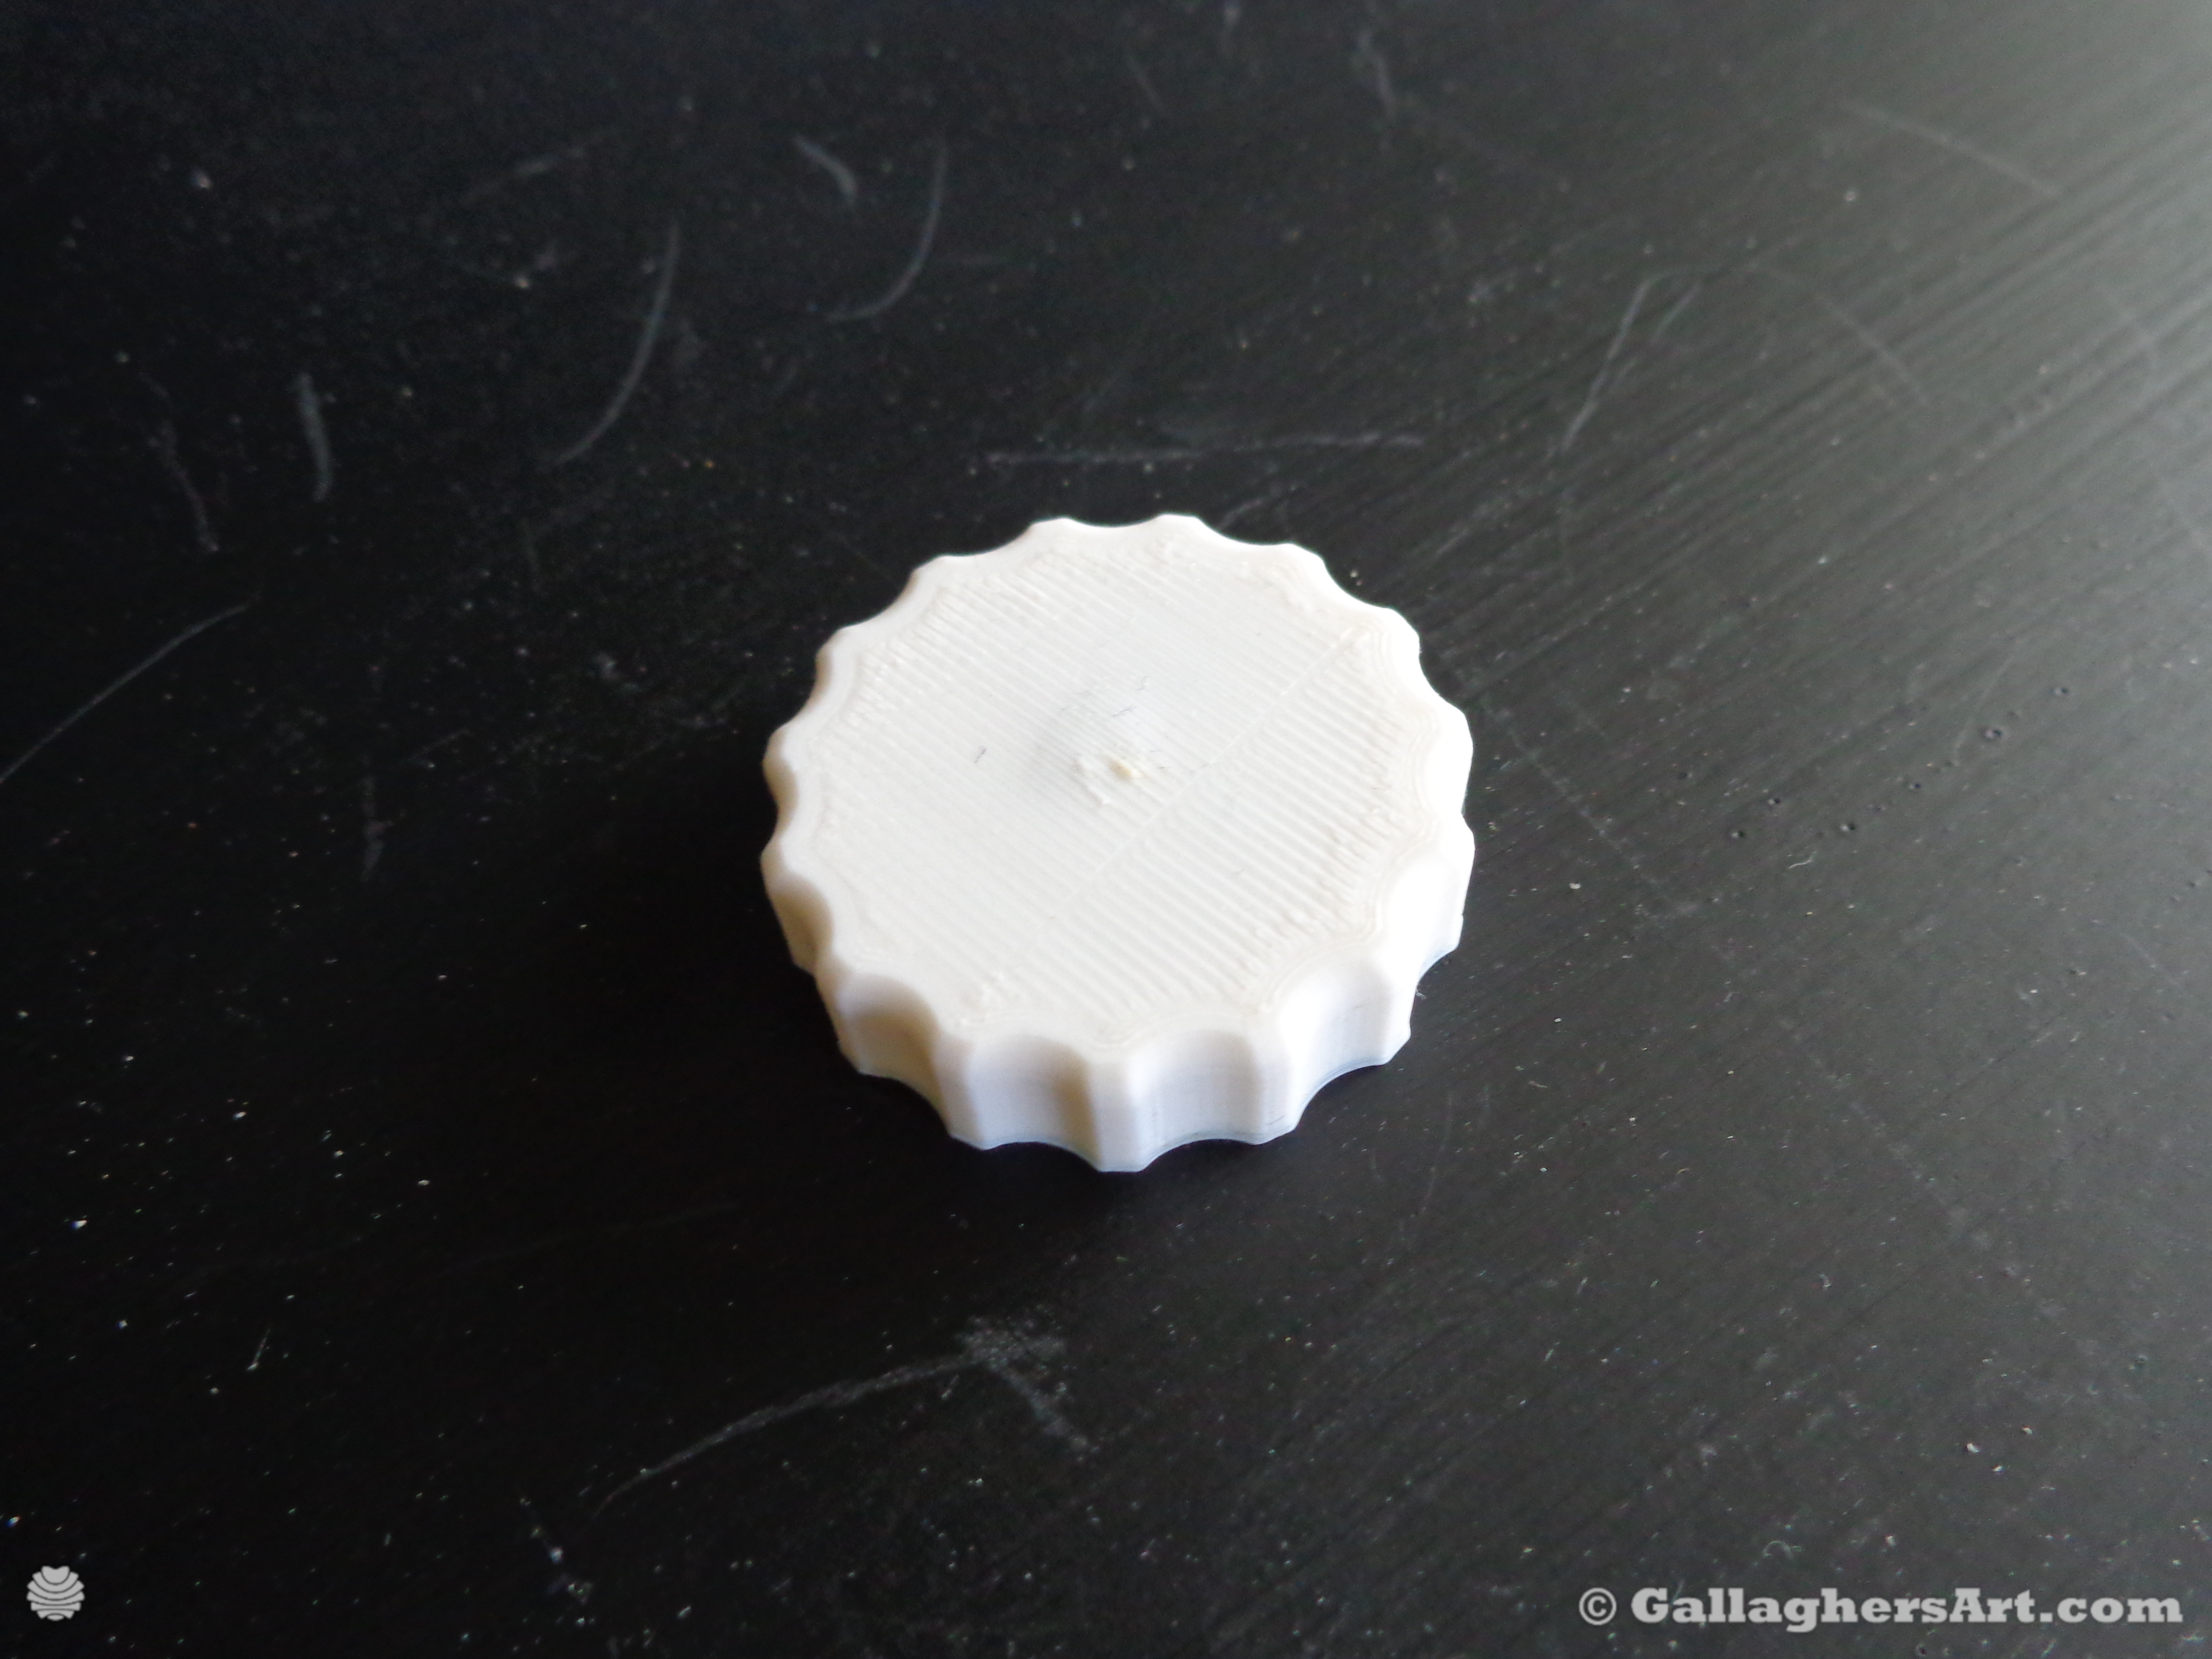
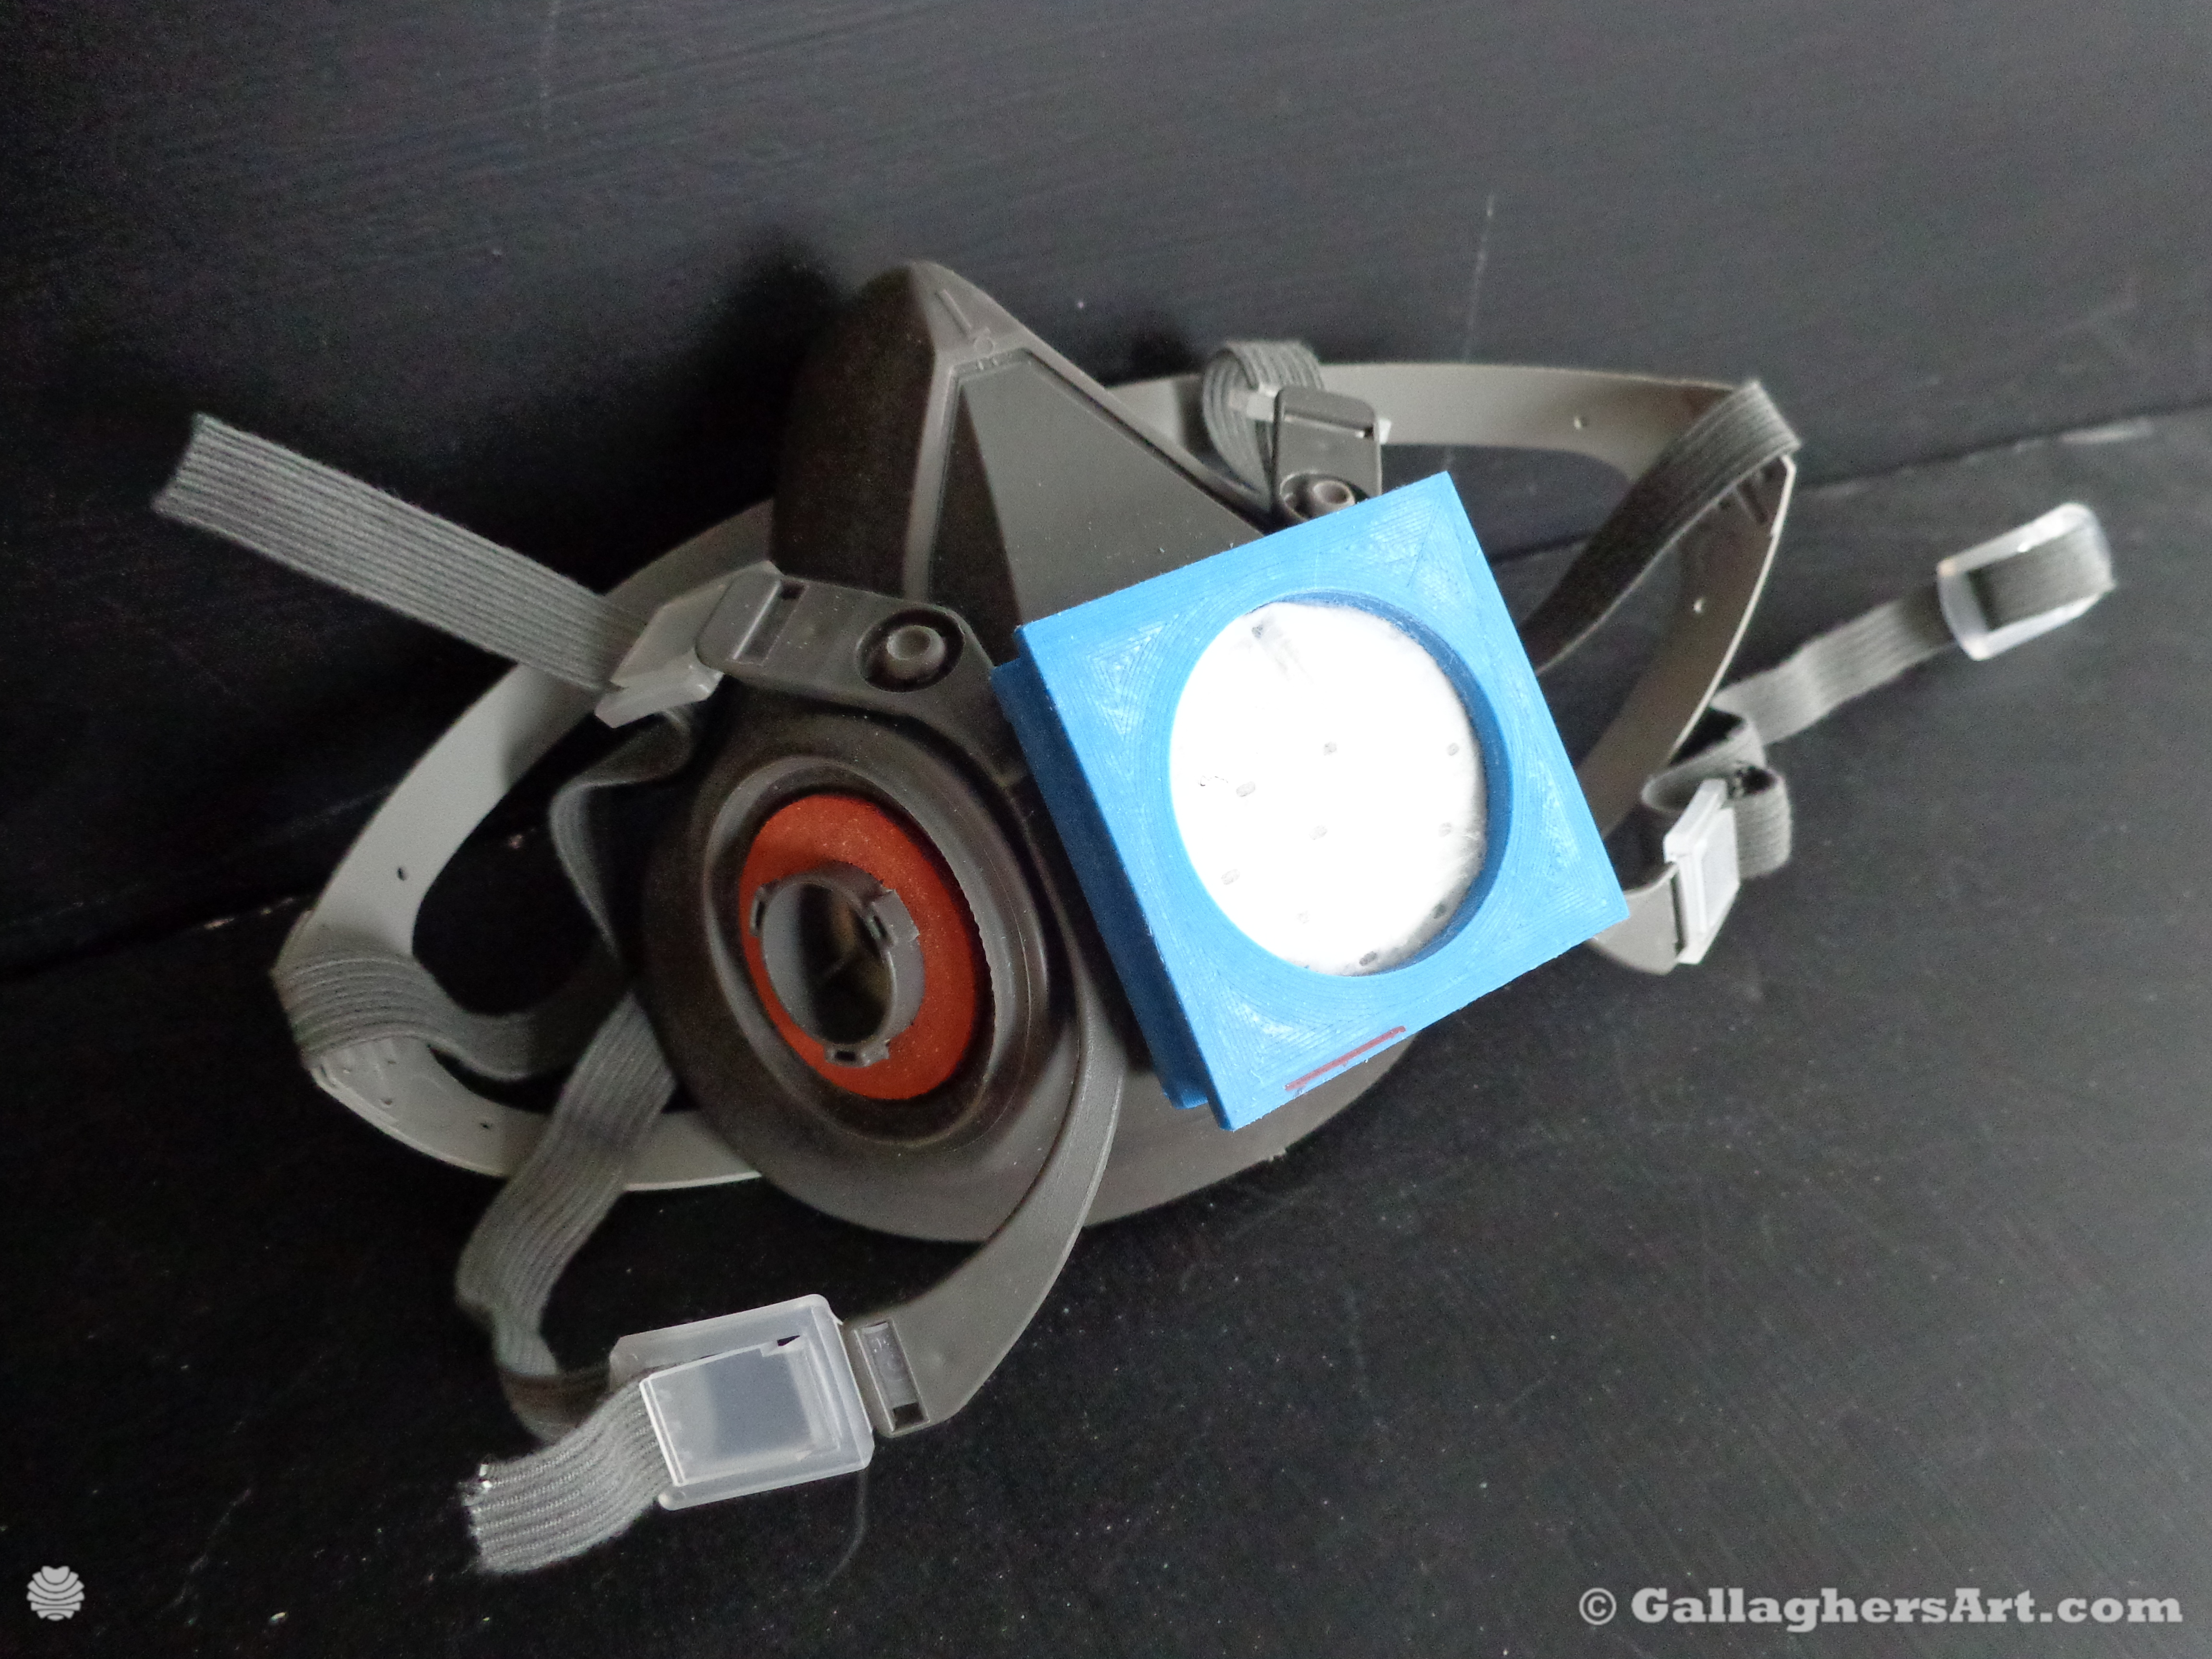
Print 2x 3M 6300 filter blocks and screw into place,
·
Exhale sound be normal, and inhalation should be blocked as much as possible.
·
Now place your hand palm over masks exhalation valve to block vent, try to exhale, you should still receive resistance. And while exhaling with vents blocked you may be able to find any leaks.
·
If you can inhale with blocks in place, then maybe you exhale vent is blocked open. Try inhaling with both blocks in place and your hand palm over exhale valve, if no resistance then exhale vale is broken and do not use.
·
Remove the 2 blocks and place pam over exhale vent, if air comes out inhale valves when you exhale then these valves are not closing correctly, or need replaced, in some cases I found them just needing a little wiggle into place, access from outside. Be careful they are thin.
When not in use cover filters with a new sandwich bag, treat the exterior of mask and air filters as contaminated.
Place mouthpiece in another new clean bag and part should be washed between uses. Do not place mouthpiece on any surface other that in use or in storage bag to be cleaned before next use. The mouthpiece goes in you mouth so it needs to be clean at ALL times!
It is up to the end user to keep parts that comes into contact with your body and mouth clean and not to get contaminated. If a sick person sneezes on your mouthpiece and then you use it without washing YOU WILL GET SICK!
When used correctly this will protect you better, IF used INCORRECTLY it will enable an infection.’
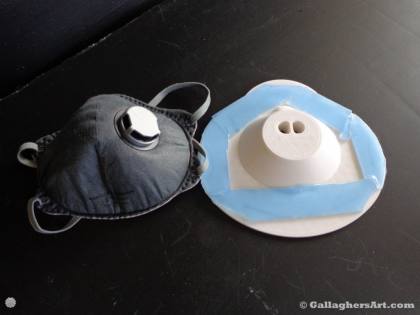 Required: 1 scuba mouthpiece, adapter device, nose plug, Double sided tape (strong), and disposable filters.
I have not tested all masks with these, hope to get samples to verify and adjust for all uses.
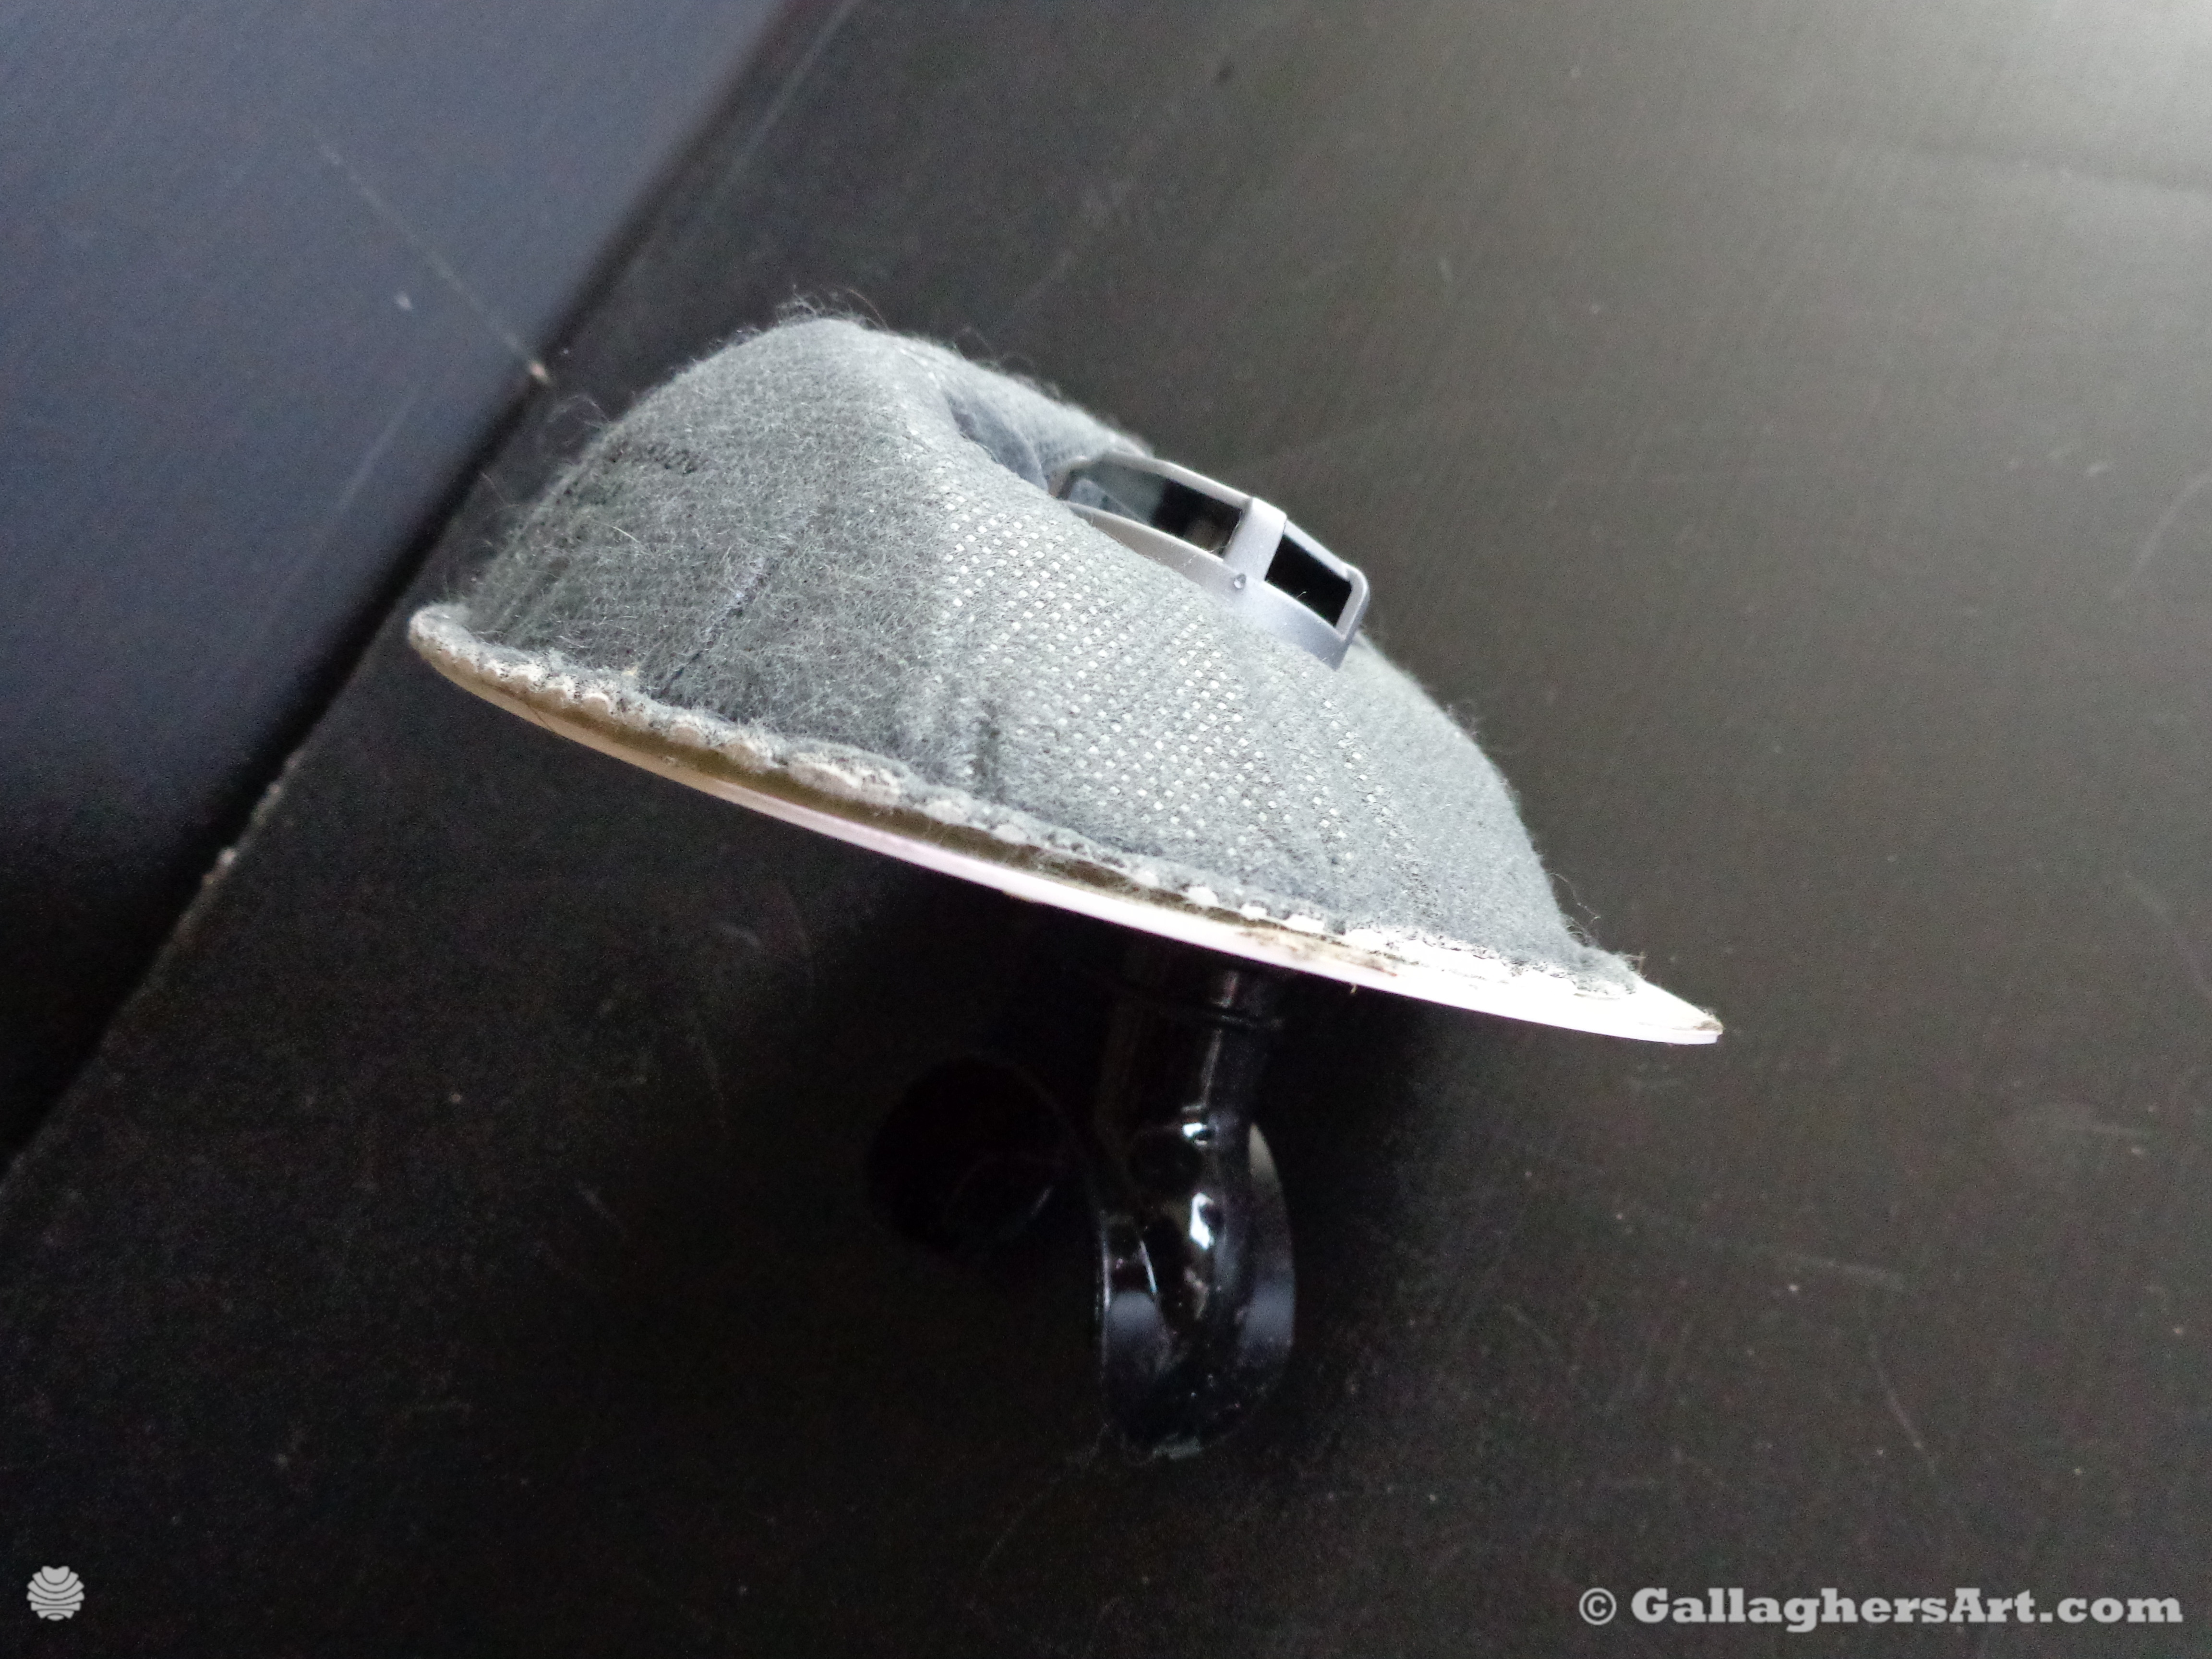
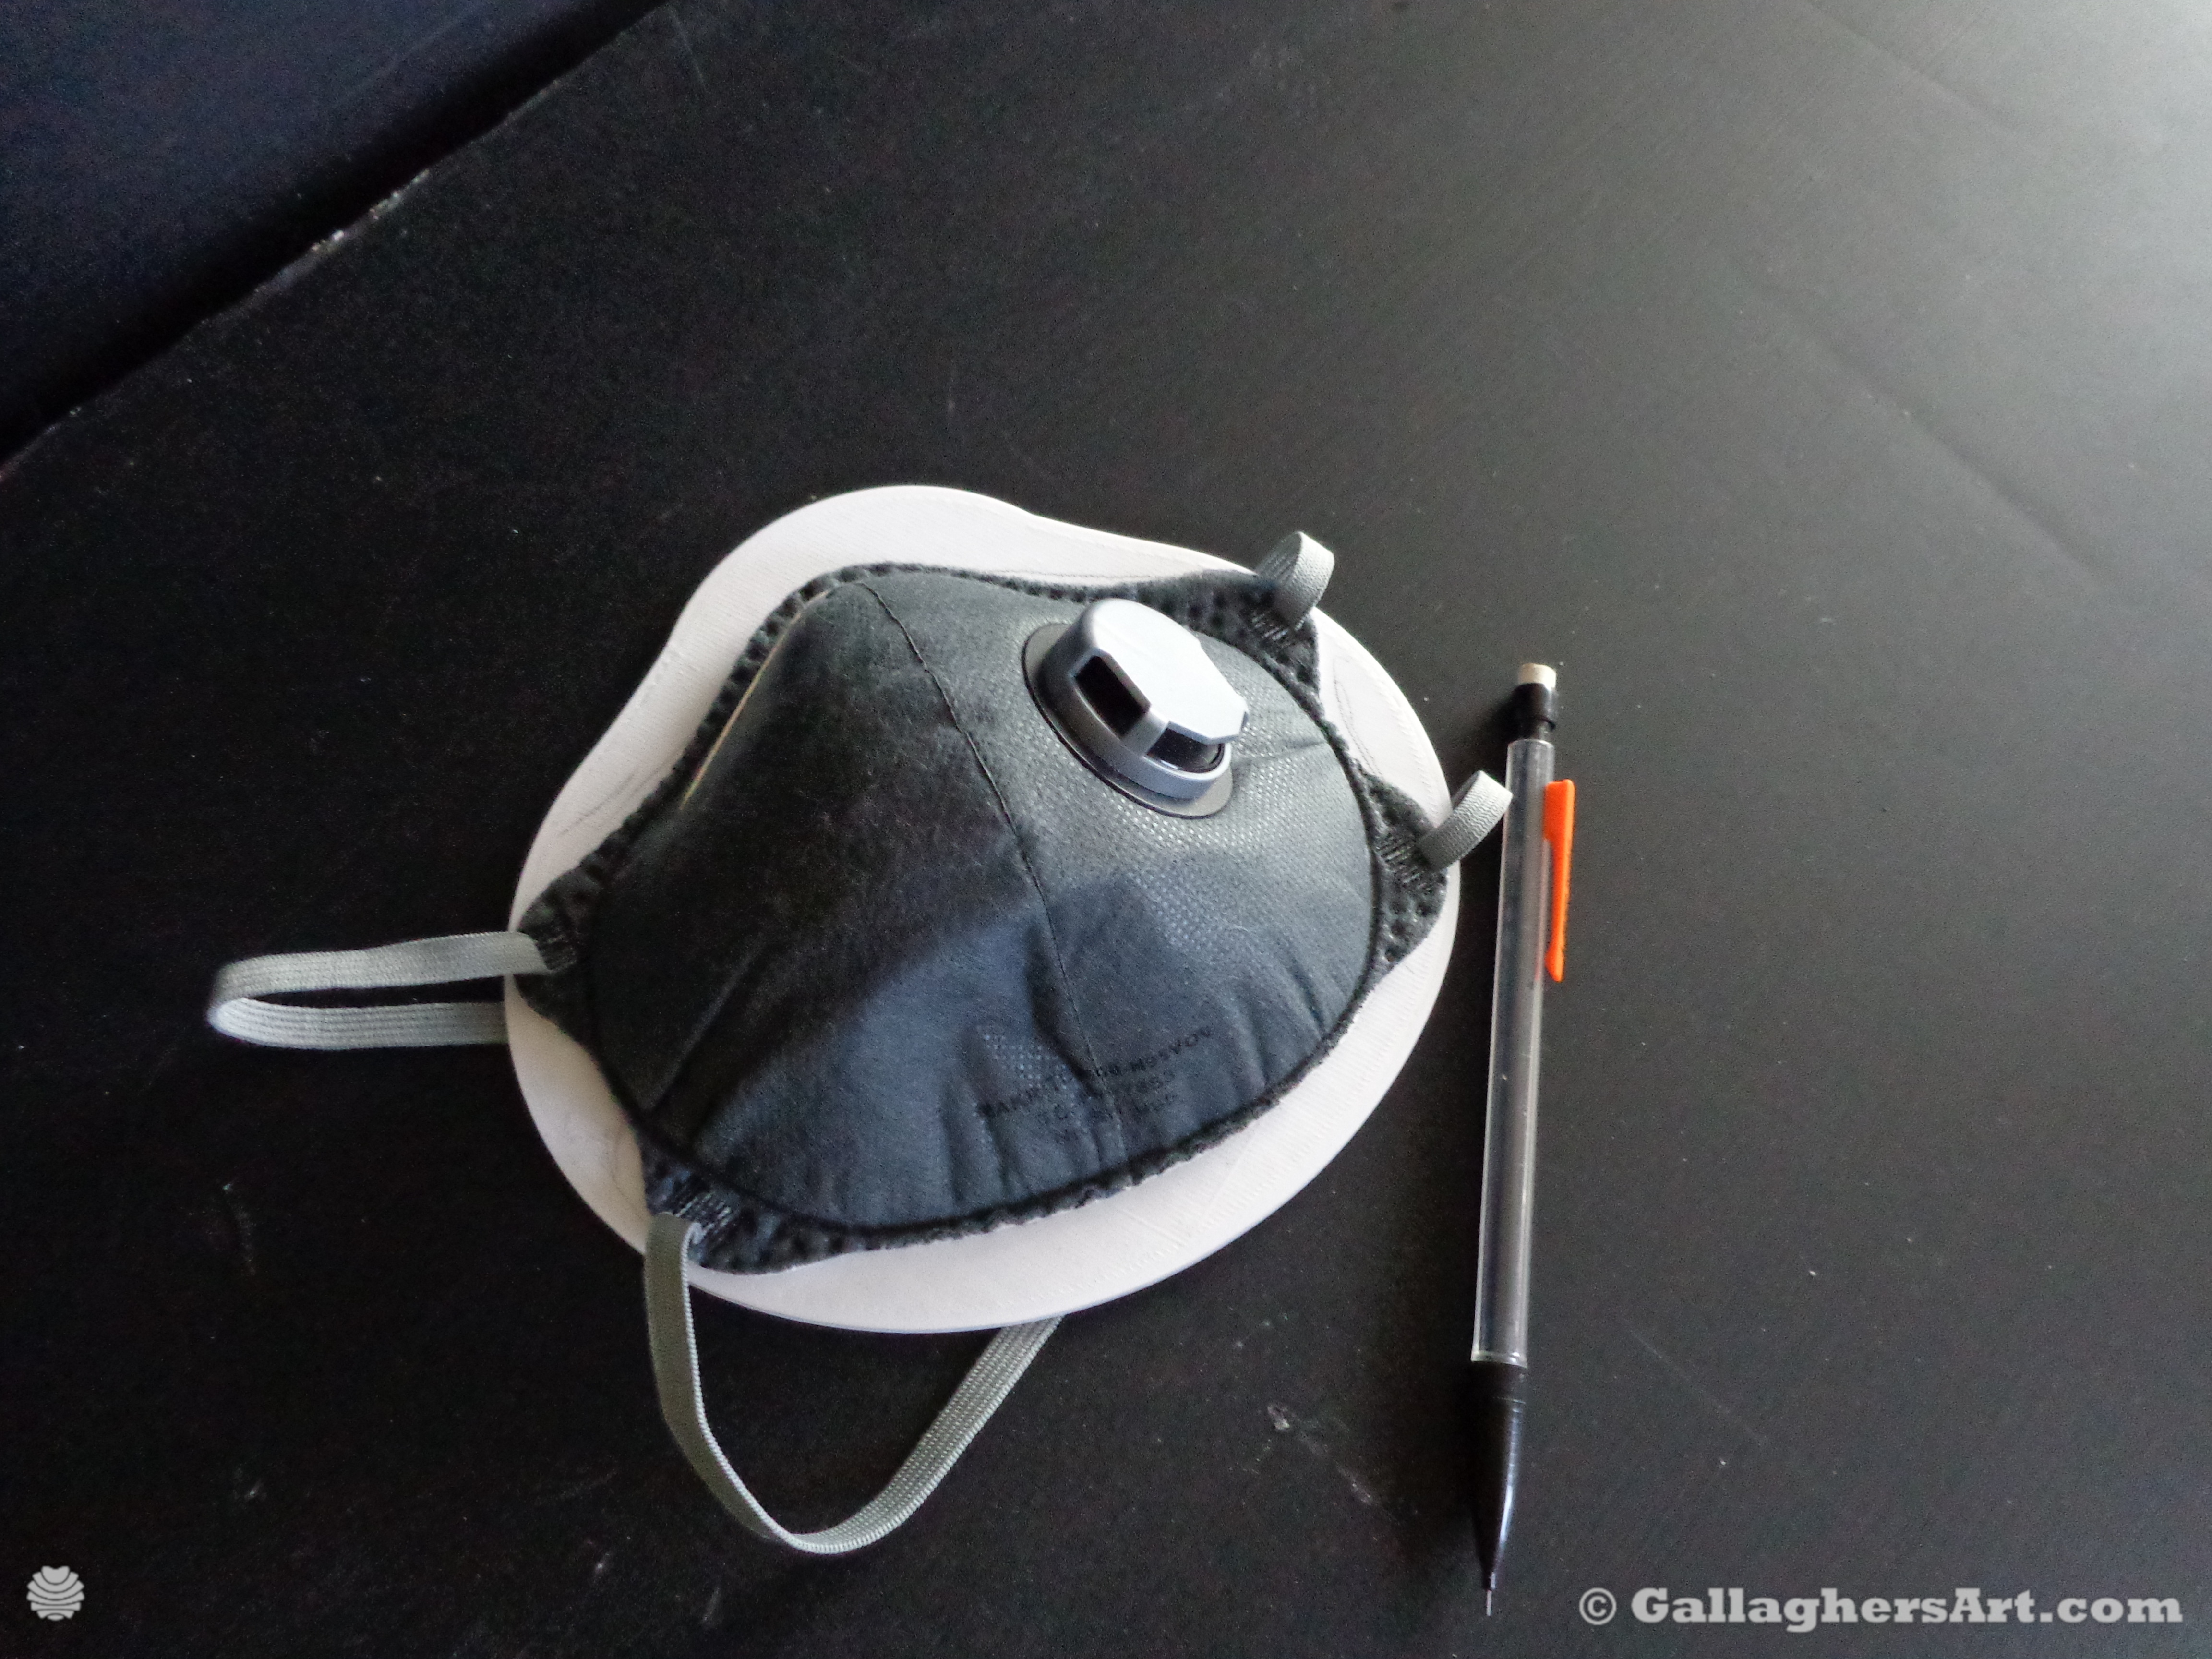
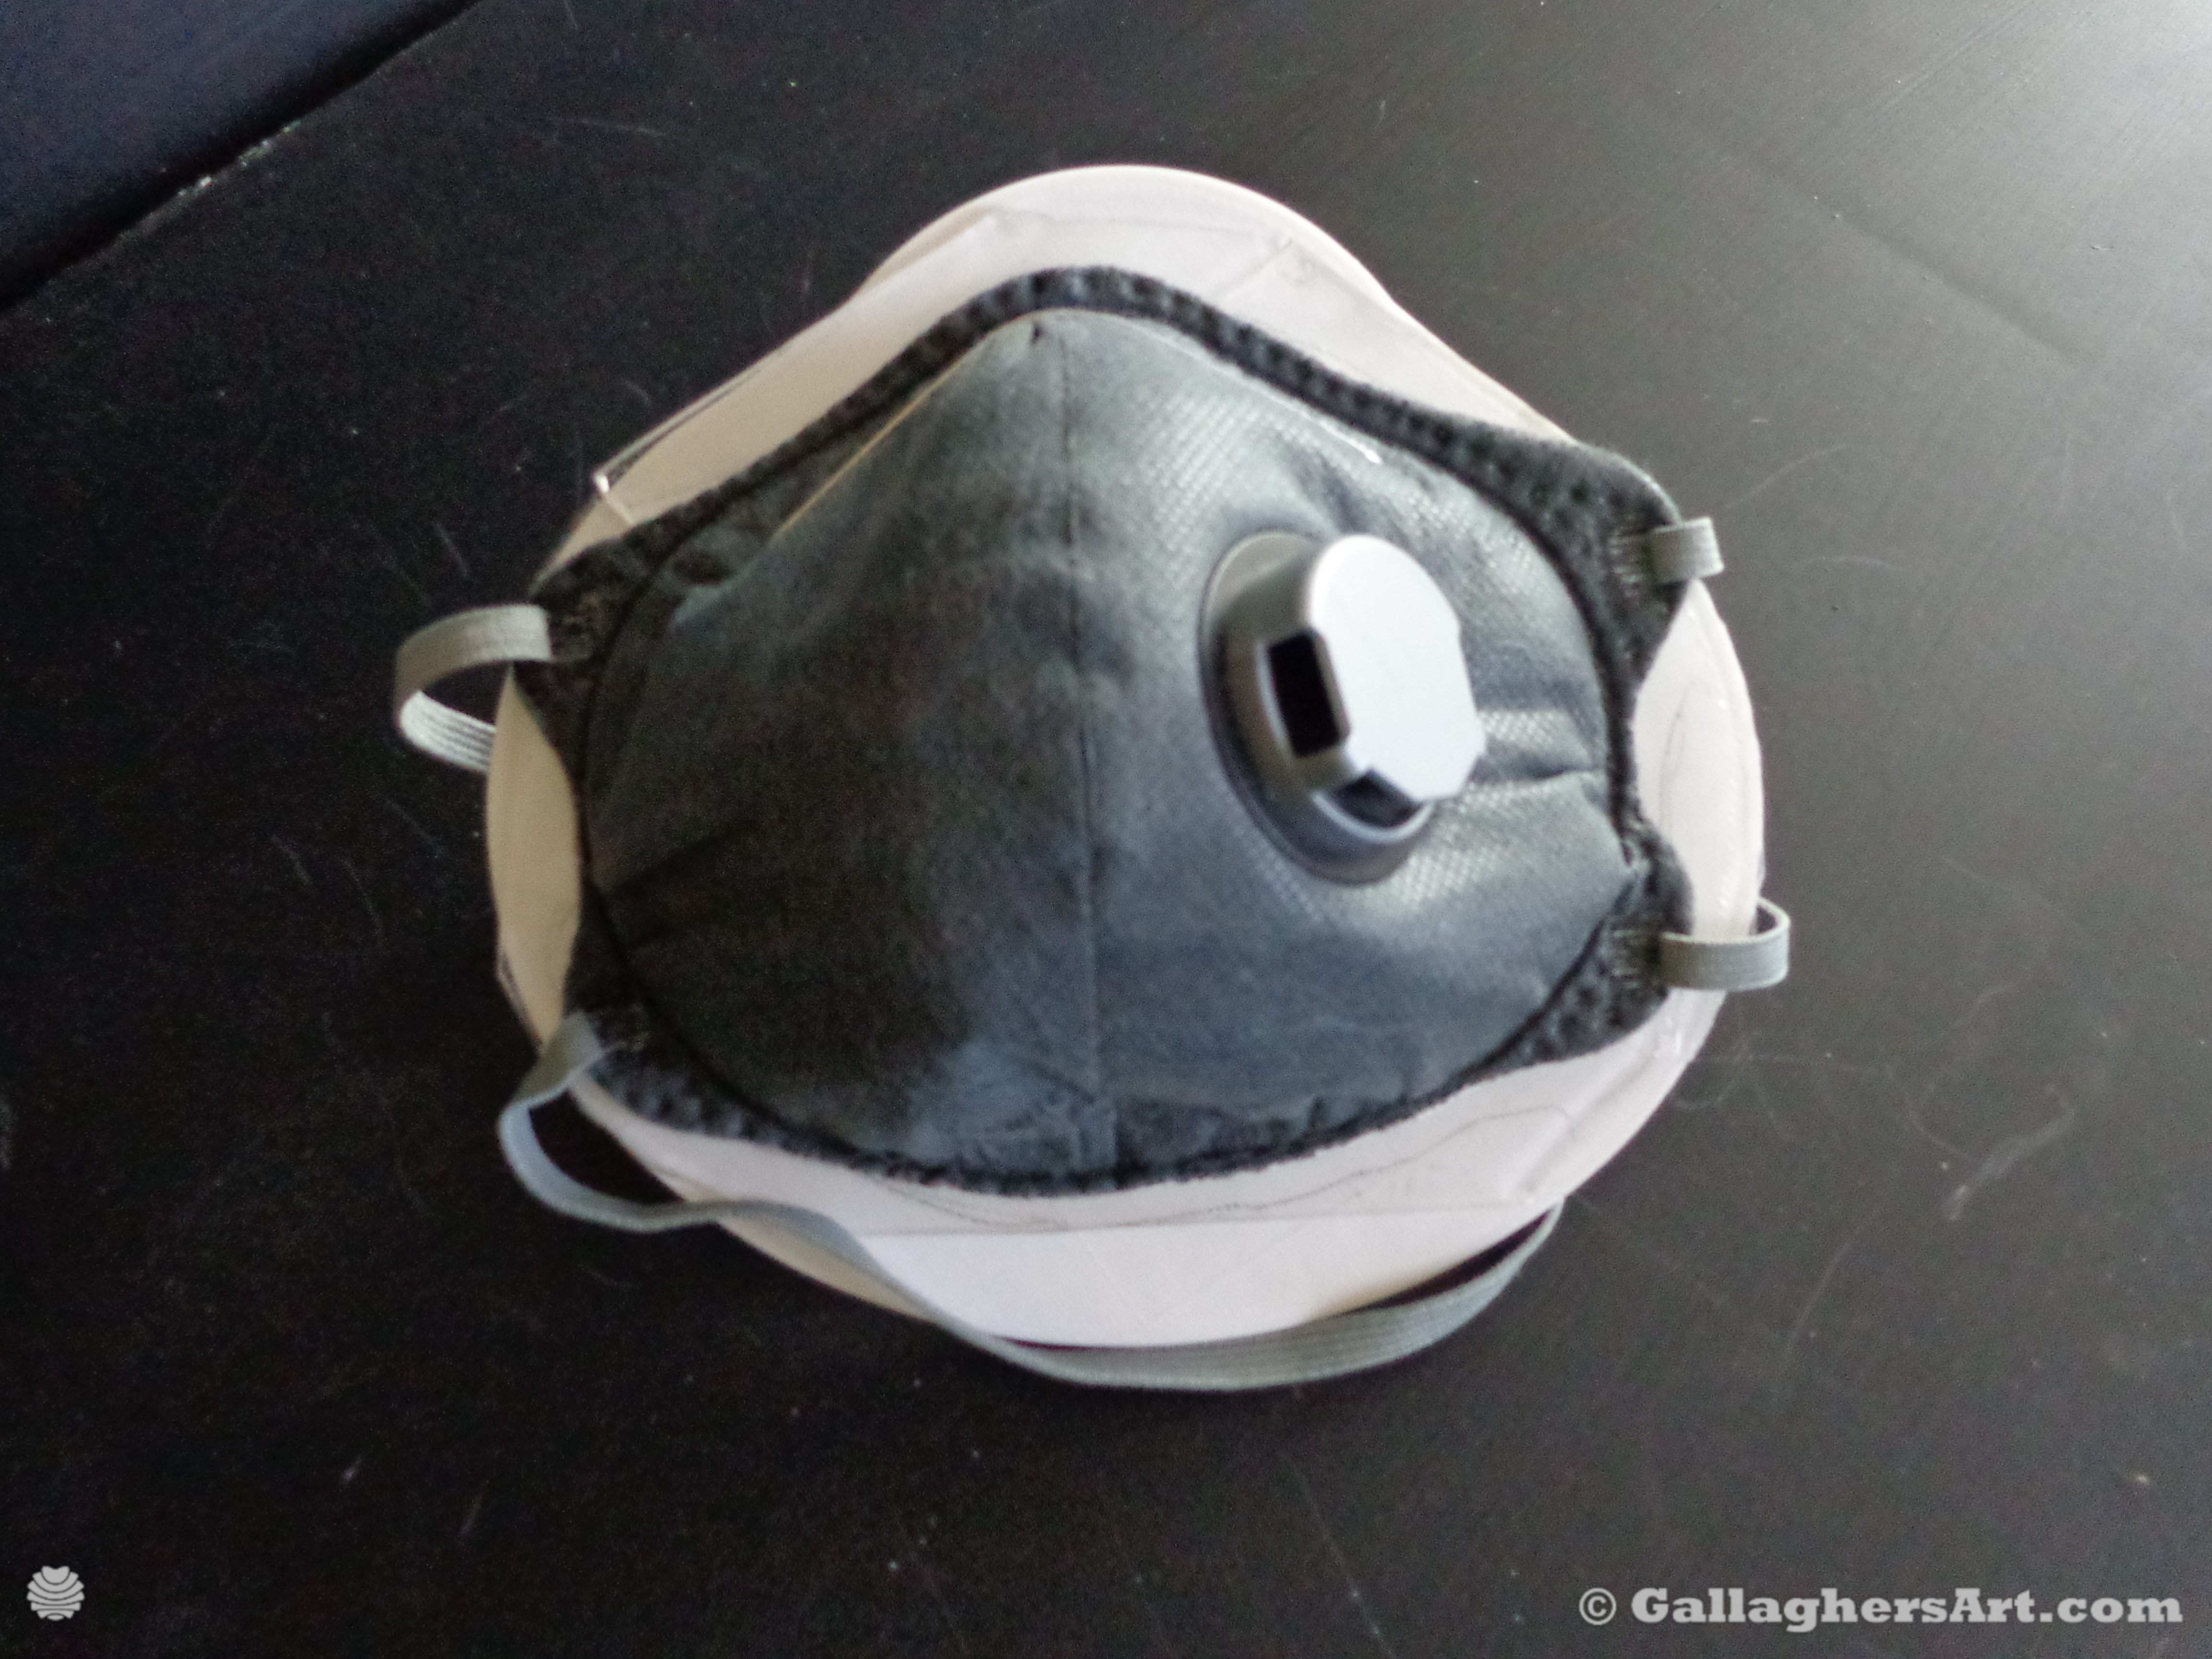
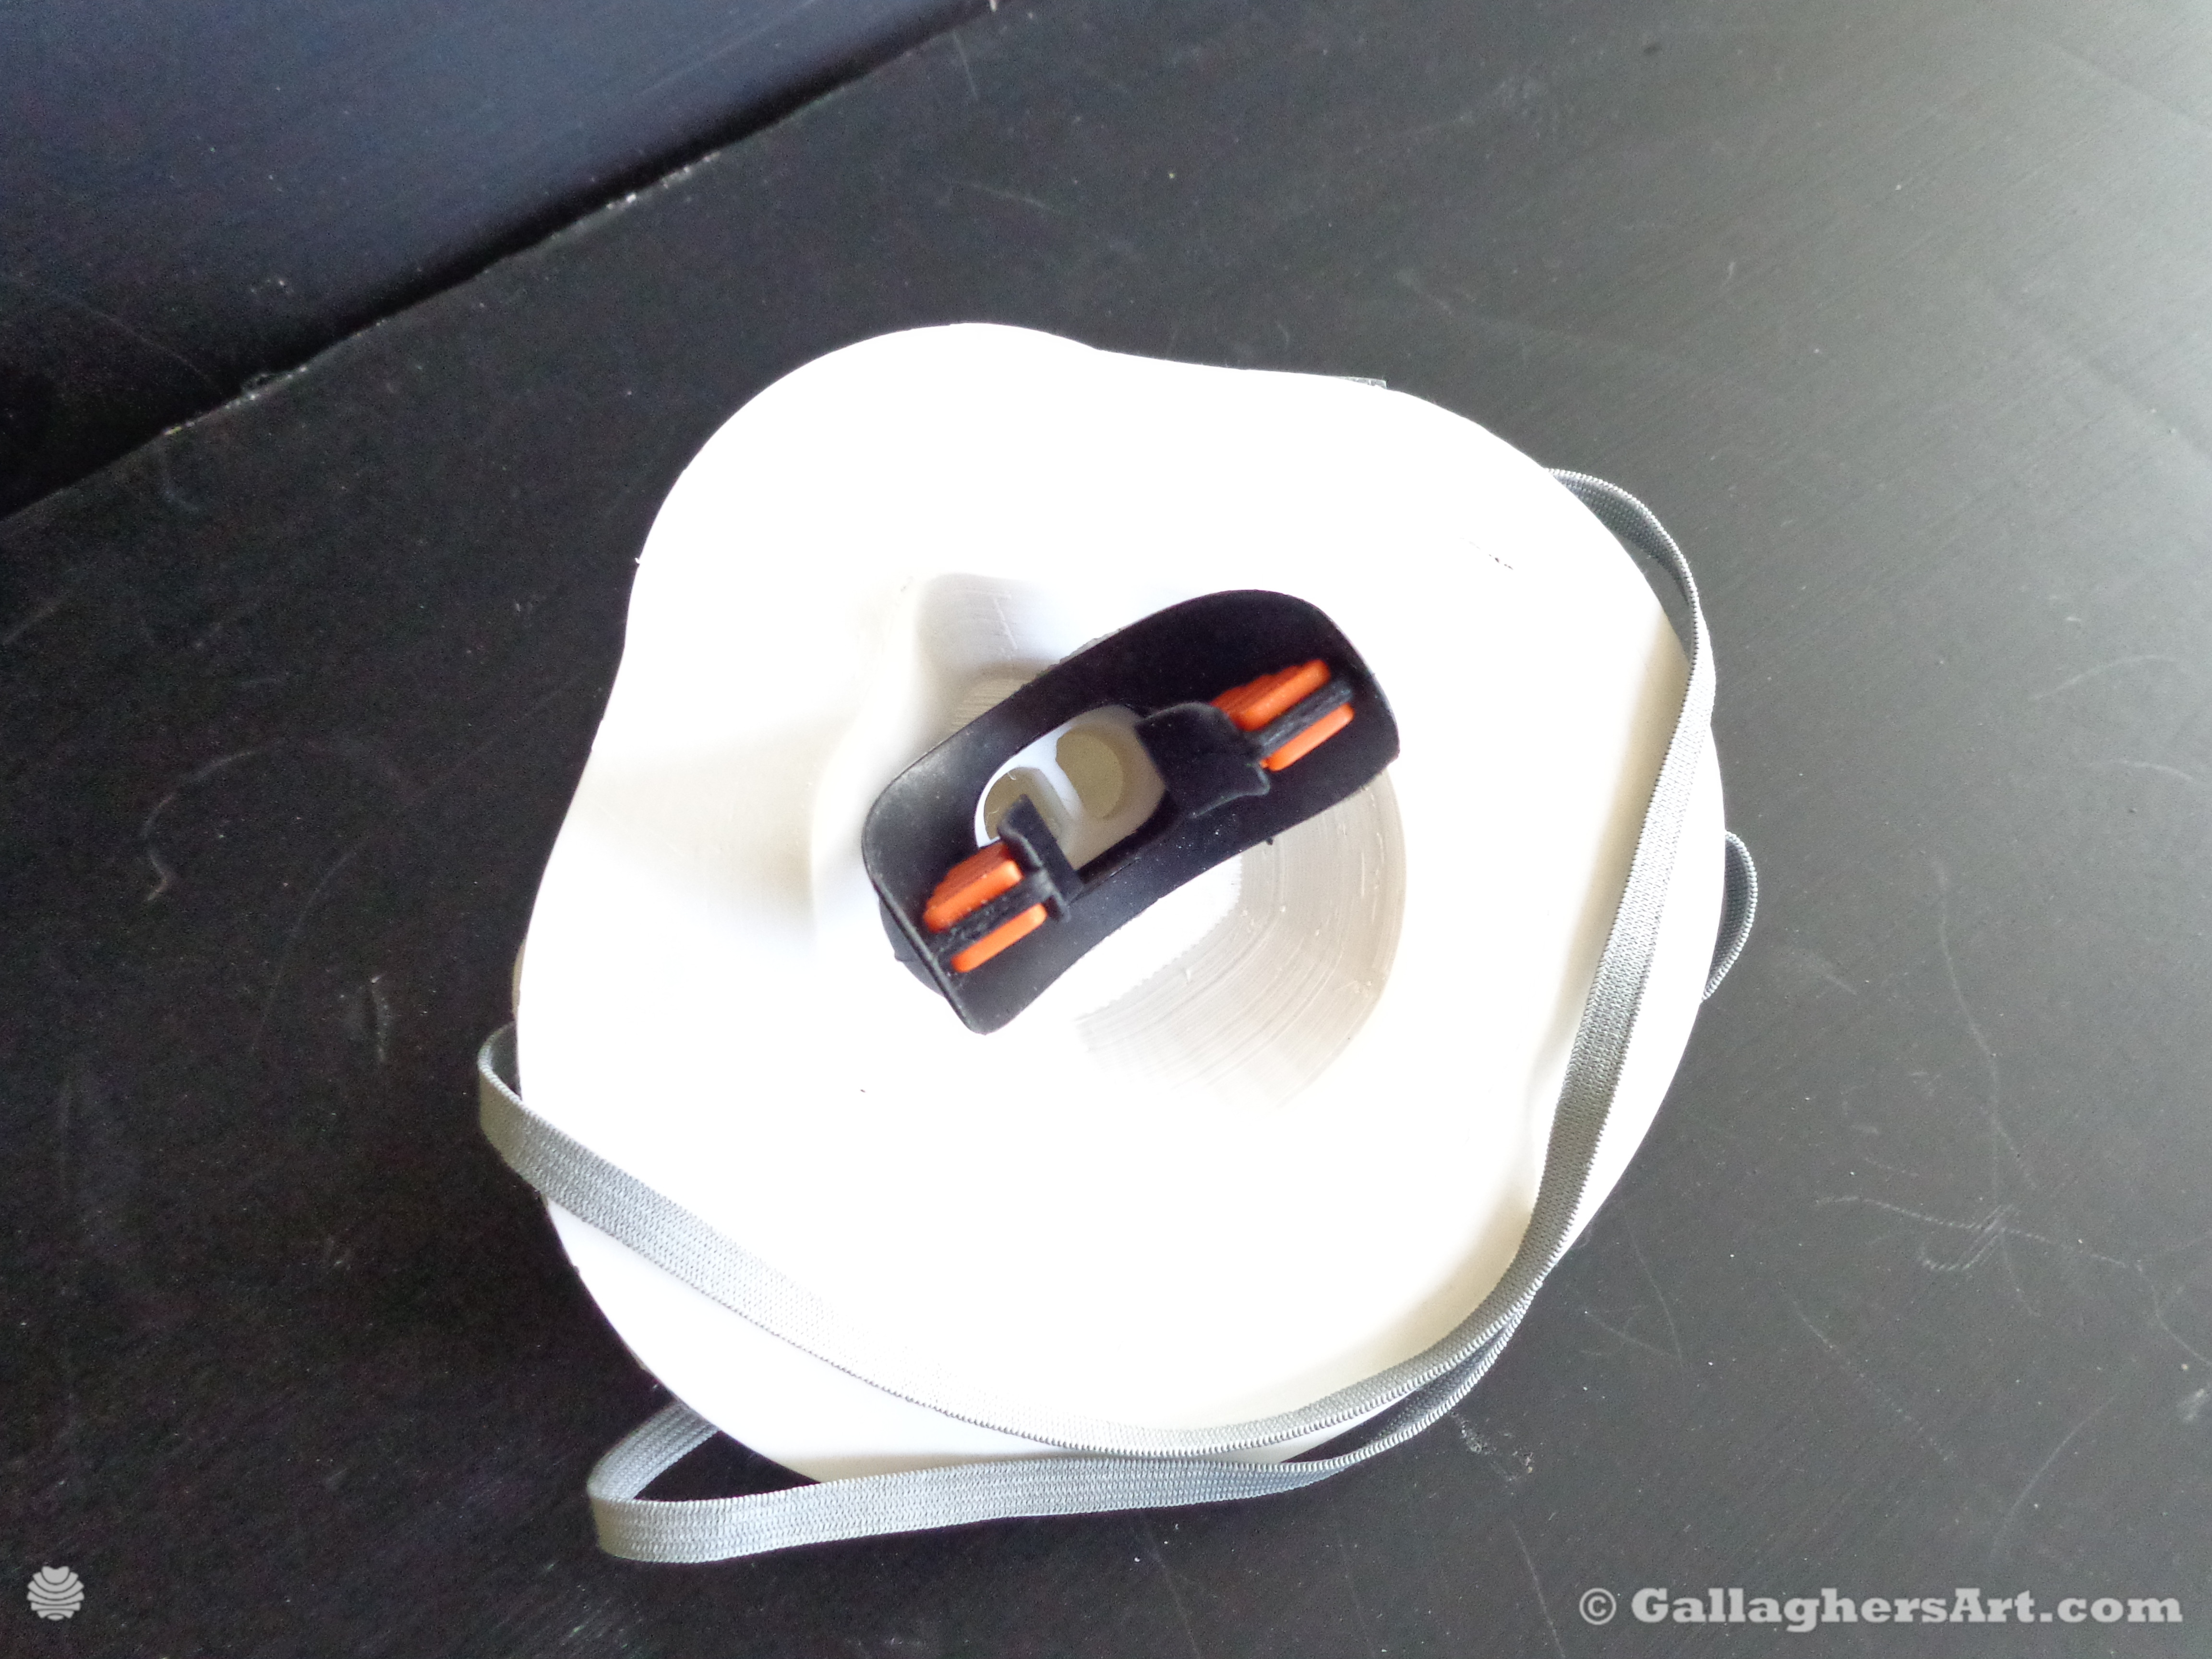
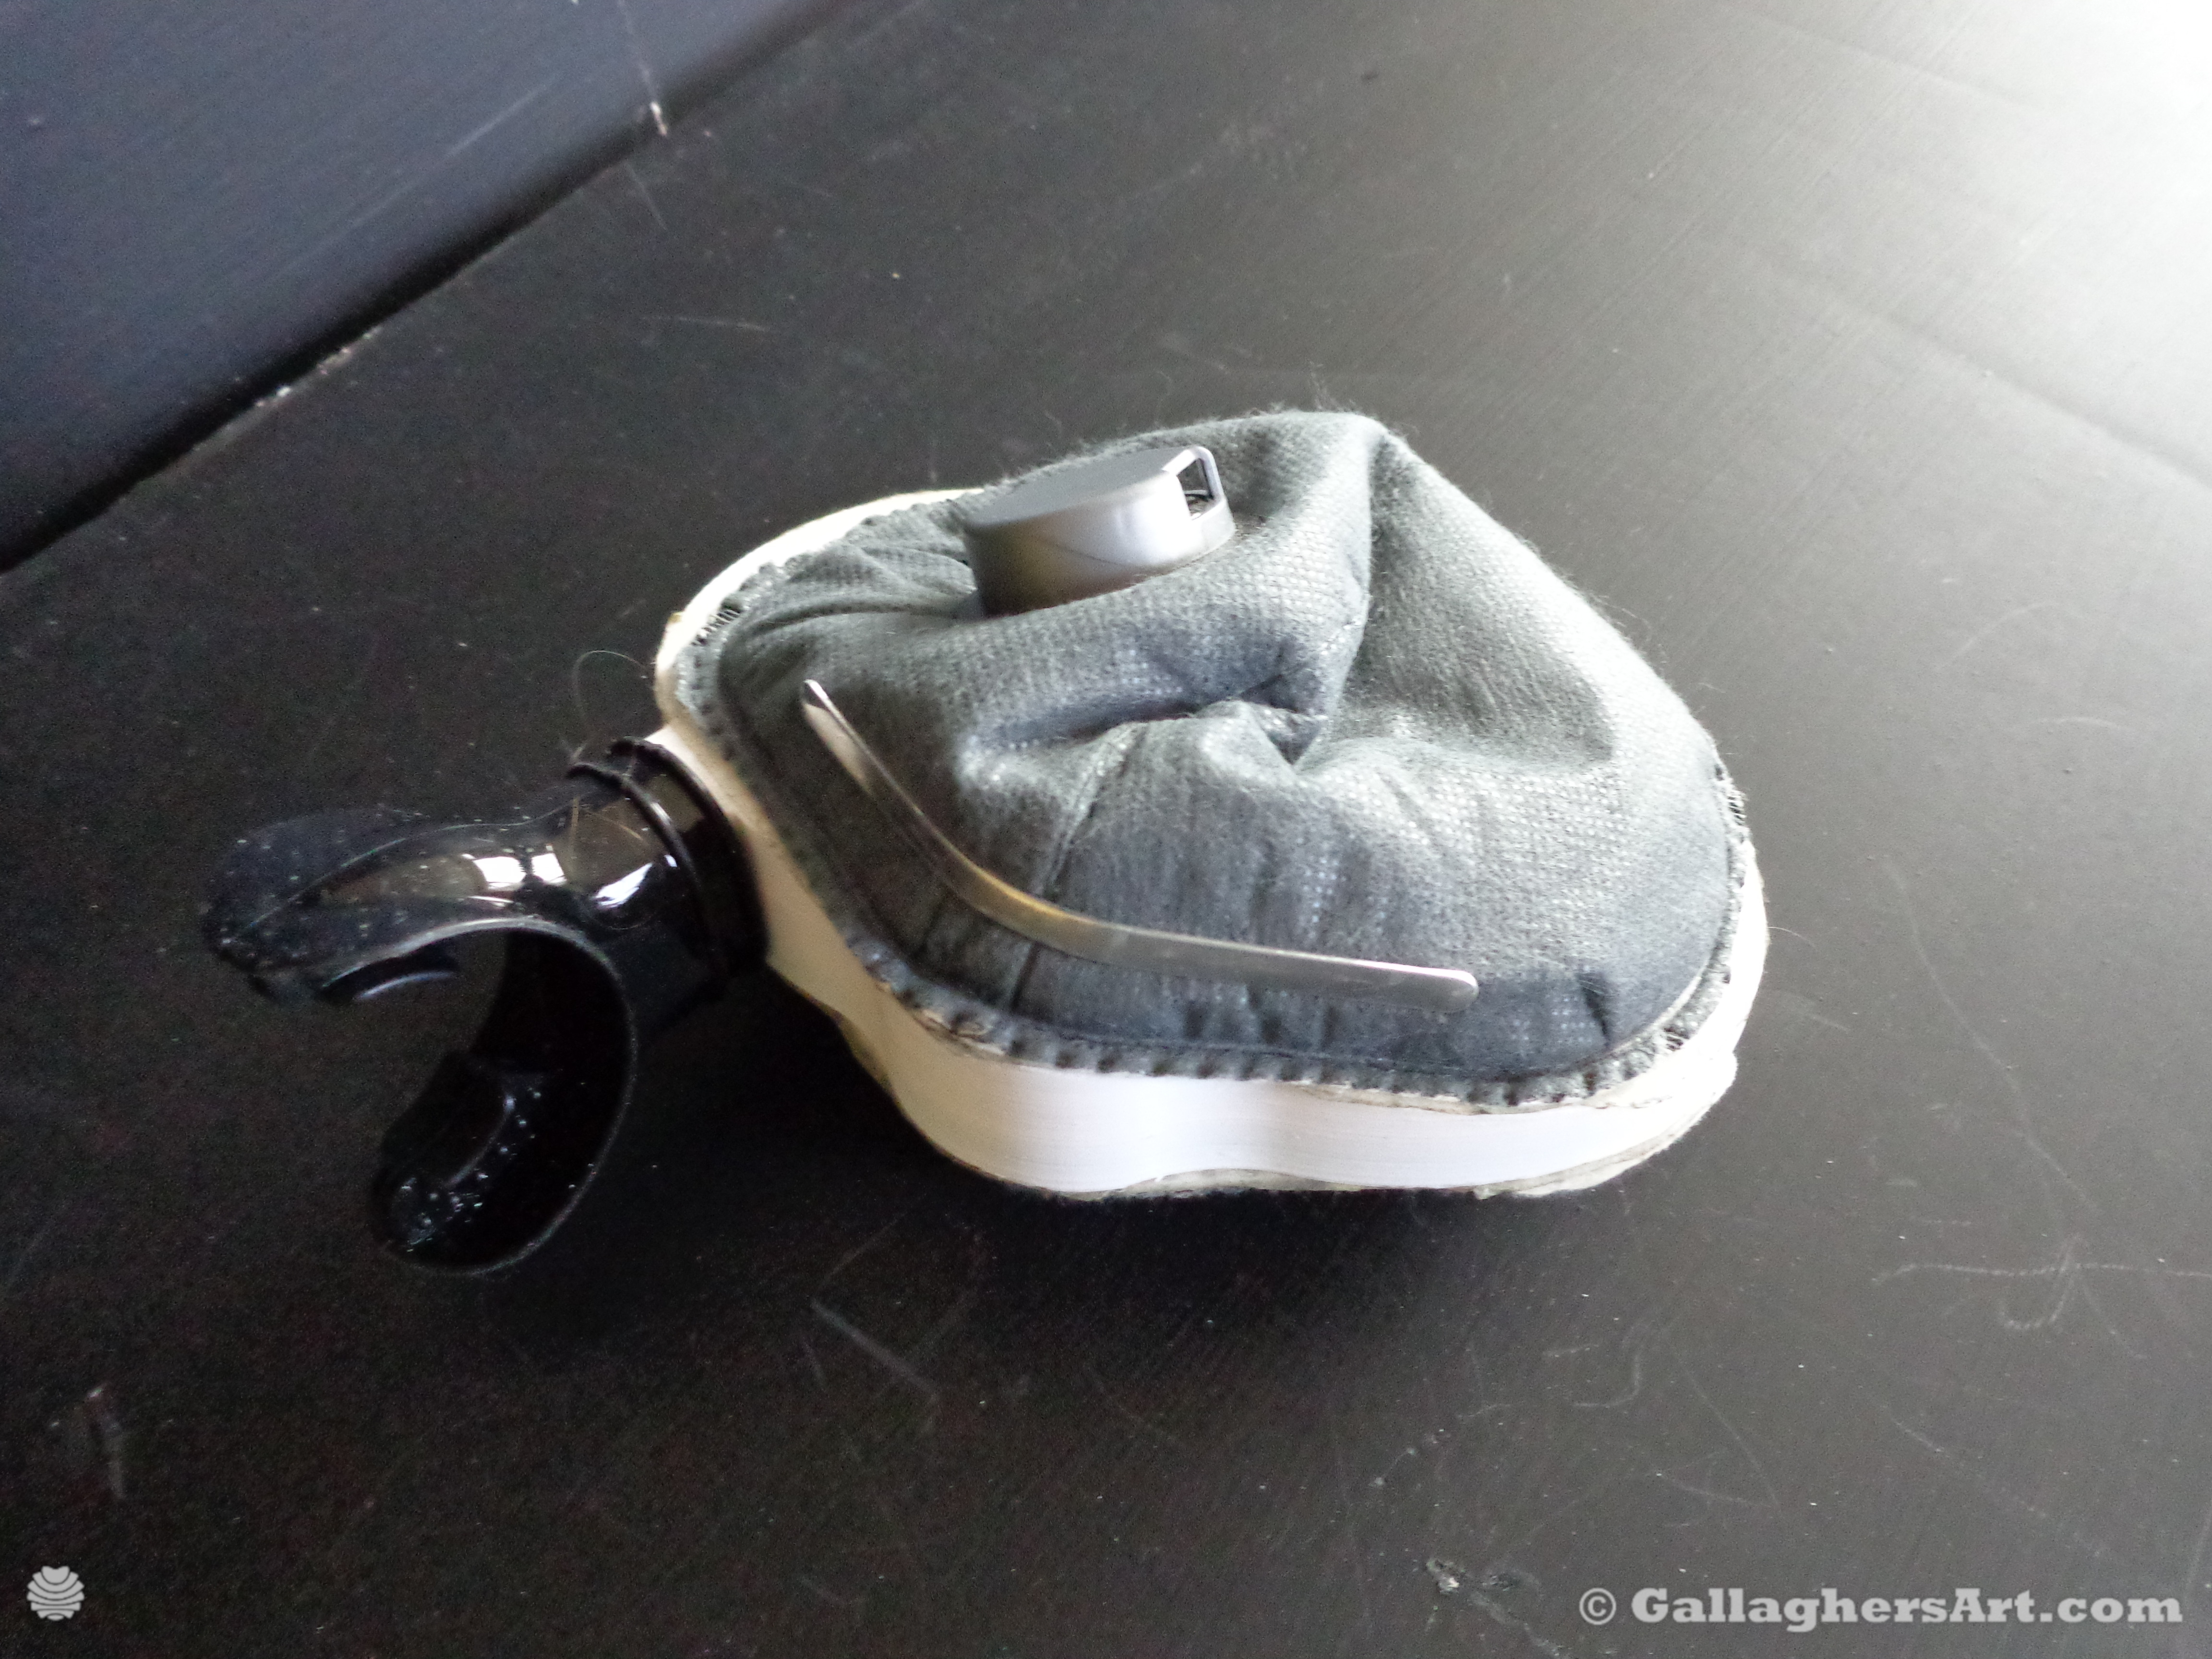
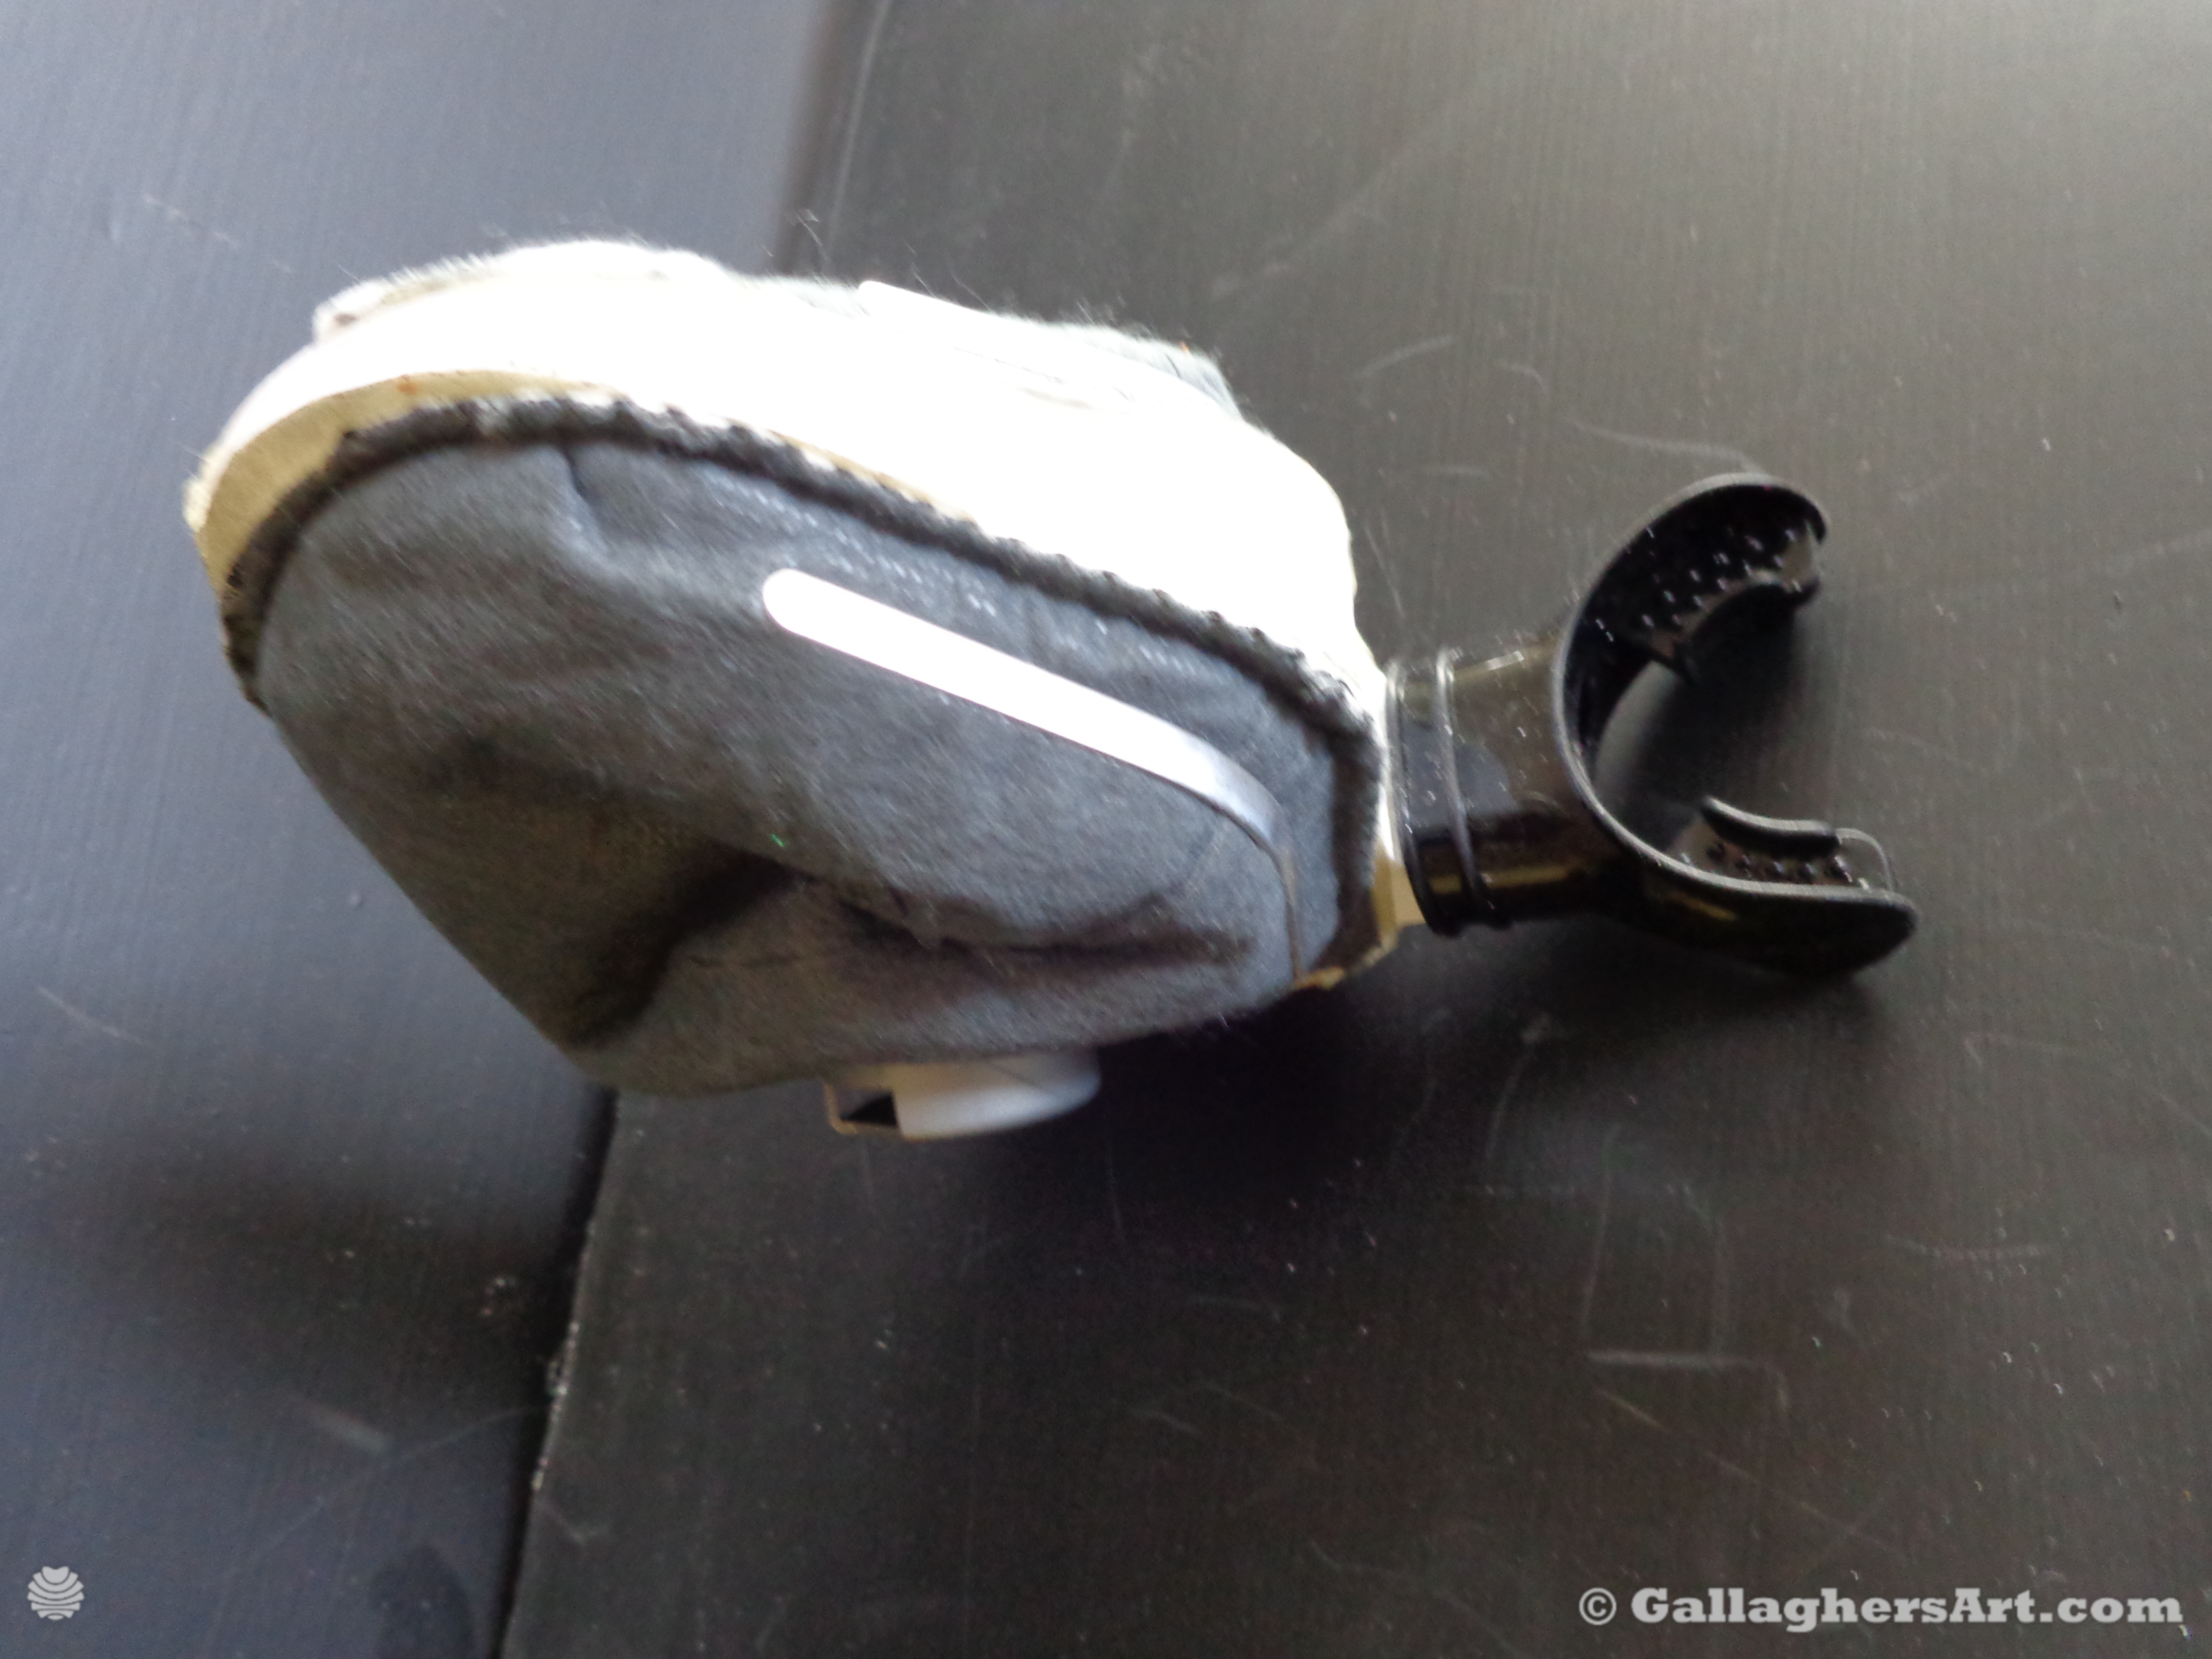
A disposable mask is attached to this device with double sided tape so that ALL Air travels through Scuba mouthpiece. Along with nose plug to keep air from leaking from nose.
This is use at your own risk. Originally designed so I can use masks with my beard. Side effect is it is a closed loop air filter when use correctly.
At this time, I have used the double-sided tape used on winter windows covers, and Magic Tape. At this time Magic tape is best for face respirators. Looking for other materials that will allow better use for disposable mask. (need new tape with each filler replacement.)
It is up to the user to constantly monitor these modifications for an airtight air mask. If any part is broken or if mask and device pull apart will void any desired protection. When airtight only air passing through air filter while breathing normally.
Instructions:
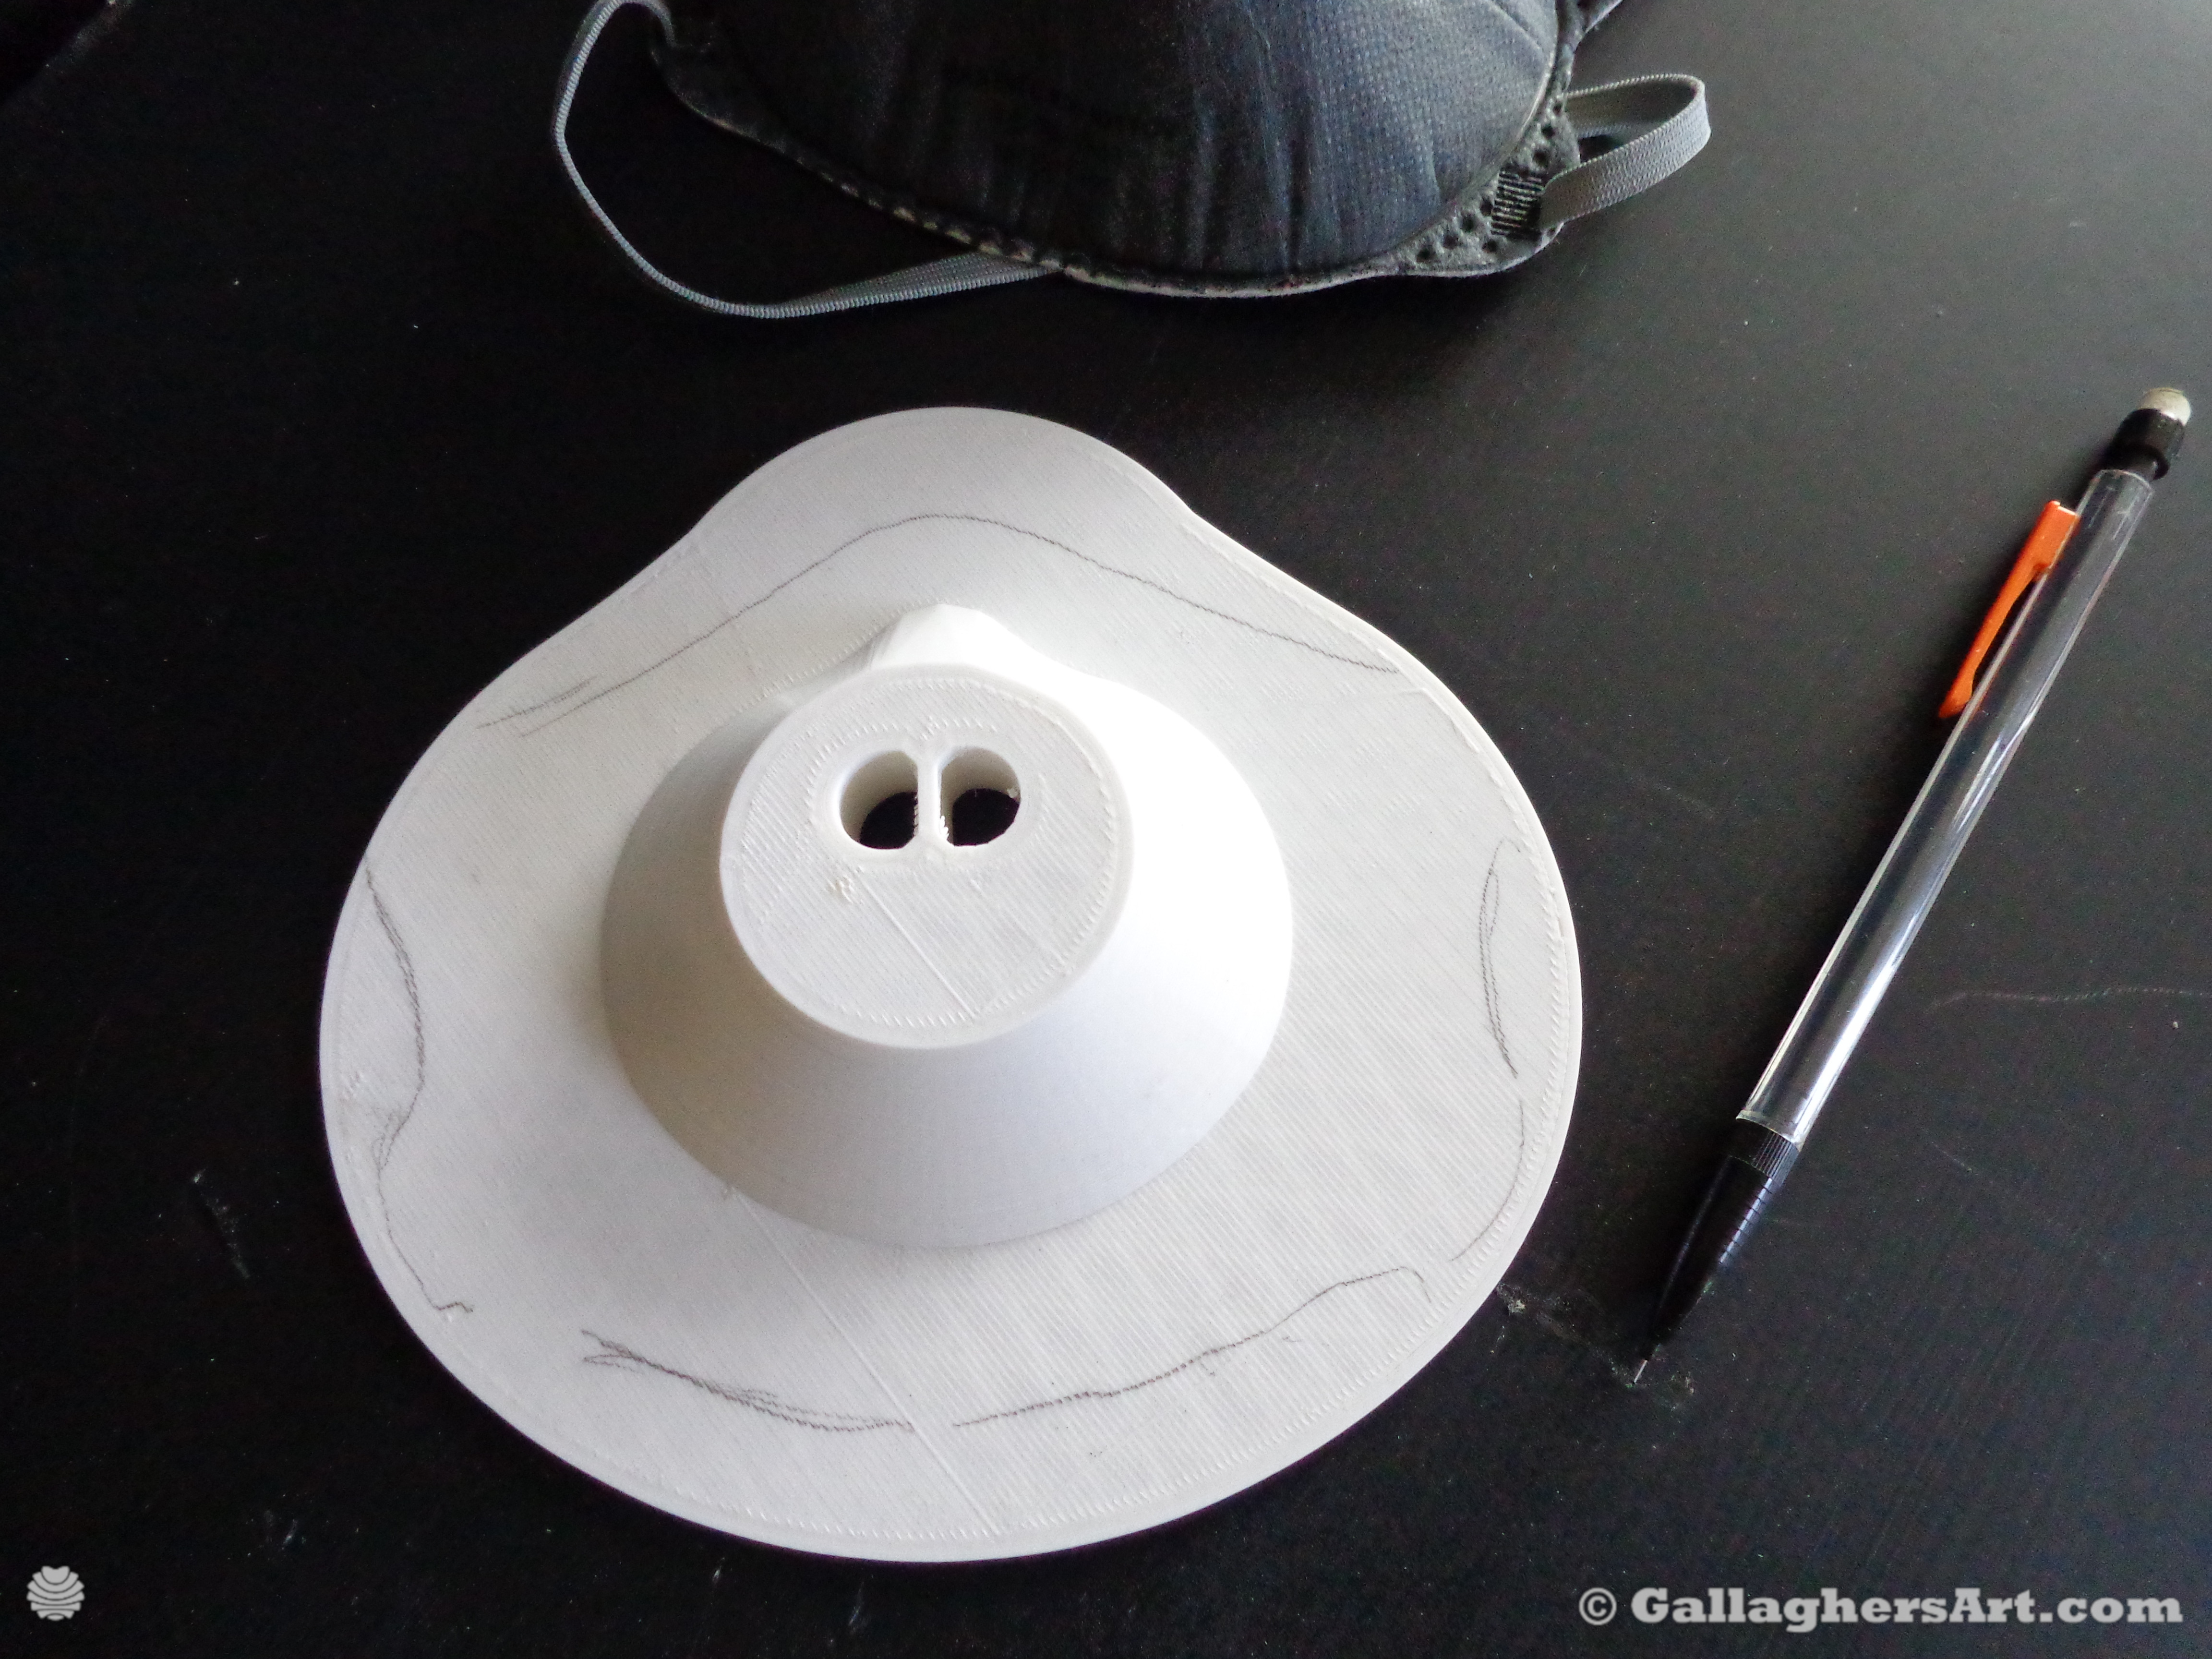
Place disposable mask on device and out line its shape on device with pencils while the mask is laying flat on the edges. This device is for masks that are formed to bend around mouth and nose.
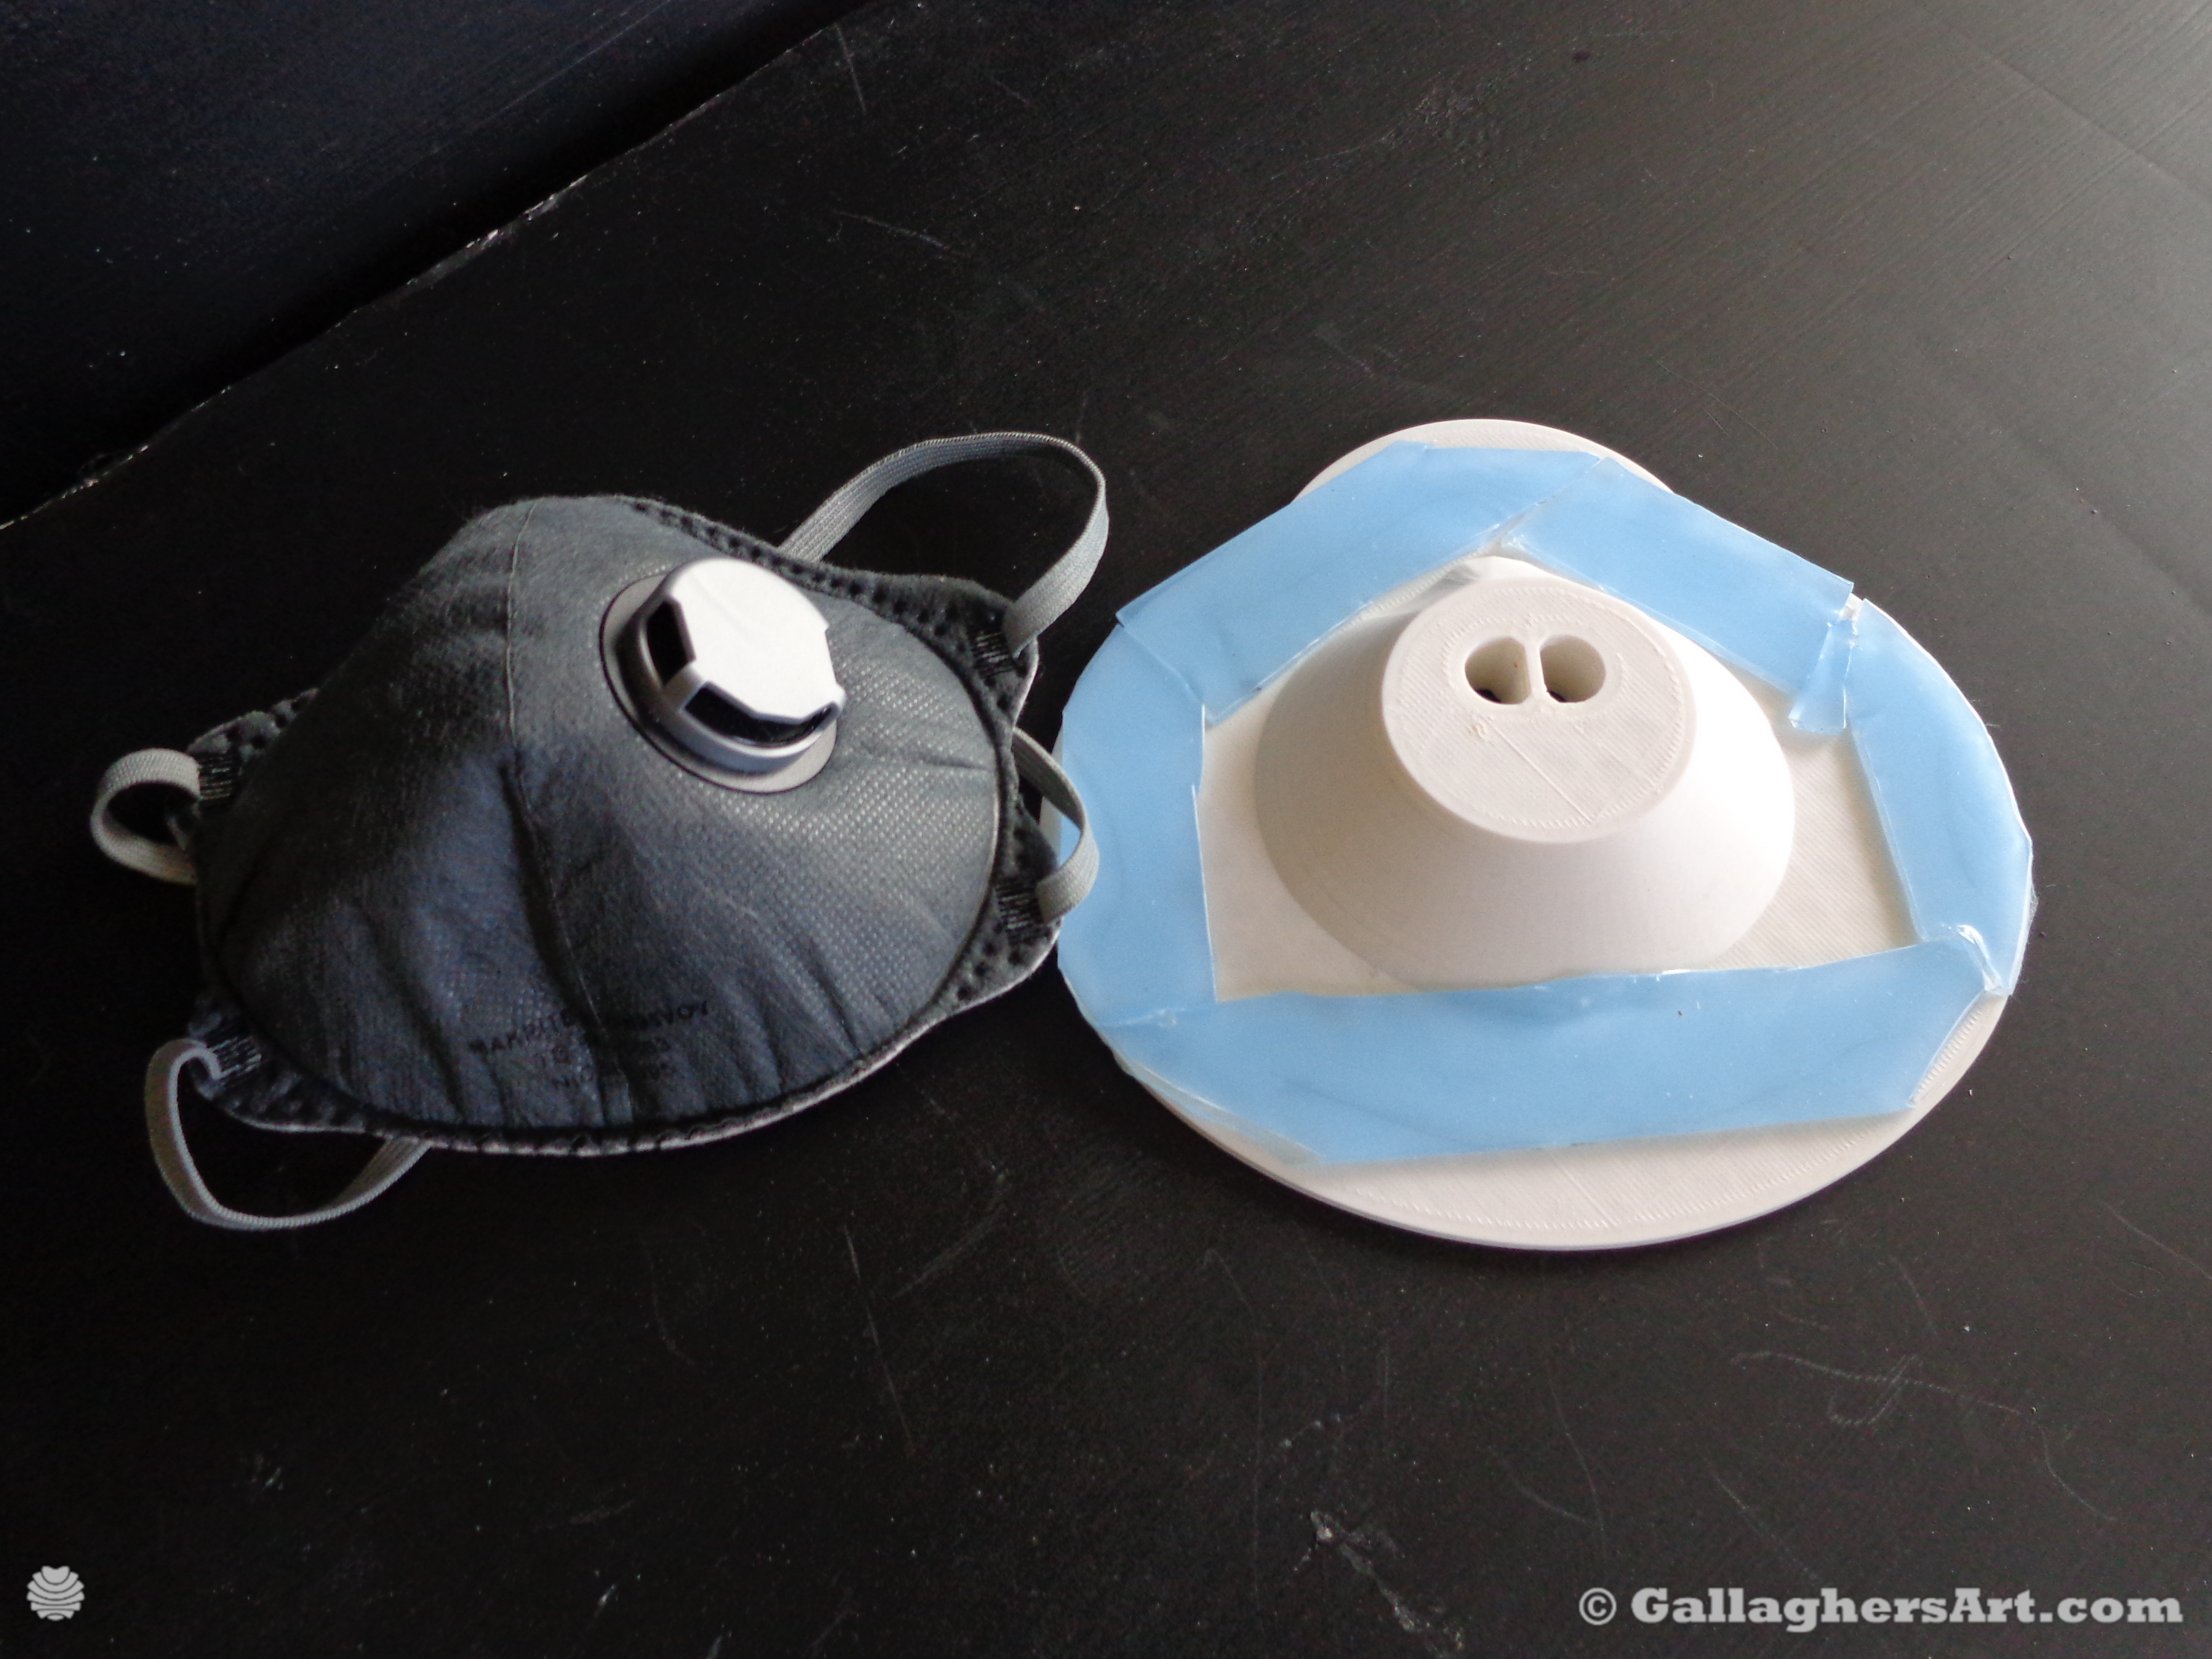
Place double-sided tape within and over the trace of the mask your going to use. Cover entire loop of outside of disposable mask. When mask in installed only the outside of the mask should touch device, with double sided tape between.
Press double sided tape firmly against device. Verify alignment with mask. If any areas not taped in contact of areas of mask may require more tape.
Once all tape is in place to make a secure and airtight seal remove the tape backing.
Place mask filter on double-sided tape already installed on device. Press mask firmly into tape. Verify mask is held into place.
Install scuba mouthpiece and test unit. Fix any leaks.
Verify tape is holding while using and no leaks appear. ANY leakage will void the desired protection.
Use as needed.
When not in use place unit and mouthpiece in clean safe bag, keep mouthpiece clean and do not contaminate as this will be in your mouth. The air filer may become contaminated so do not handle the disposable mask until it is time to replace. While replacing remove scuba mouthpiece and wash it good, place in safe area. Remove old mask as if it was covered in wet paint, use disposable gloves and paper towels. Dispose of filter, wash device and remove of tape if necessary.
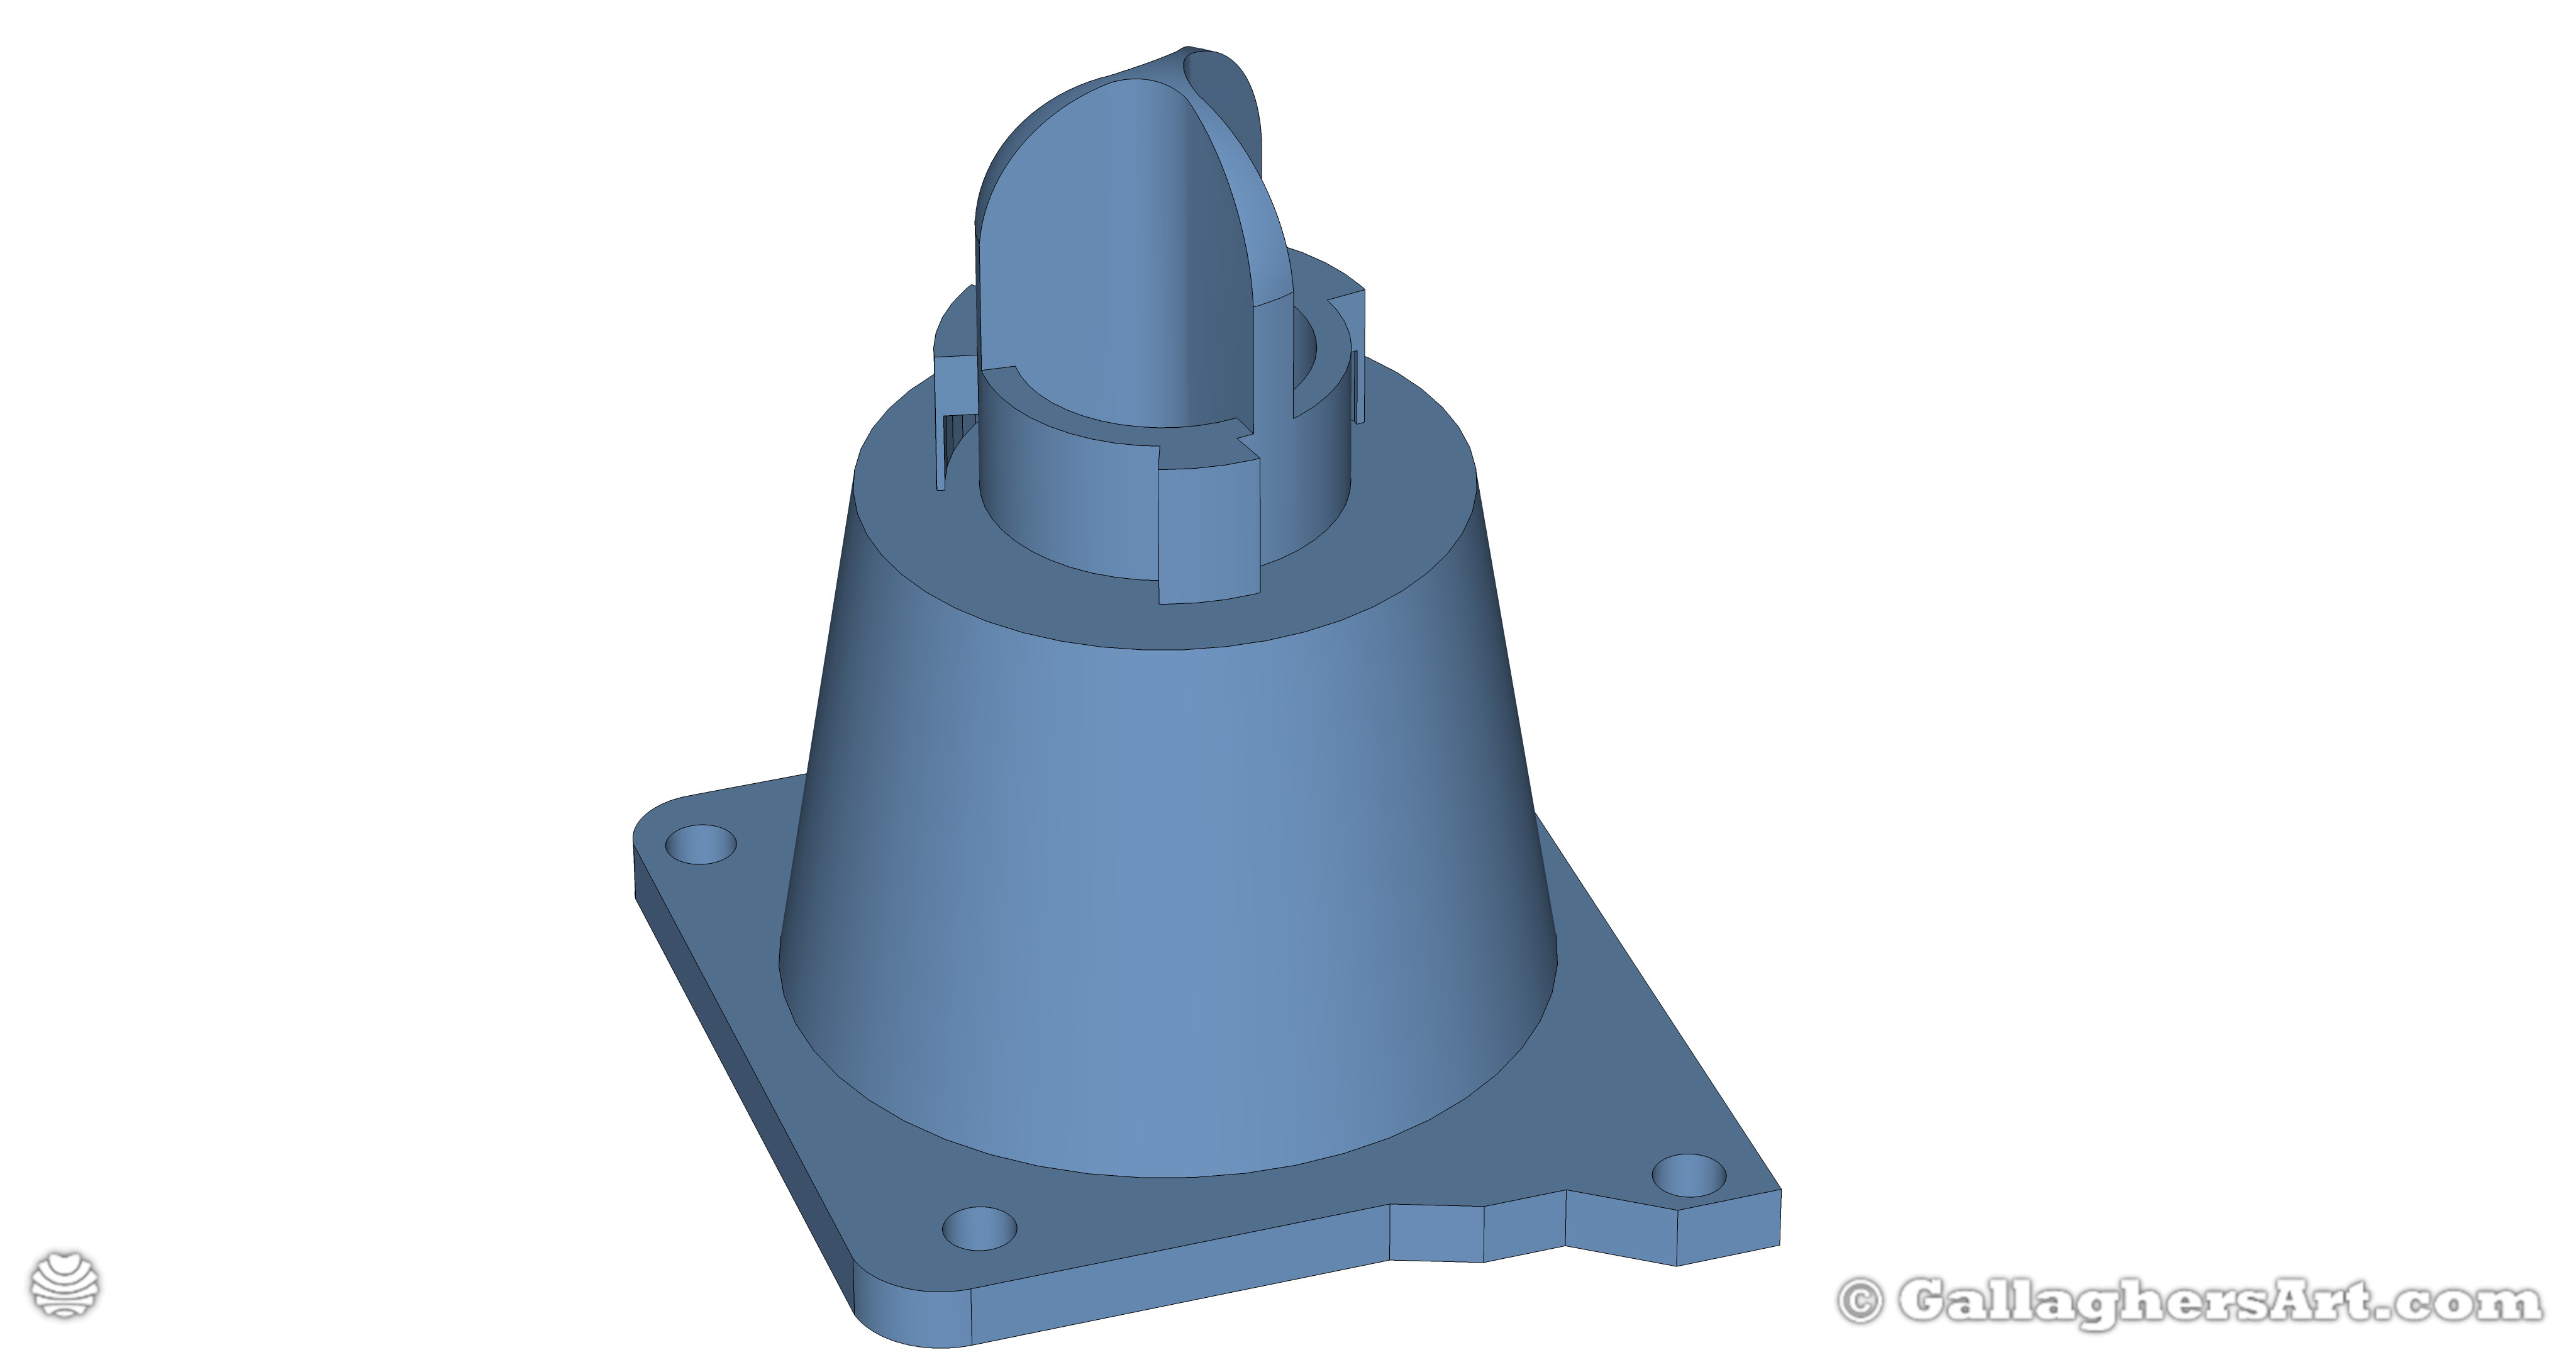
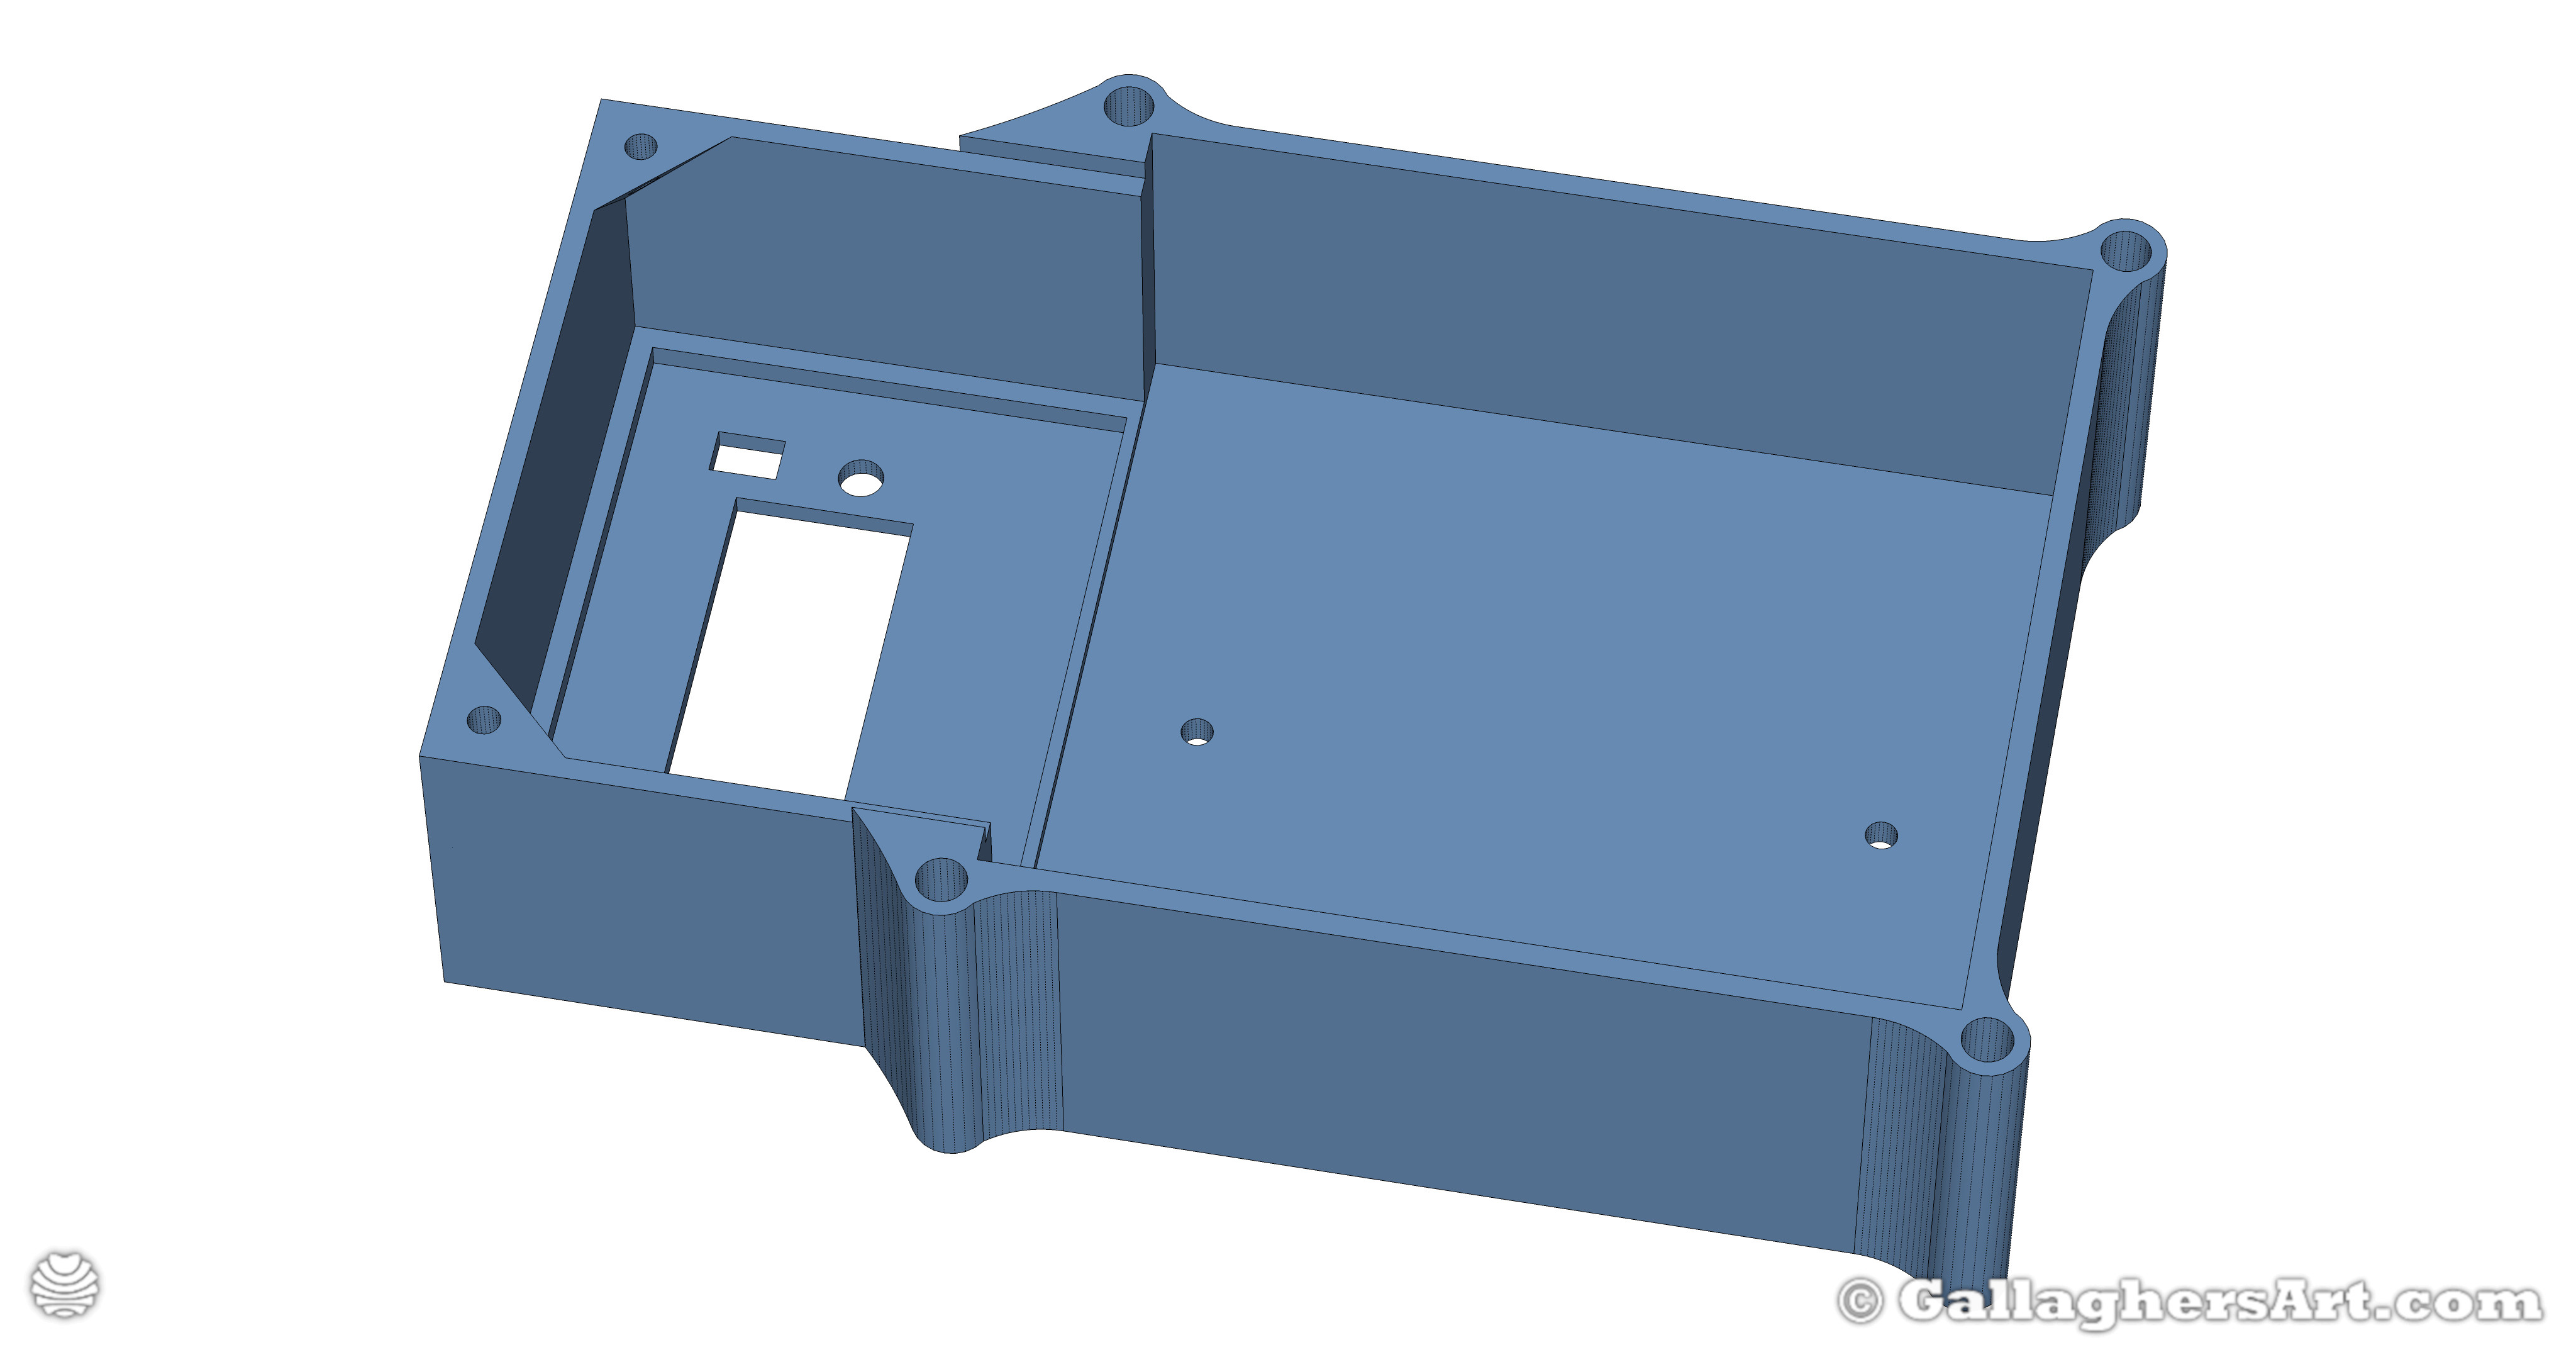
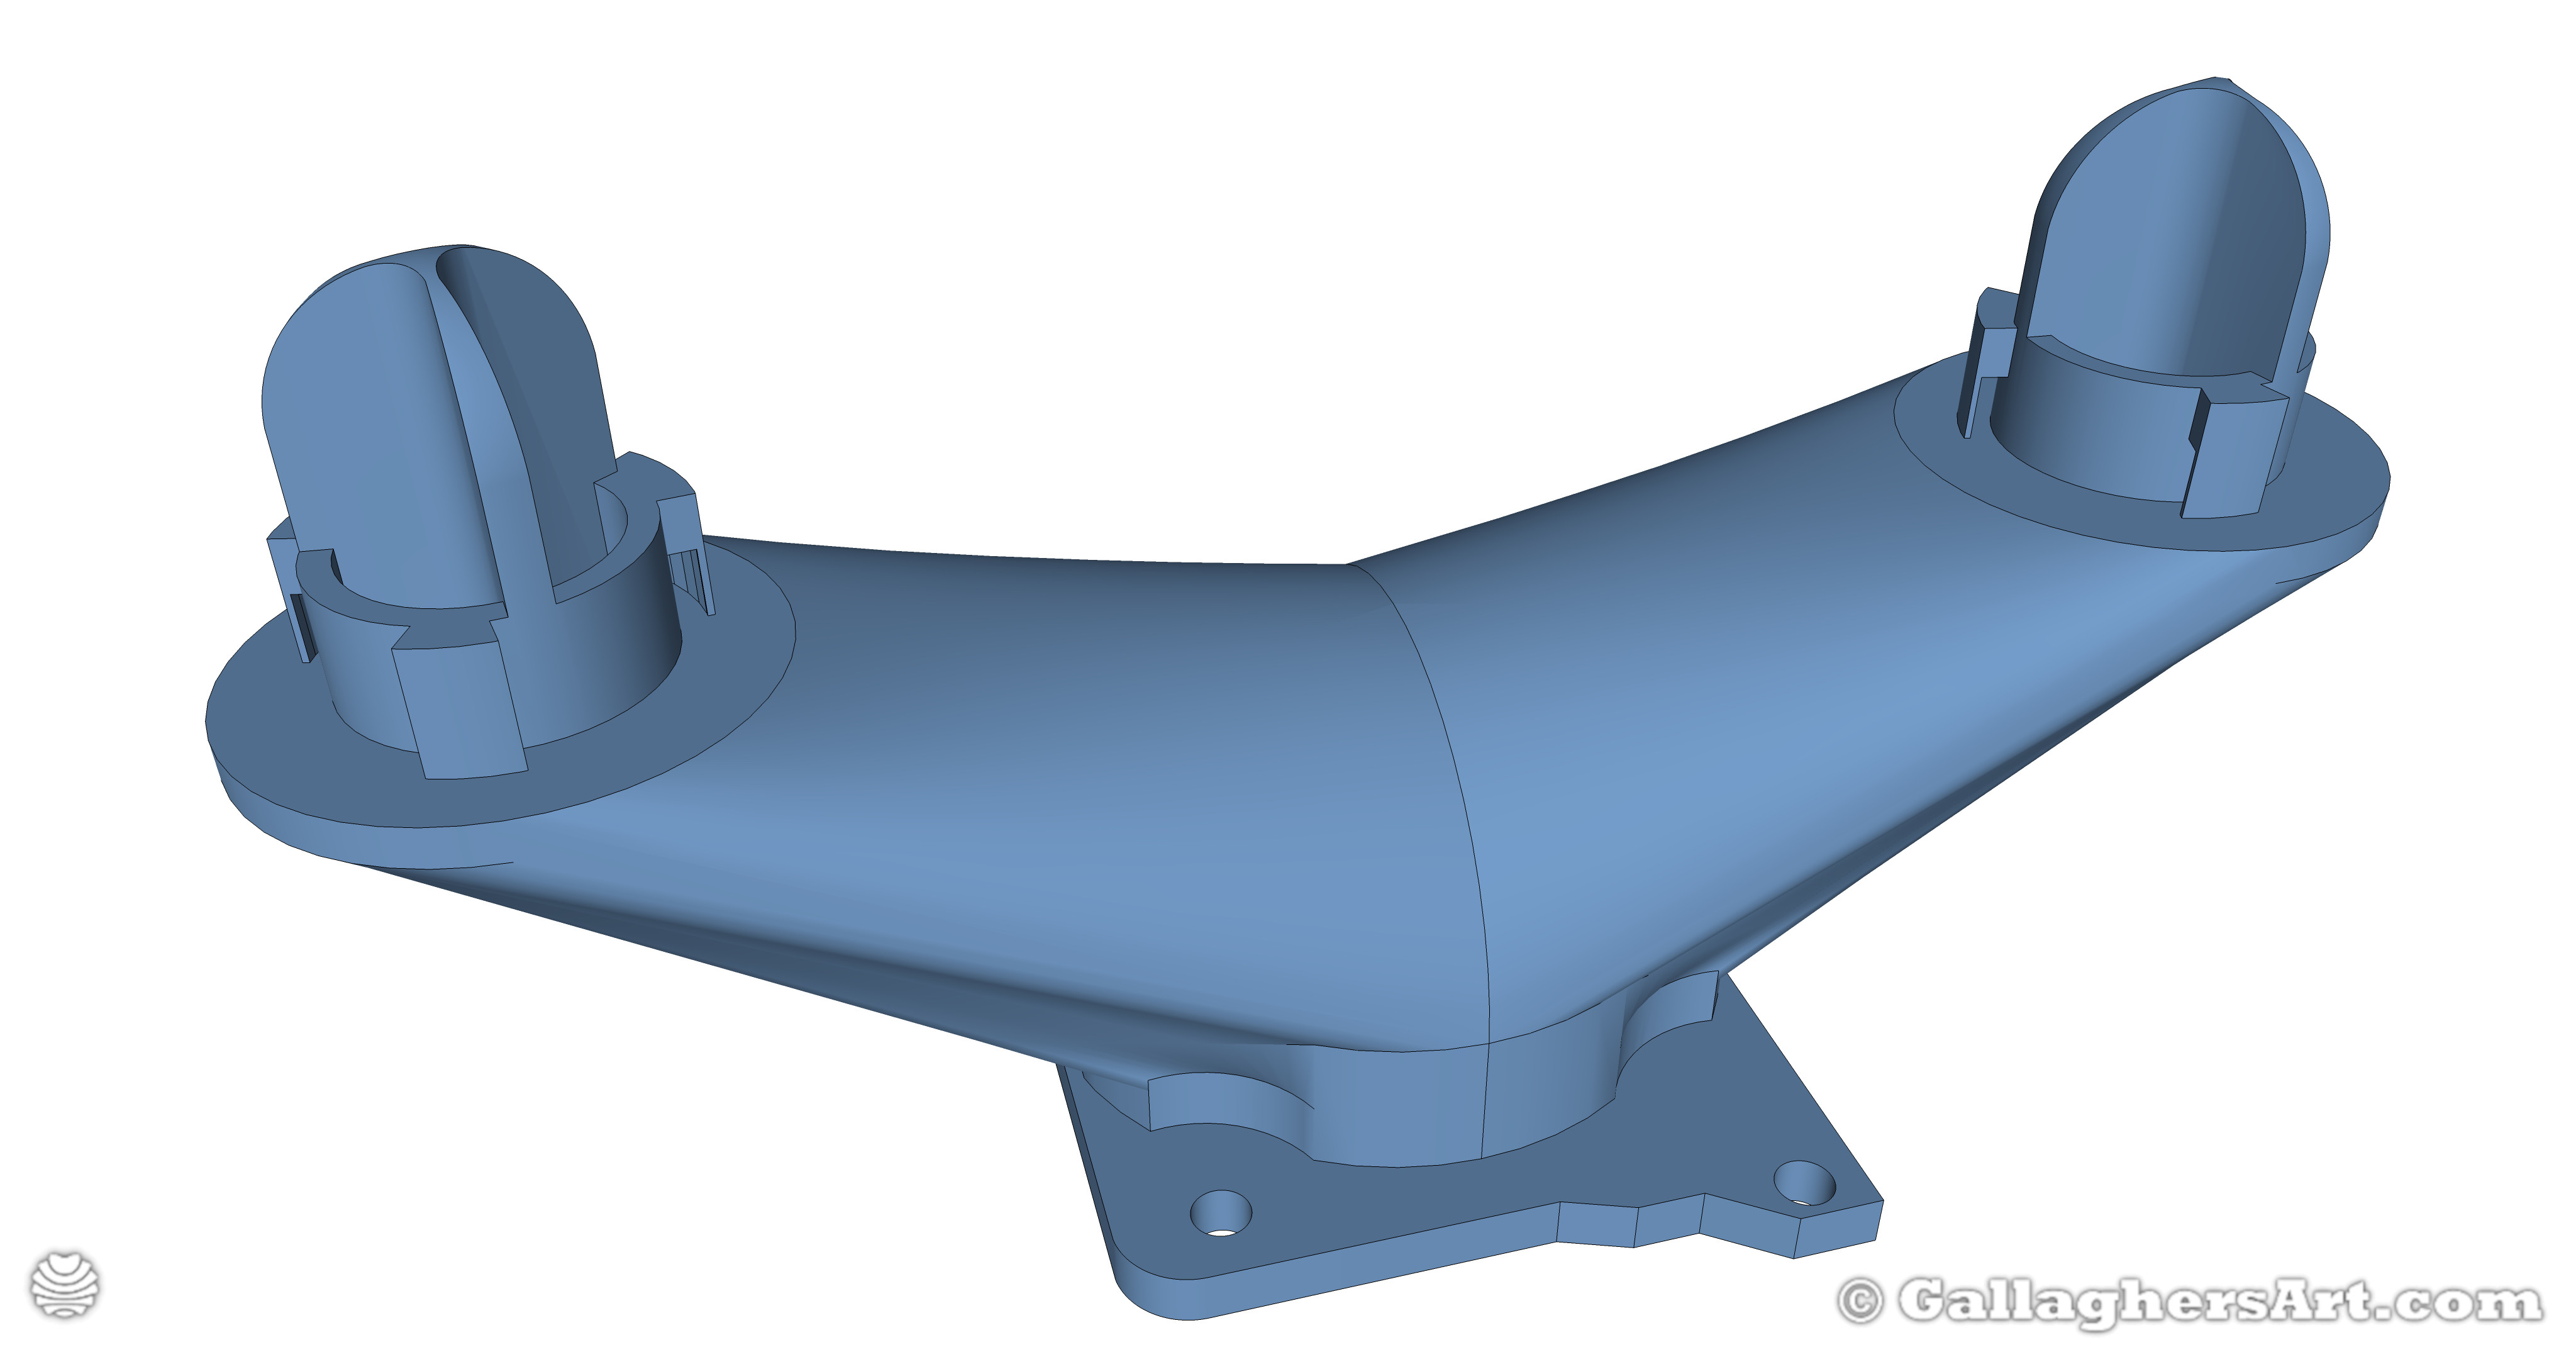
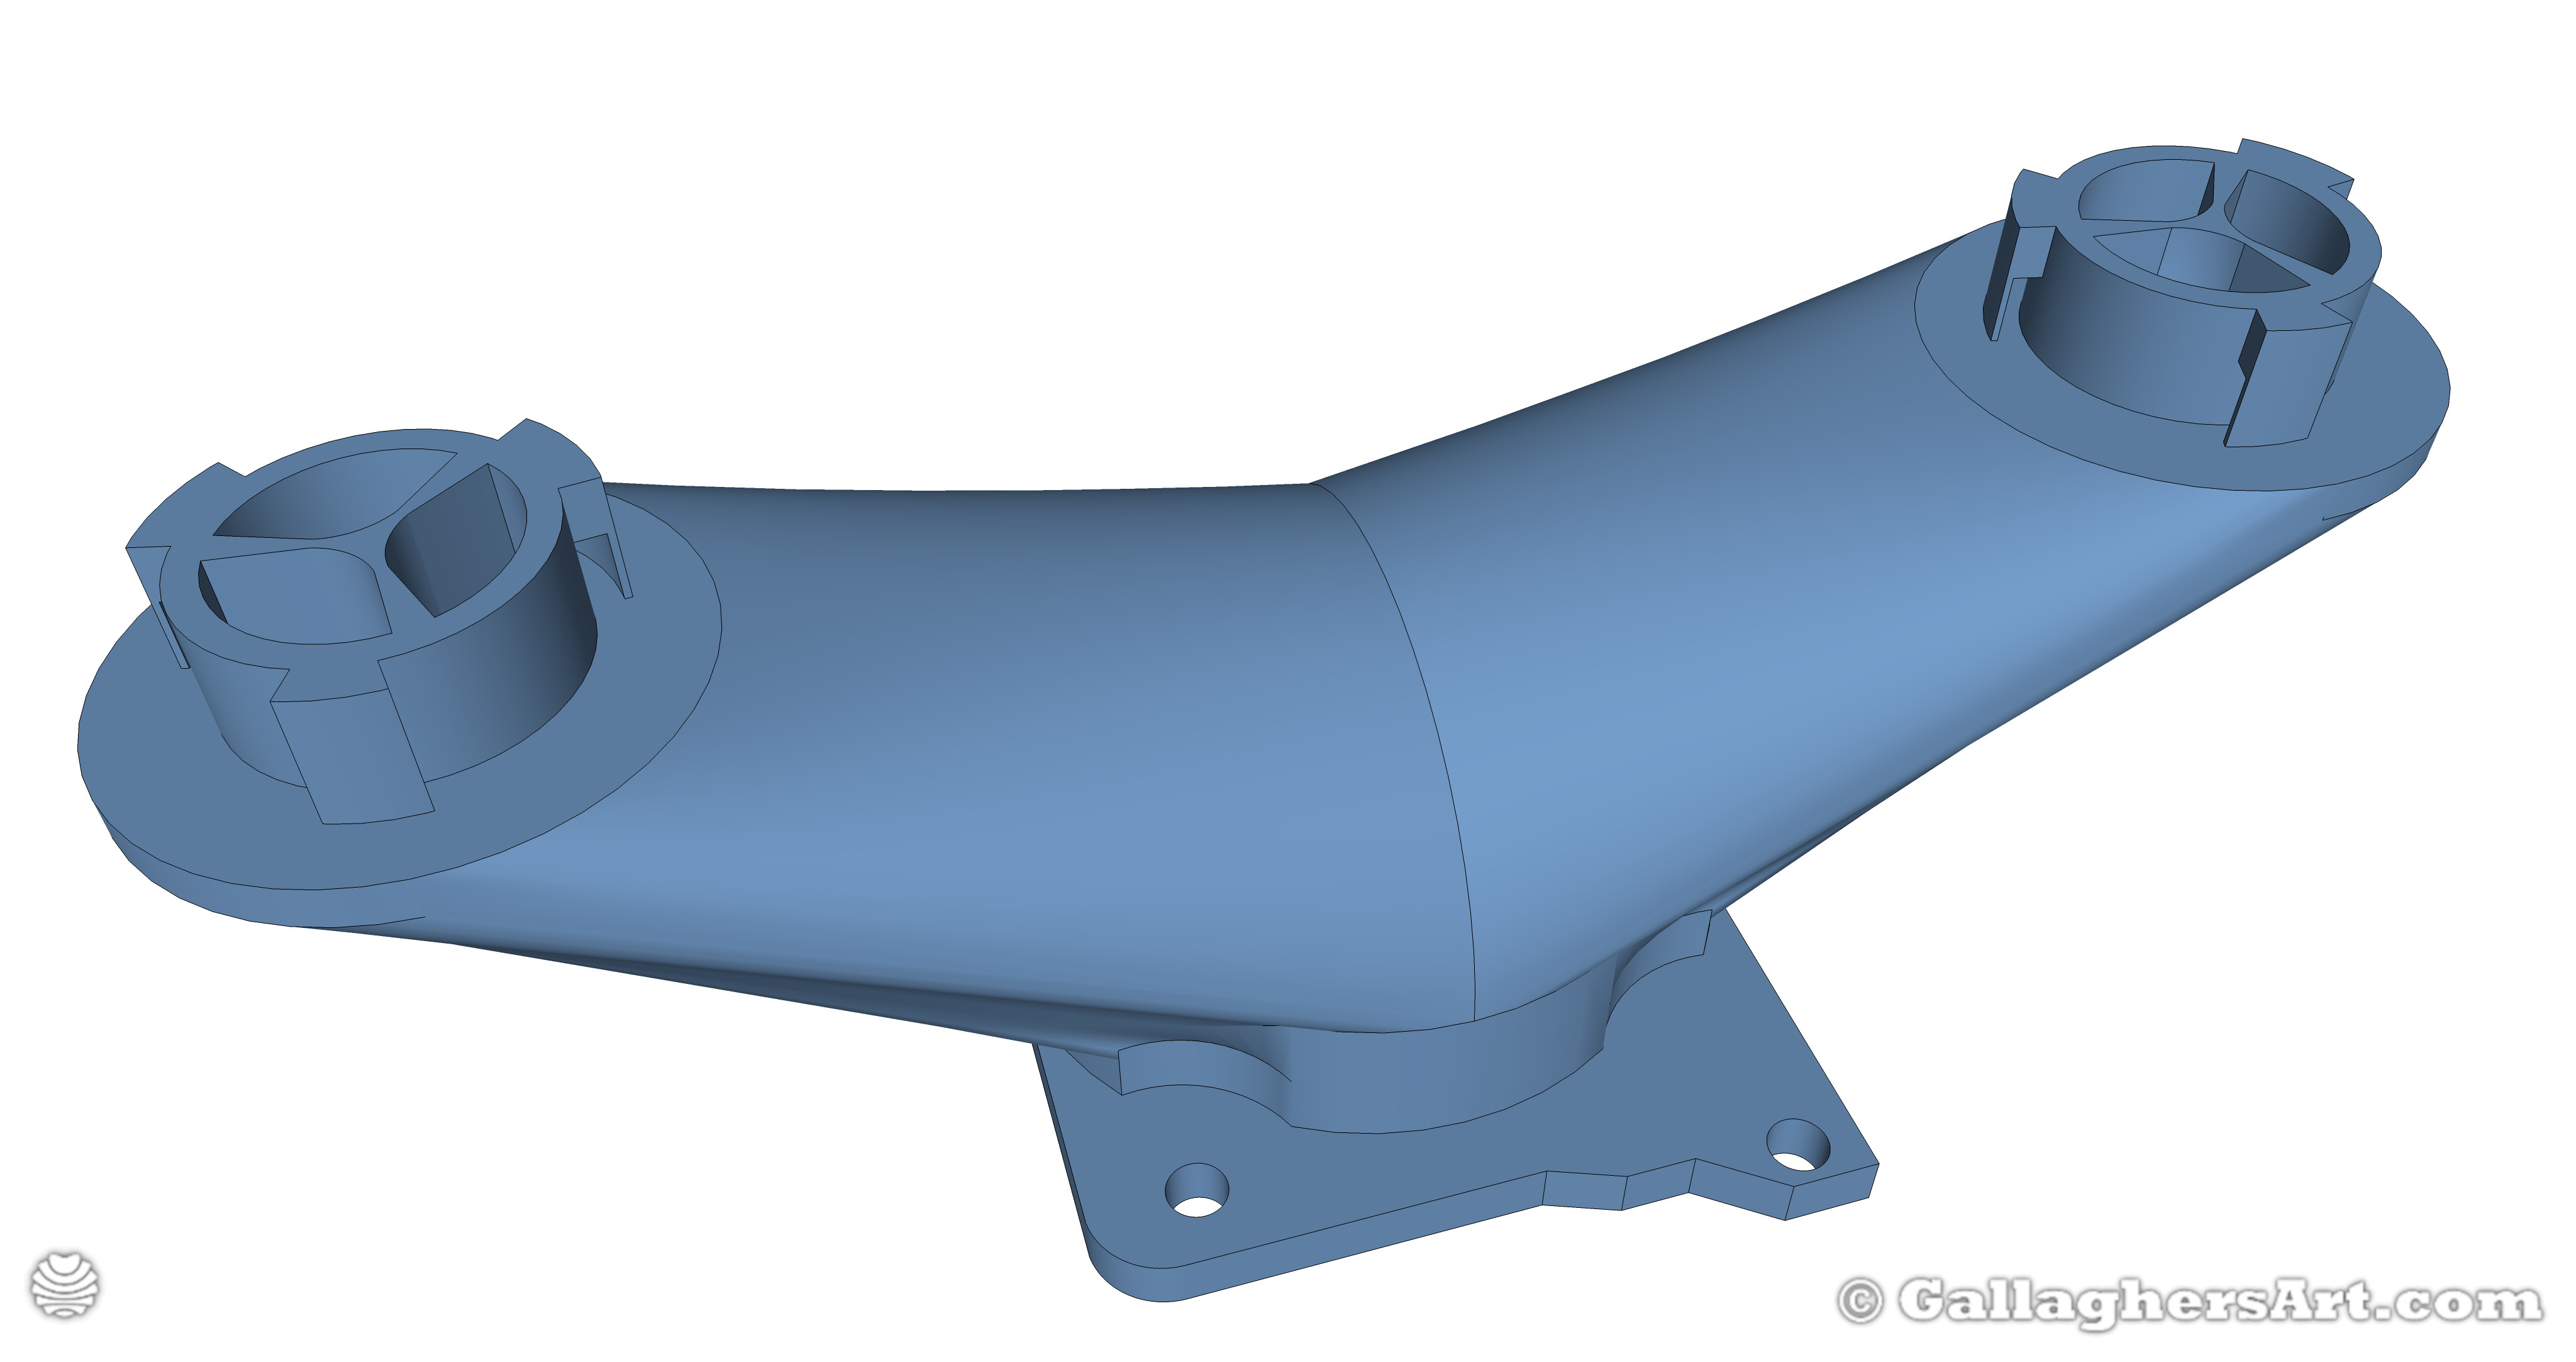
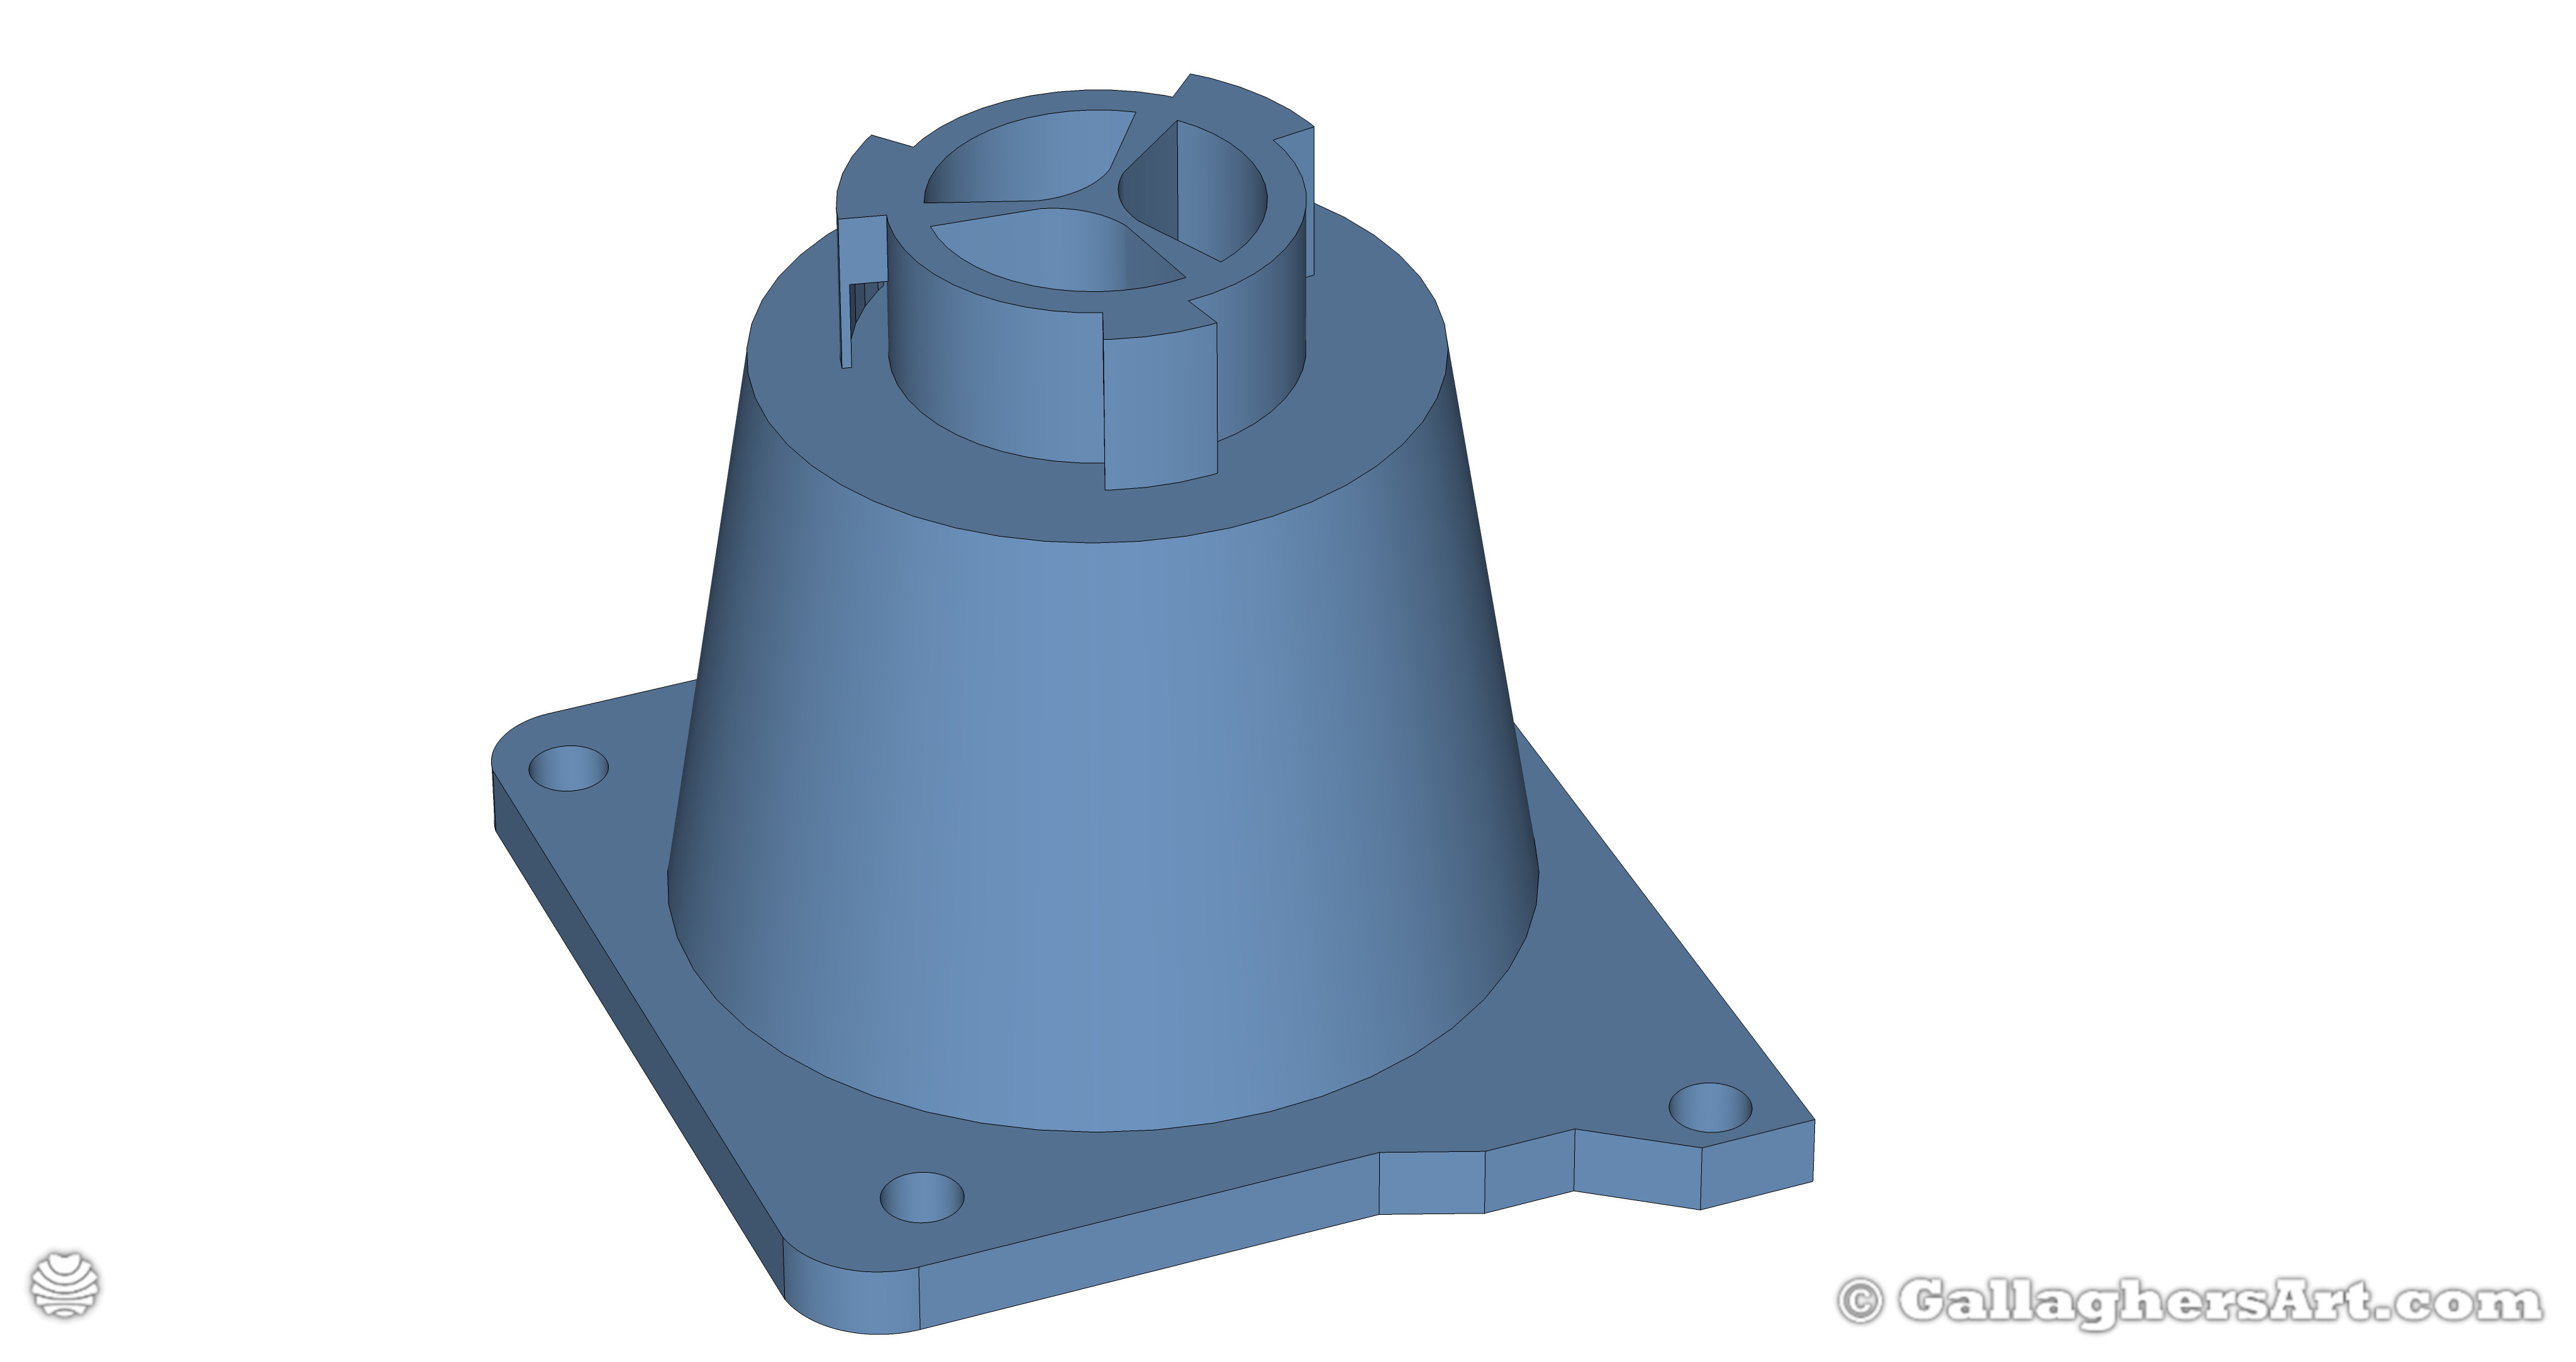
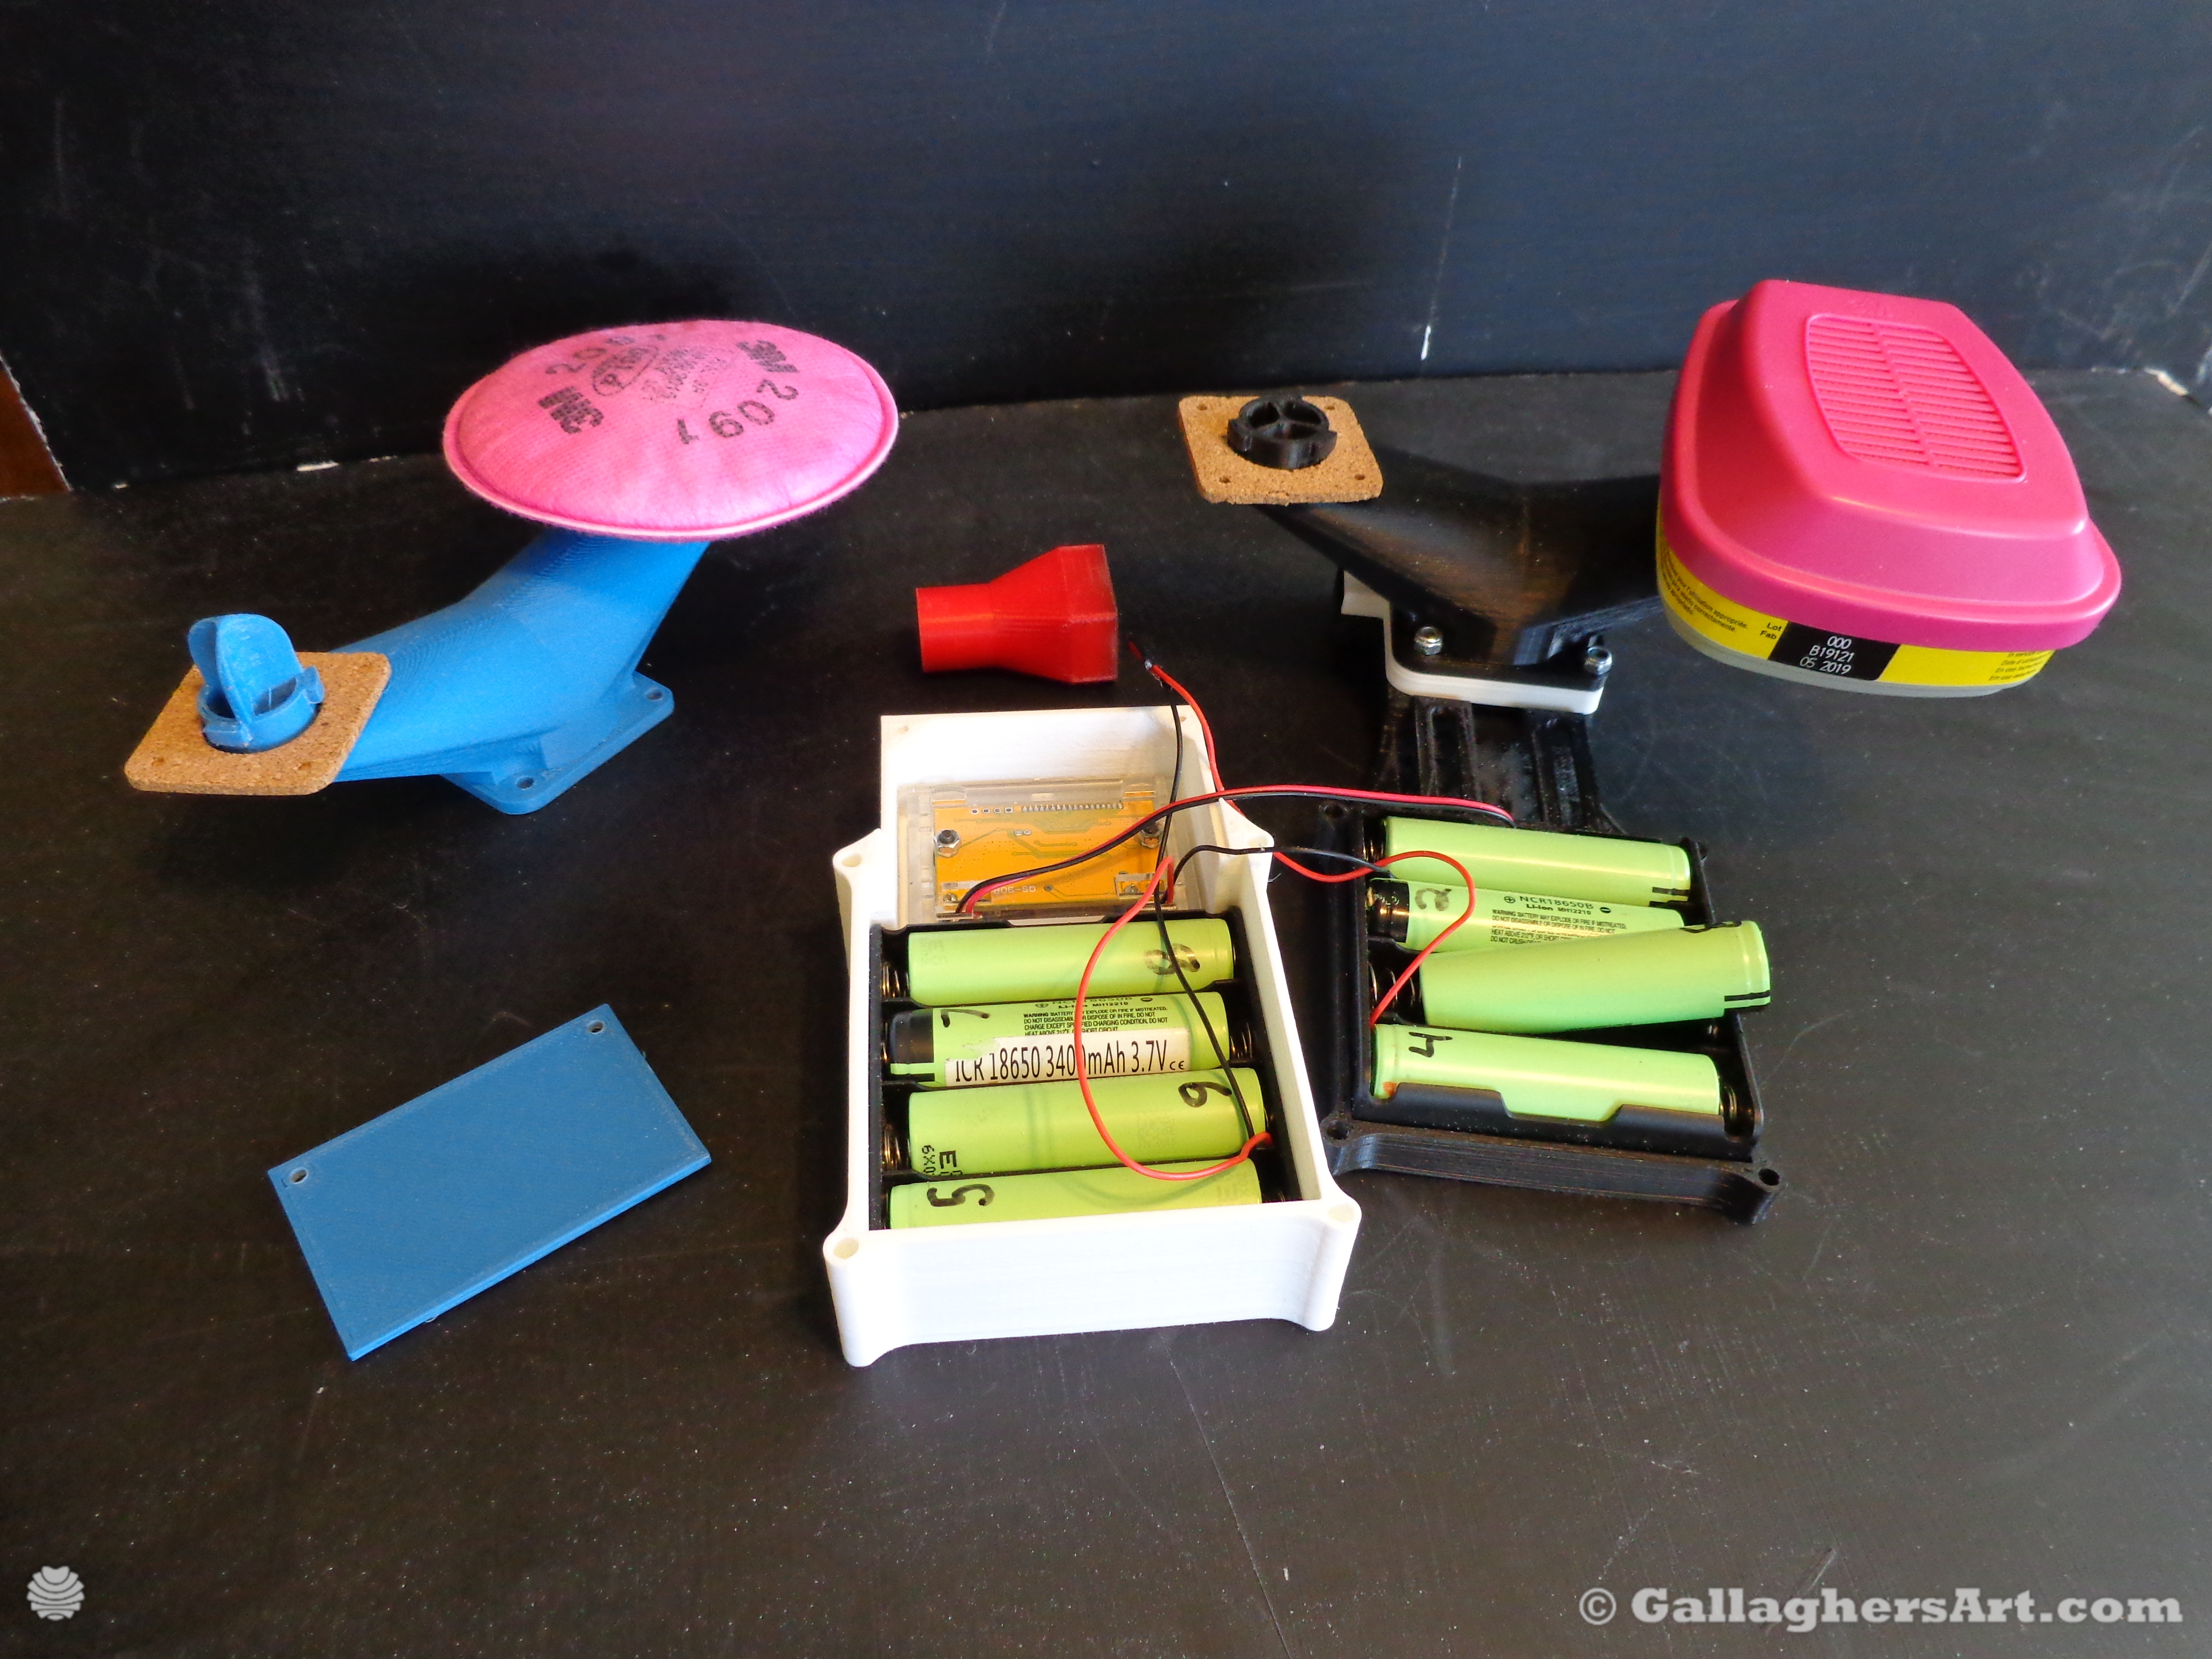
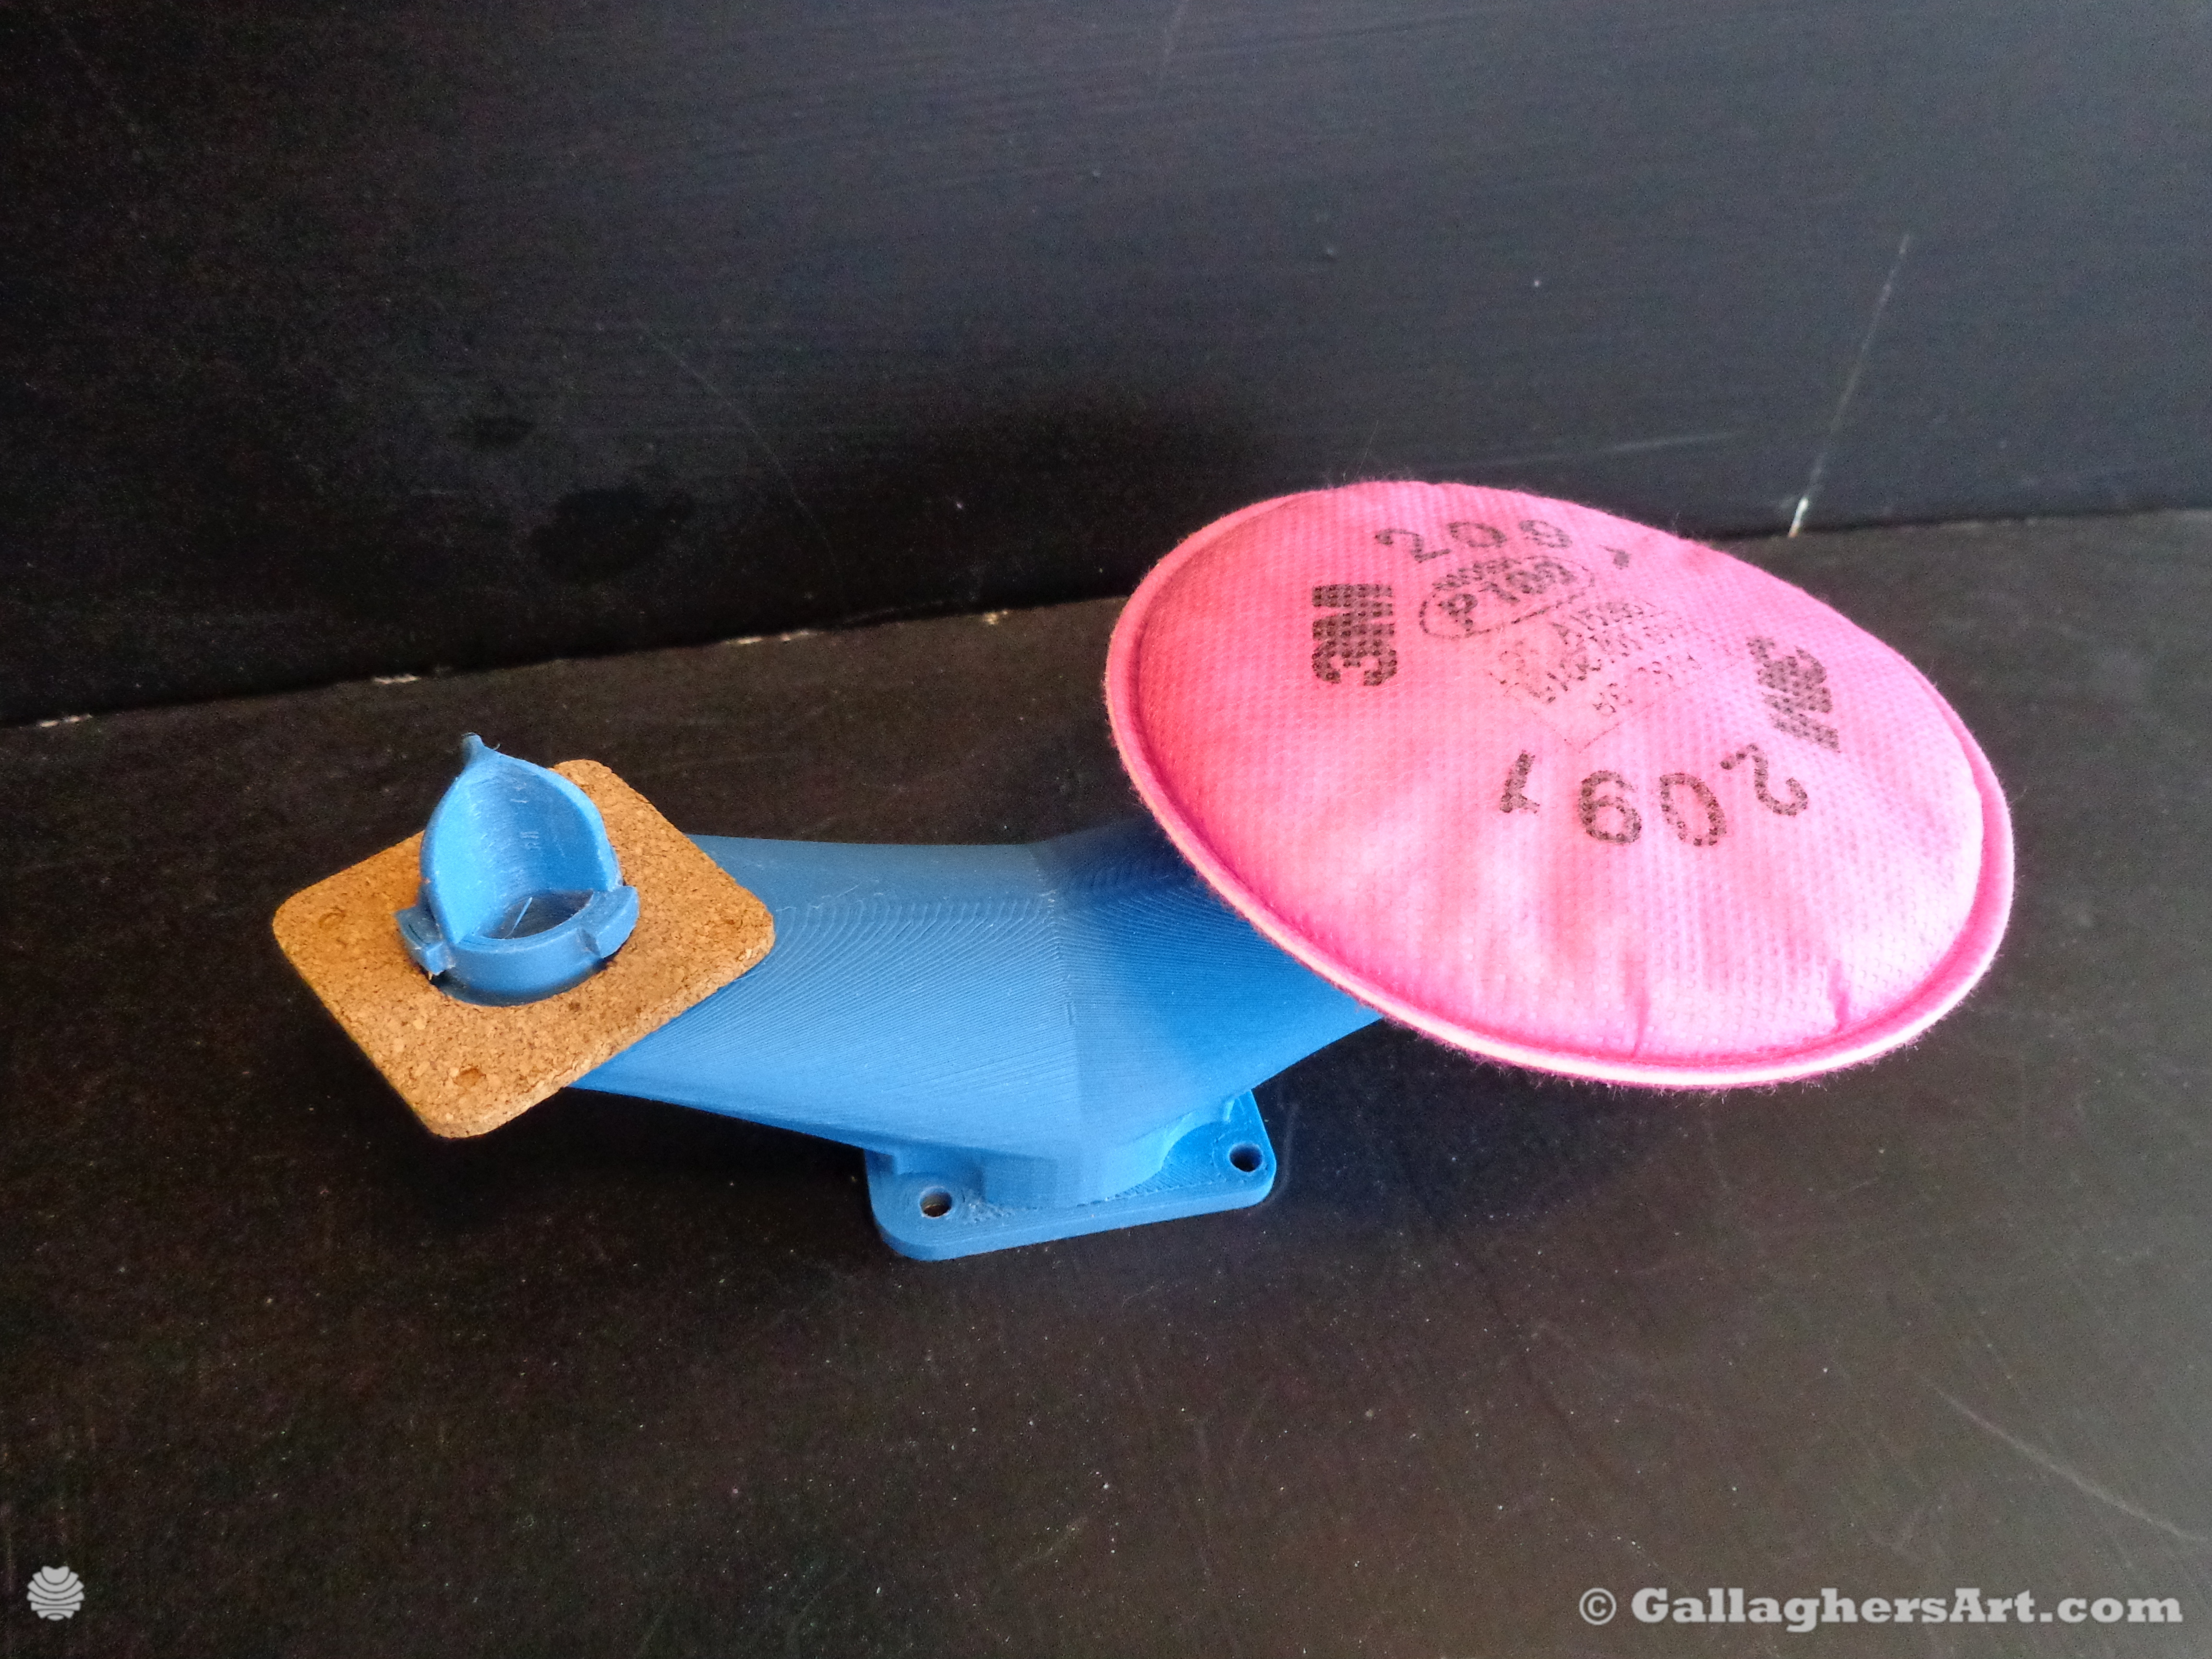
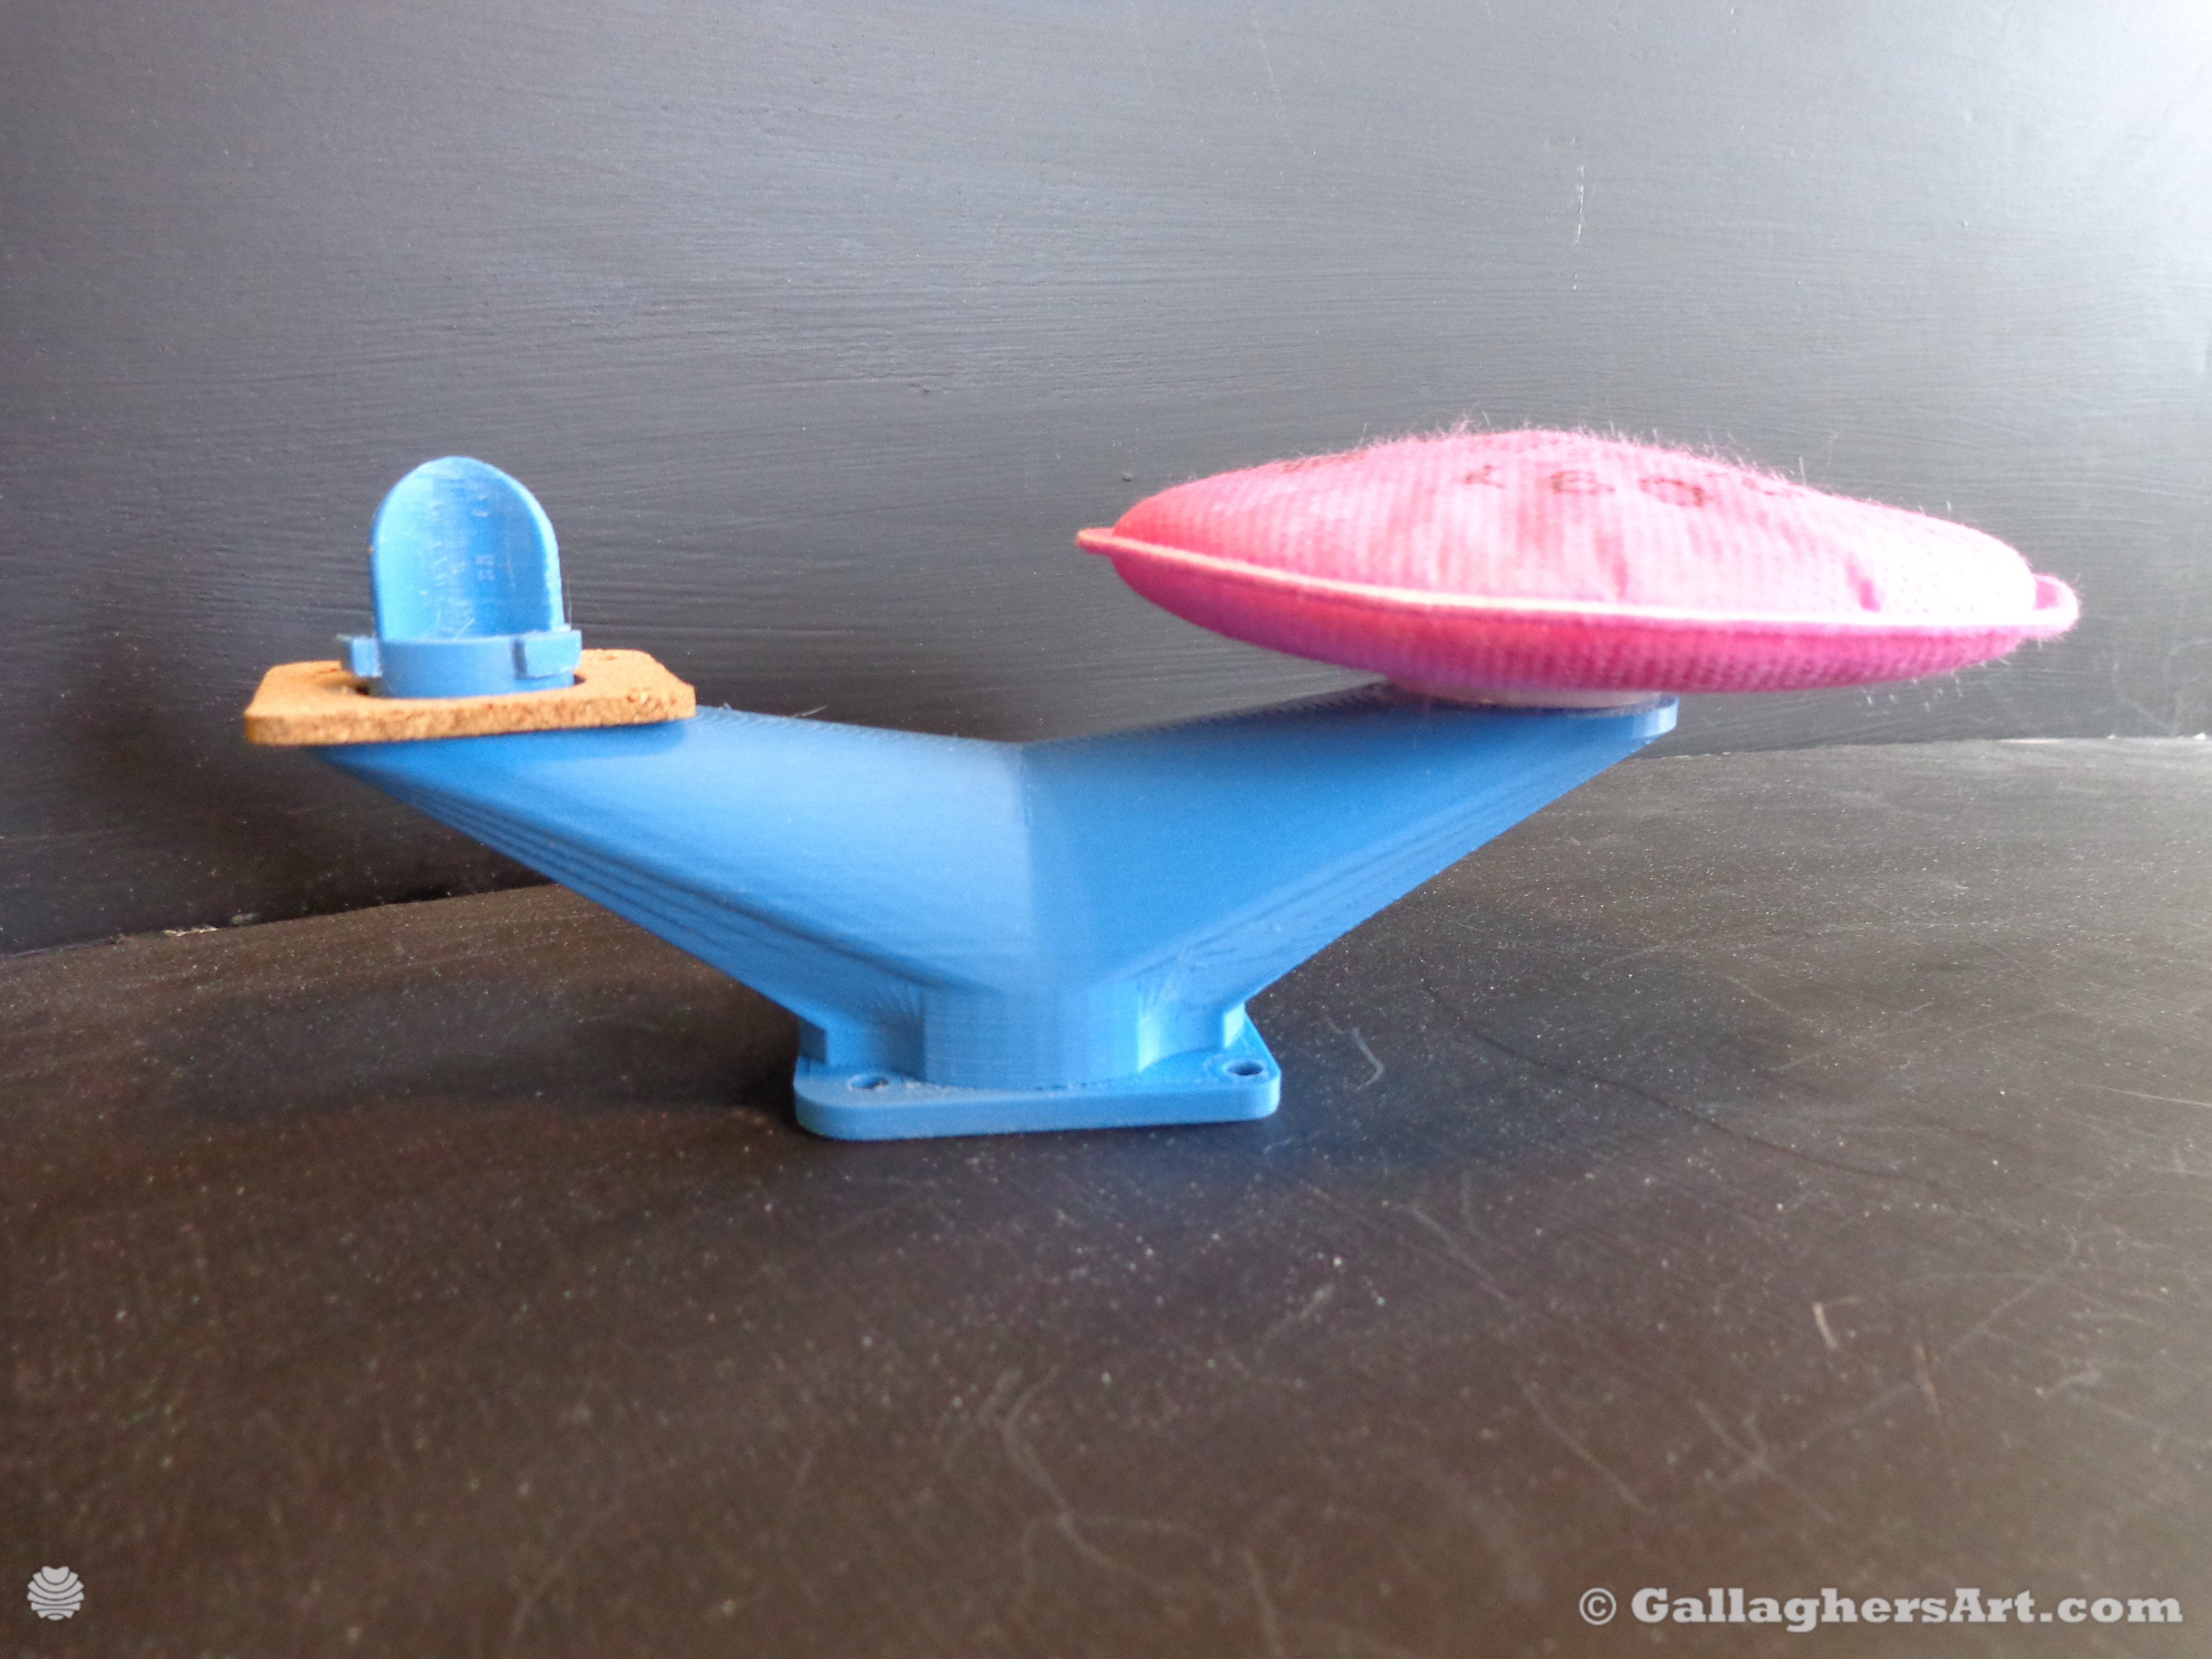
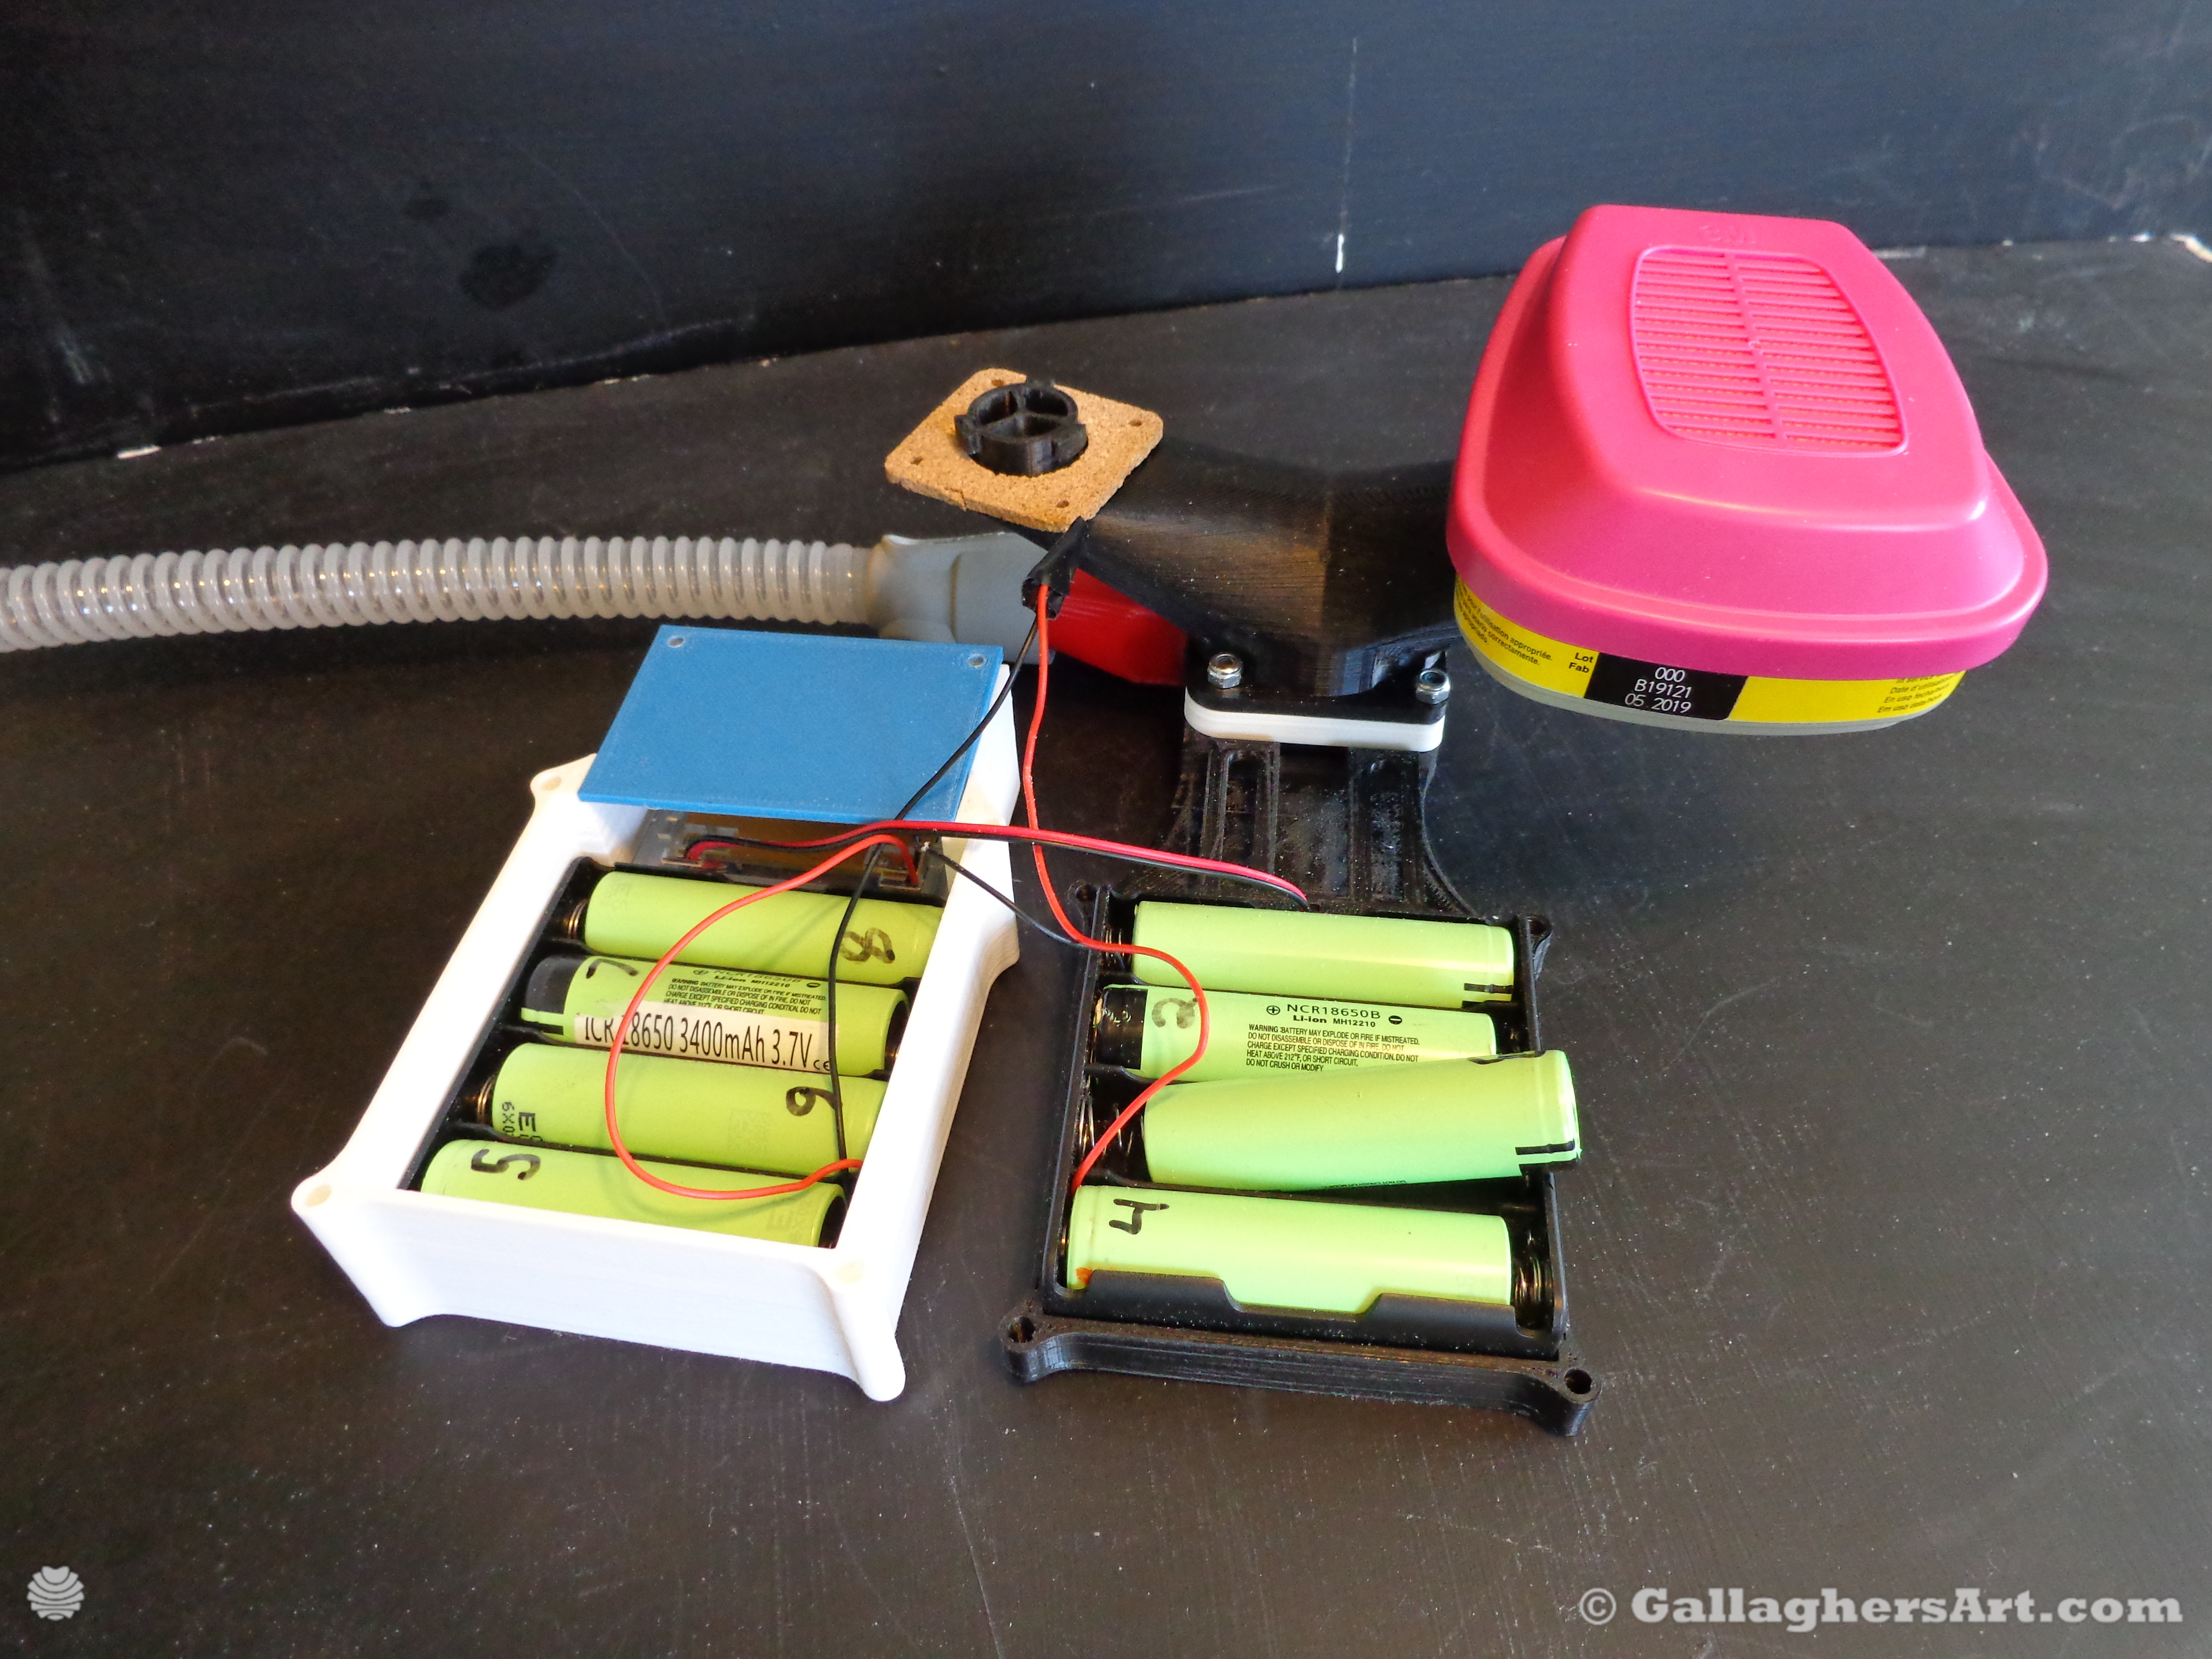
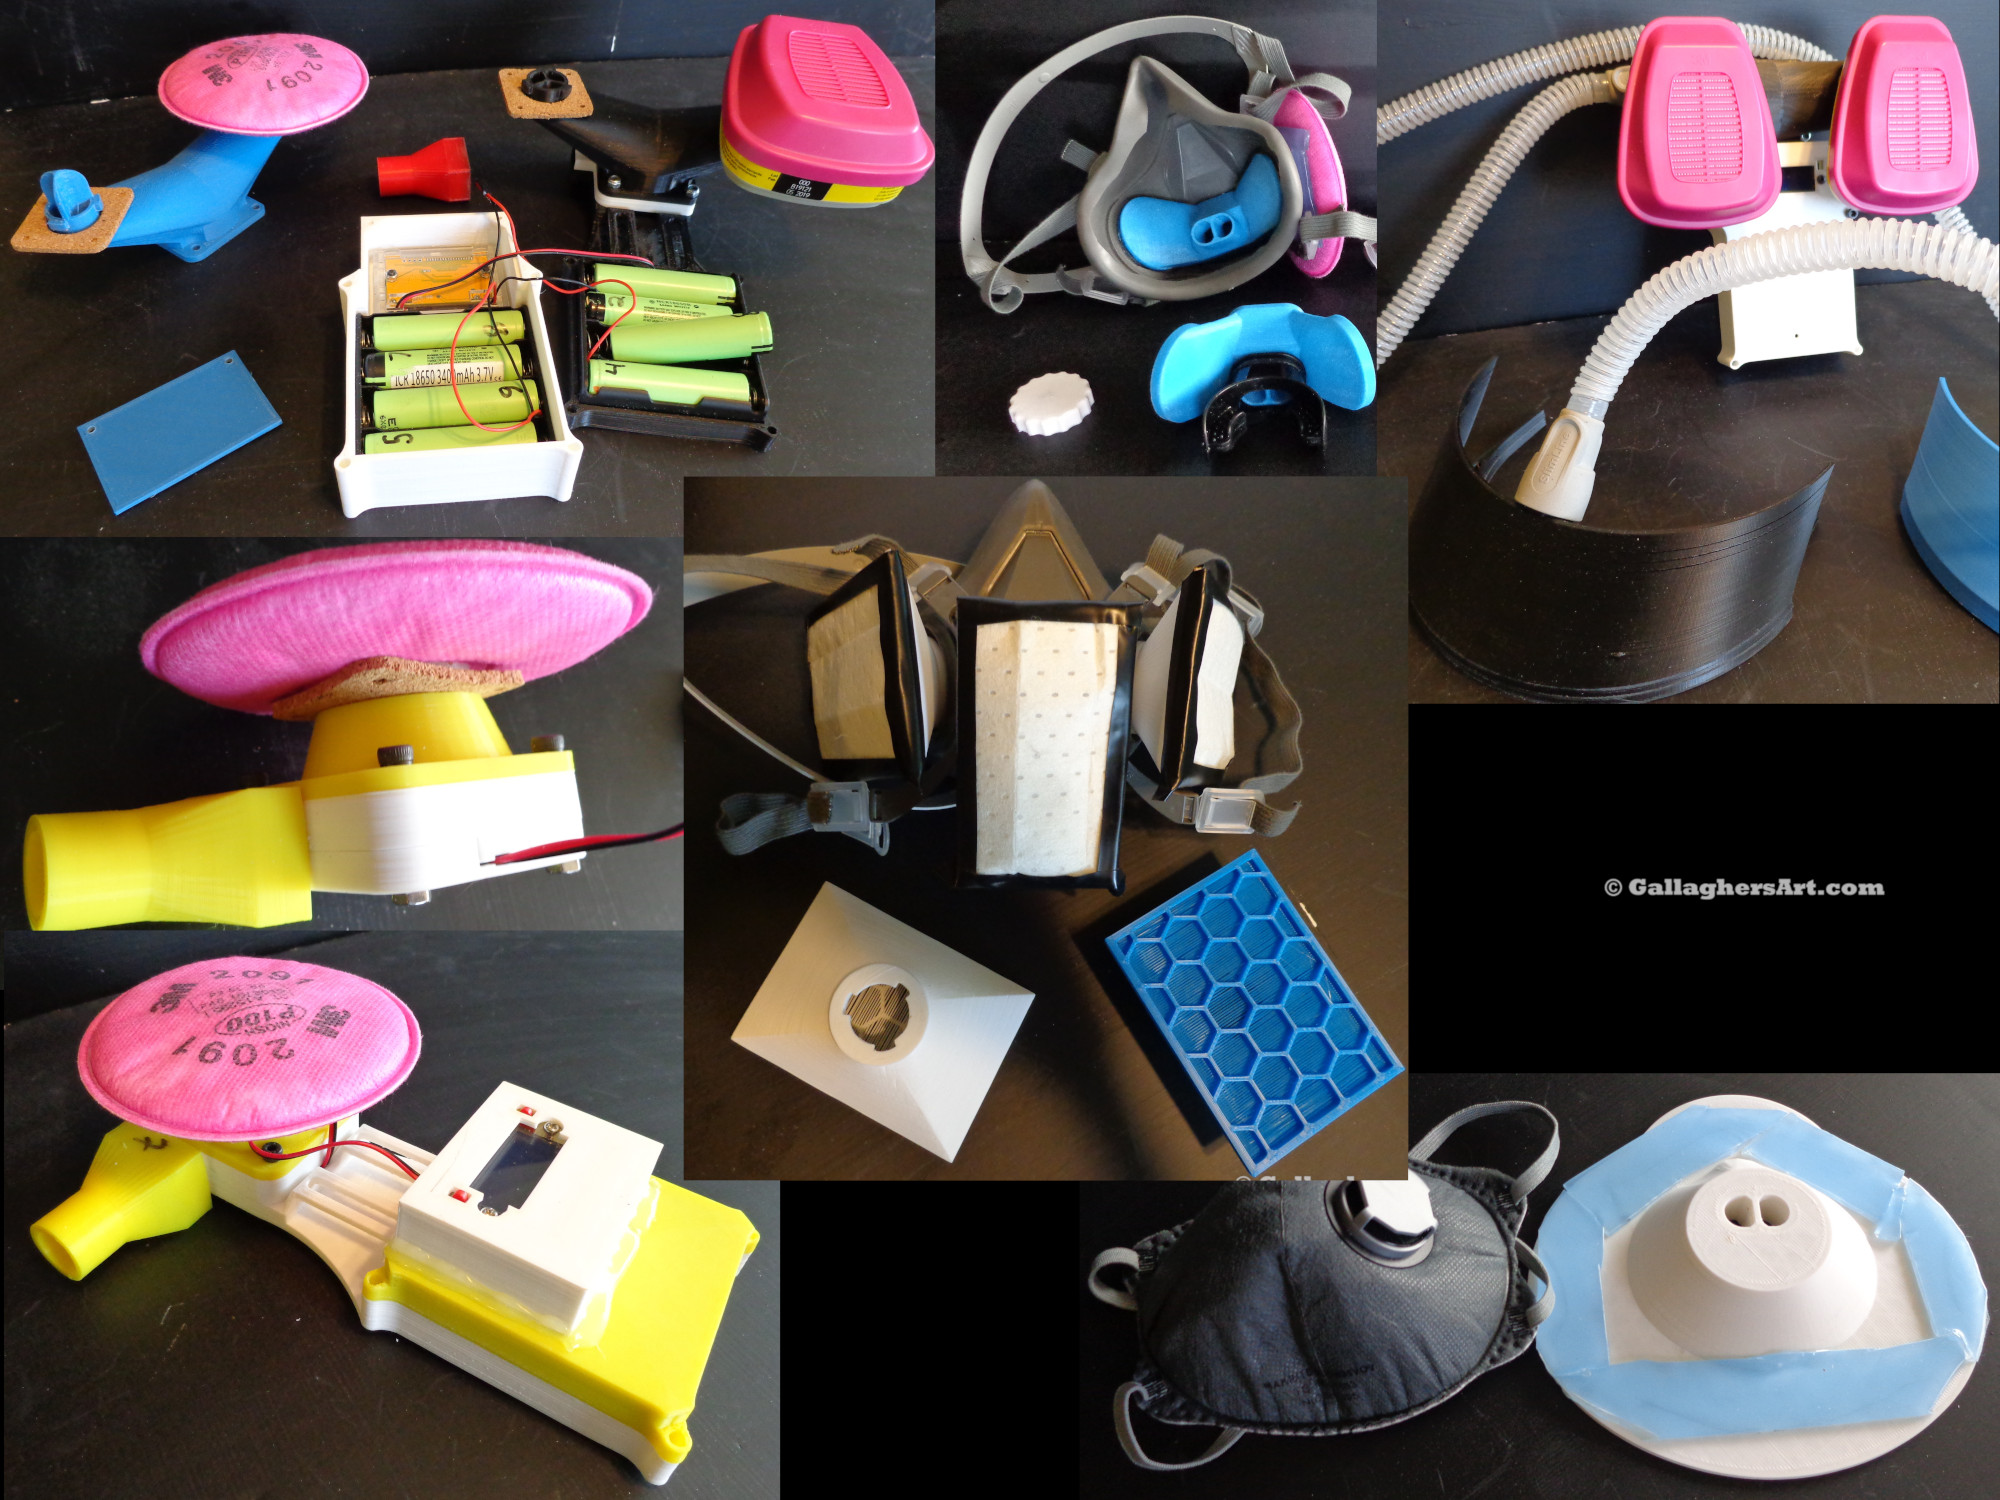
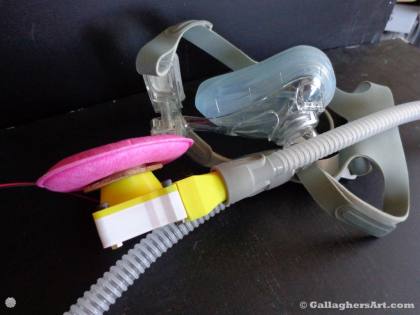 Using extra parts I had for my 3D printer and an old CPAP hose and face mask I created this powered adapter to filter the incoming air. This would only be good if not sick, no way to filter outgoing air. I made these to be modular. So, I can have different outgoing hose adapters and incoming Filter adapters. Along with a replaceable homemade filter adapter.
I used some XX 24v fans. They can down to 10v, but 12v seems the best for air flow. 24v was too much. Ideally attached to rear of person on there belt. And have any filter also covered with something to extend the filters
life.
I have 1 battery module that holds 4x 18560 in series. The battery holders that will give me between 17v and 12v. No electronics just batteries wired directly to fan, so user will have varied flow while using depending on Battery charge. You can also use your own battery Pack. I have one that holds 8x 18650 batteries and I can set the outgoing voltage, so the fan stays consistent.
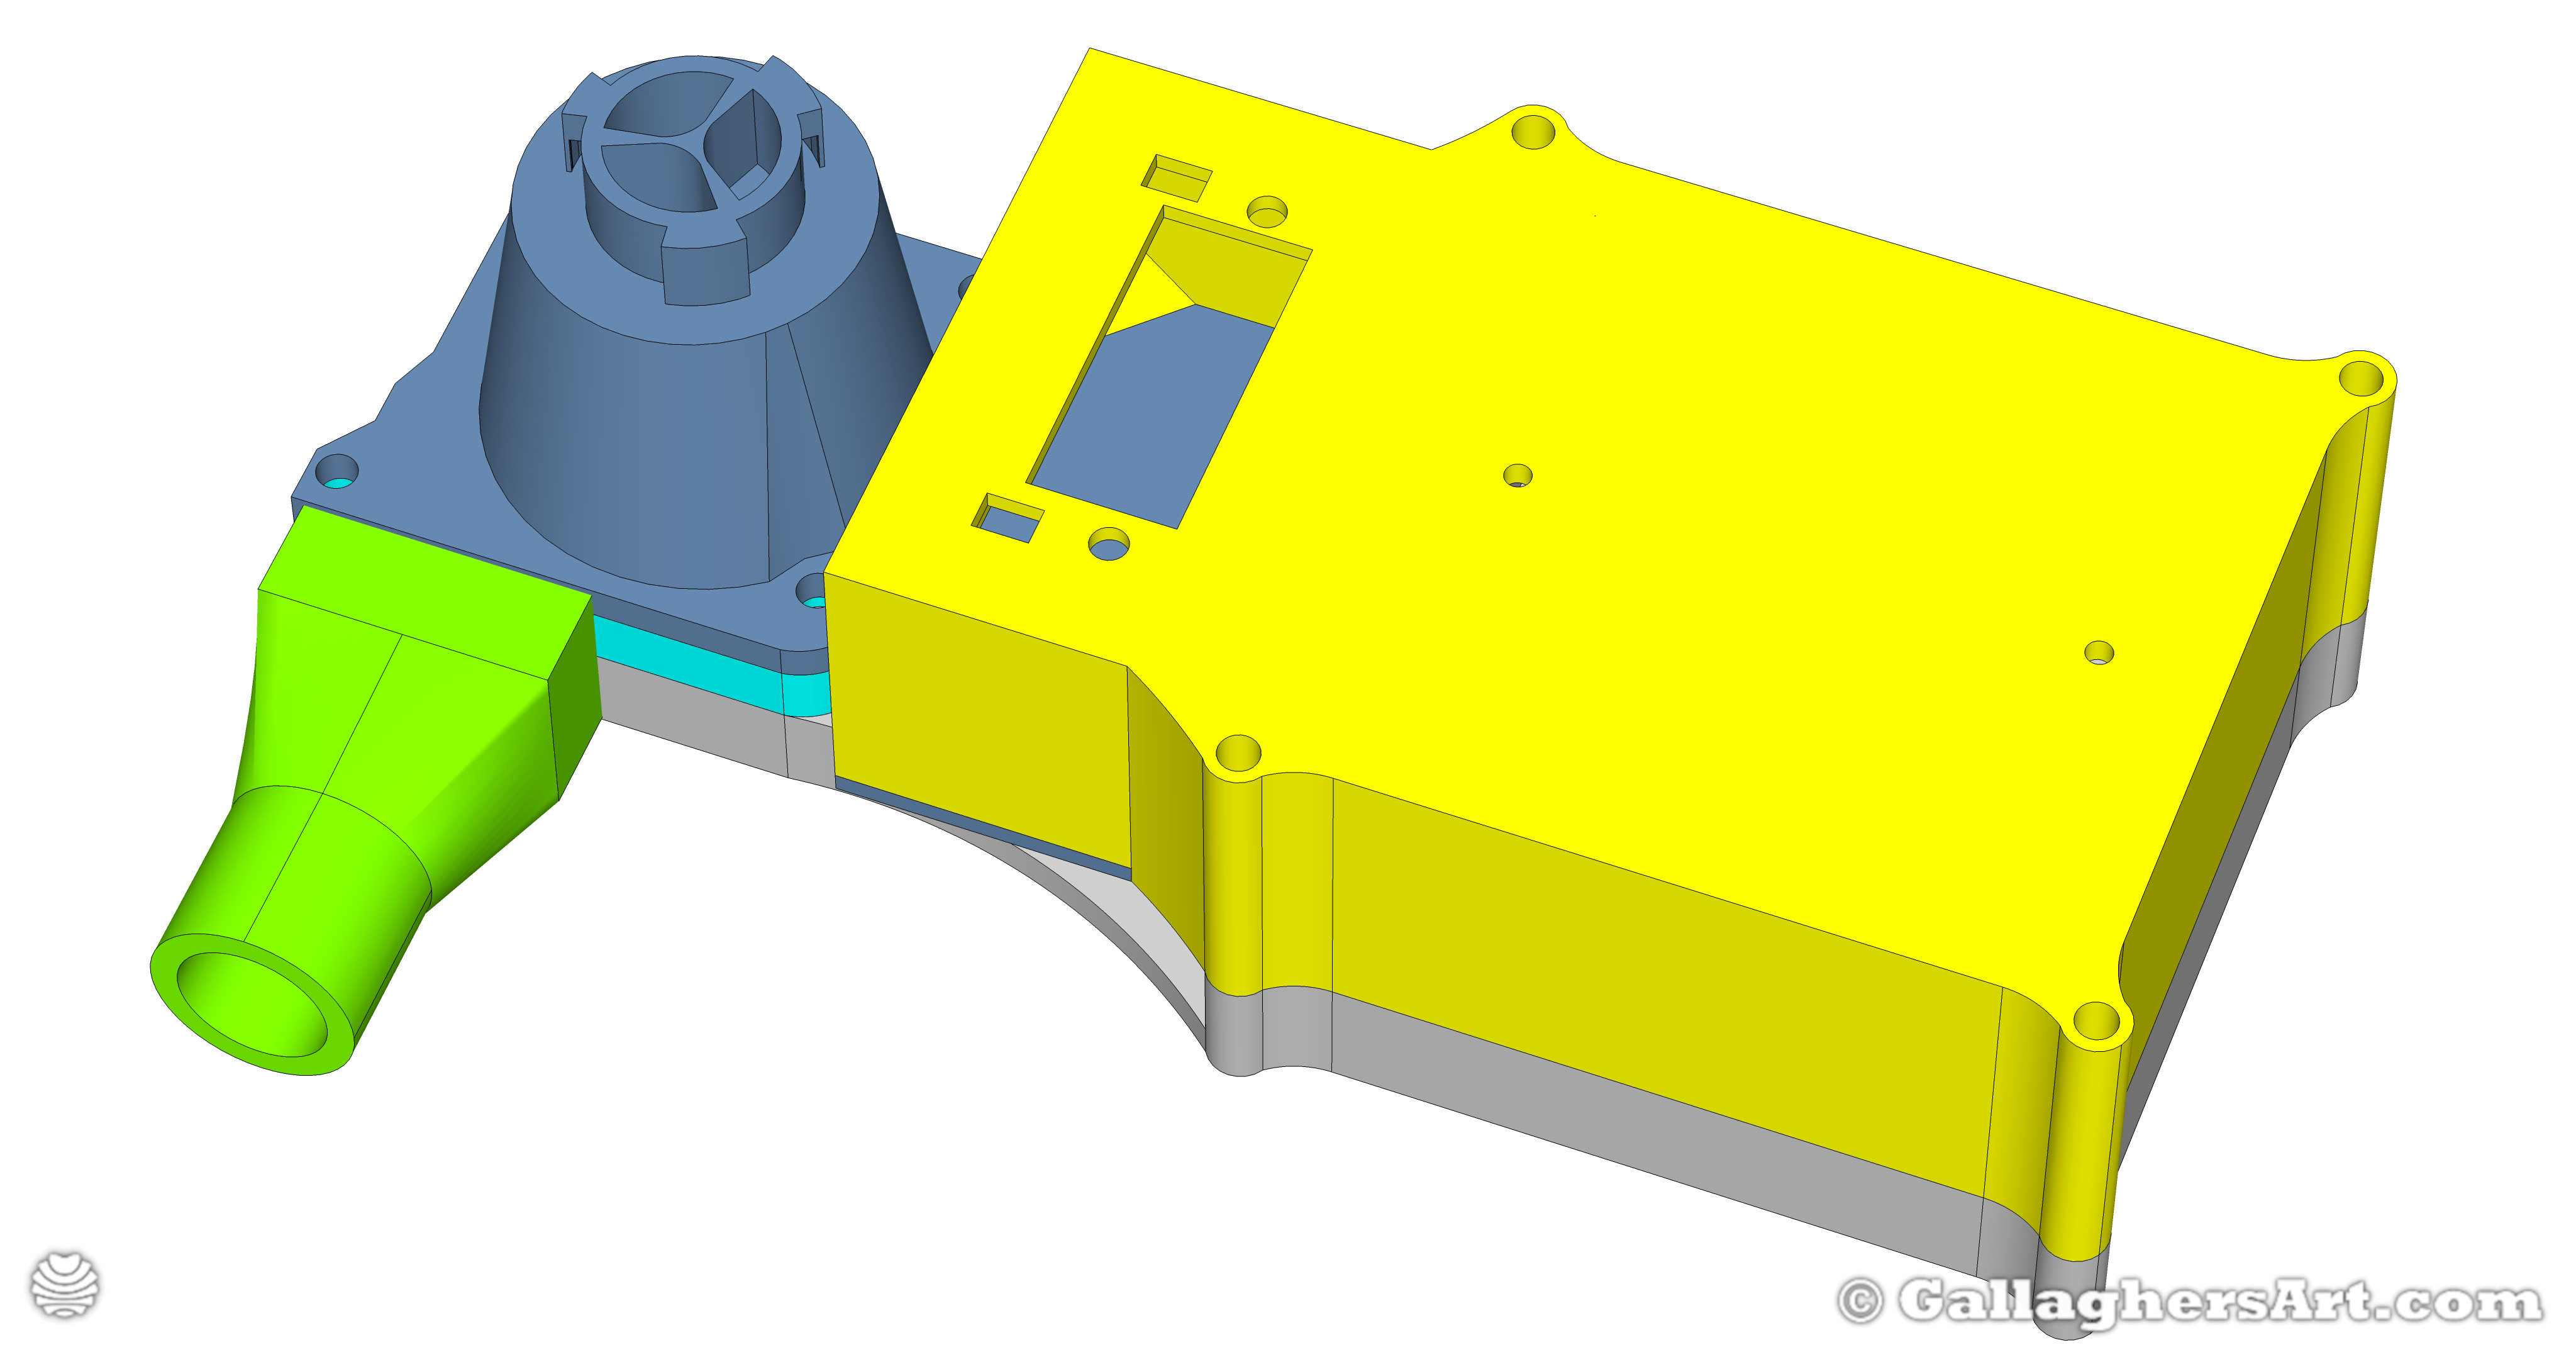
Once all parts are printed verify everything’s fits together, some sanding with small files works good for me. I made the modules to accept 4x M4 25mm bolts. The Hose attachment just slides on tightly. Parts could also be glued for a permanent setup, resulting in some minor weight saving from not using bolts.
Depending on the way you go this may need to pe printed differently or additional parts.
1# Have own battery pack that will supply 12-18v
2# AC power adapter for those who will be stationary
3# Single unit batteries and fan unit as one, swap out batteries with charged ones
4# Single unit adjustable voltage and charge battery while in use. (Coming soon, I have parts for single unit)
If using Glue
Verify all parts fit including hose and filters before gluing. The correct Air Intake Filer adapter need to be glued to the fan modules air out take. Before gluing verify parts file correctly and line up. Some sanding on a flat surface may need to be done. If fan is loose ads some padding in areas not related to air flow- this will also work for a better air tightness. Warped parts will not work. Clean Parts after a final super fine sanding of surfaces. Apply glue and hold in place until glue hardens. I would not recommend gluing the hose adapter in case hoses changes.
Using Custom 3M ®© Filter adapter
I had some cork vibration gaskets for NEMA 17 motors meant for a future 3D printer. They are 2.9mm thick and when compressed around 1.5mm thick. Much thicker than the rubber gasket on the 3M face masks. Using 3D Printed Gasket template mark and cut out gasket (if using 3M gaskets make sure you print out correct STL for the smaller gap for gasket). Screw parts together or glue, add the cork/gasket NO GLUE. Give it power without filter on it to verify all good. Then install filter and give it power again. I have noticed that with 3M 209x Filter’s I need around 12v of power. For the big 609xx filters I need @14v to get same result.
to fan. Using 3M 2091 fabric filter
4.19v batteries to start
16.71v 12:10
16.54v 13:10
16.46v 14:10
16.36v 15:10
16.34v 16:10
16.31v 17:10
16.24v 18:10
16.20v 19:10
16.17v 20:10
16.13v 21:10
16.03v 22:10
15.95v 23:10
15.87v 24:10
End volt 3.96v, Works much better than I had hoped. 12+ hours and still 3.87 volts to go until 12v. Depending on how much the step down would cost I hope to extend this time even longer with the DC volt regulator set to 13v.
While Sitting 12-13v seems to work. The other day I went grocery shopping… yes got some looks. After using I had maxed out the 4x18650 voltage the whole time. Making 8x18650 battery holder so I can get maybe @18v while in usage. Ordered some Cheap power switches and fan controller with dial.. will post once those are done and printed. I hope they take less power than the volt regulator that is taking up to 3v.
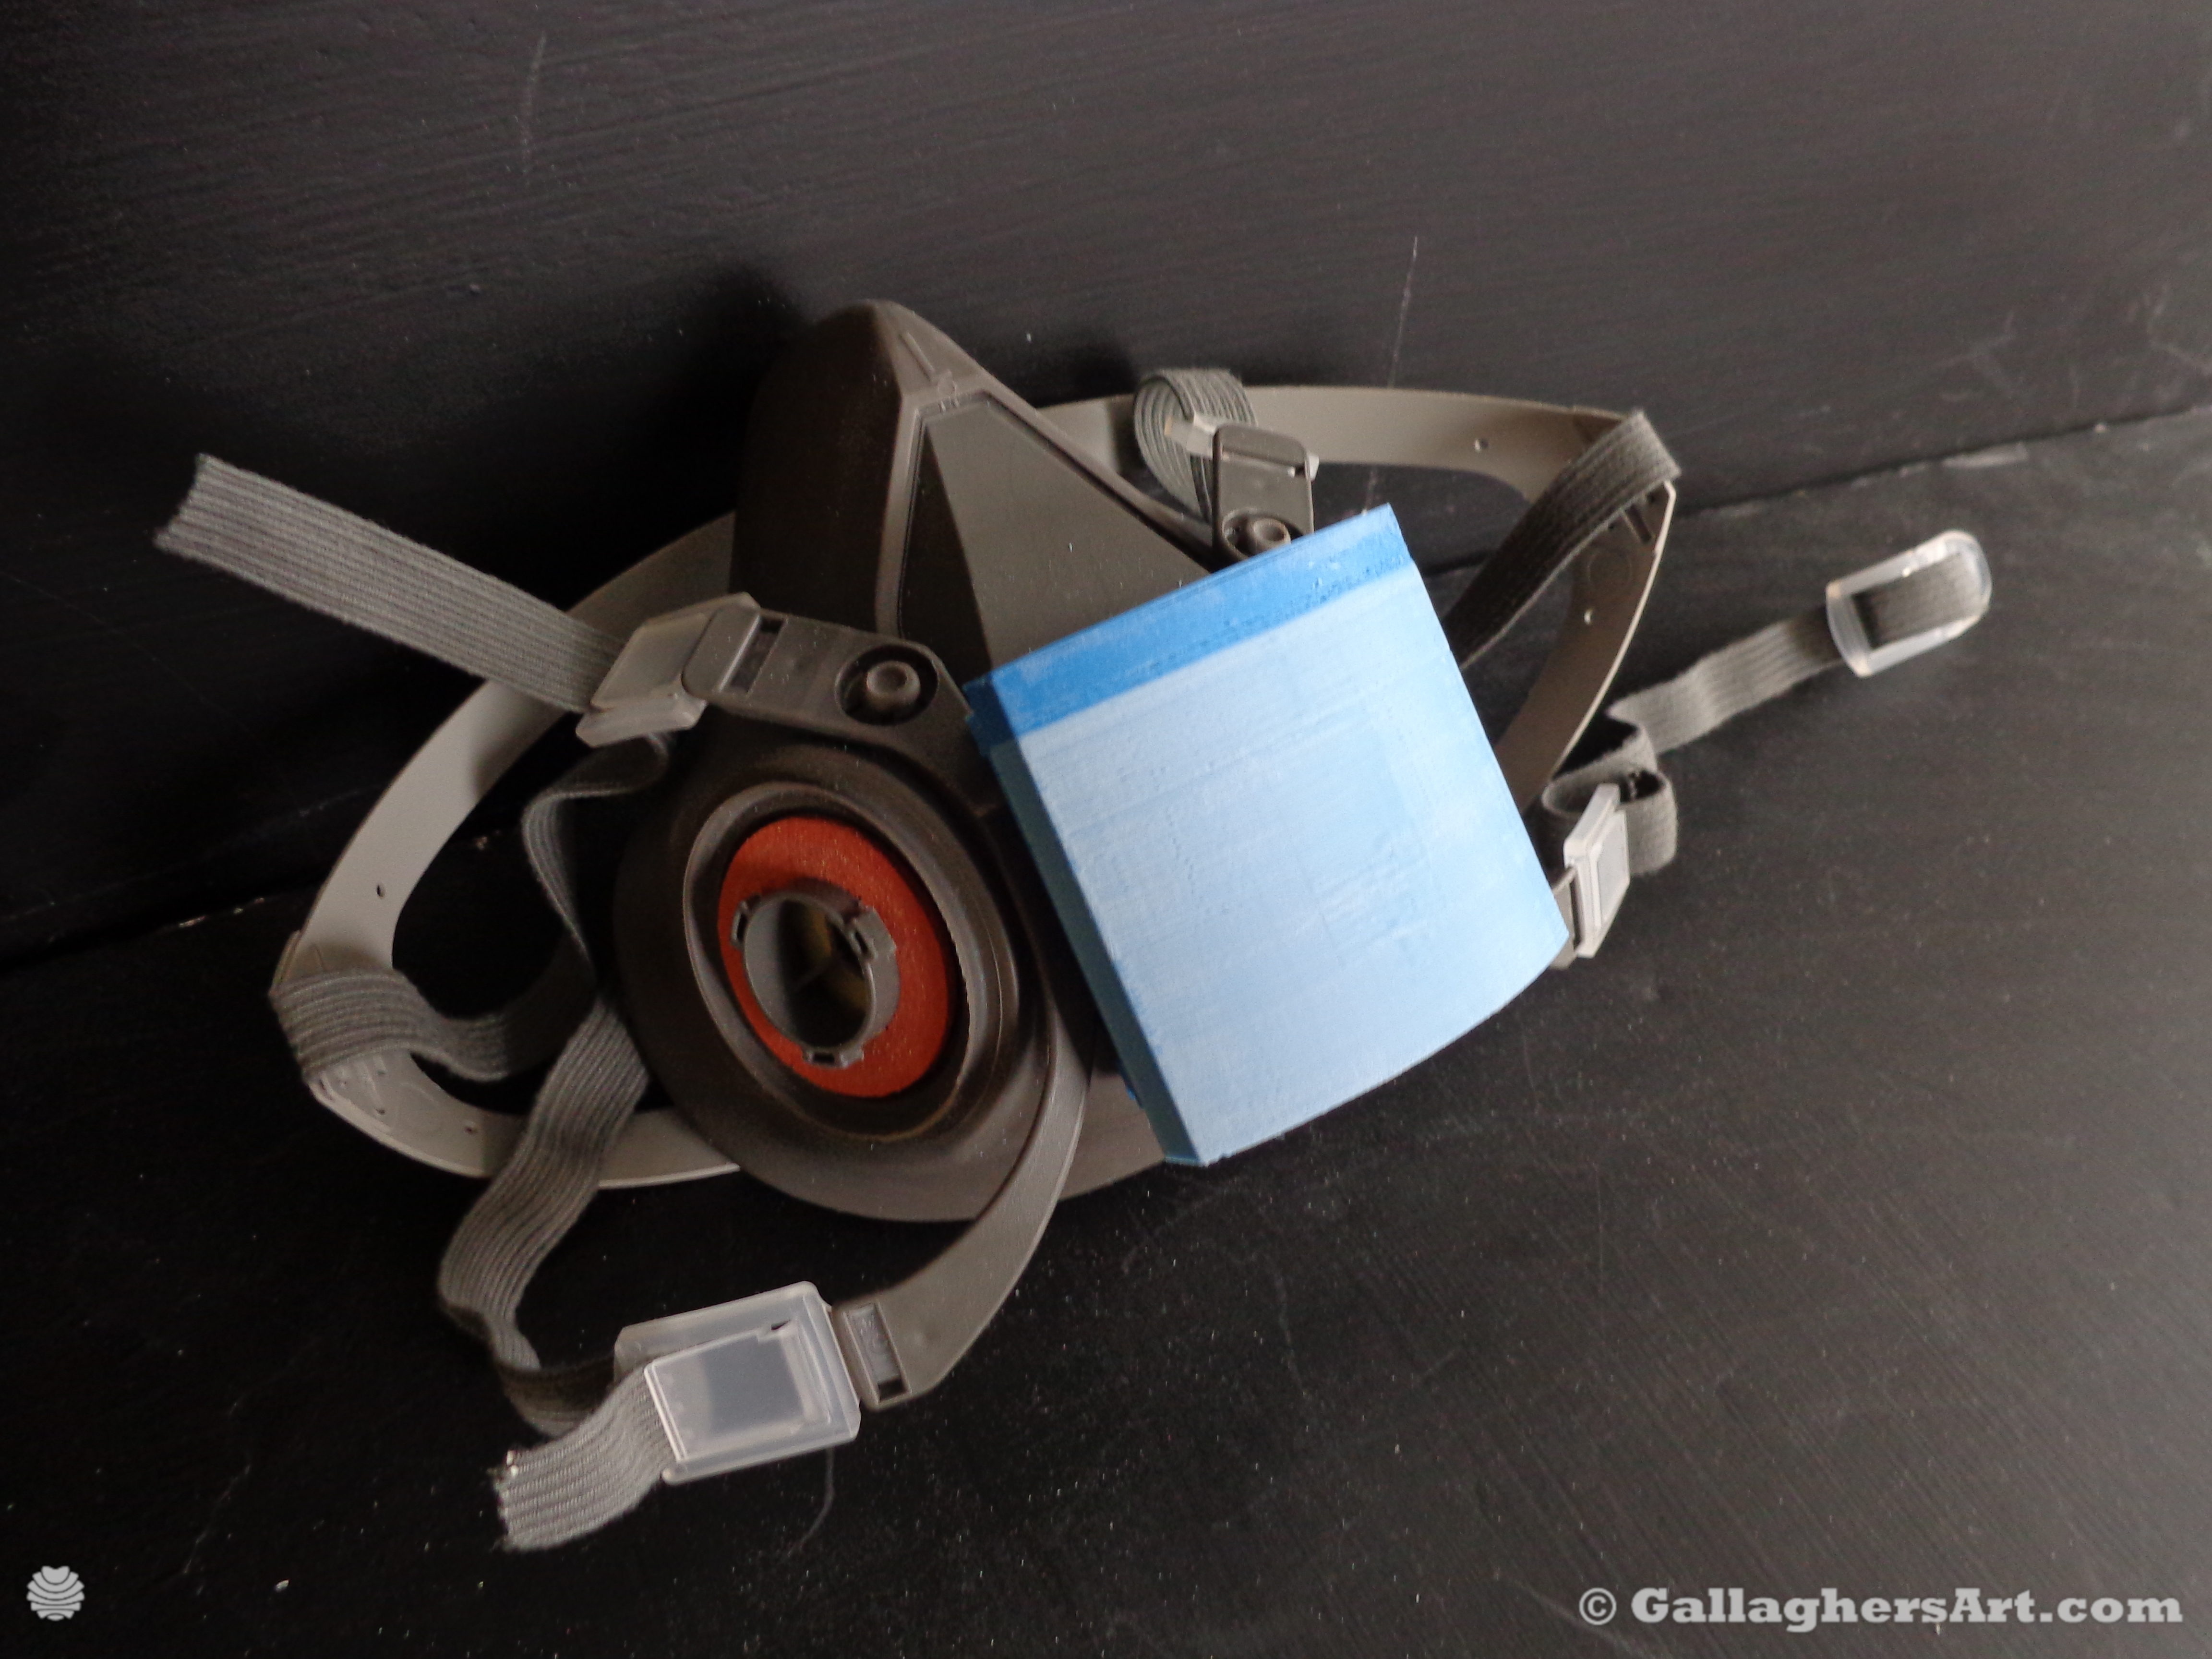
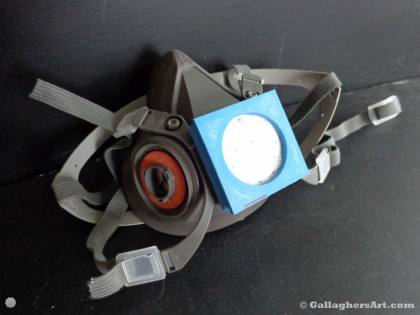 This is to protect others while using 3M mask. May work with other version of similar 3M masks
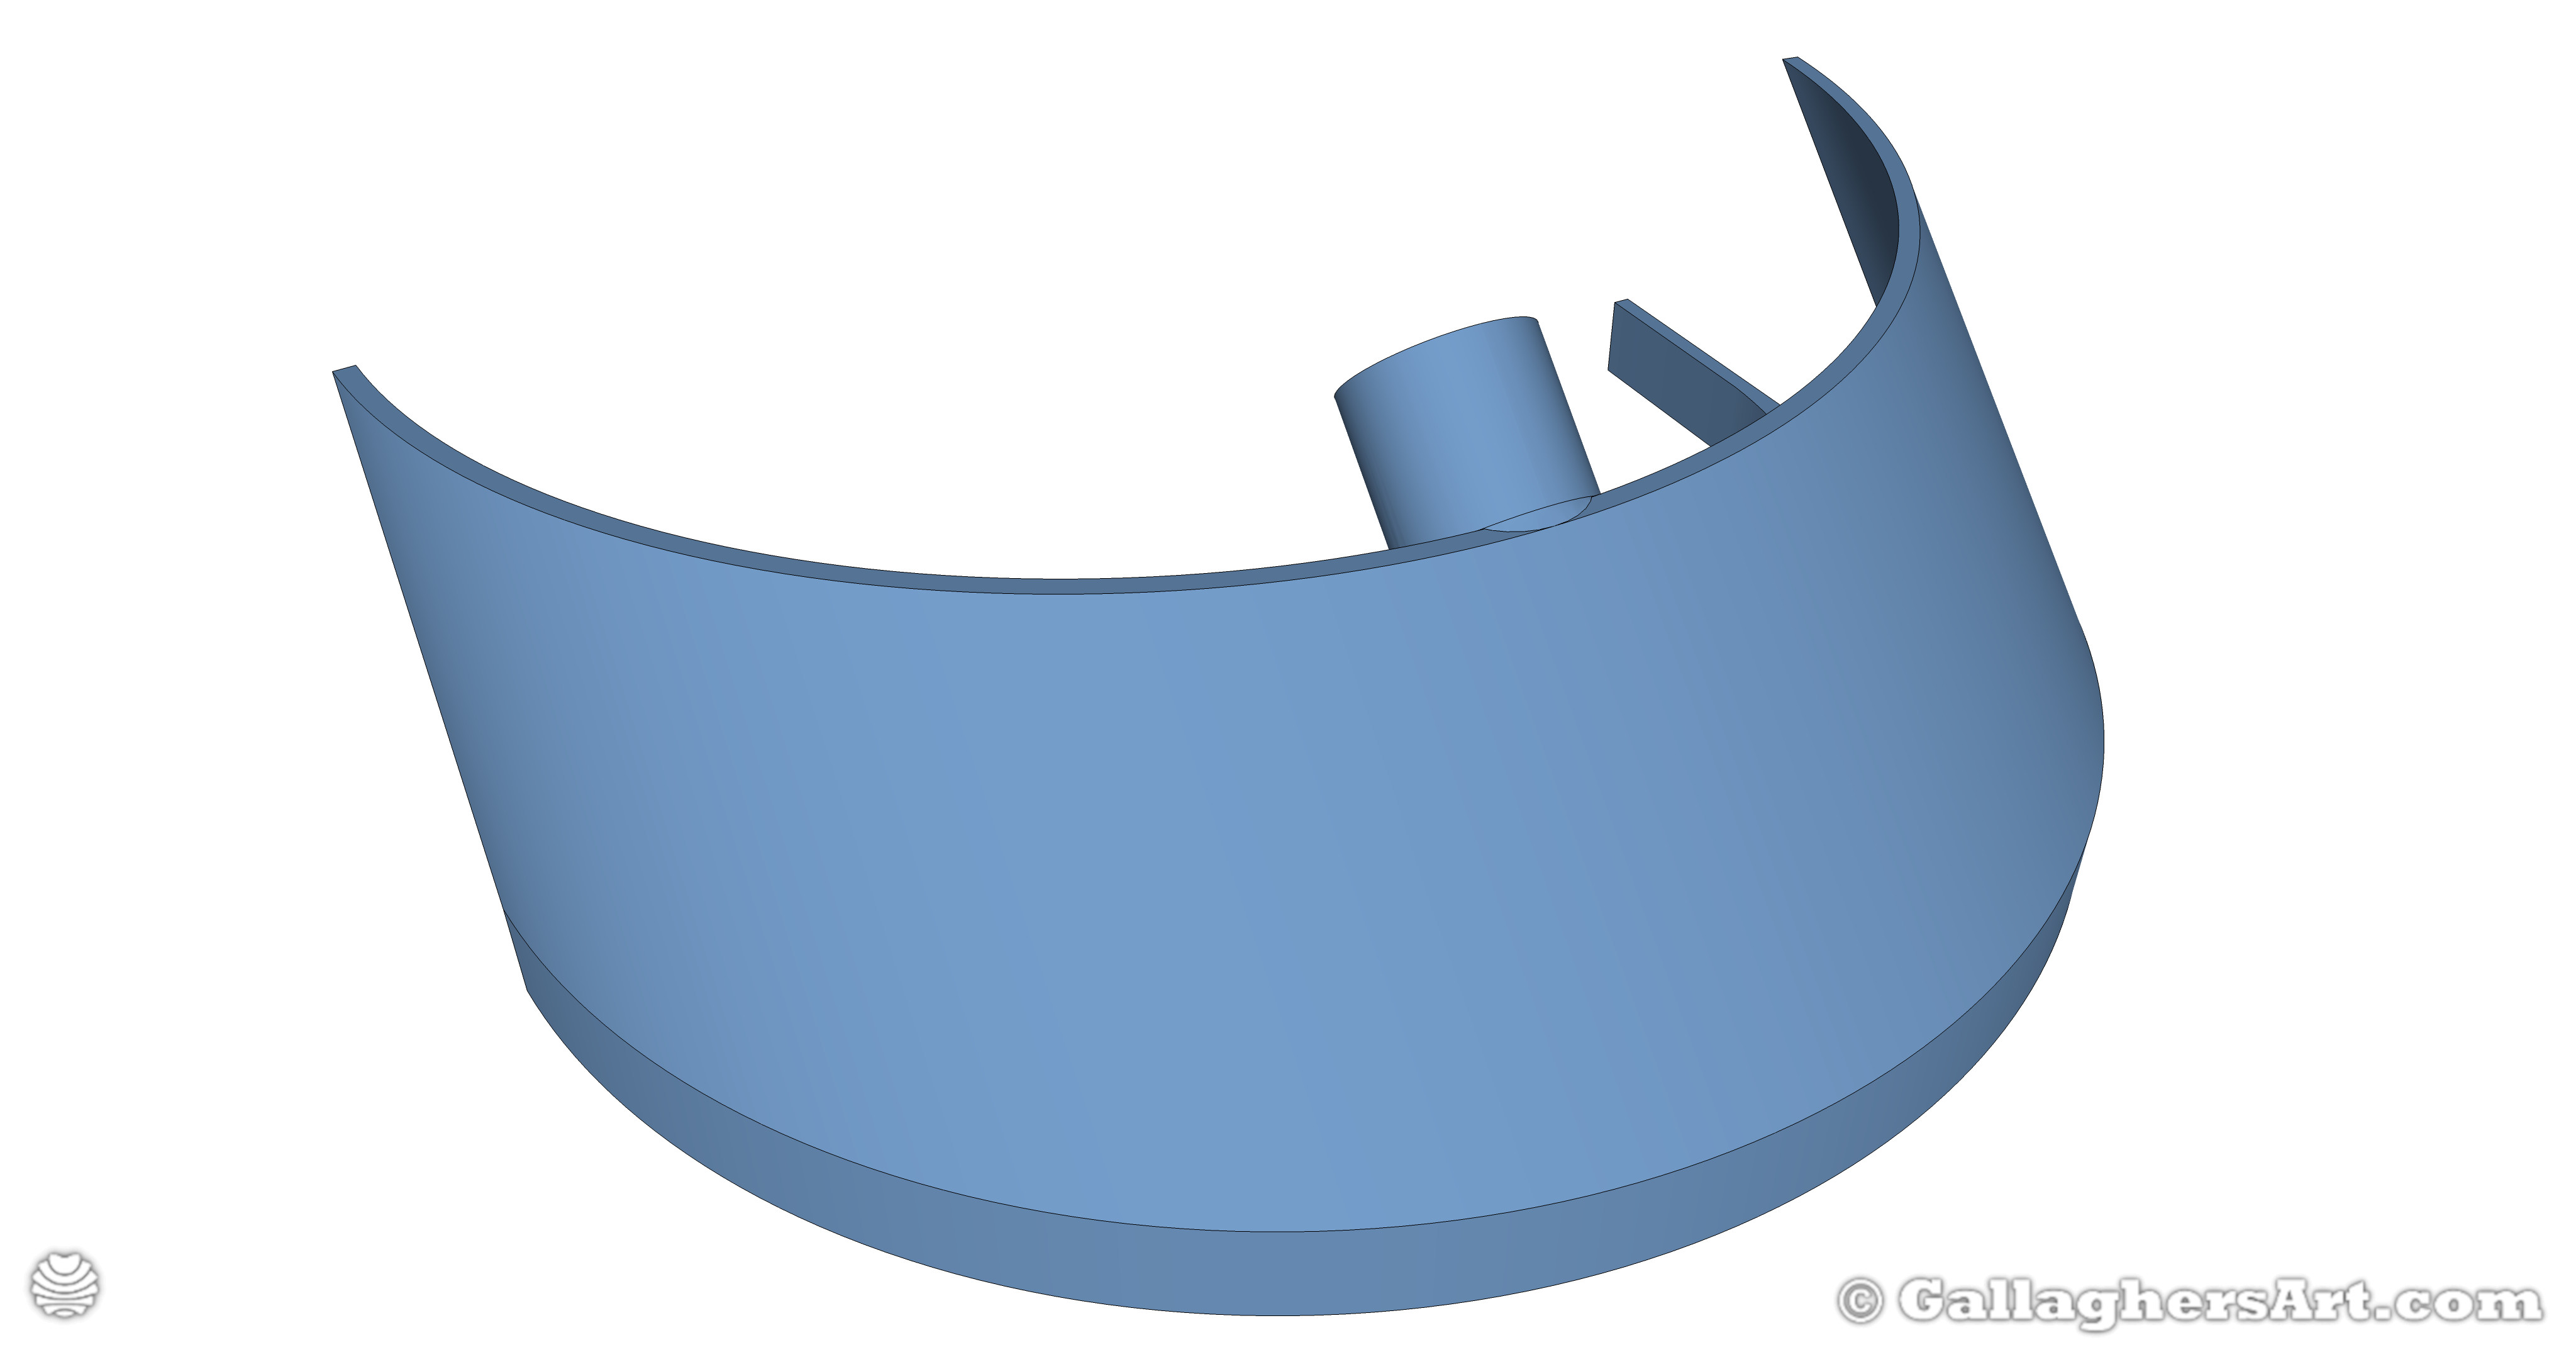
Also has a cover to direct out going air downwards instead of straight forward.
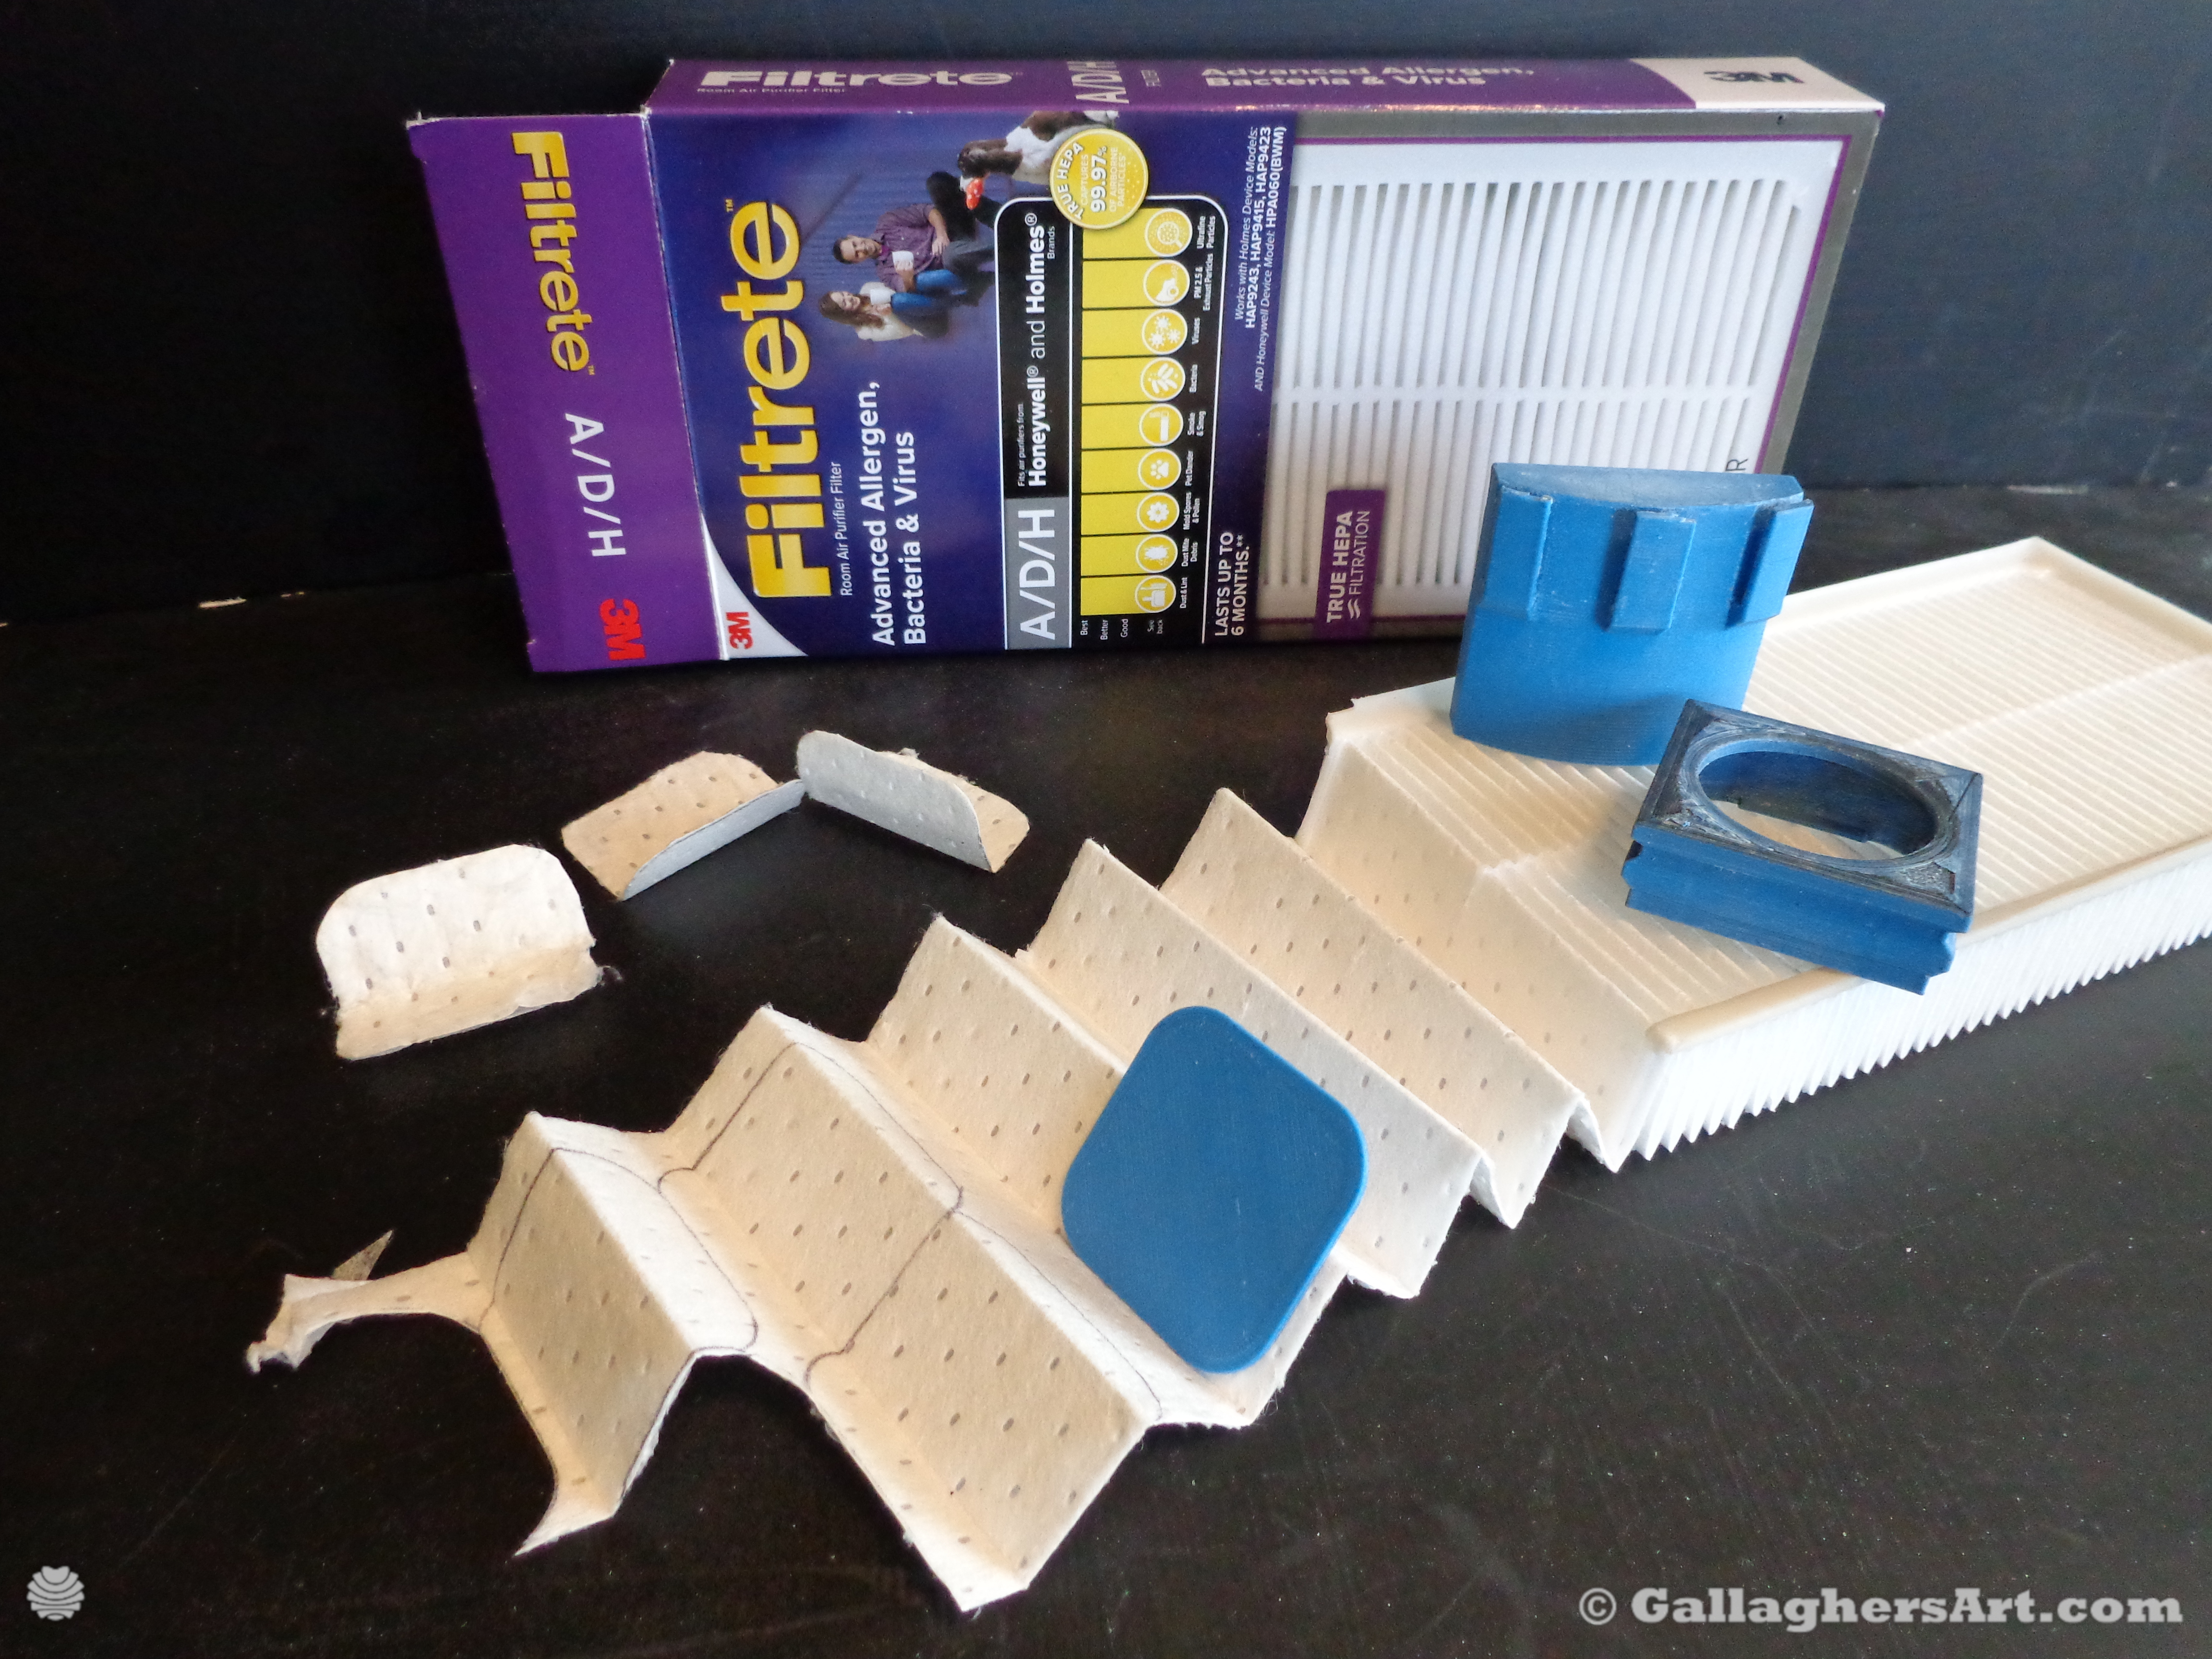
Includes template to cut filters to size.
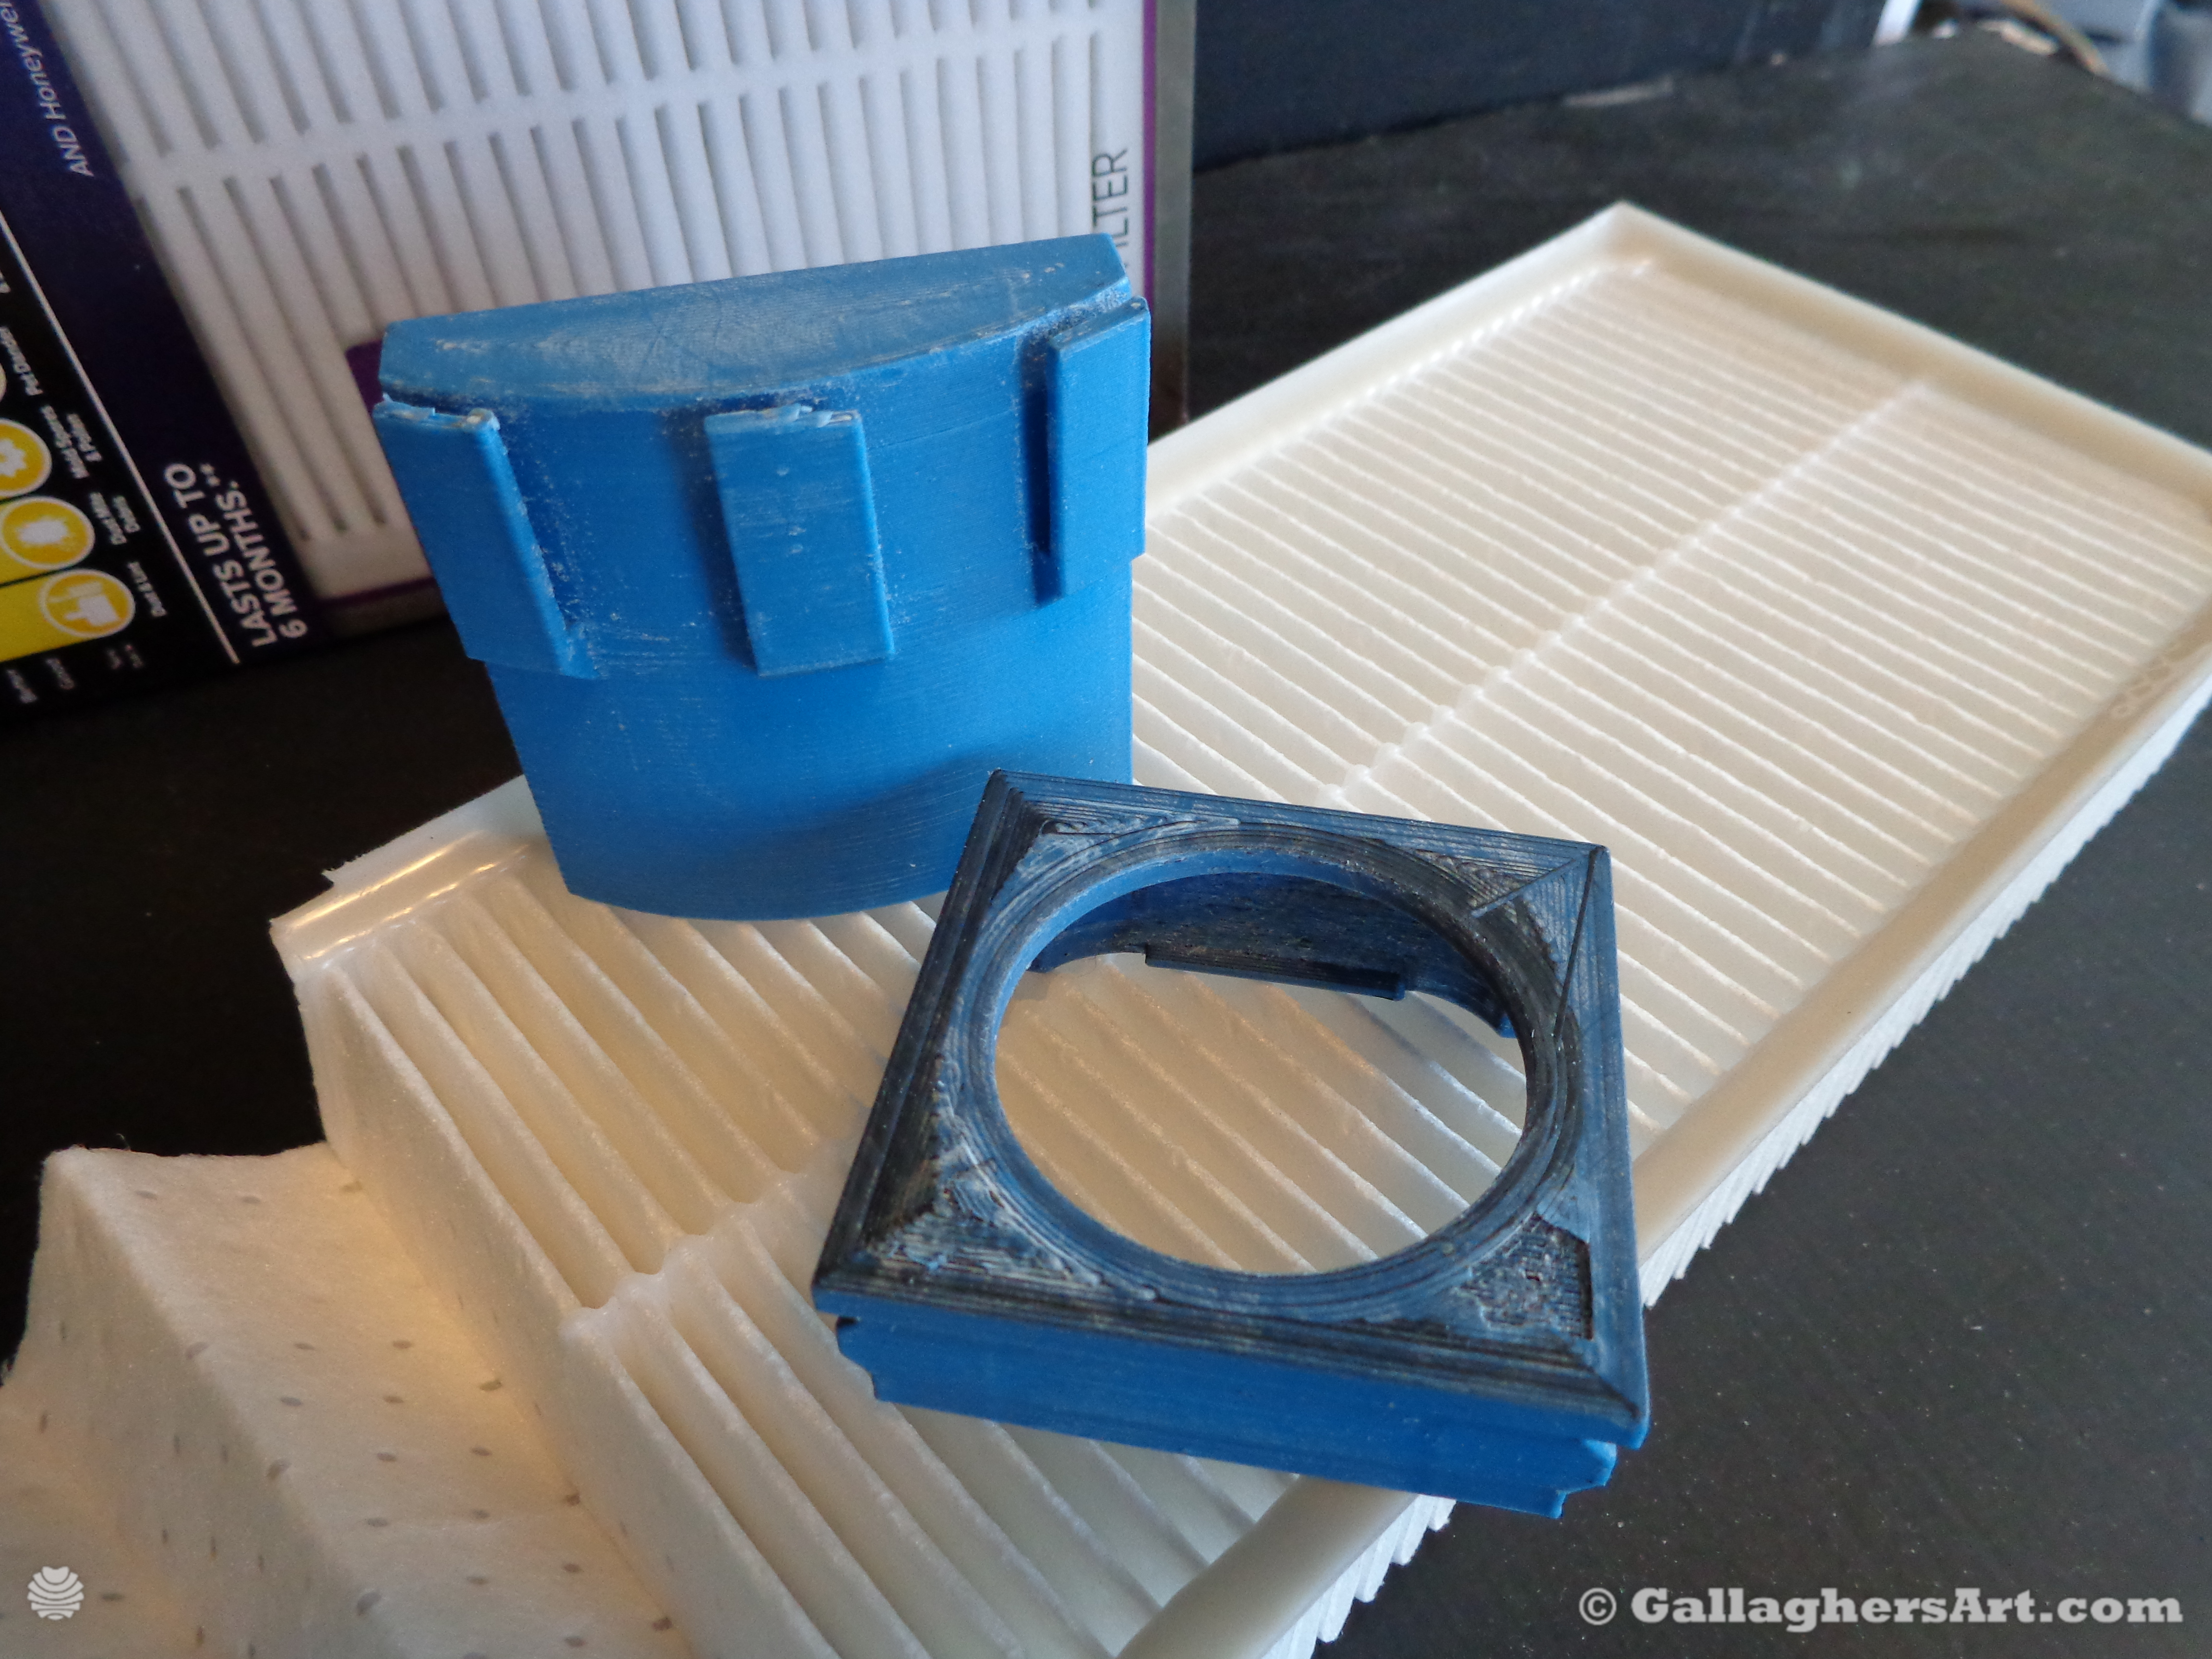
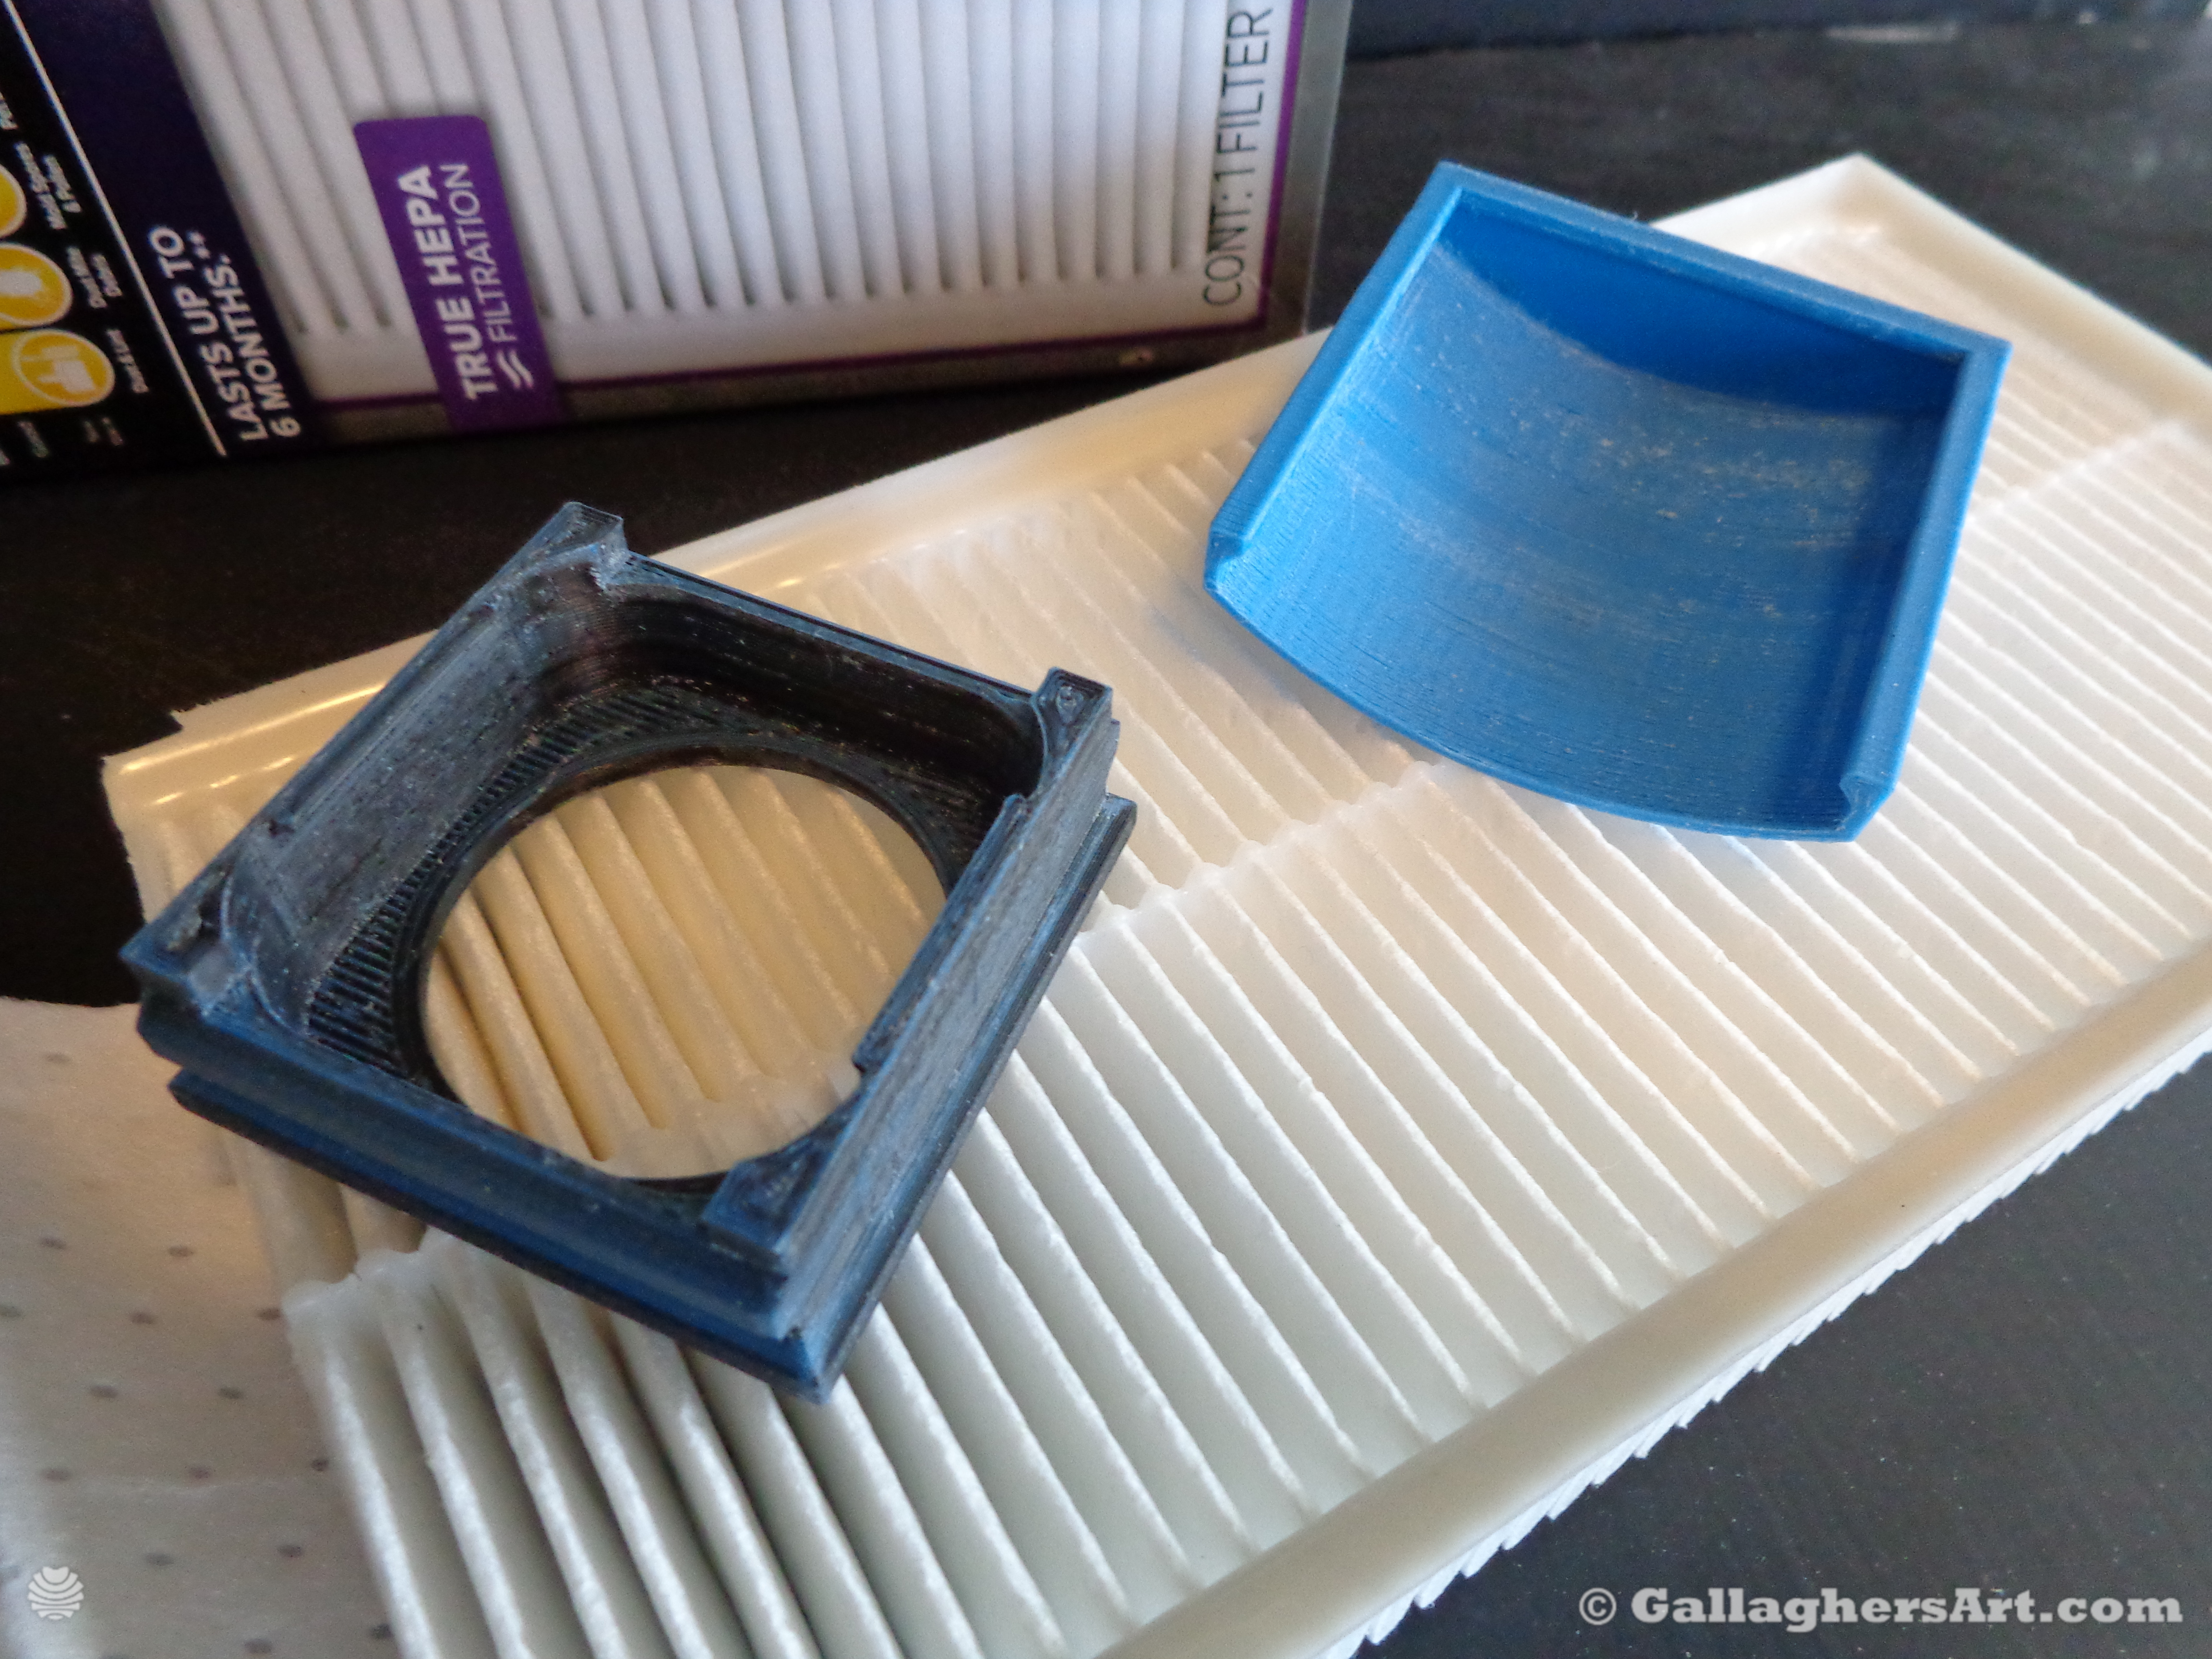
Two version of the clip-on filter, 2mm gap and 0.5 gap depending on filter type used.
The 2mm is for cloth cut from clean fabric – should be about 4-5mm uncompressed and @ 2mm when compressed. Fabrics vary so test before use.
The 0.5 gap is for cut up filters. I used a 3M filter meant for house air filters. They are made with basically hot glue. Taking your time to be careful it is possible to remove all material from filters. I was surprised how much I could get. They are denser than the disposable masks. I may need to make a larger valve for a larger liter size. ((After testing these filters are much denser and require more area to work with, making new larger mount to use these filters, coming soon.)
The clip should snap with out much pressure, when removing pry from clip area next to mask. May want to test this before use so you can see how it clicks in place before using any filters. Also, may want to print extra of this part for once it breaks. I have taken mine off and on many times with and without filters, still good.
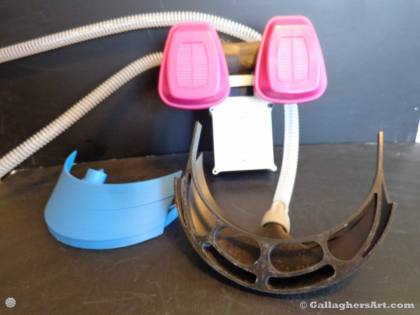 This is still in beta, current STL does not have hooks for straps yet, updating today until finished.
This uses my Powered filter design and CPAP Hose from above.
I’m upgrading a custom face mask to support Powered Air-Purifying face mask that will use a new / clean trash bag to cover head and shoulders.
I do not have any clear covers on hand, but they would be taped to visors front. Then a trash bag would be taped on top of visor and on the edges of the clear face mask. NO cutting clear cover, just tape top of sheet to bottom side of 3D printed visor. Visor can use 8x11 in both portrait or landscape to better meet individual’s needs. Also, if large sheets are cut then the face could be 11” width and any length.
The goal is to have filtered air being supplied just above eyes with air flowing over nose and mouth. NOTE!! Does not protect others if your sick / no out going air filtering. Using a disposable mask or my Modified 3M 6300 face mask will help or solve that.
Once My design if finalized I will be making it more printer friendly and faster, currently took 6hrs+. using 0.4mm nozzle, 0.5mm line and parameter width, 20%infill, 3 parameters.
The battery and fan motor will attach to the persons belt or other support. Stand in place person could get rid of the batteries and just use an AC / DC Converter matching voltage you require (sitting 12-13v, walking 15-17v, max when using on 24v fan is 24v)
Work in progress:
Support straps to wrap around head and top of head. Top of head and back of head will also support the hose so that it goes behind the persons head.
Template to cut from trash bags, then tape to face mask and clear cover (clear cover and trash bag would be single use, just replace when needed.)
These are for 3M half/full face masks that accept 3M mount for air filters, along with a snap on filter for outgoing air.
I am using 3M Filtrete A/D/H true HEPA filtration, for bacterial and virus. The purple box for air filter stations. The outside of box is 10” x 5” with a filter width of 4”. The filters are made with glue gun type of glue. This can easily be peeled off the filters with care. Leaving a long strip 4” wide. Then cut to size and tape to custom filter mounts. Use a very sticky tape and that is solid (no air passing), I used electrical tape.
You can view
more and more at my personal website https://gallaghersart.com/page/airtight_adapters_for_medical_masks_and_face_respirators
Stay Safe!
`mike
Print settings.
.4mm nozzle, .5mm line and perimeters NO SUPPORT Bridge YES – set bridge flow to 60-75%, this will make the layer have spaces between filament lines. You can then easily cut out or leave in place as air can pass. Wall line count 3x, infill 20% or more, top and bottom layers 3x.
*3madapter_22.stl
(print 2x air intake) Uses @ 40g of filament
1x air outtake
uses @37g of filament
PLEASE NOTE ABOUT 3D PRINTS:
Even though 3D prints are sold, they have weakness along filament layers, can absorb water and moisture (viruses live in water). If they become cracked or broken DO NOT USE.
*Please Note: All the filters and masks you see that I have purchased were purchased long ago for my personal protection from fumes and VOC when needed. I would love to make more for other masks and such but do not have the resources or products to test / make mods for. Donations will change that.
