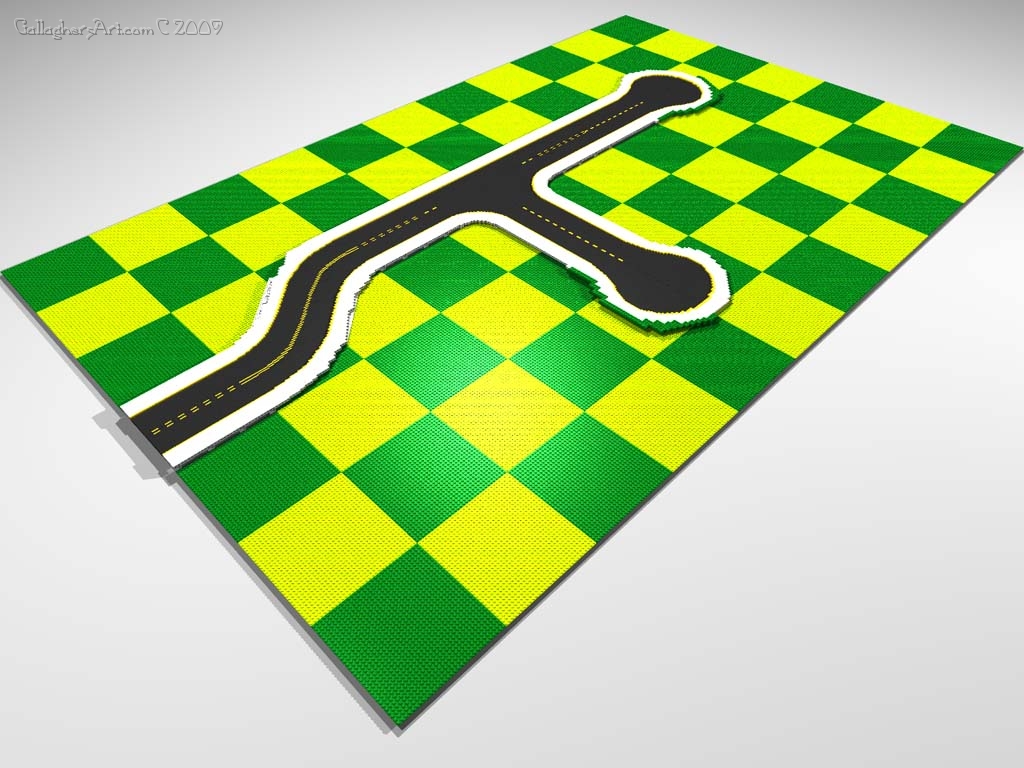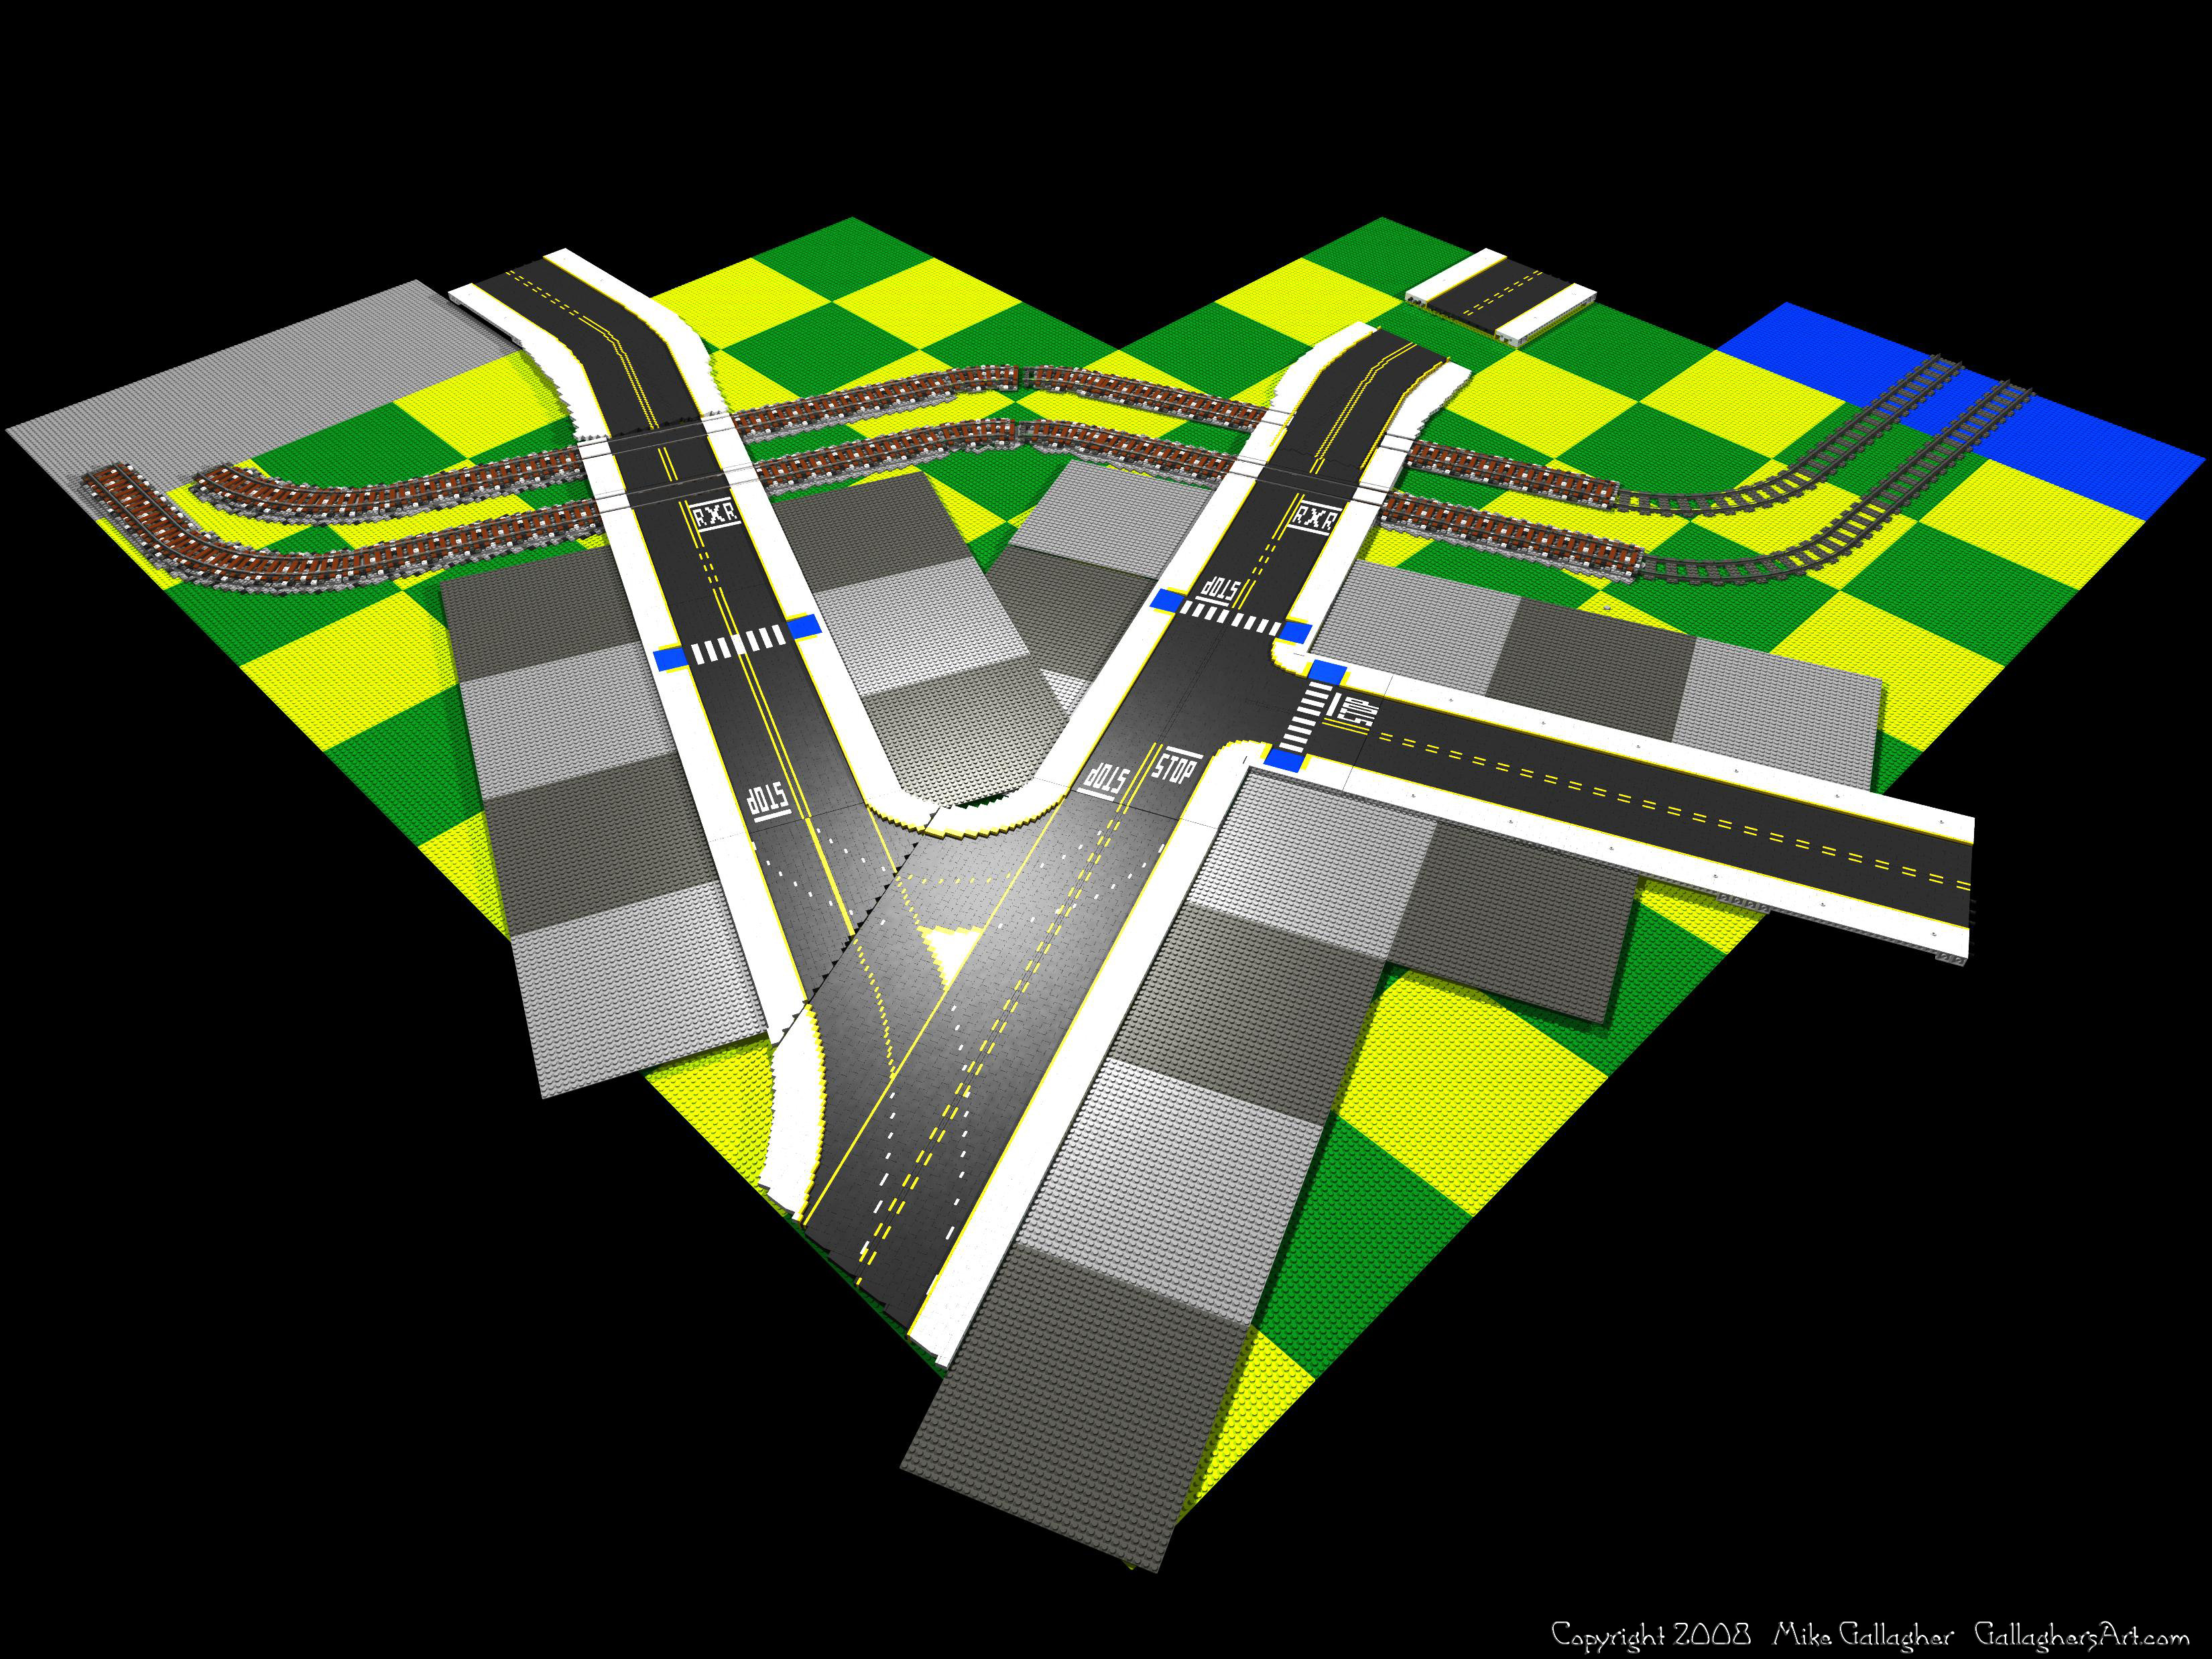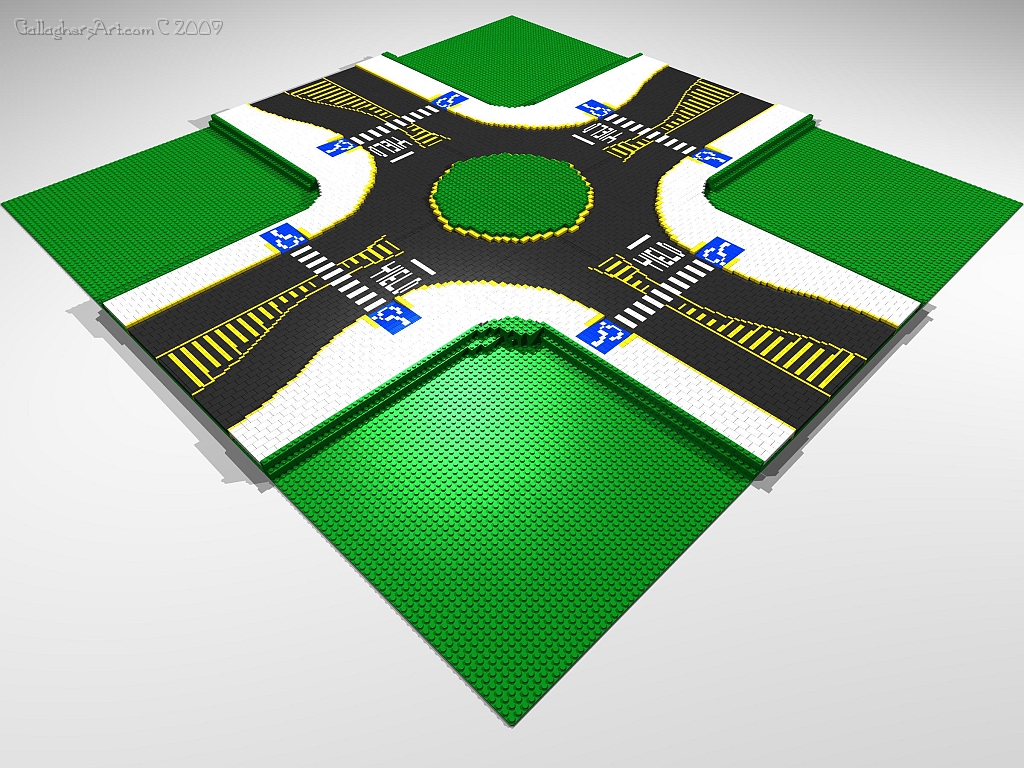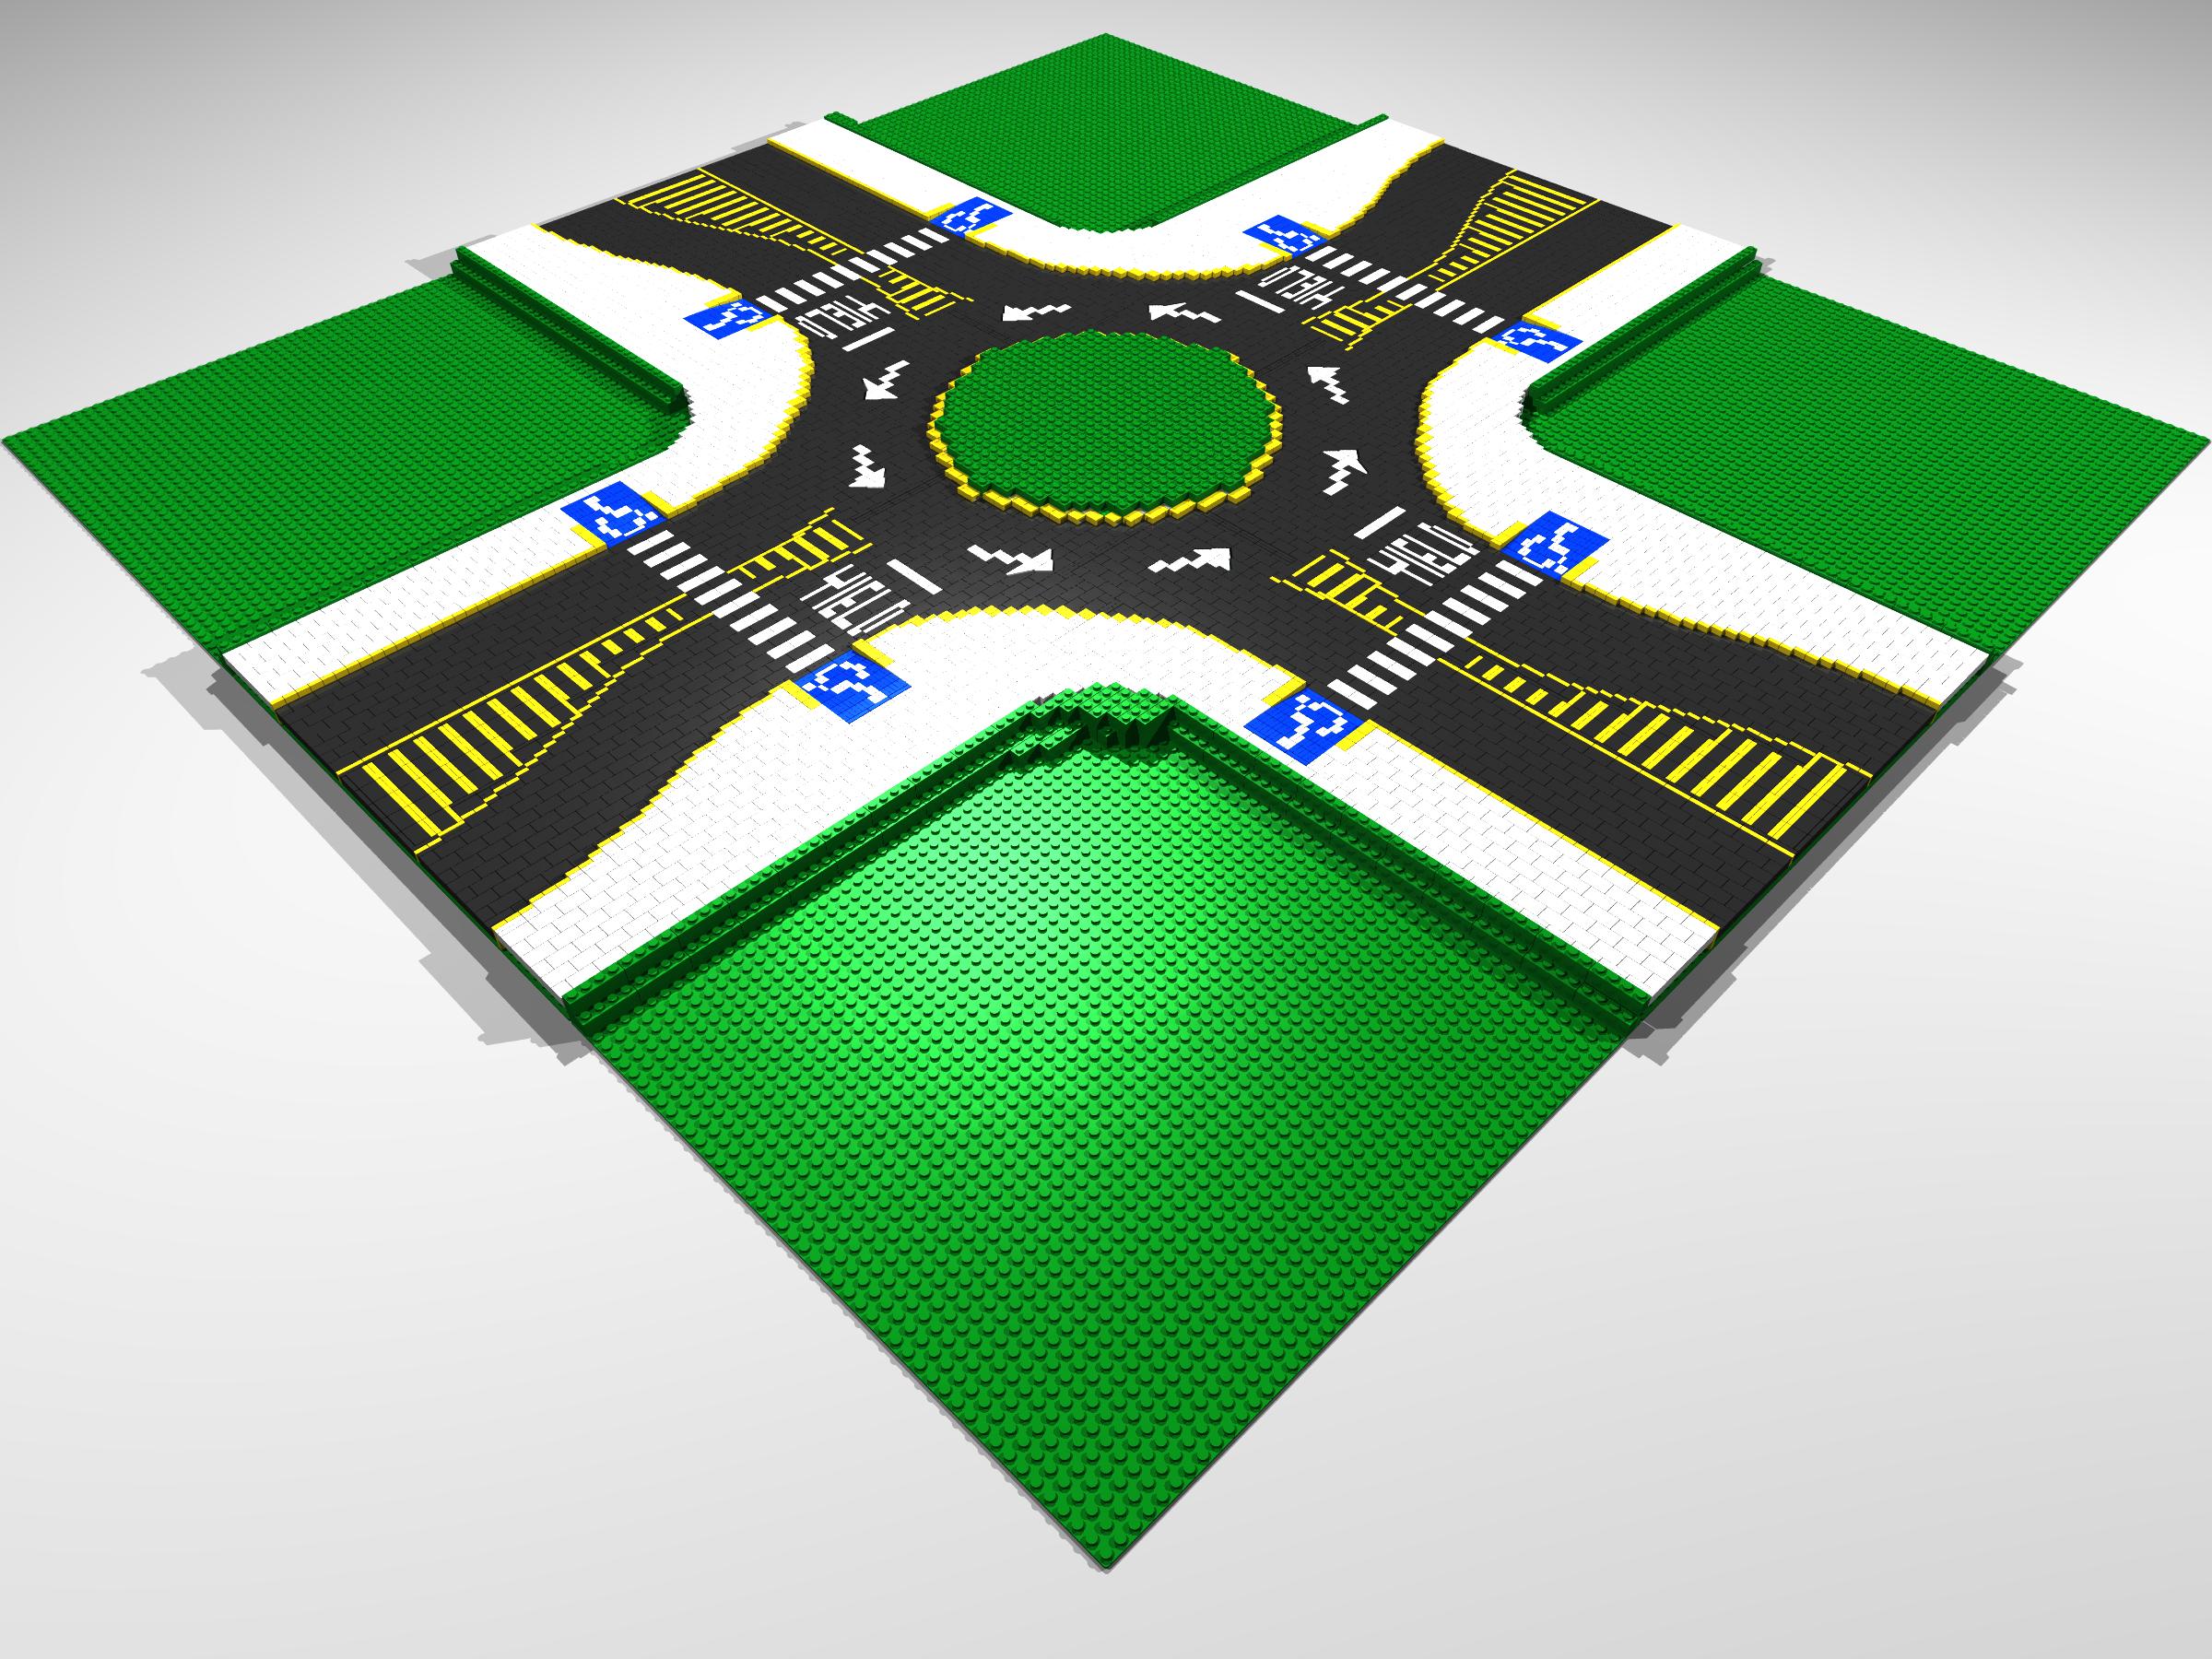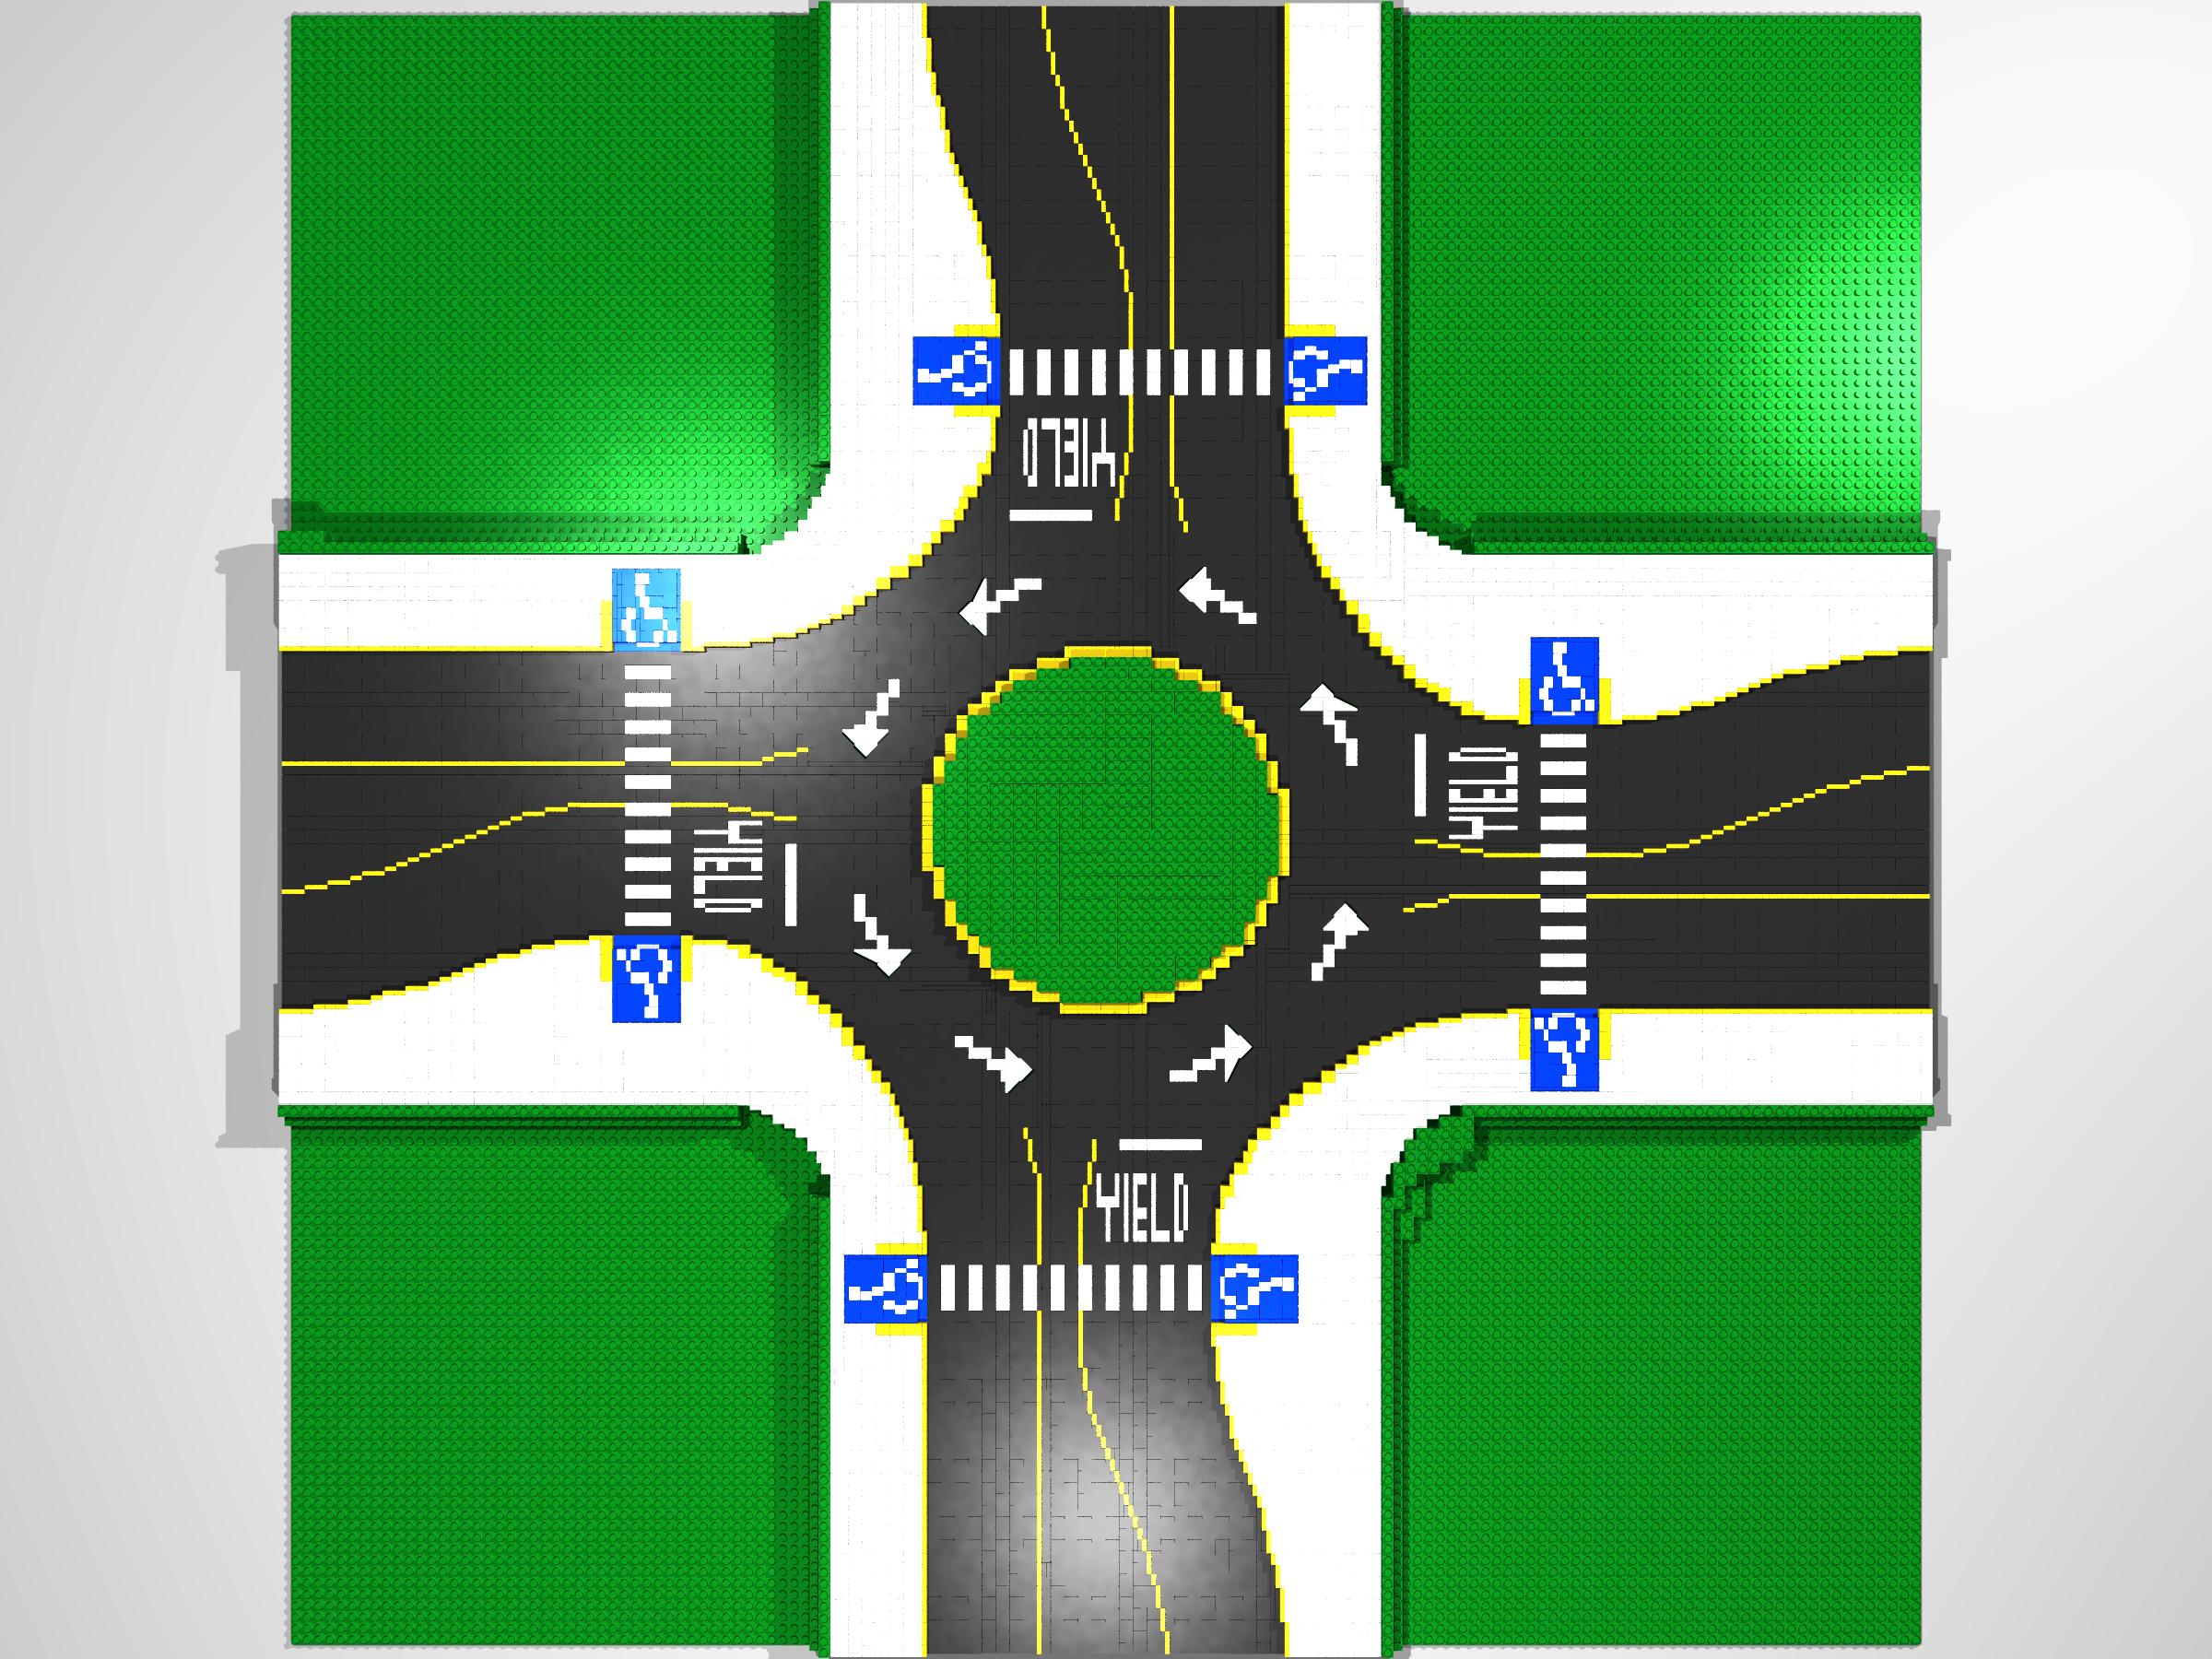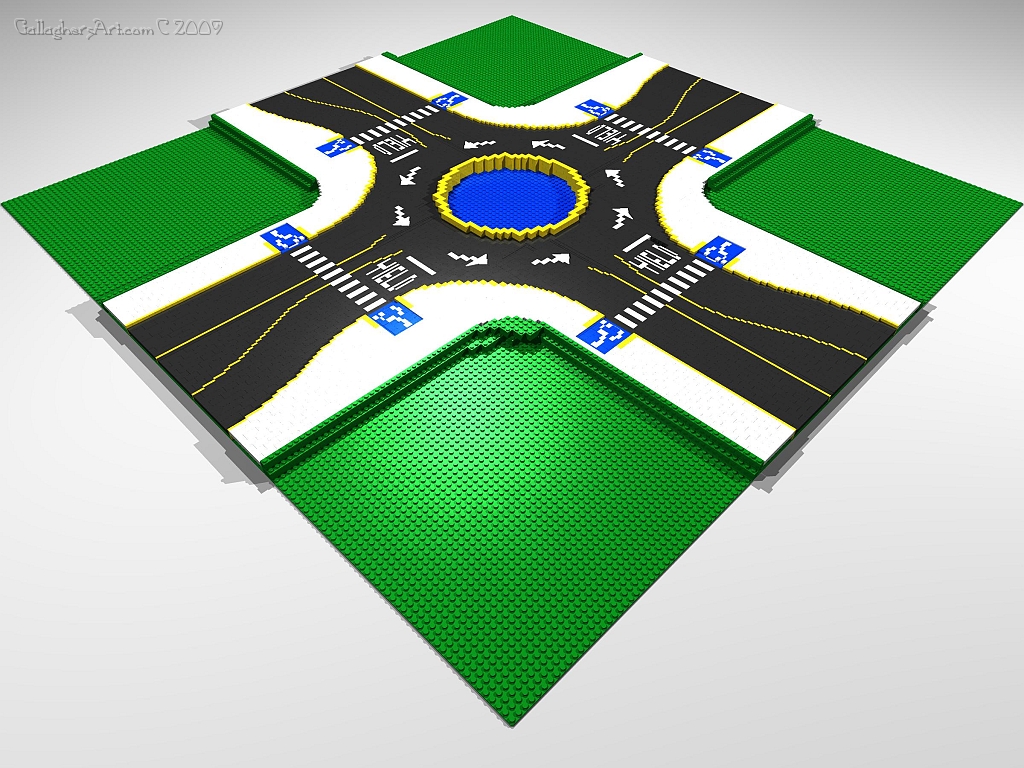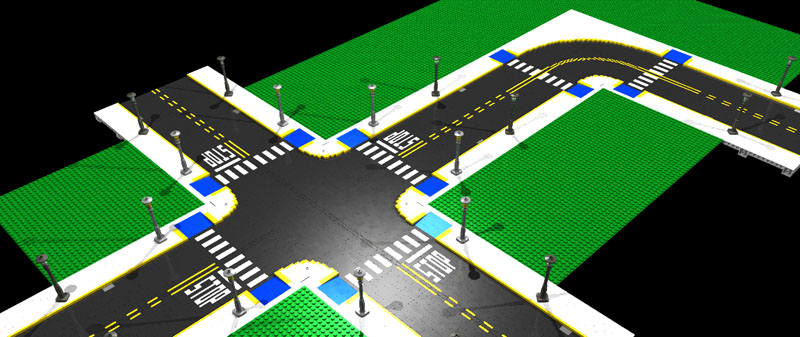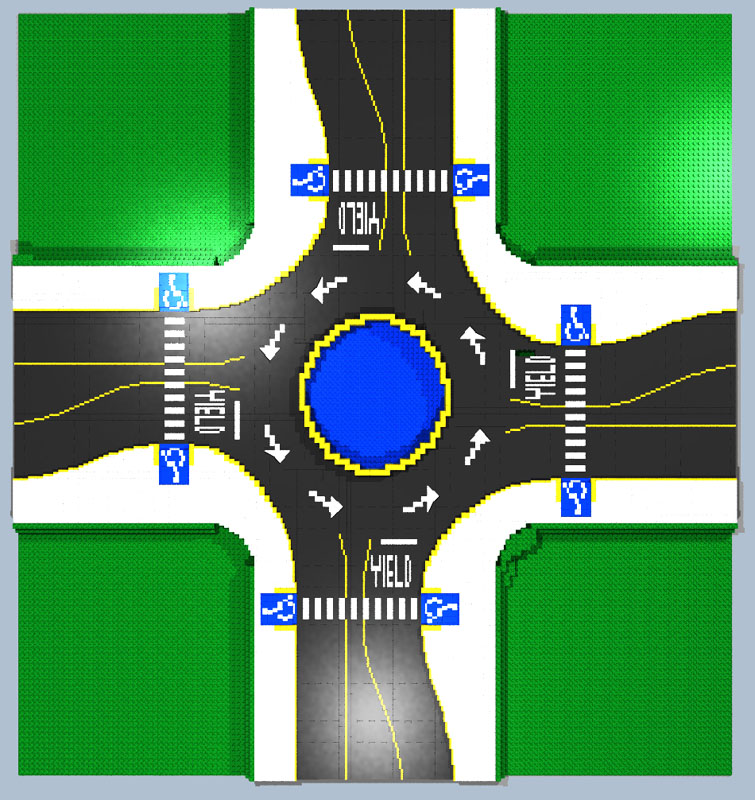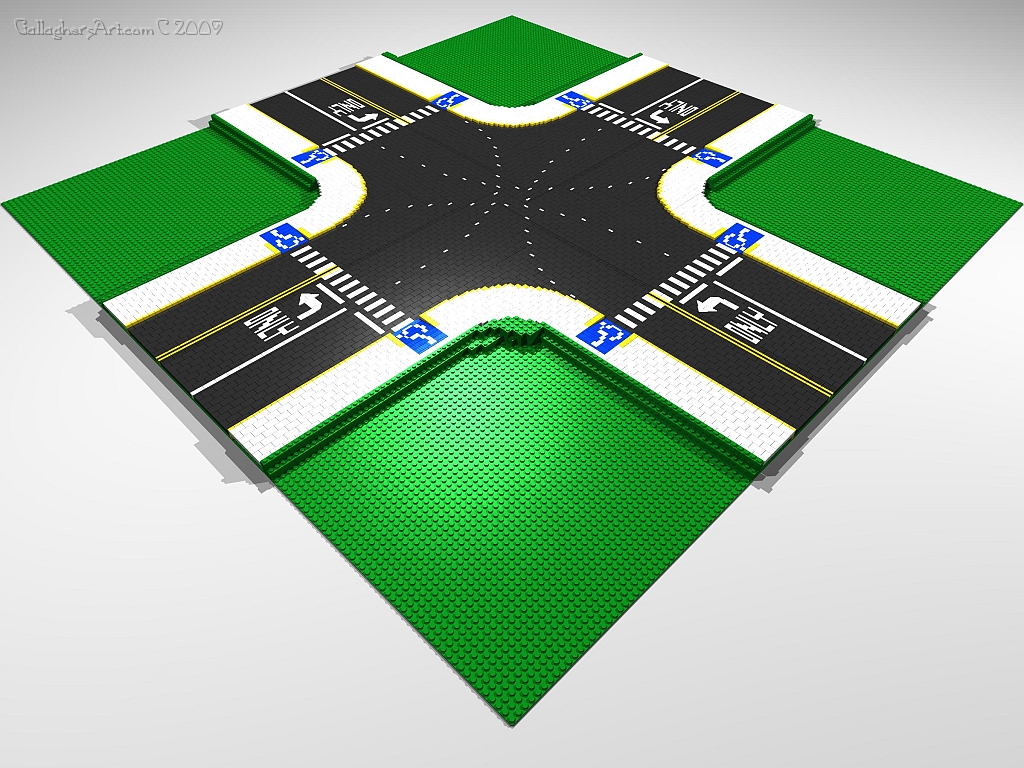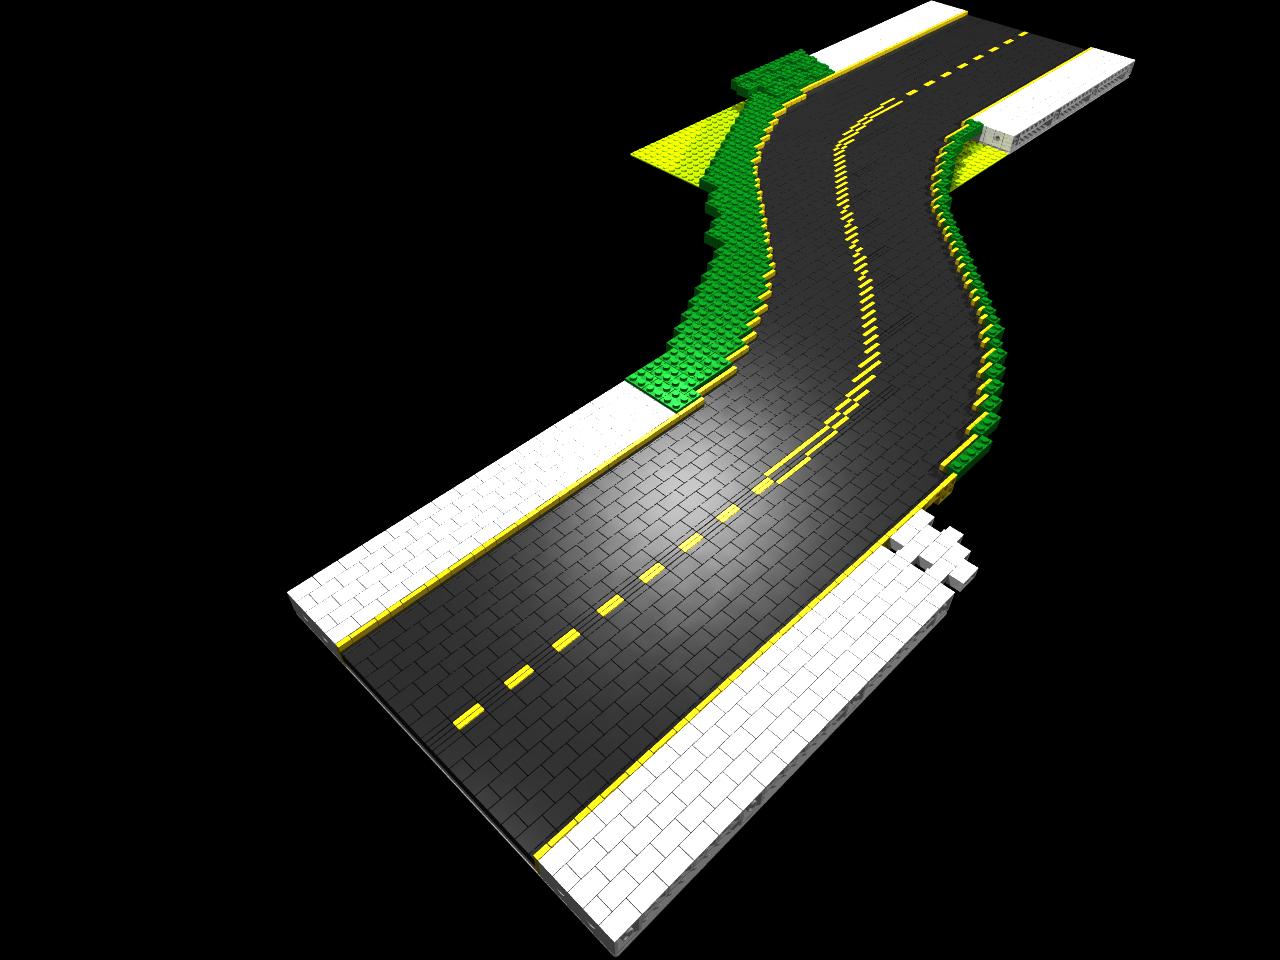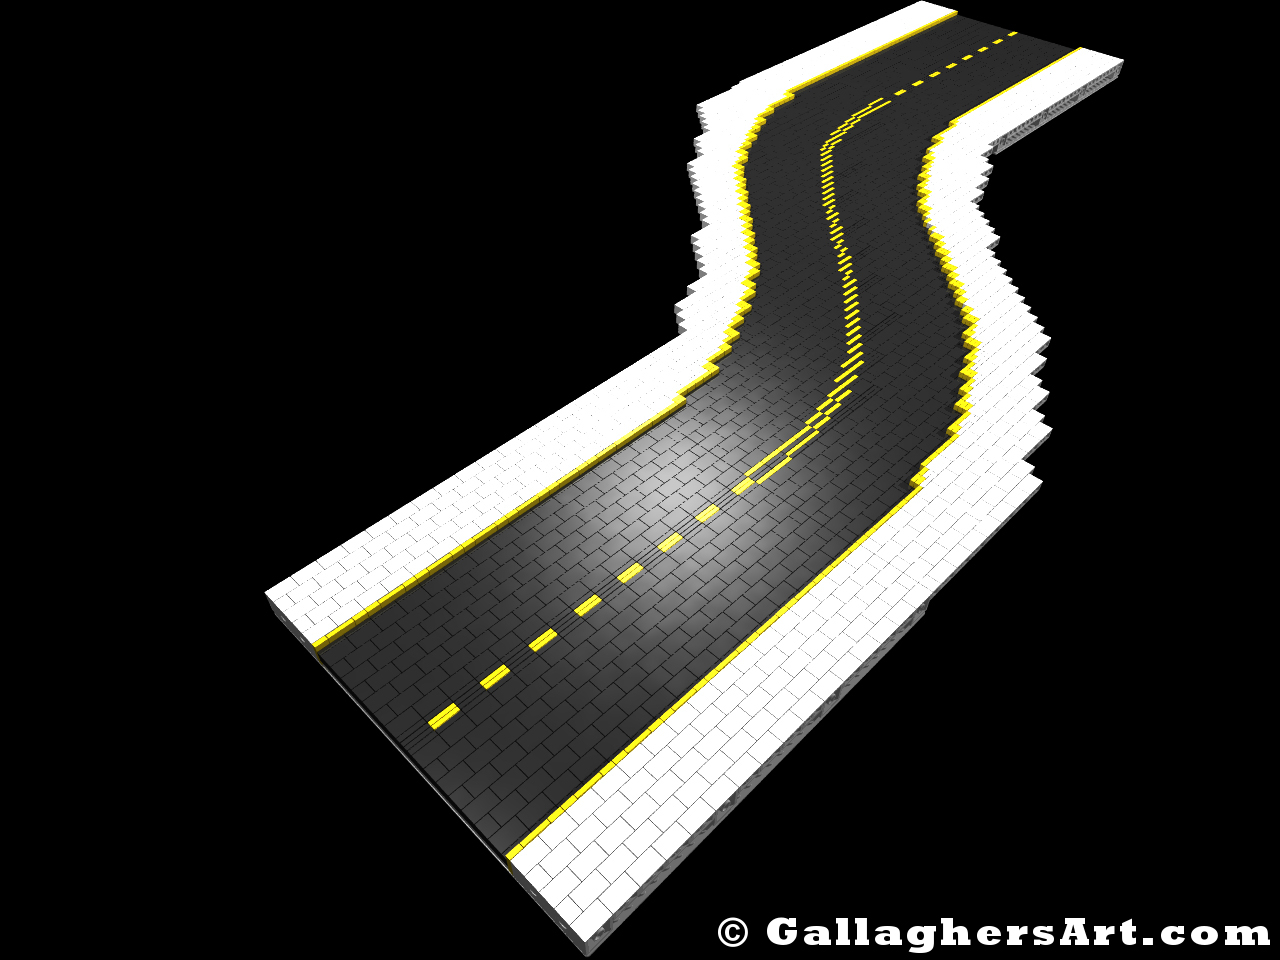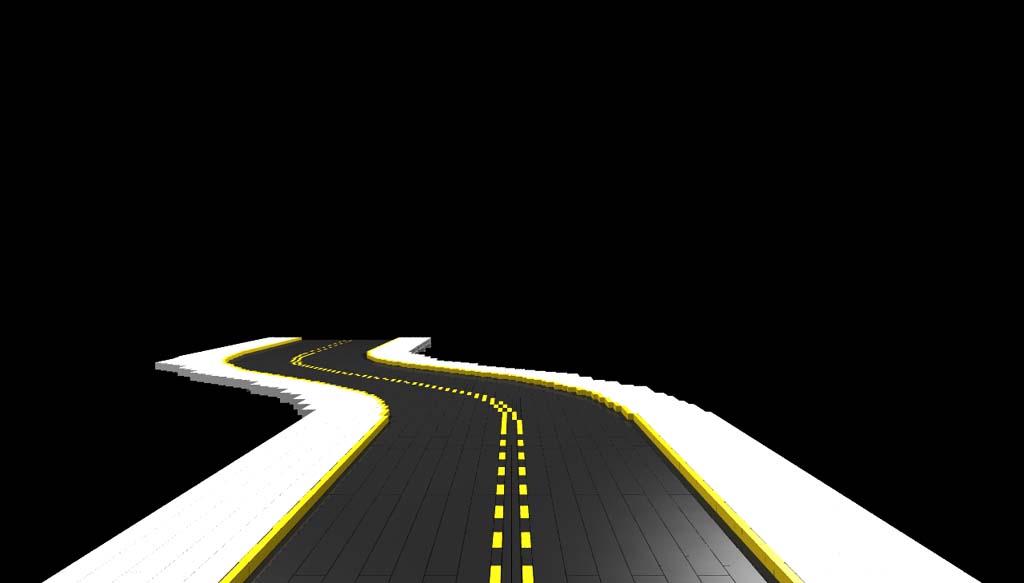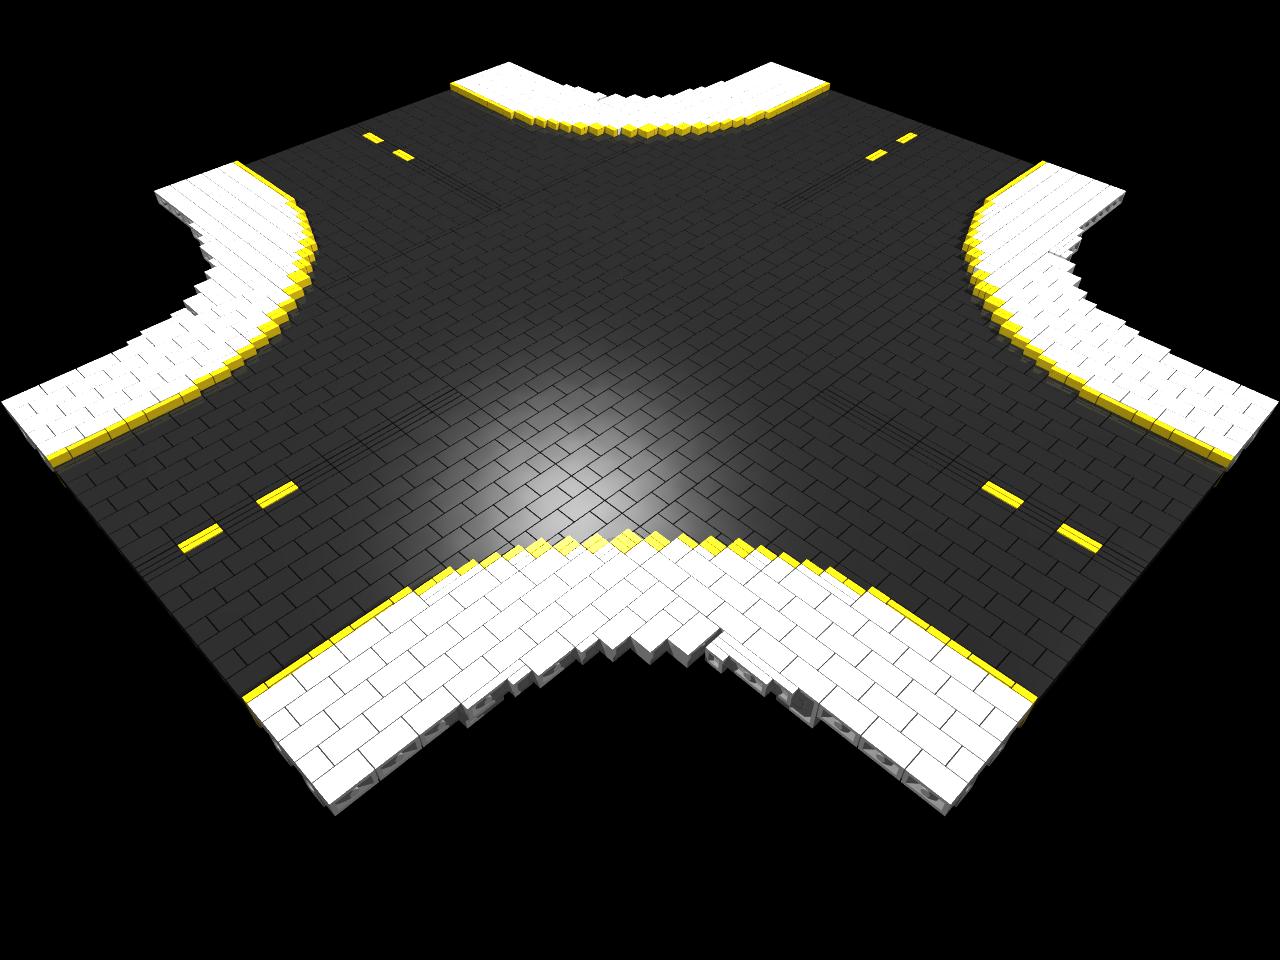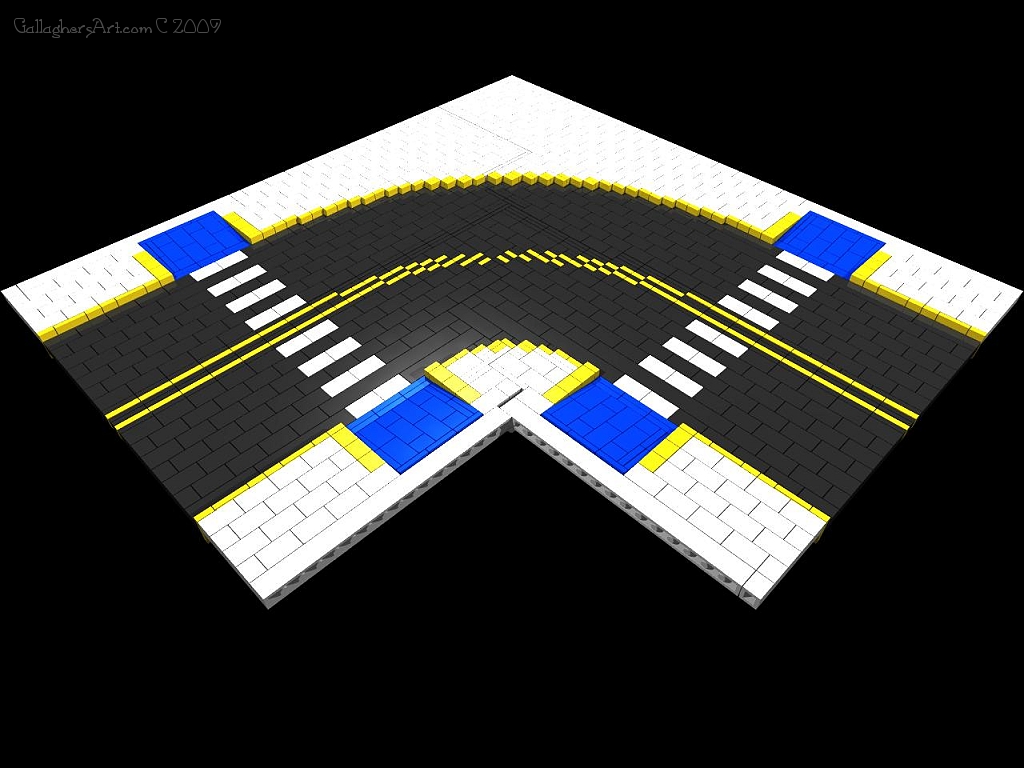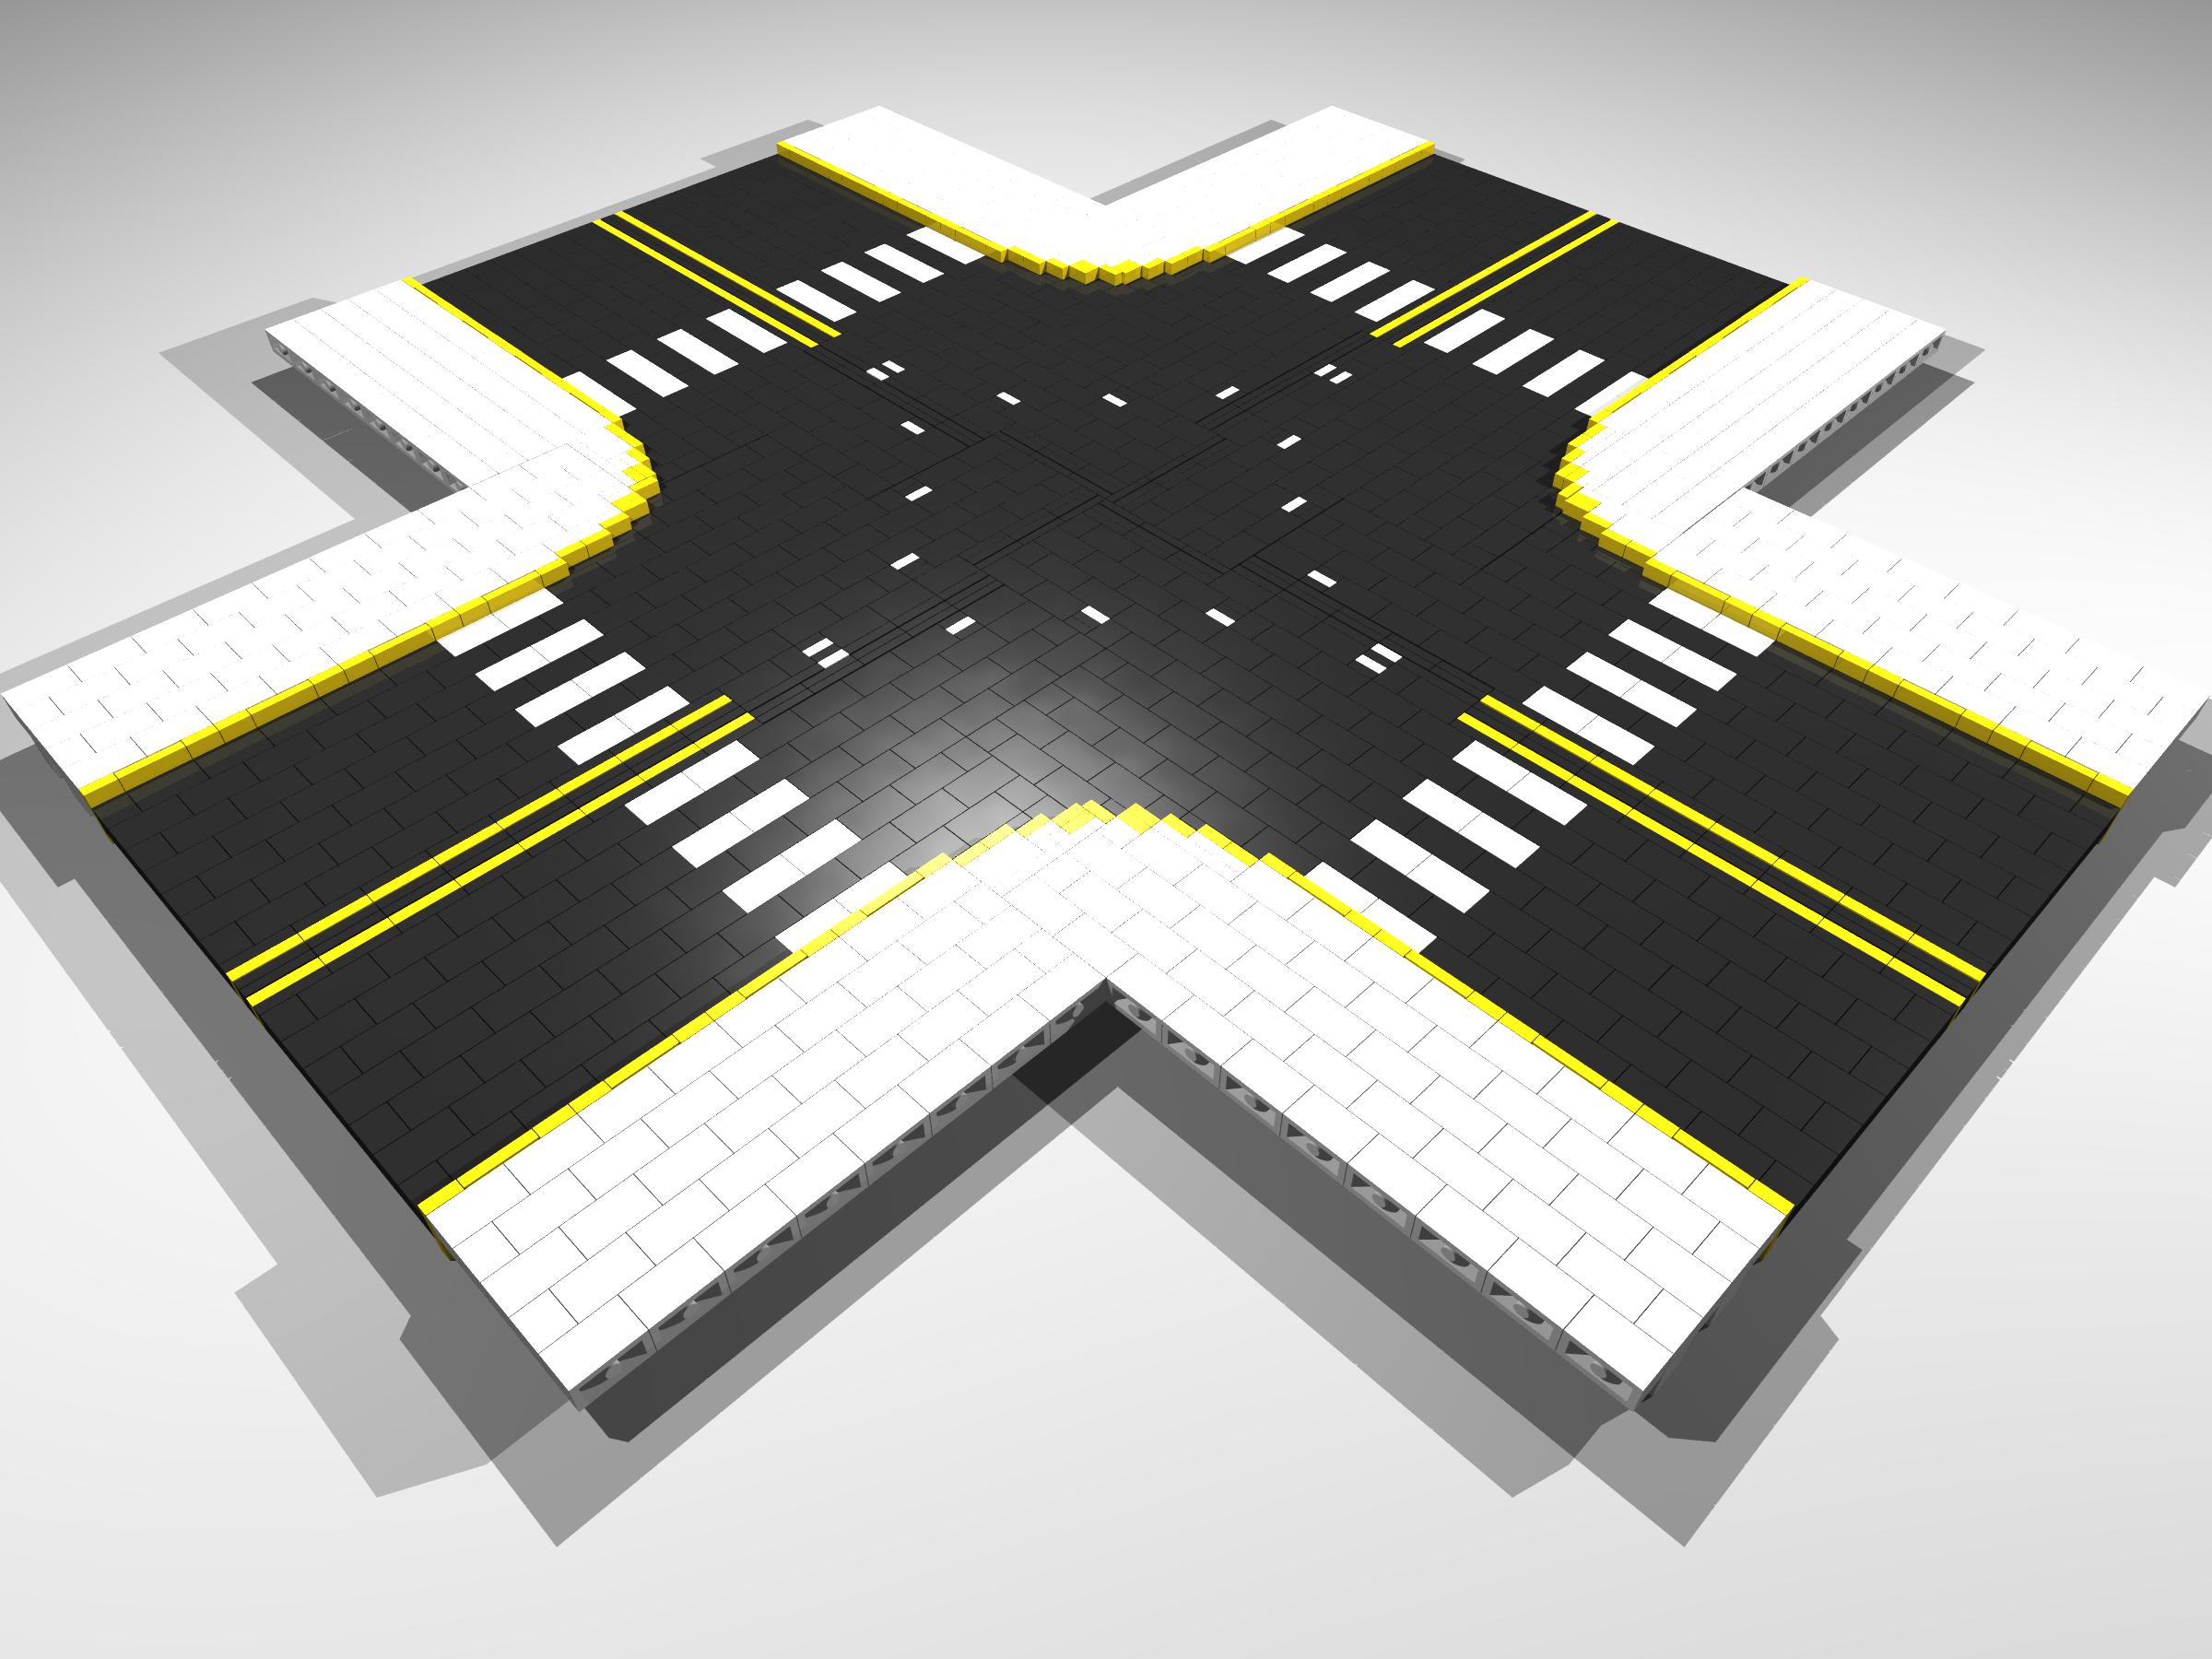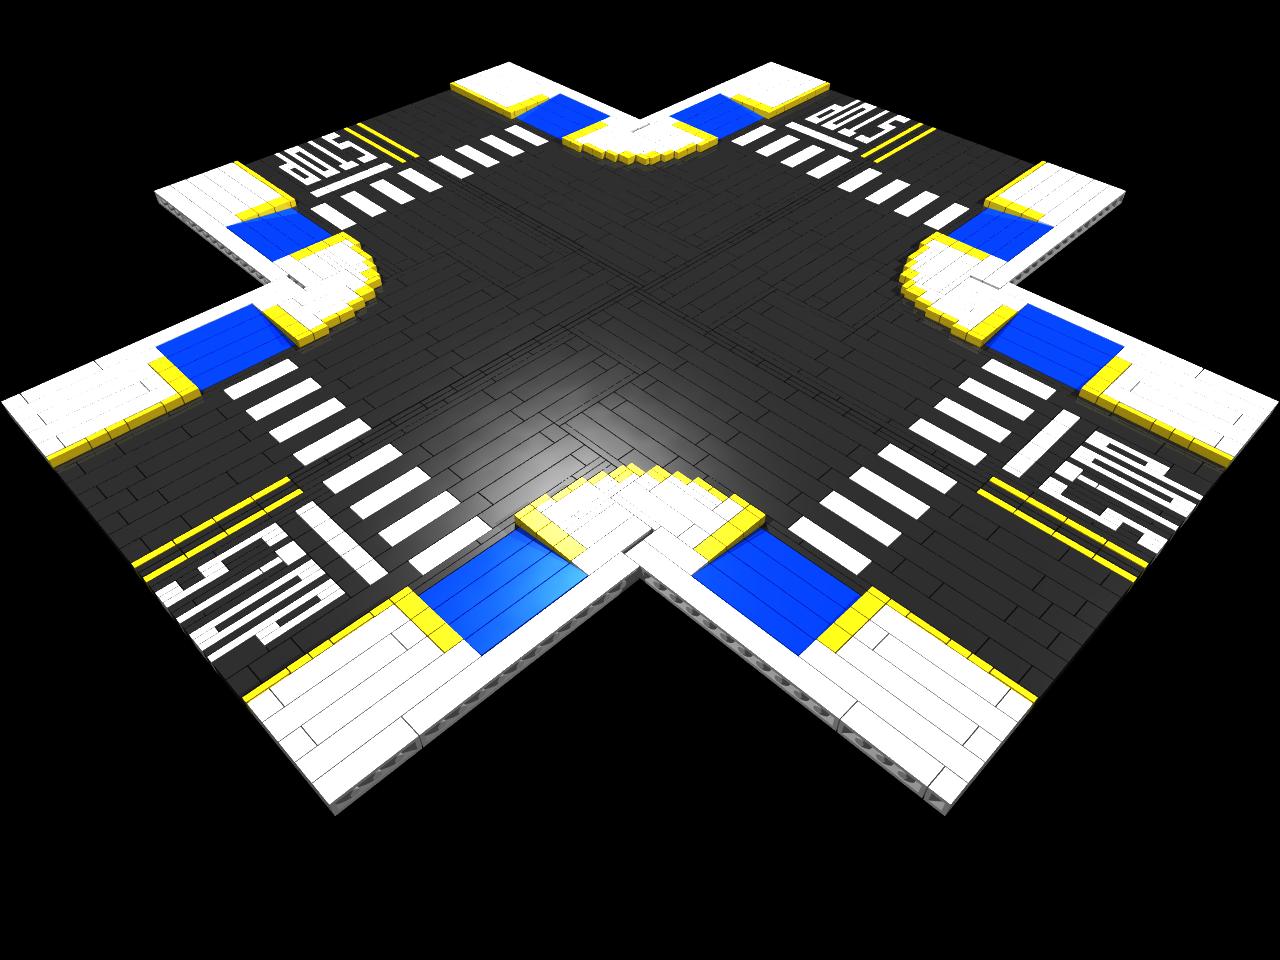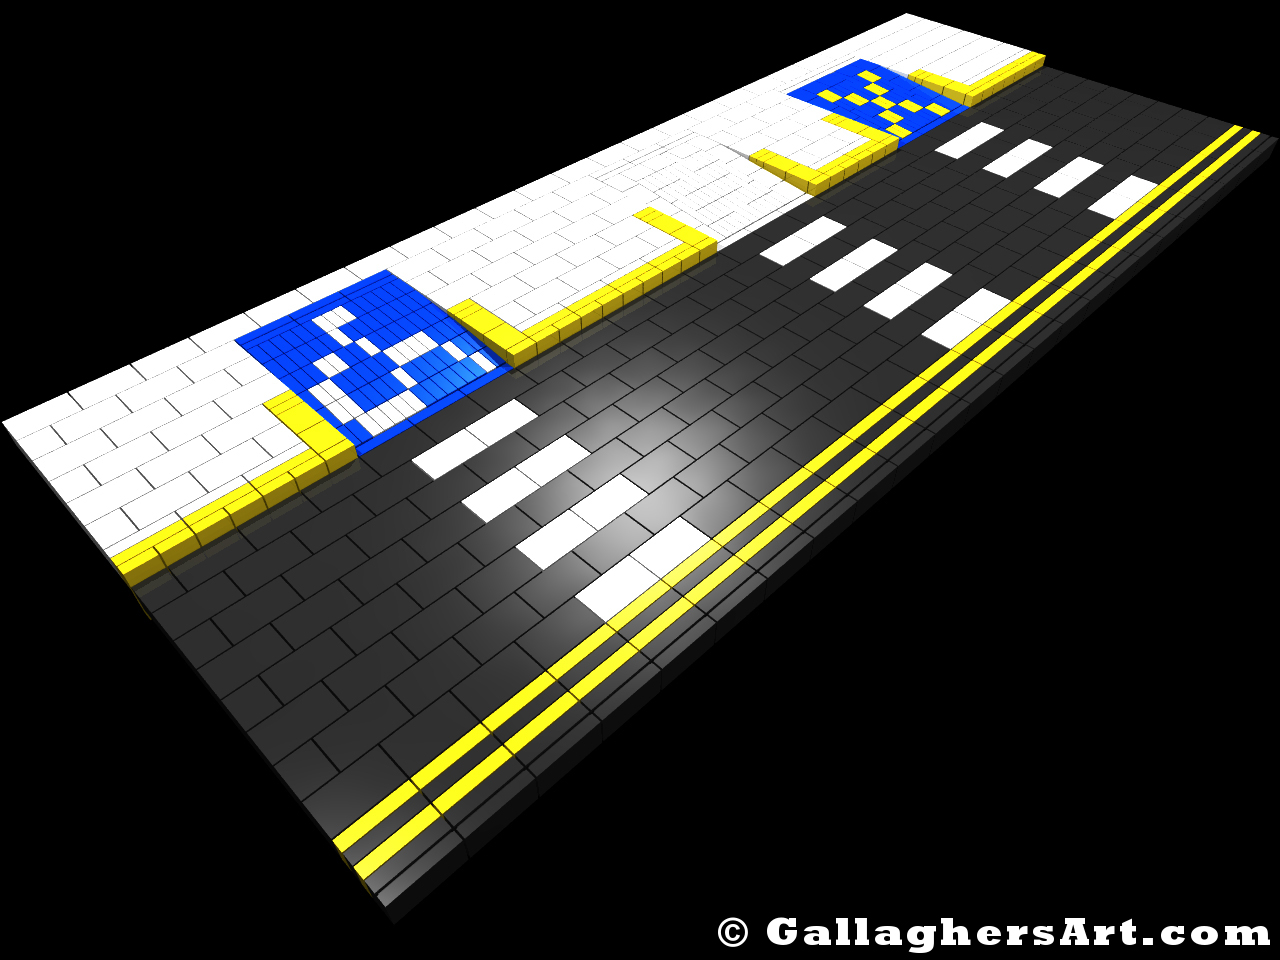

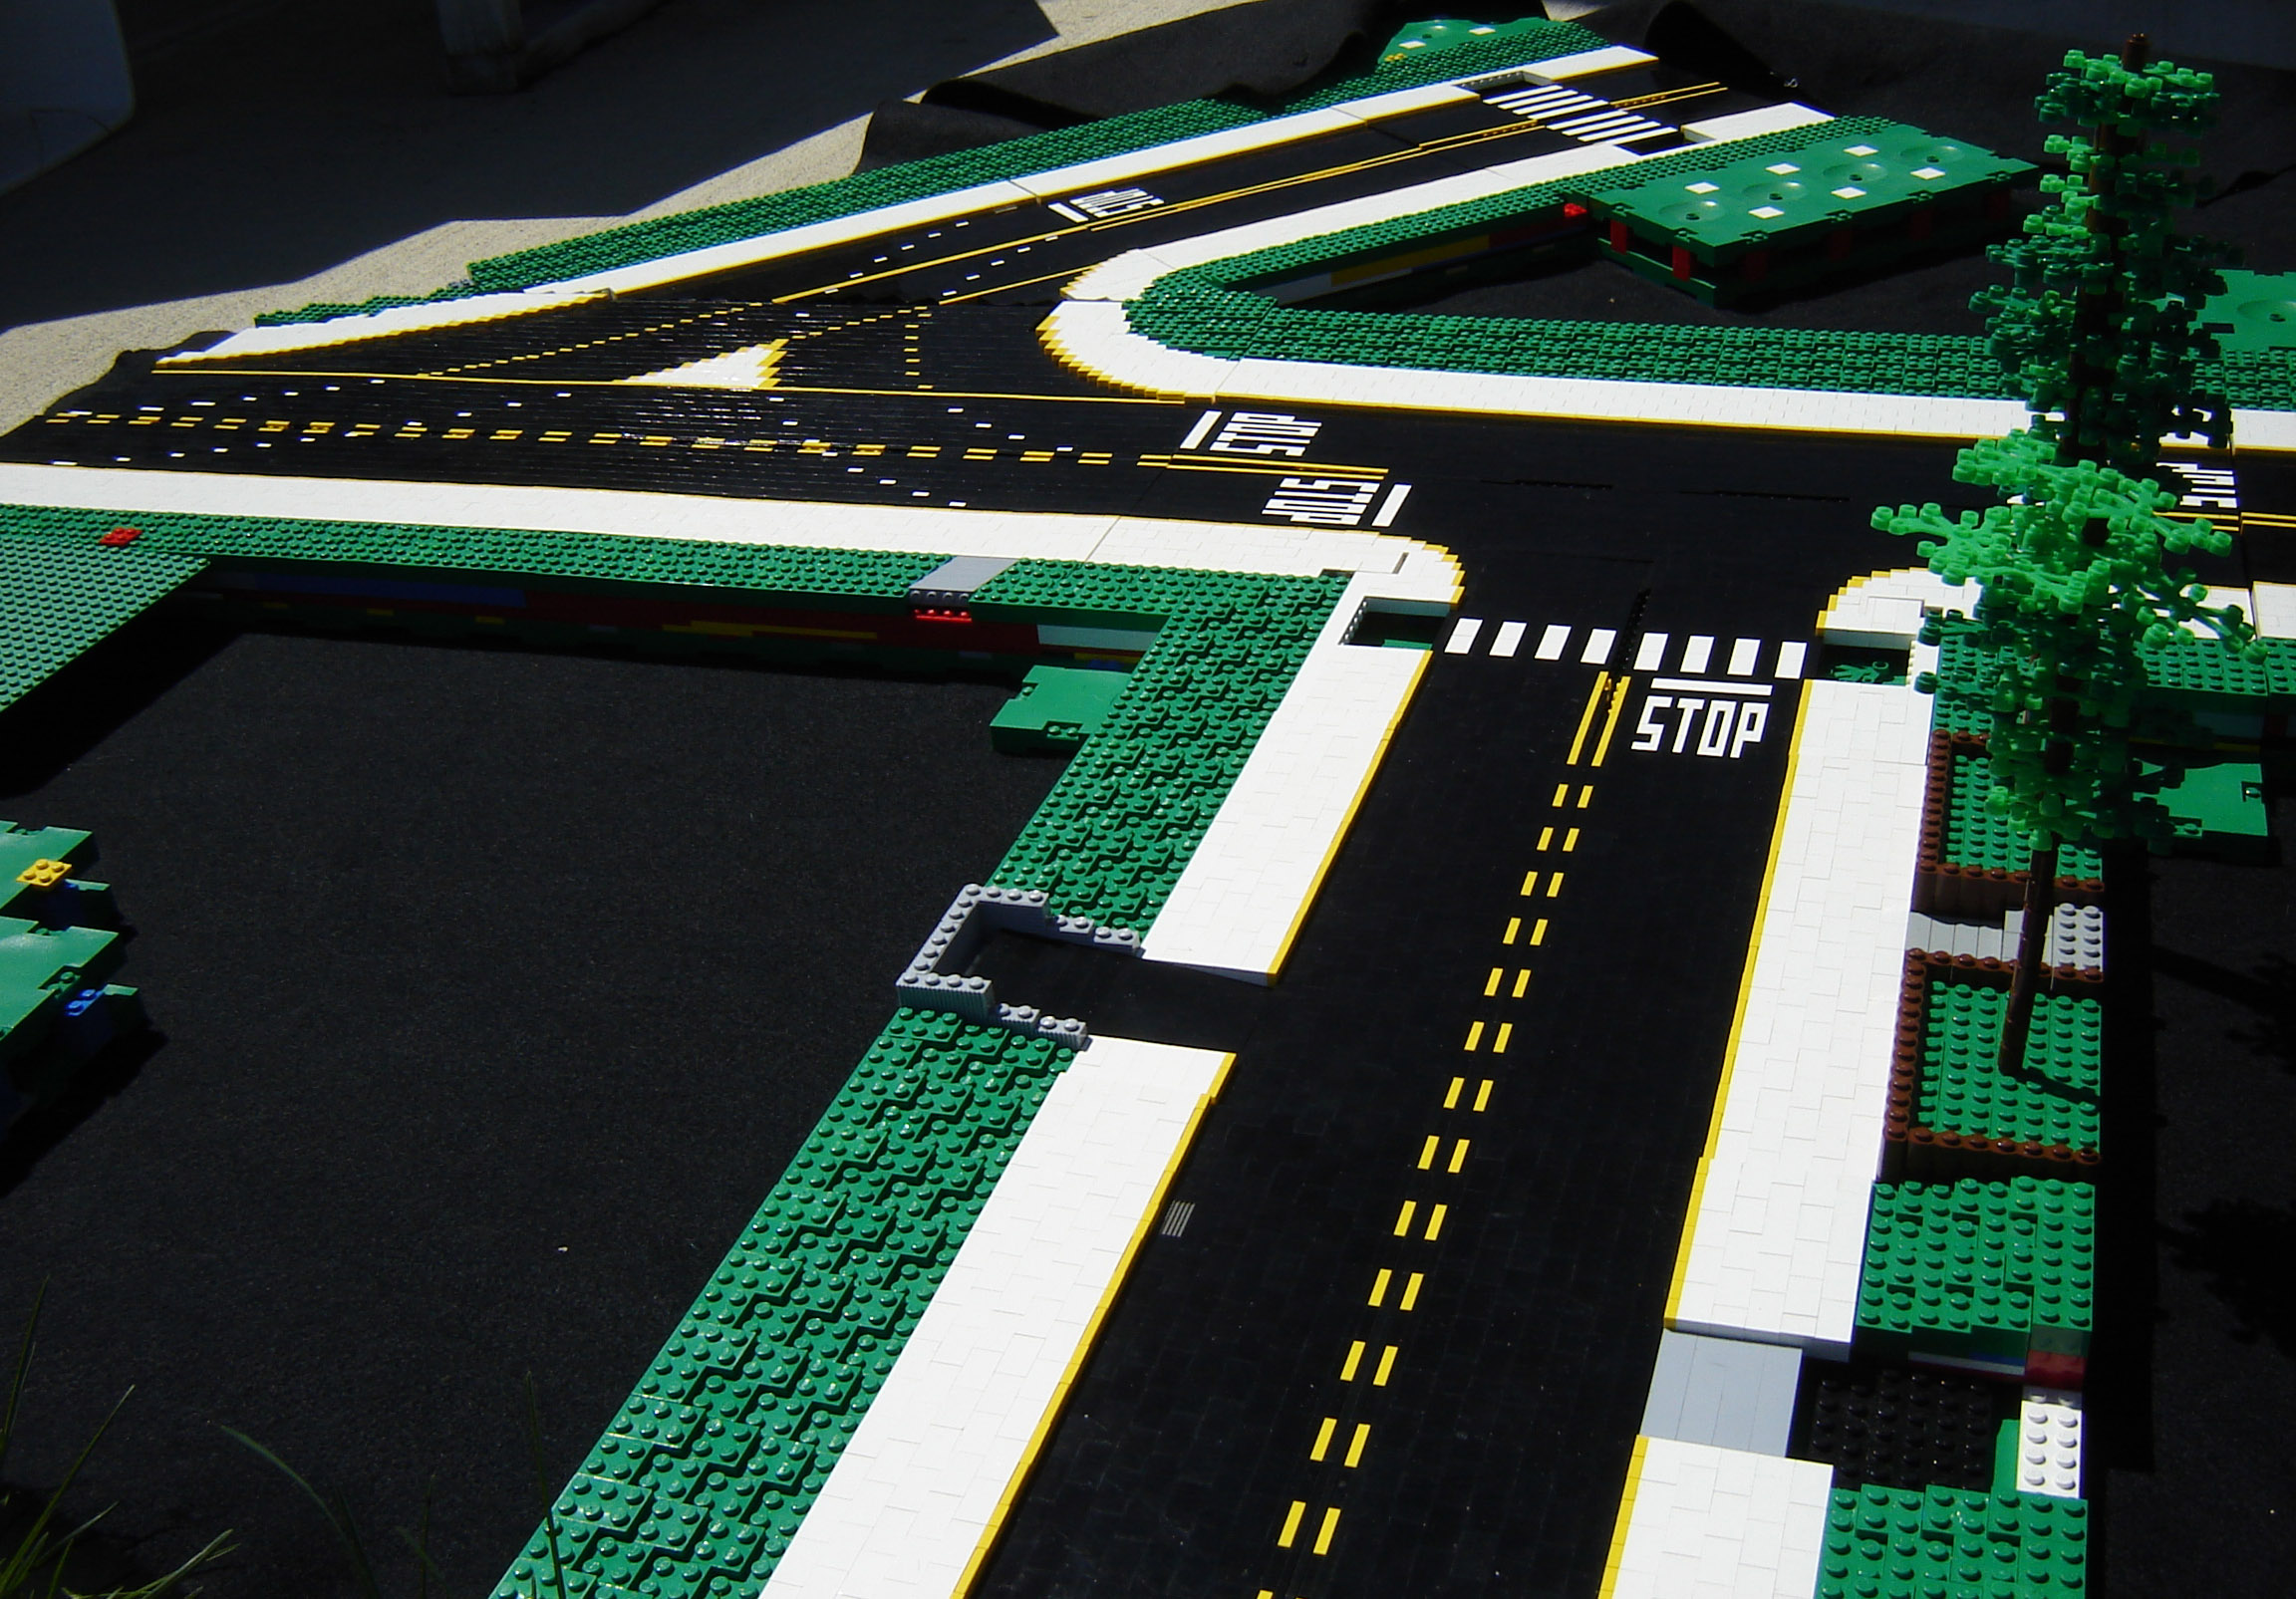
Since early 2003 I have been making various types of roads made out of LEGO bricks. In this entry I will talk about my current version I use. And share with the how and whys.
View the Gallery of pictures and download LDR source files!
My naming of different version kind of just happened, but basically “SP” = SNOT Pavement, the numbers lists the type of design. Any letters after the version number would be a scale or size of the module.
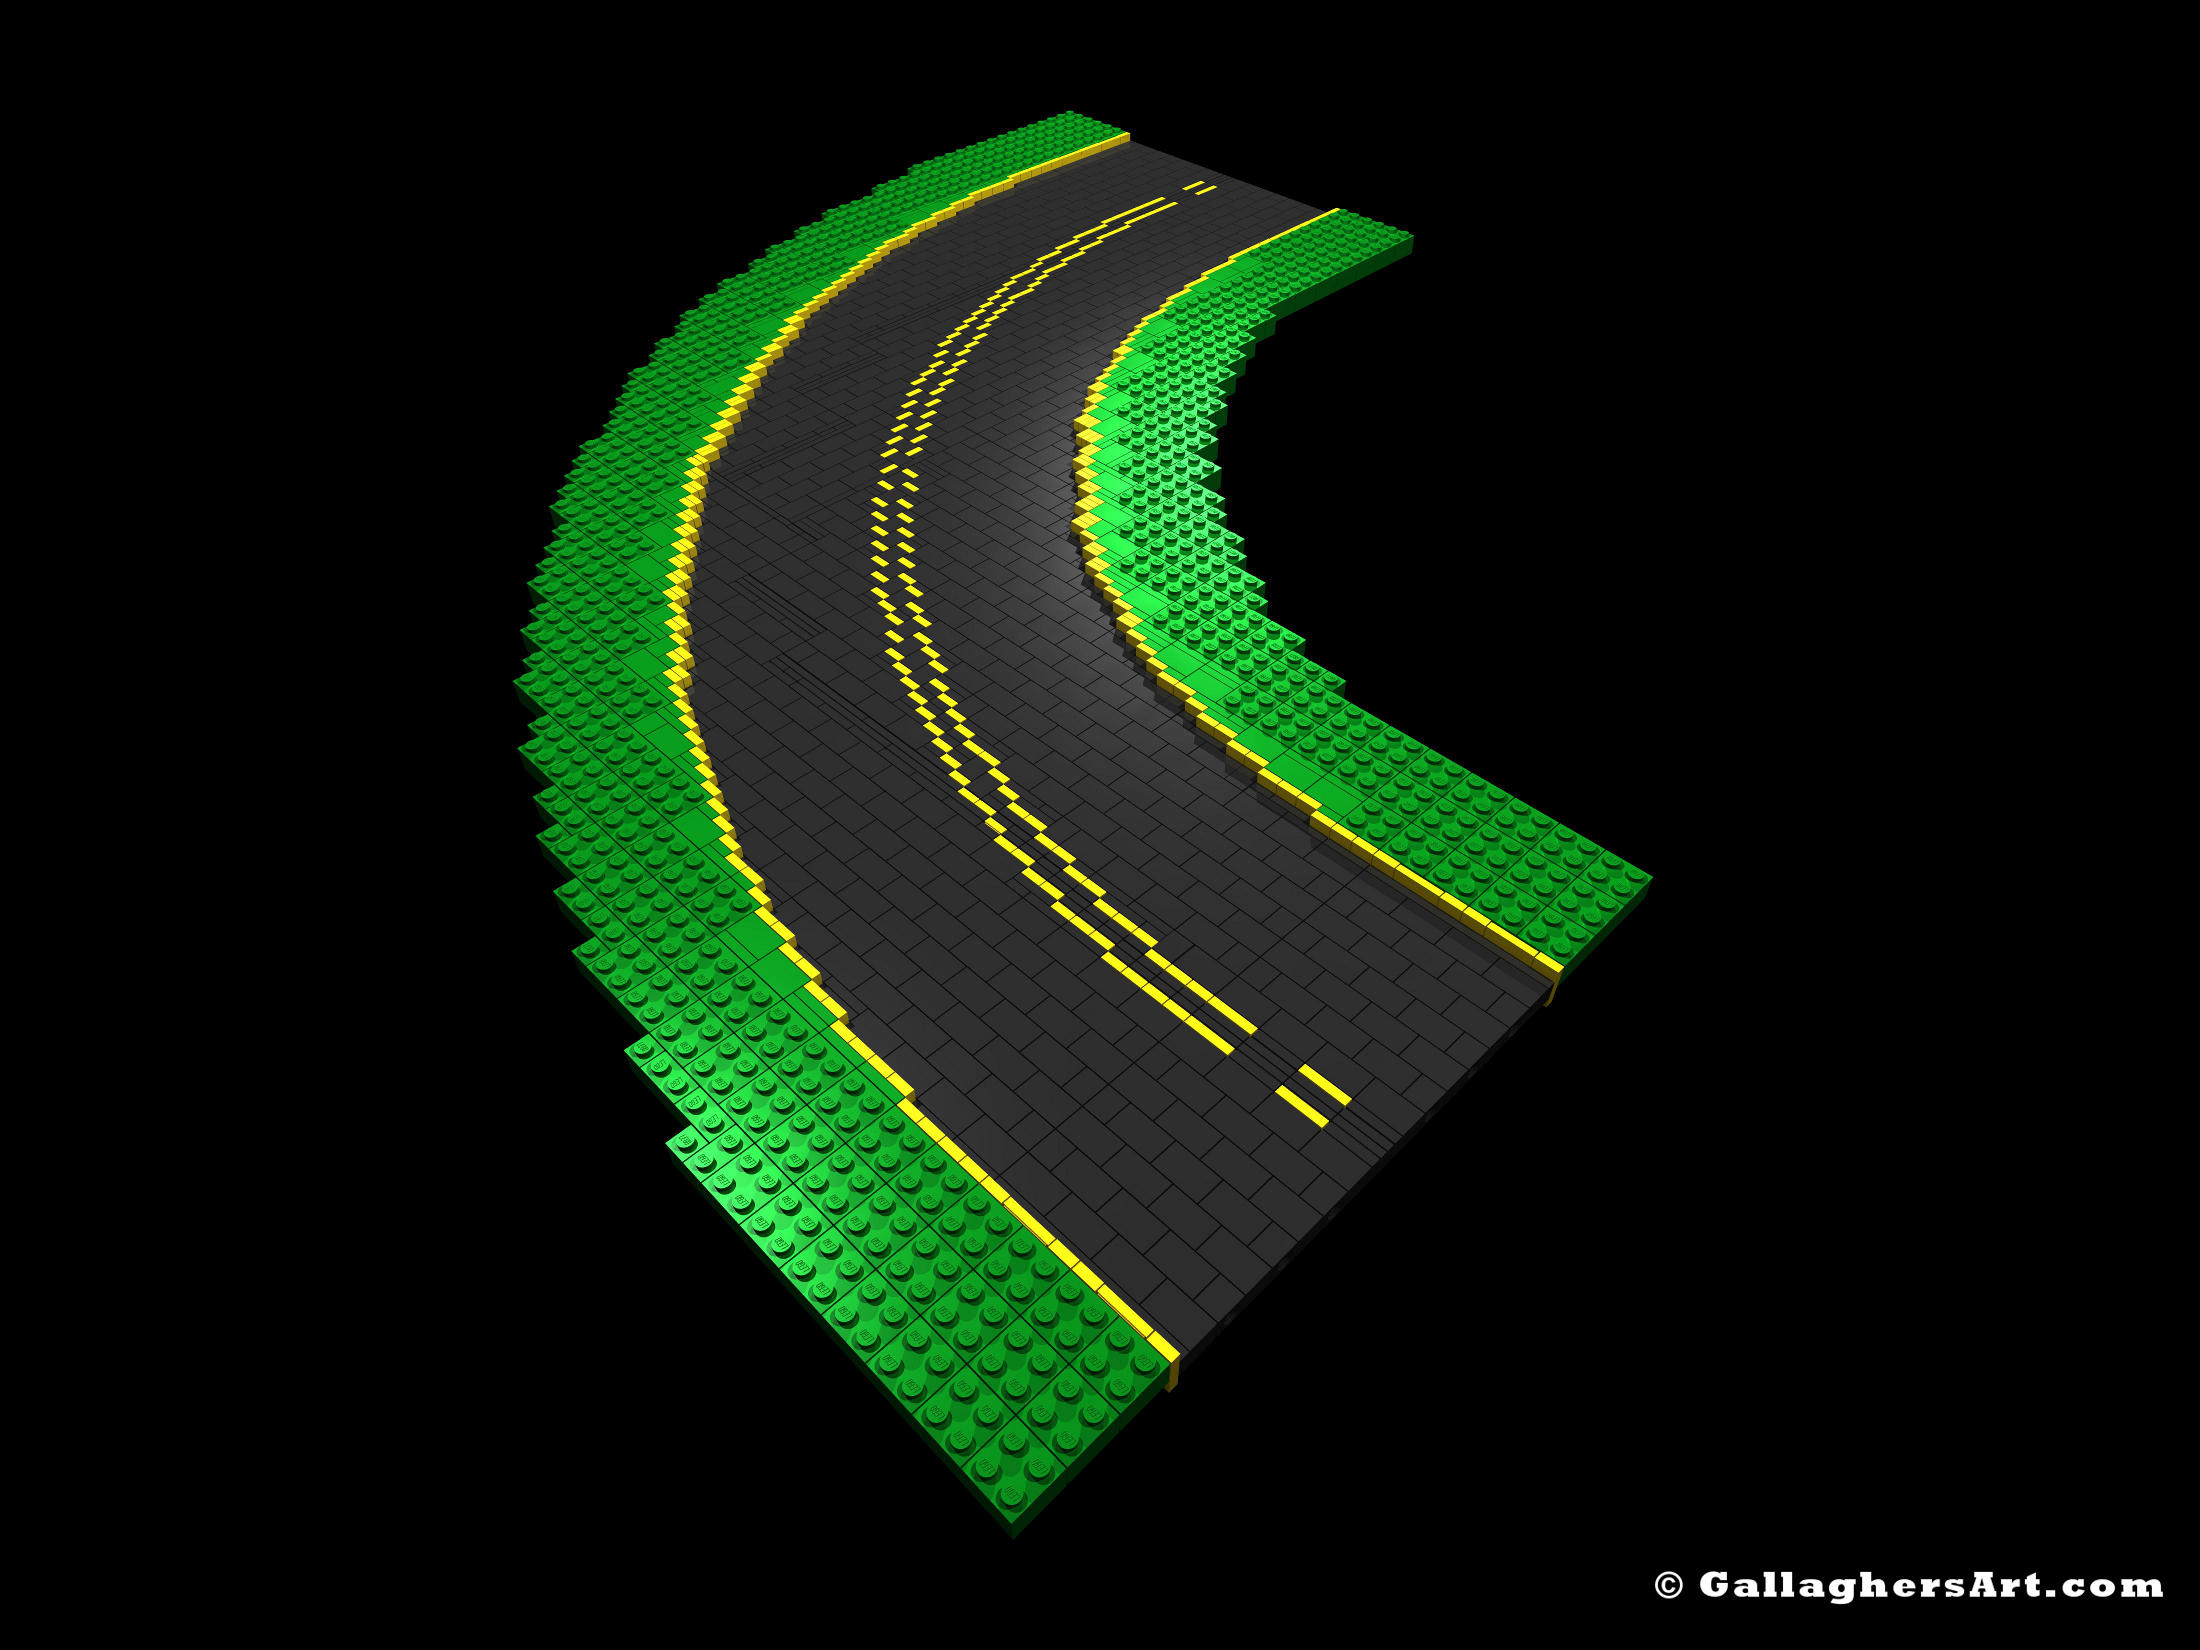
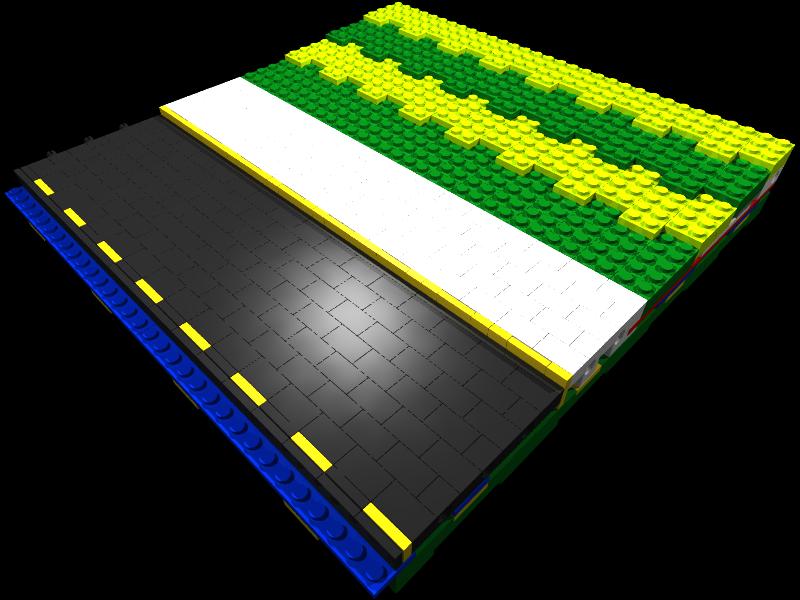
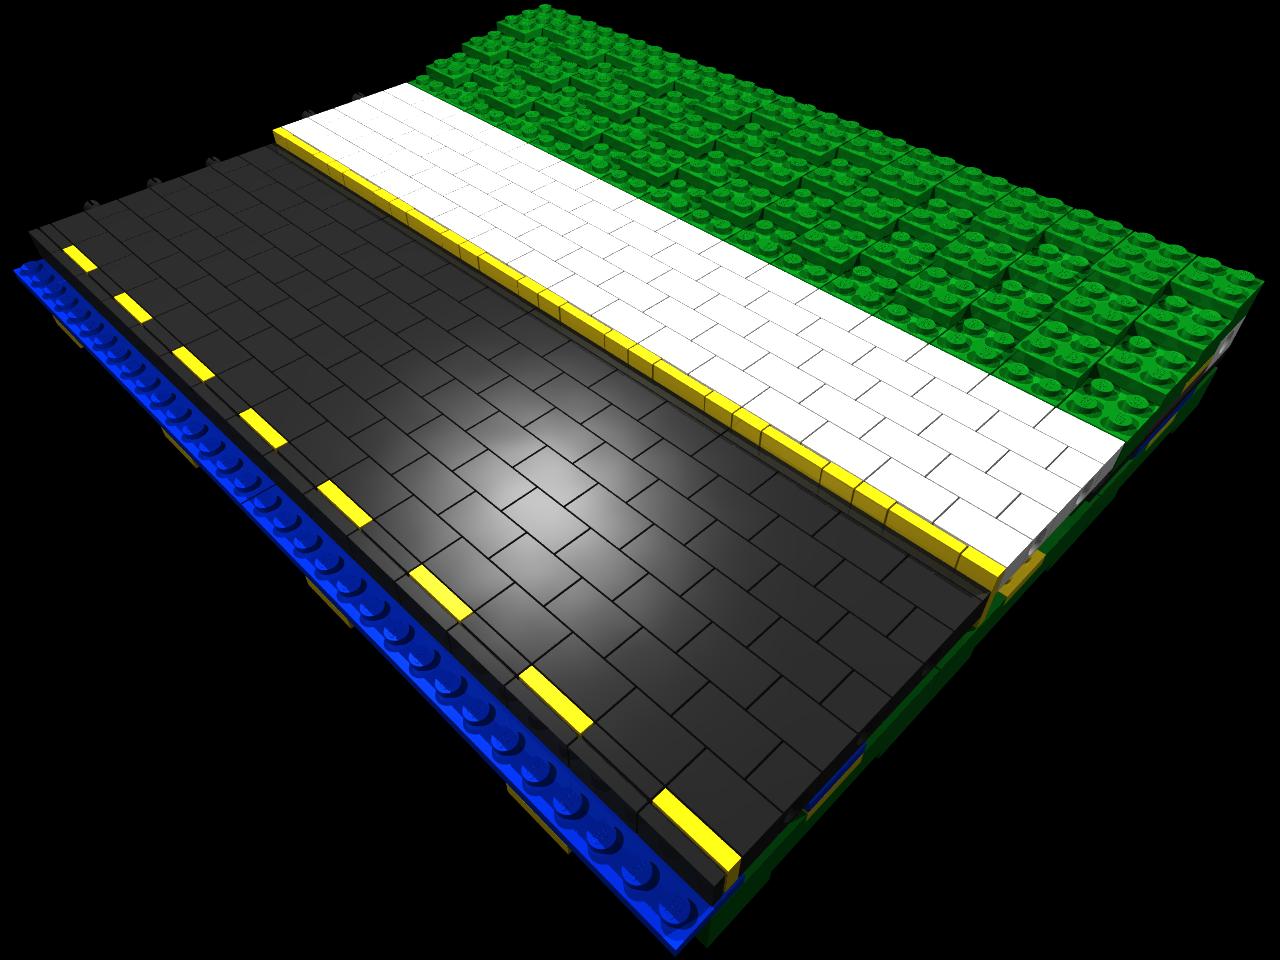
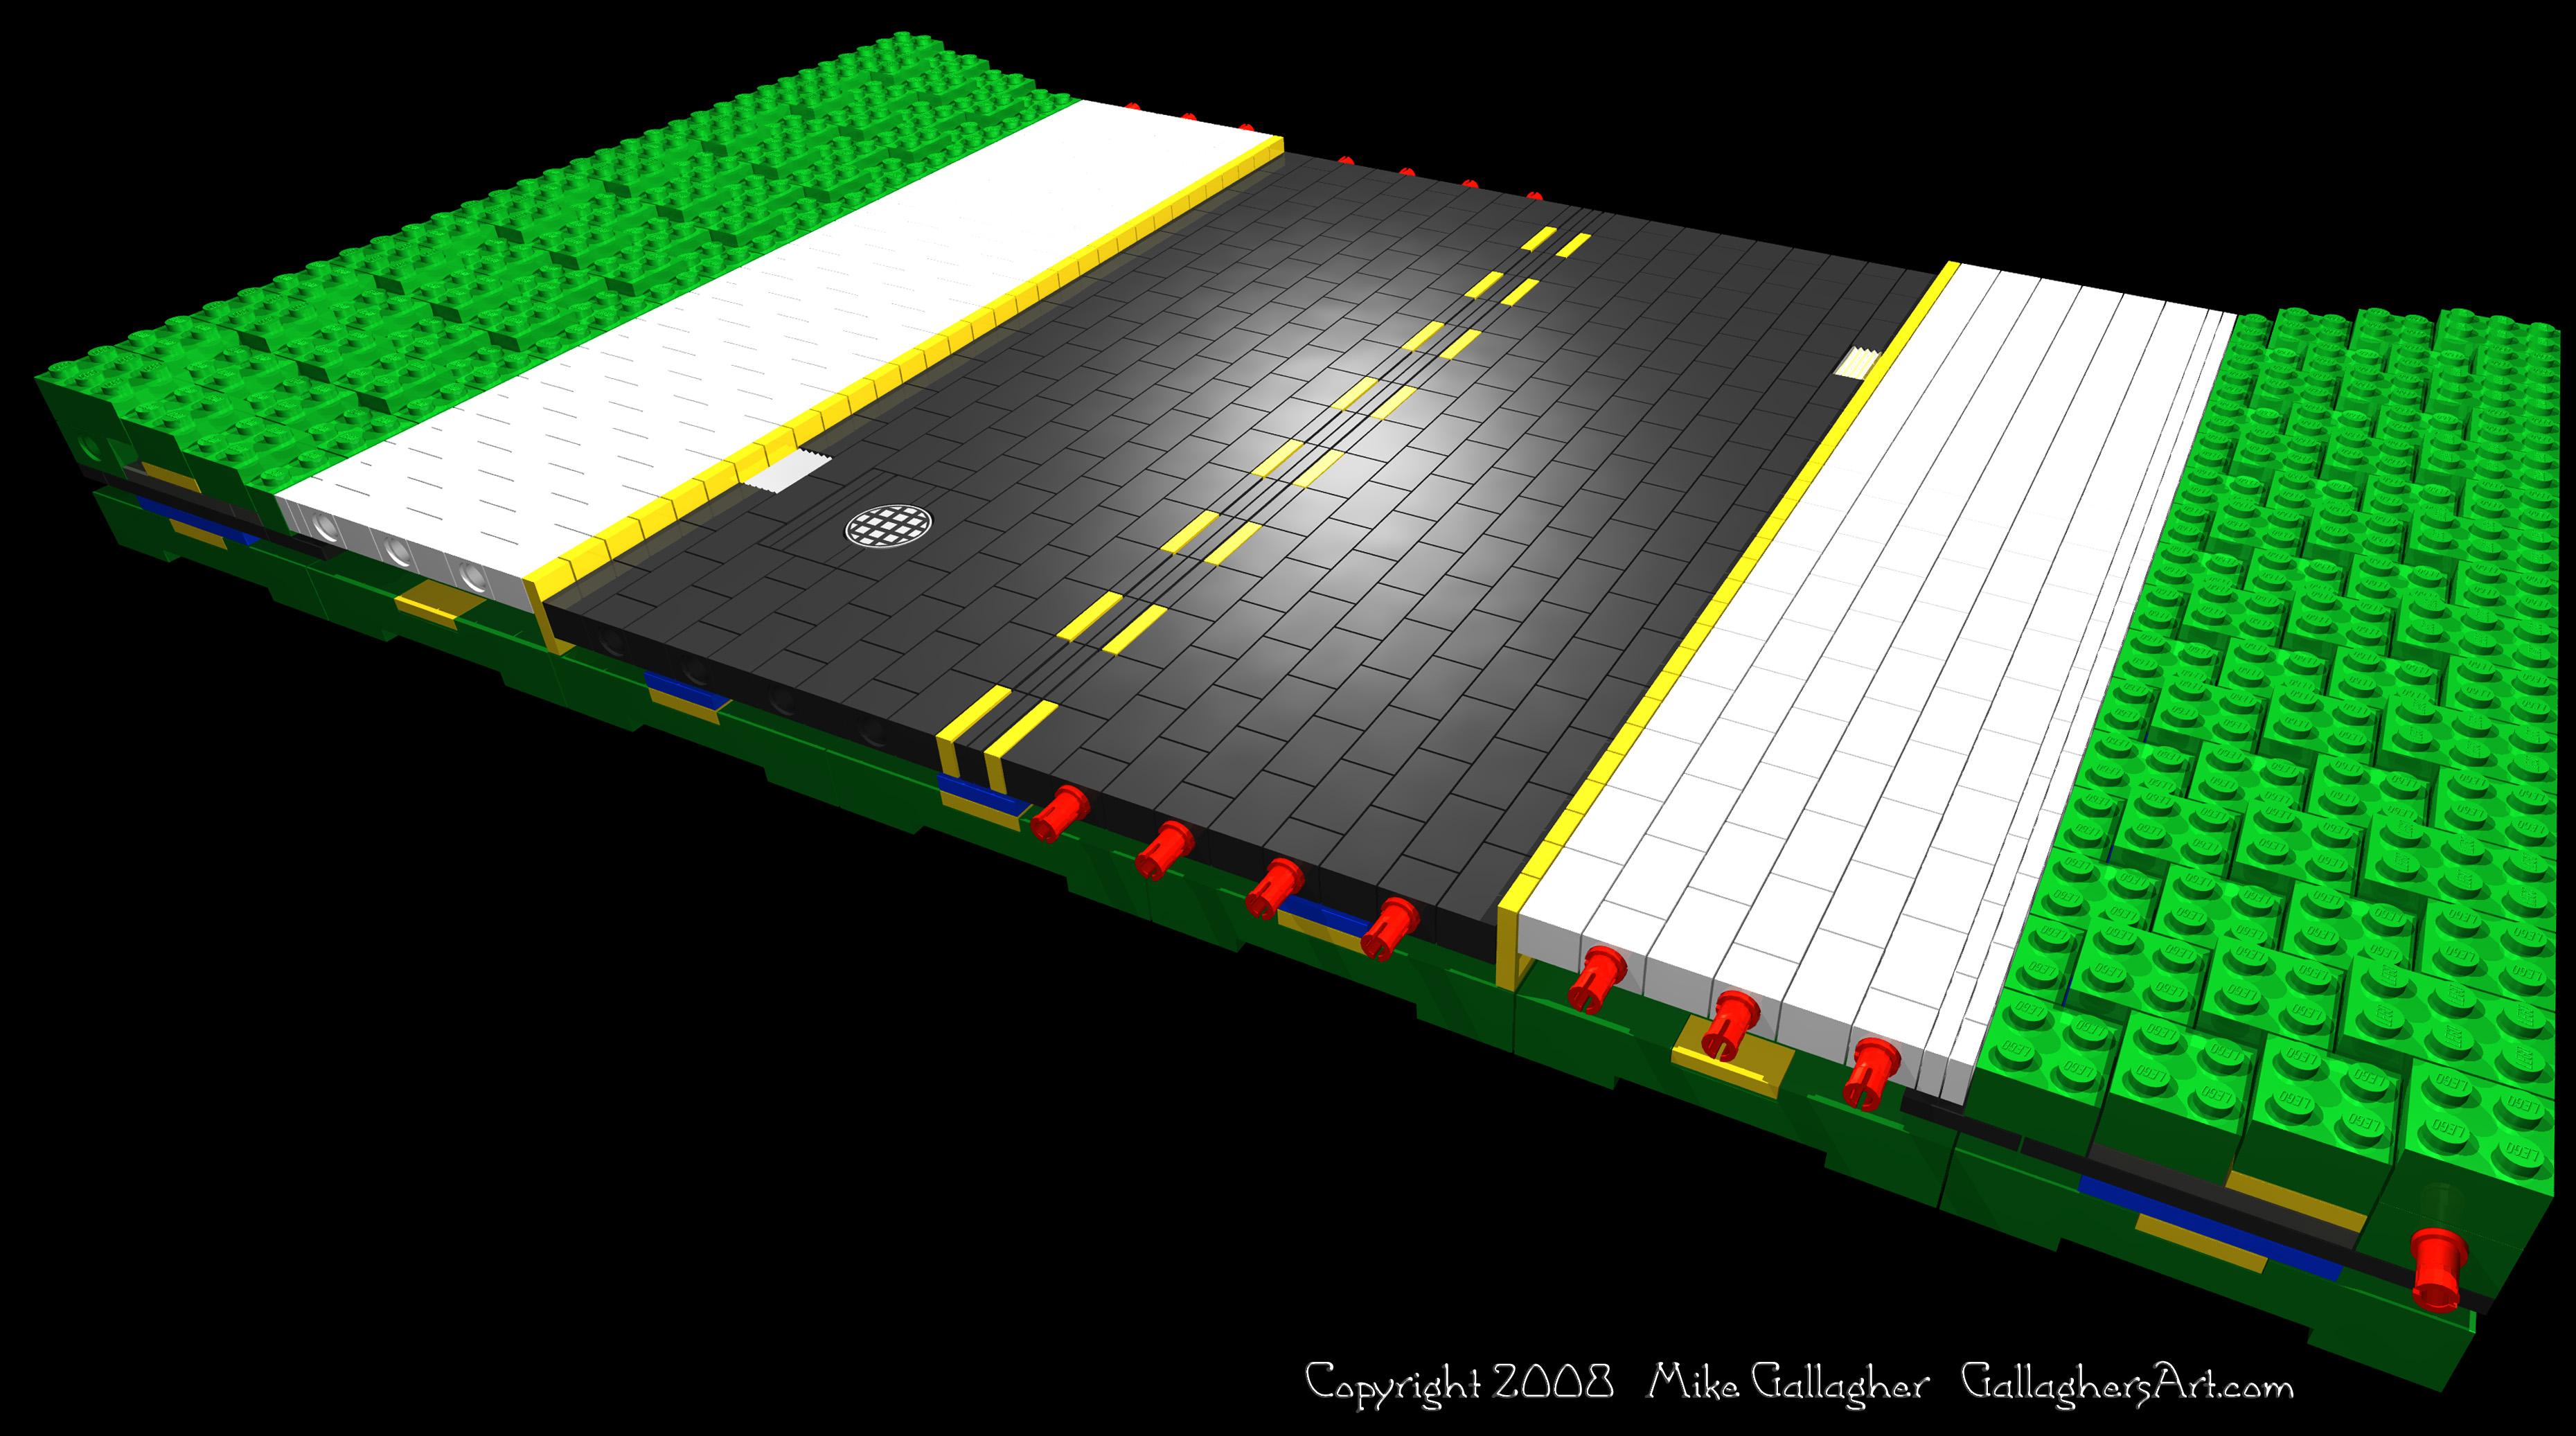
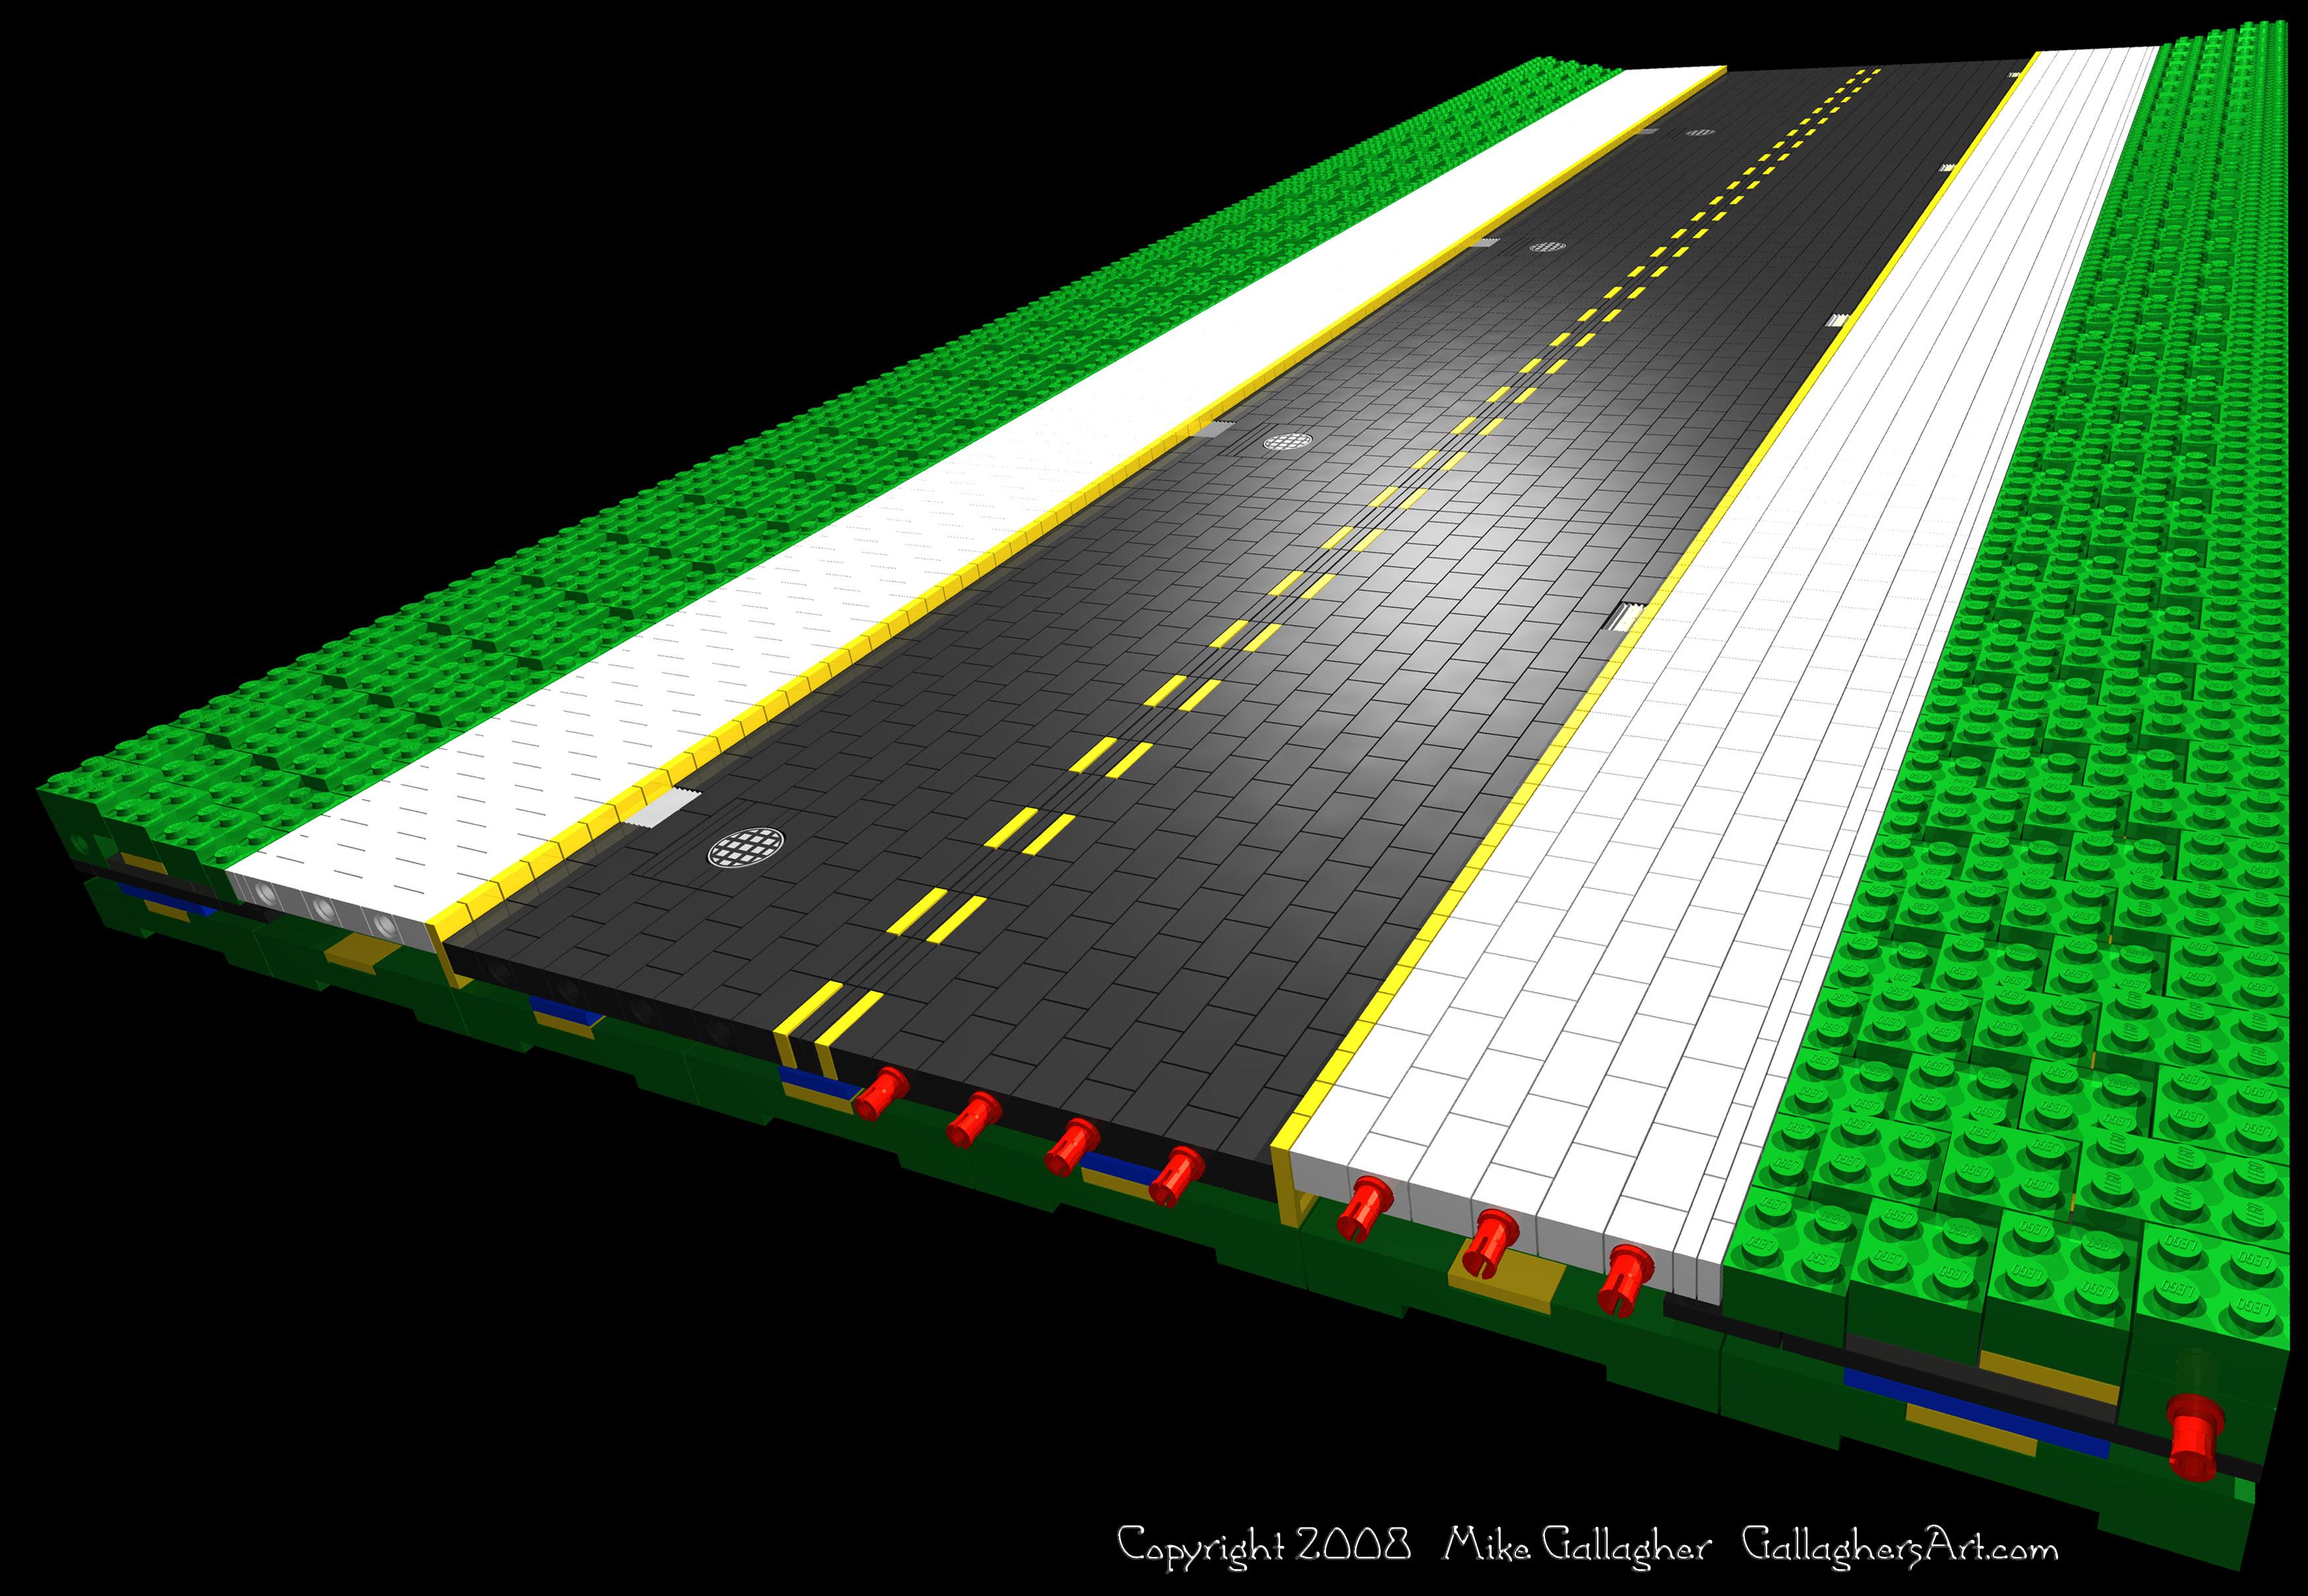
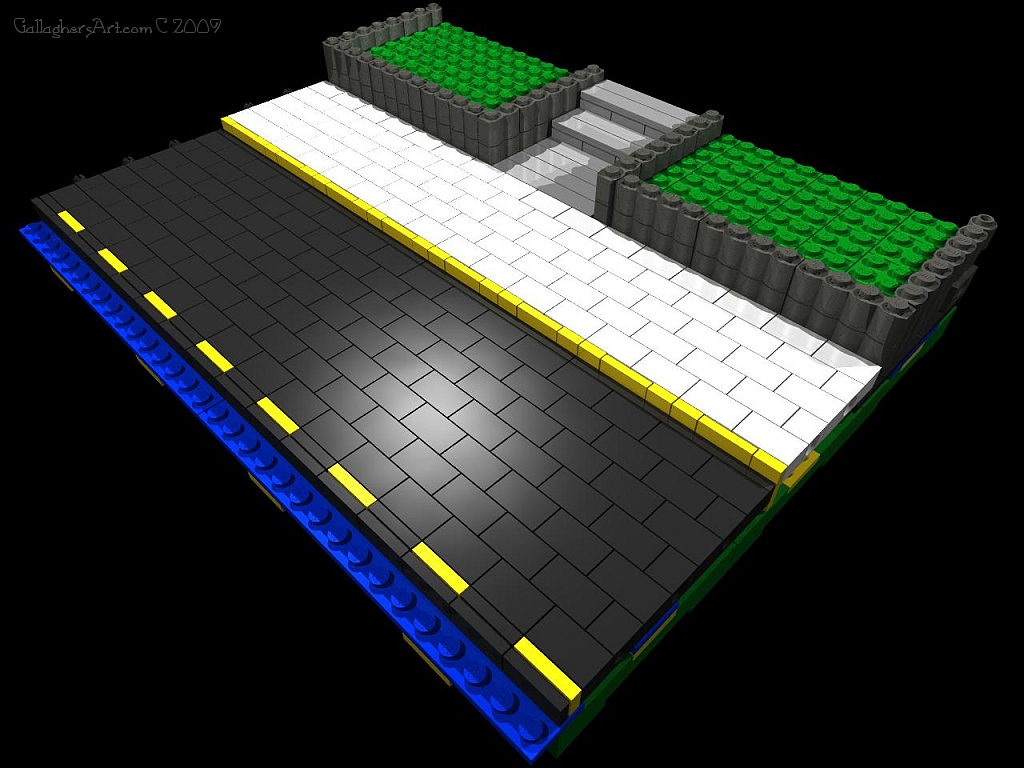
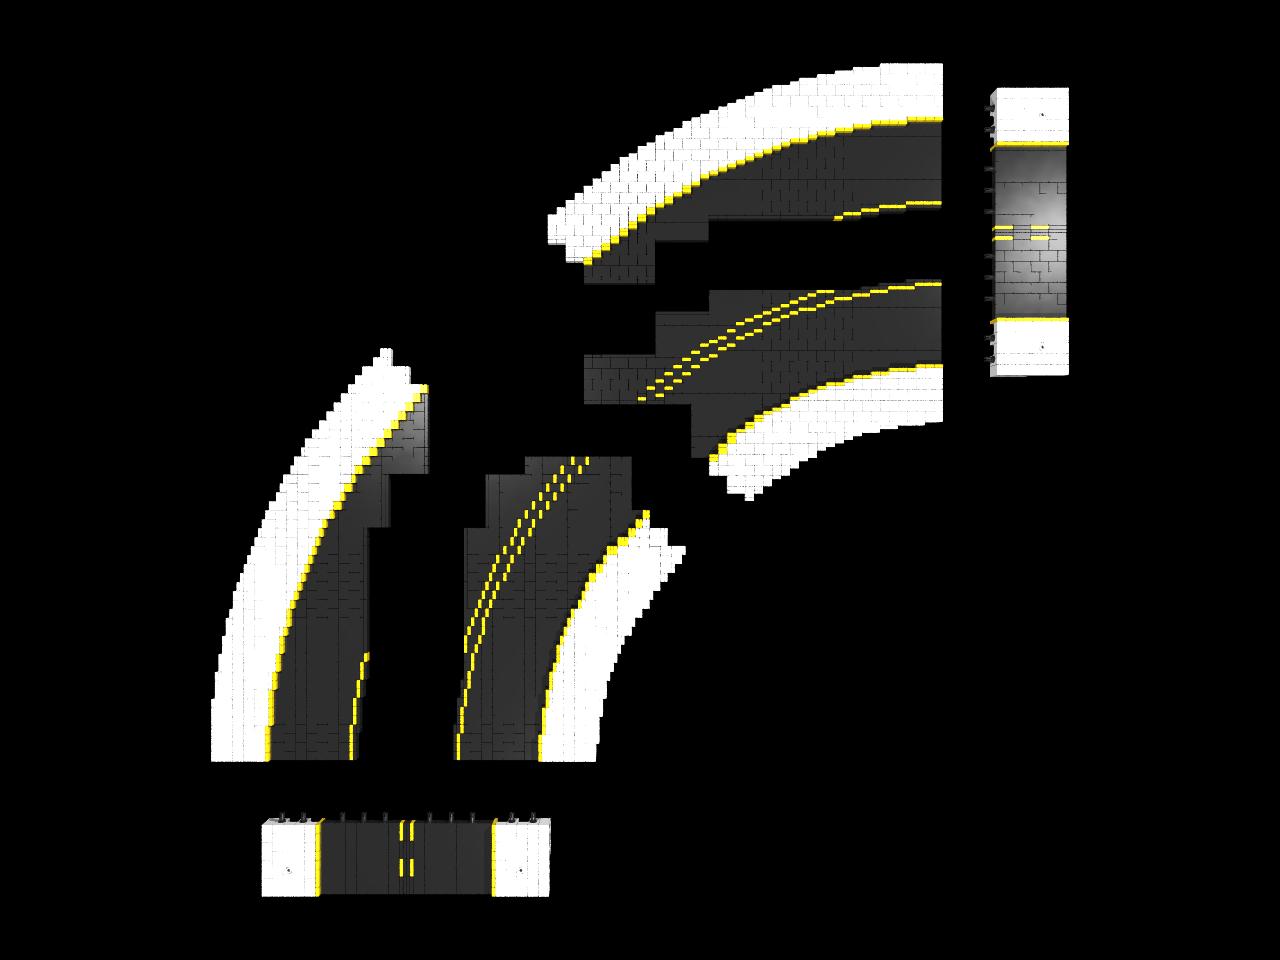
SP04 includes a half brick height curb created with 1x2 single stud tiles. These connect the road surface with the sidewalks. Unless you choose not to include sidewalks.
The foot print for version “G” is 1.5 x 1 BP. Each Side walk and green area is 8 studs width for easy swapping of different modules. This allows each Road, Sidewalk, and green area to be different but all will fit together to make a larger display while adding some random details throughout.
So why make these, it was sure not because of the cost. But rather it opened up endless possibilities such as …
Please note I am using different sized modules in these pictures to show you the technique verses an exact brick by brick instructions.
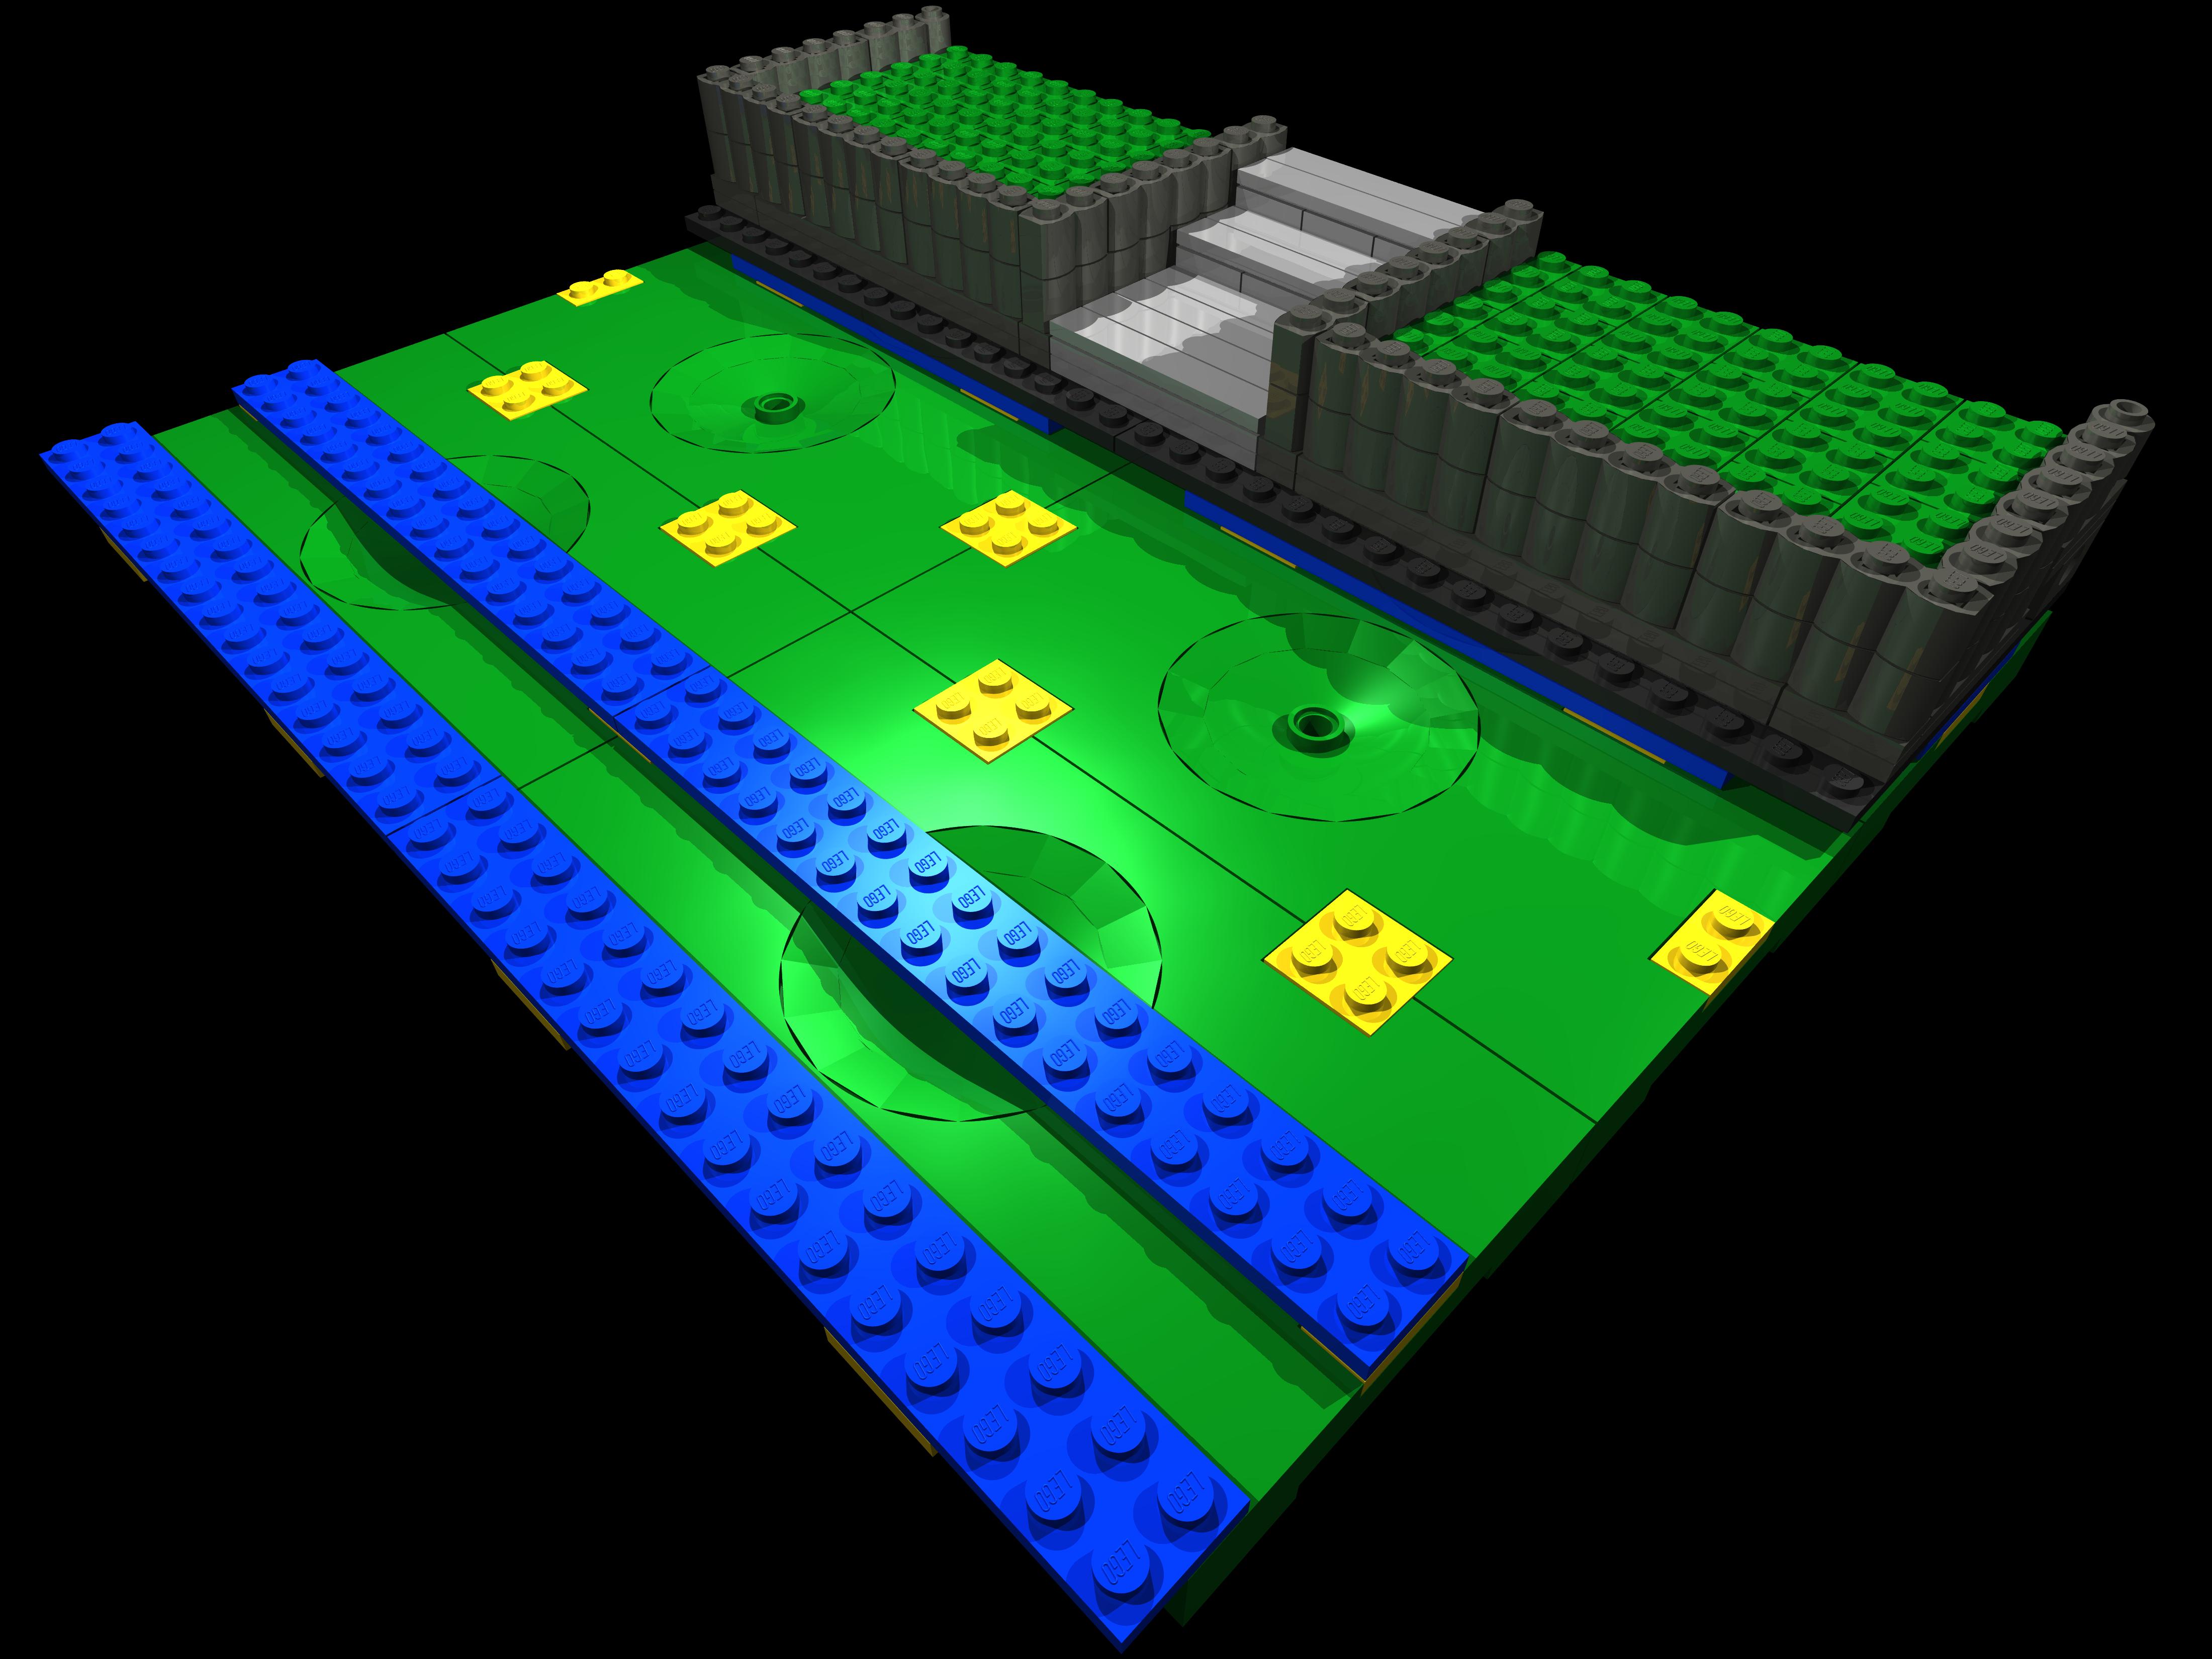
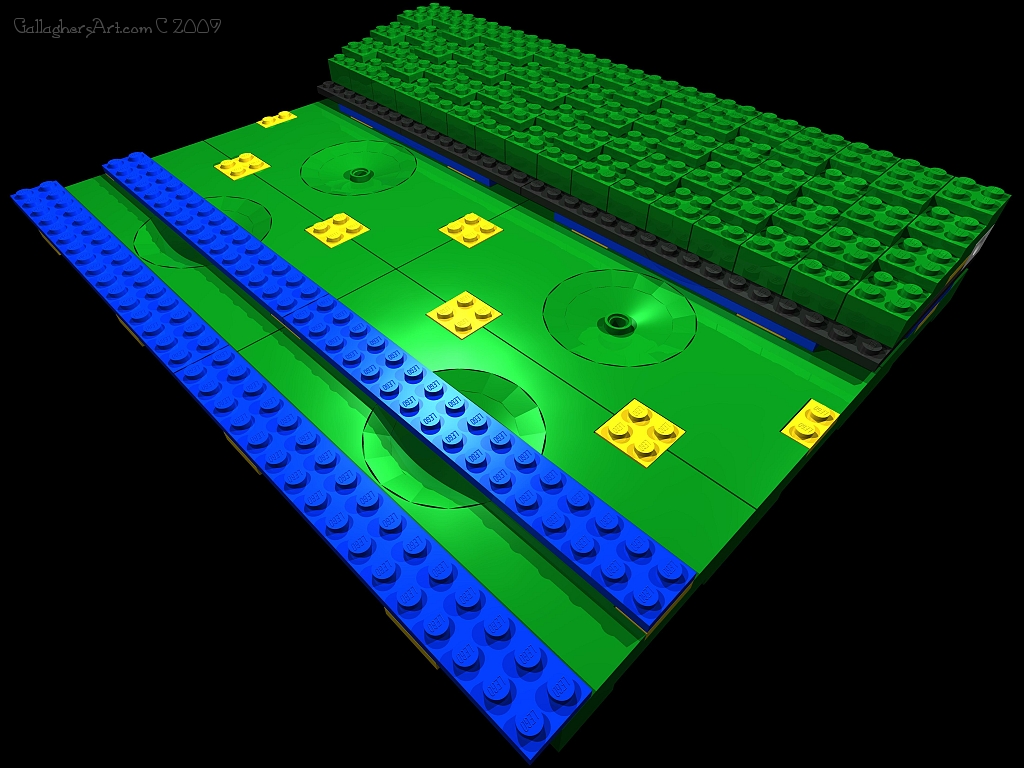
Depending on the style and size I like to use the sports 8x16 bricks as the bases of these modules. At one point these were so cheap I was spending more on shipping cost then the parts themselves.
Normally no matter the road size I like to keep to the LEGO base math. I always make the green area to be 8 studs wide and the road with or without sidewalks would be in multiples of 8 studs.
The green area can go straight up on all 8 studs, and can include anything from a building to drive ways or garages.
If you choose to have a sidewalk you will need to add 2 plate heights along the edge with the green area. But only 1 stud out , 2 plates.
If you choose not to have a sidewalk then you will need no plates for this 1 stud width, but you will have to use tiles in this area so the 1x2 single stud can lay on the sport brick.
The road surface should be raised by 1 plate throughout the display area, if you want; some play is available if you wanted to make a wavy road.
The Road and sidewalks are made in 1 part per side of the road. Having the Technic pins is not a requirement for the road surfaces, as the bases hold the modules together themselves. On straight roads I like to use 2 1x2 single stud tiles then 1 1x2 tiles to save on the single studs for the curbs.
If you want to add street lights, tress, or others details you may want to include a 1x2 Technic brick with 1 hole. Then you can just place a pin in it so you will know have a single stud on your surface.
For hills and such I like to take 1 of the 1x2 road bricks out and replace with 1x2 plate > 1x1 plate > 1x2 plate. With a single 1x2 tile attached to the other stud next to the 1x1 plate. Sorry no pictures at this time.. Then if I need something to keep a car on the ramp I just slide the tile to be above the road surface verse being smooth with it.
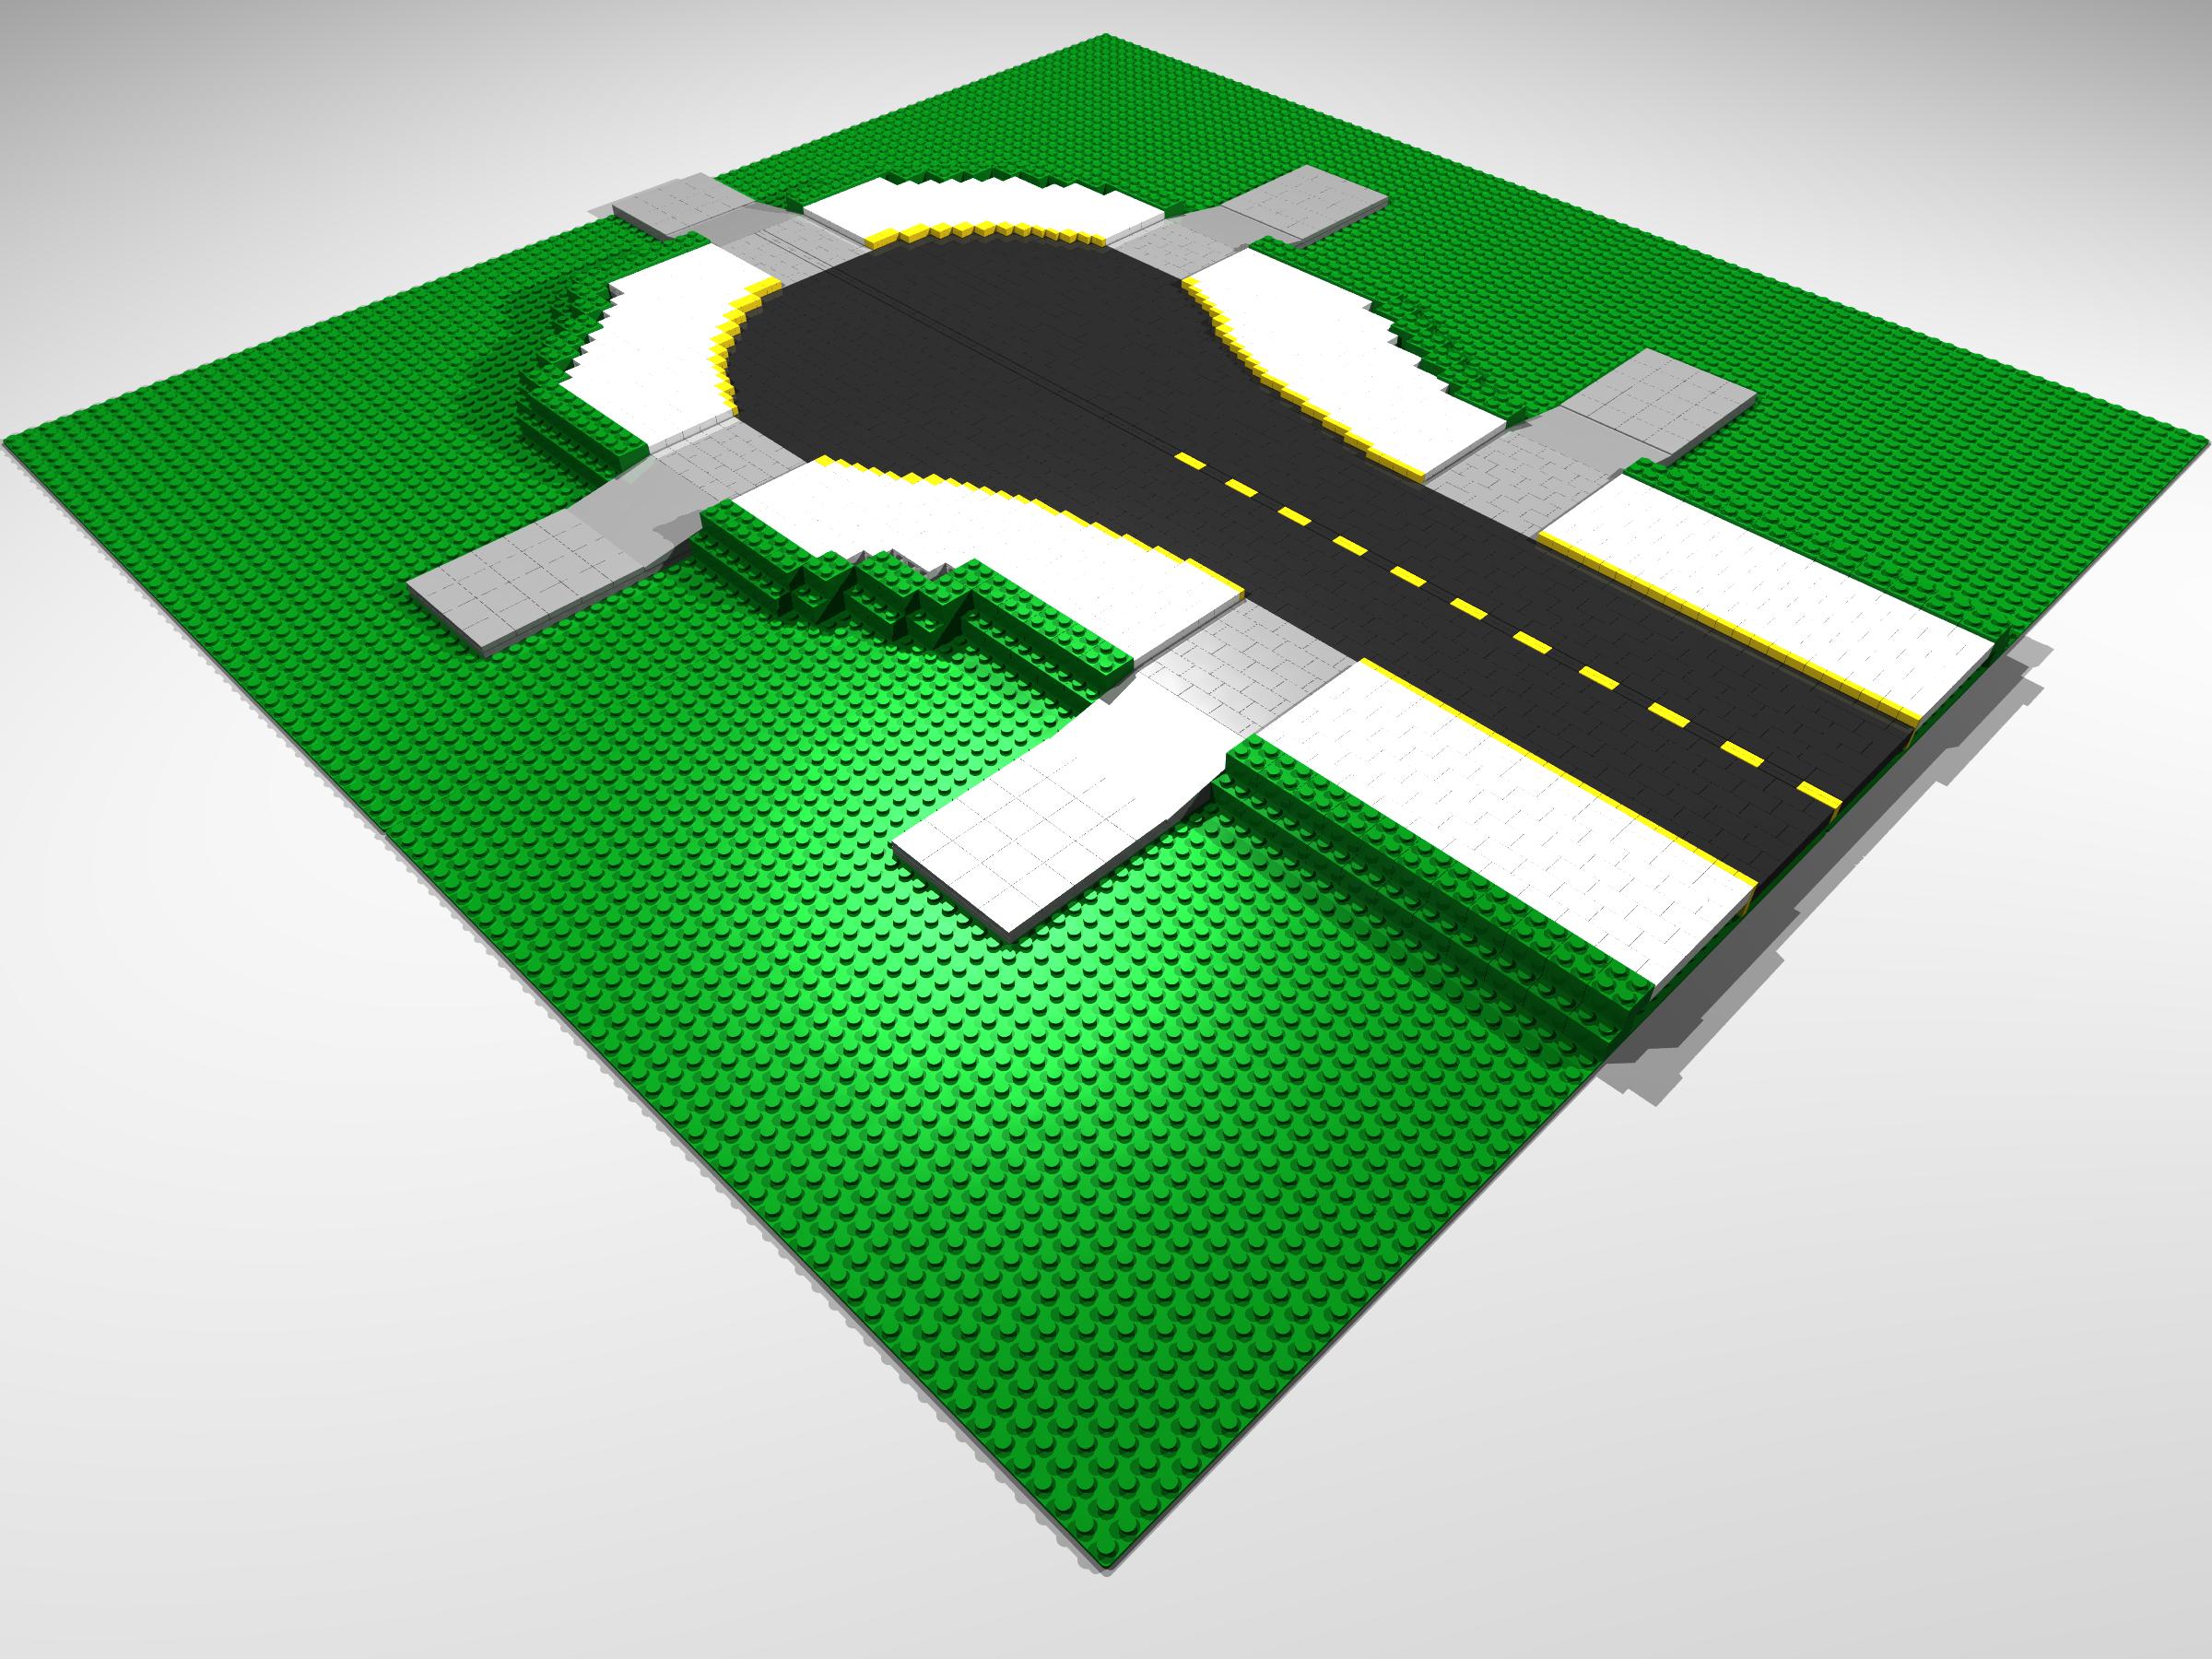
Depending on your design size you may need to modify the base modules so all the parts line up. More for curves and road bends.
Once the Bases, Roads, and any green areas are done you would place 2 of these base modules together to create the whole road area and green areas on both sides. Then you would fold in2 road modules that will snap in between the 2 green areas.
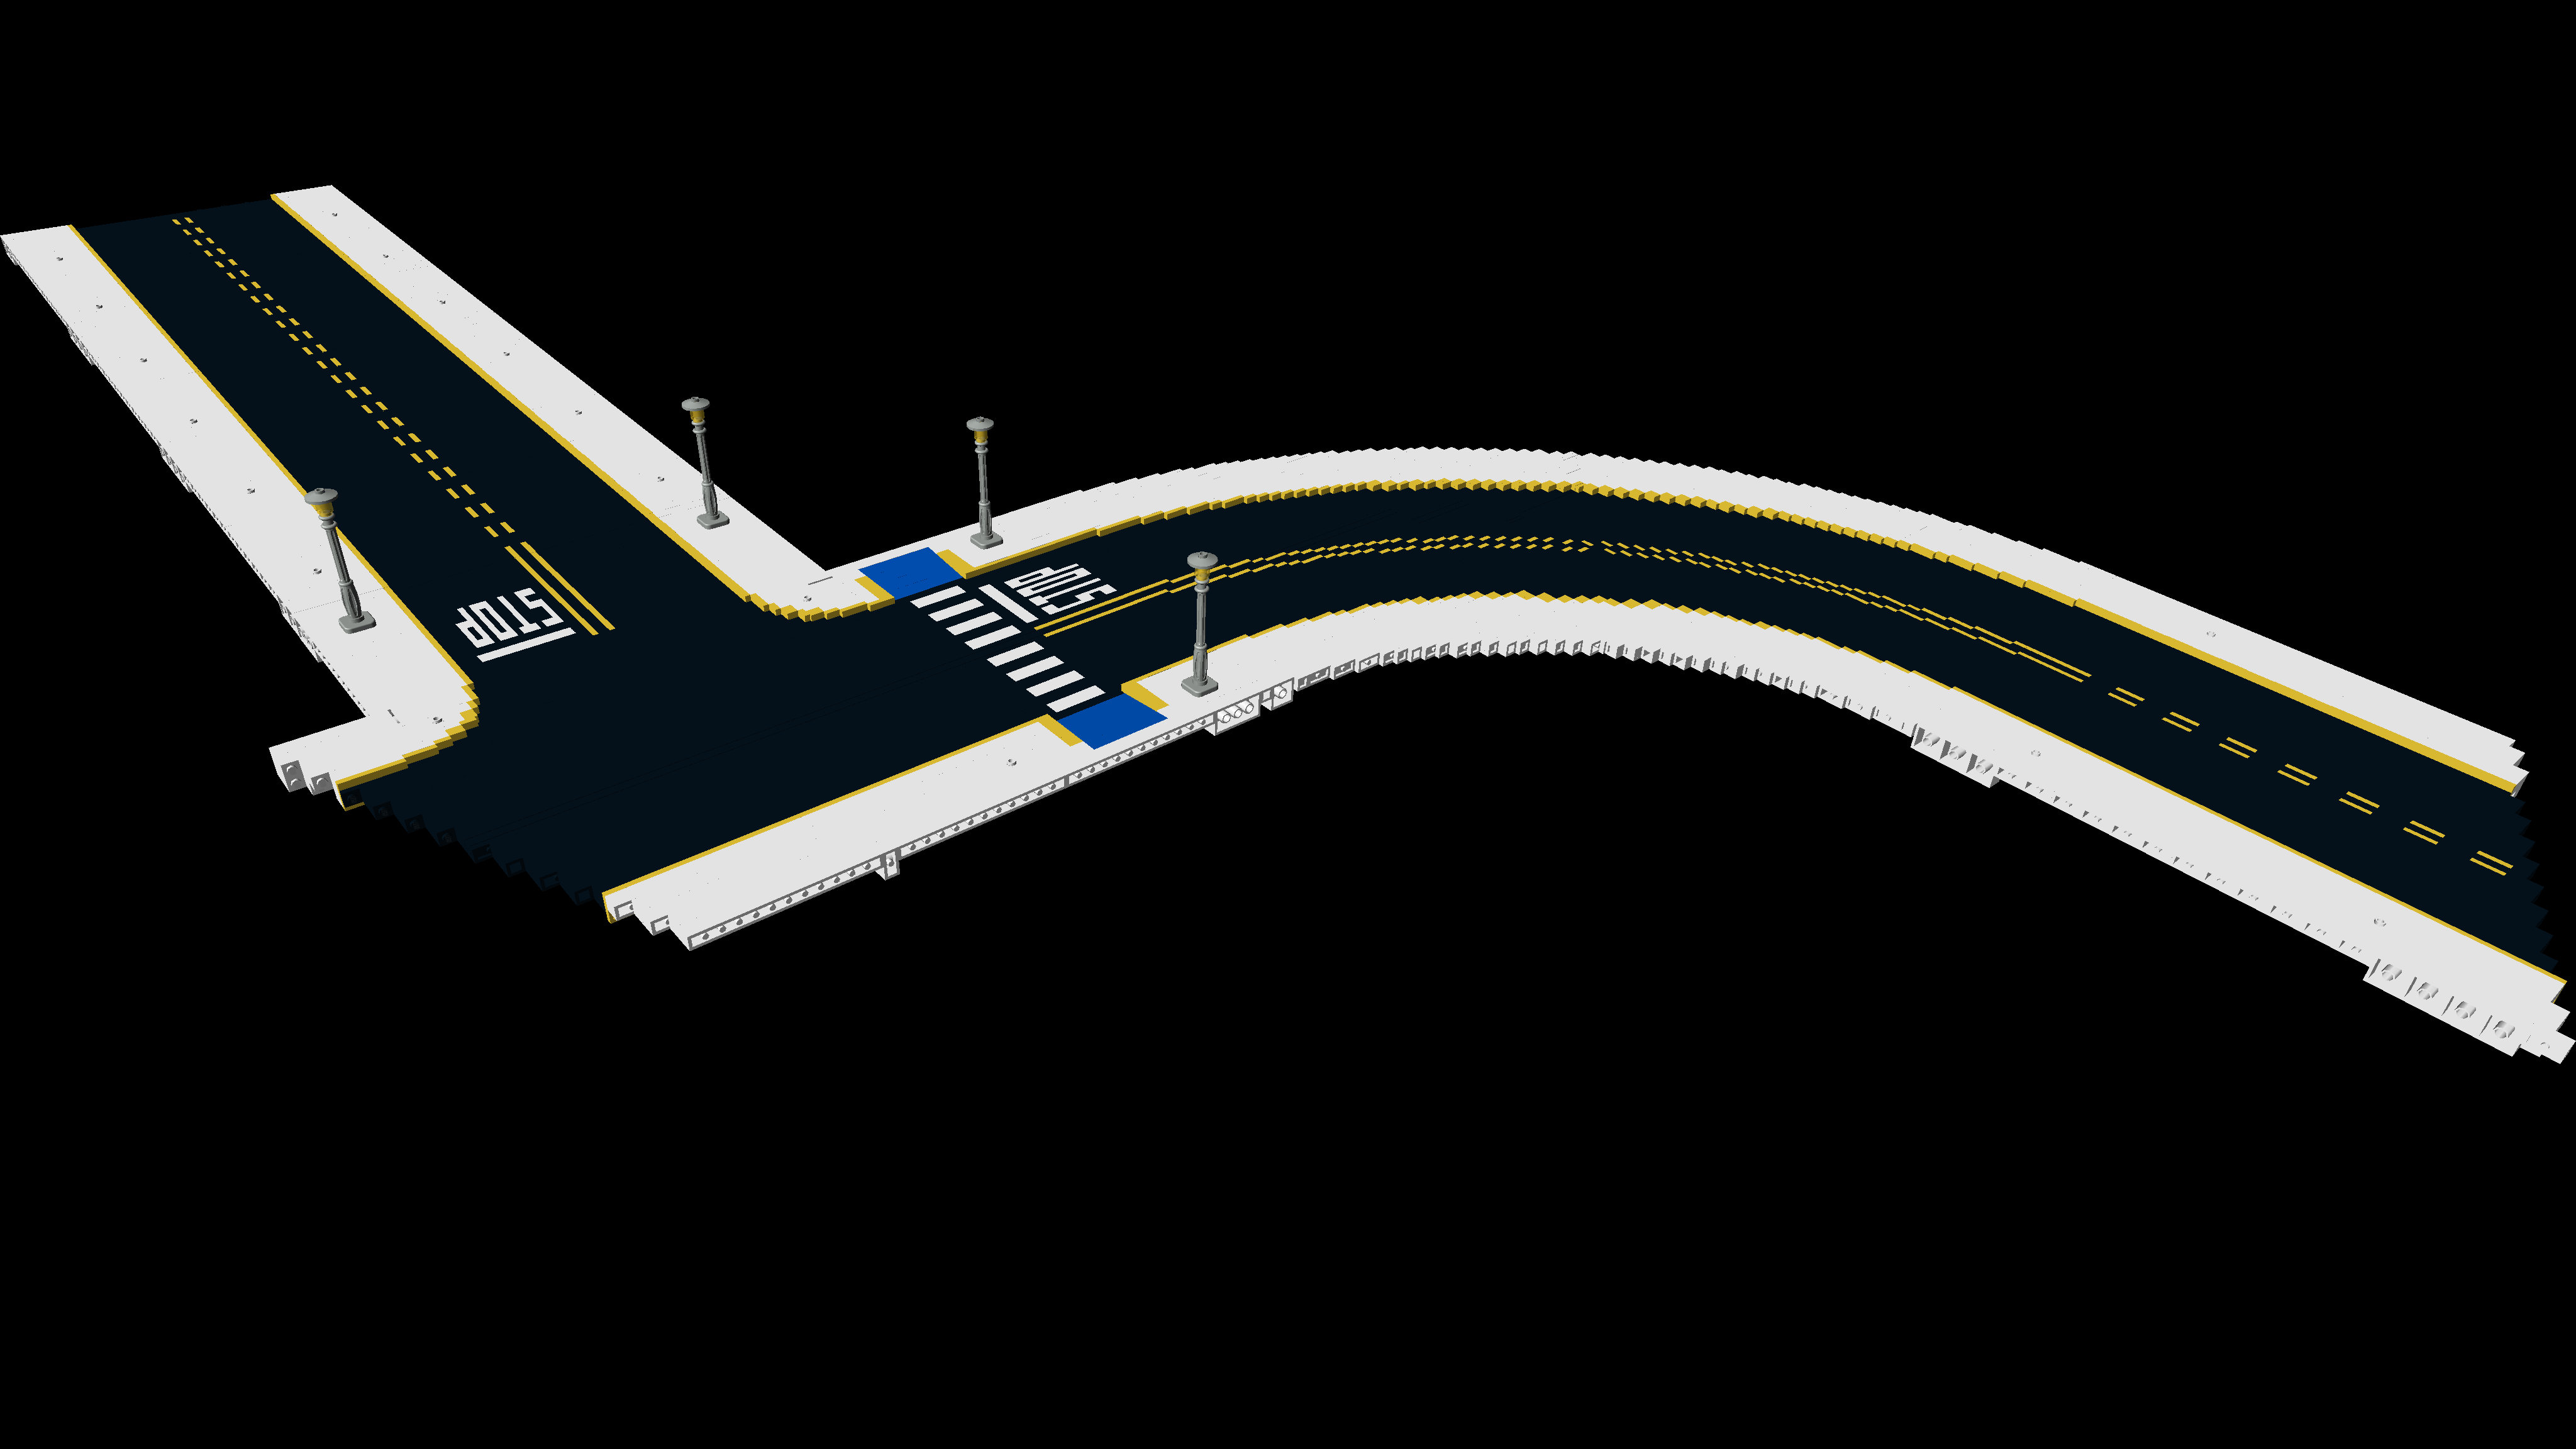
For curves and bends in the road I had to make several smaller road sections and then place them together to create the finished areas.
So I hope this gives you all you need to make some road designs of your own.
View the Gallery of pictures and download LDR source files!.
LINKS BELOW
Several pages with hundreds of images and LDraw source files to go with.
You can view a single gallery of all posted pages with all pictures. Warning page may take a moment to load if you’re on slow internet. A 1440+ pixel width screen will load a 6620 KB page, 1024+pixel will be 3120 KB, 490+pixel will be 1663 KB, 490 pixel and below will be 1527 KB.
Or use the links below to view each type of LEGO SNOT custom Roads.
`mike
LEGO® is a registered trademark of the LEGO Group of companies and does not sponsor, authorize, or endorse this site.
