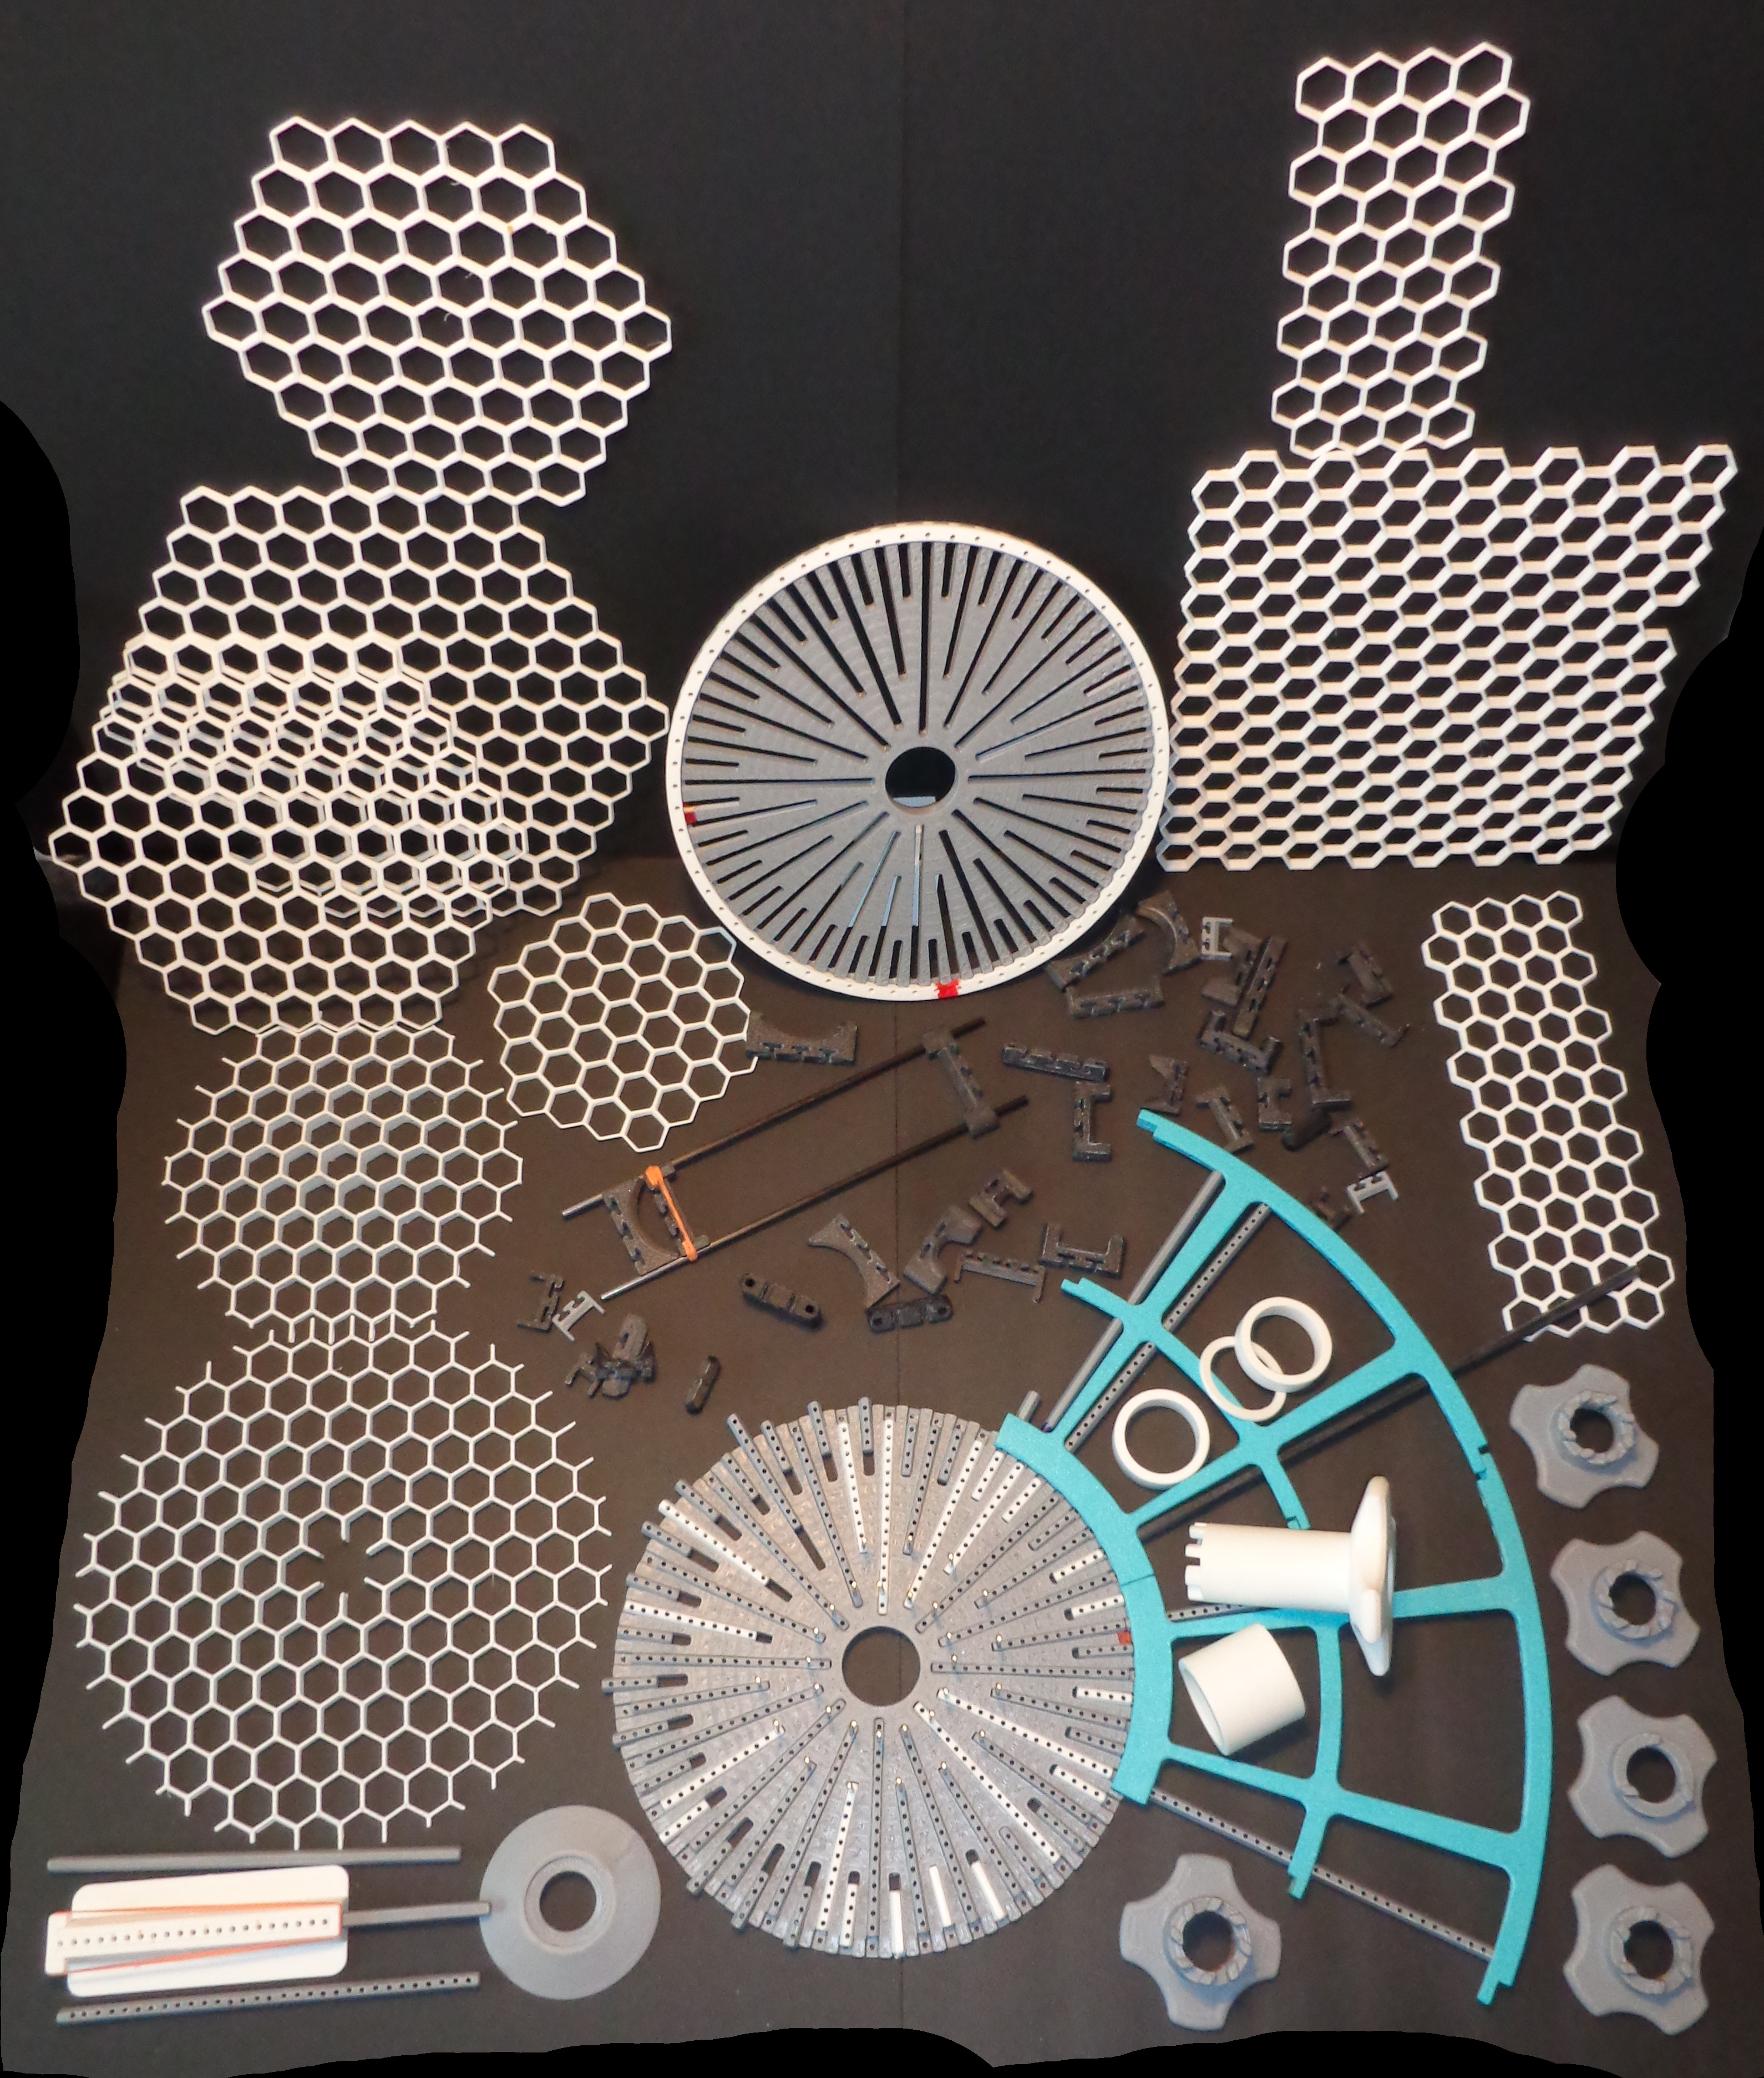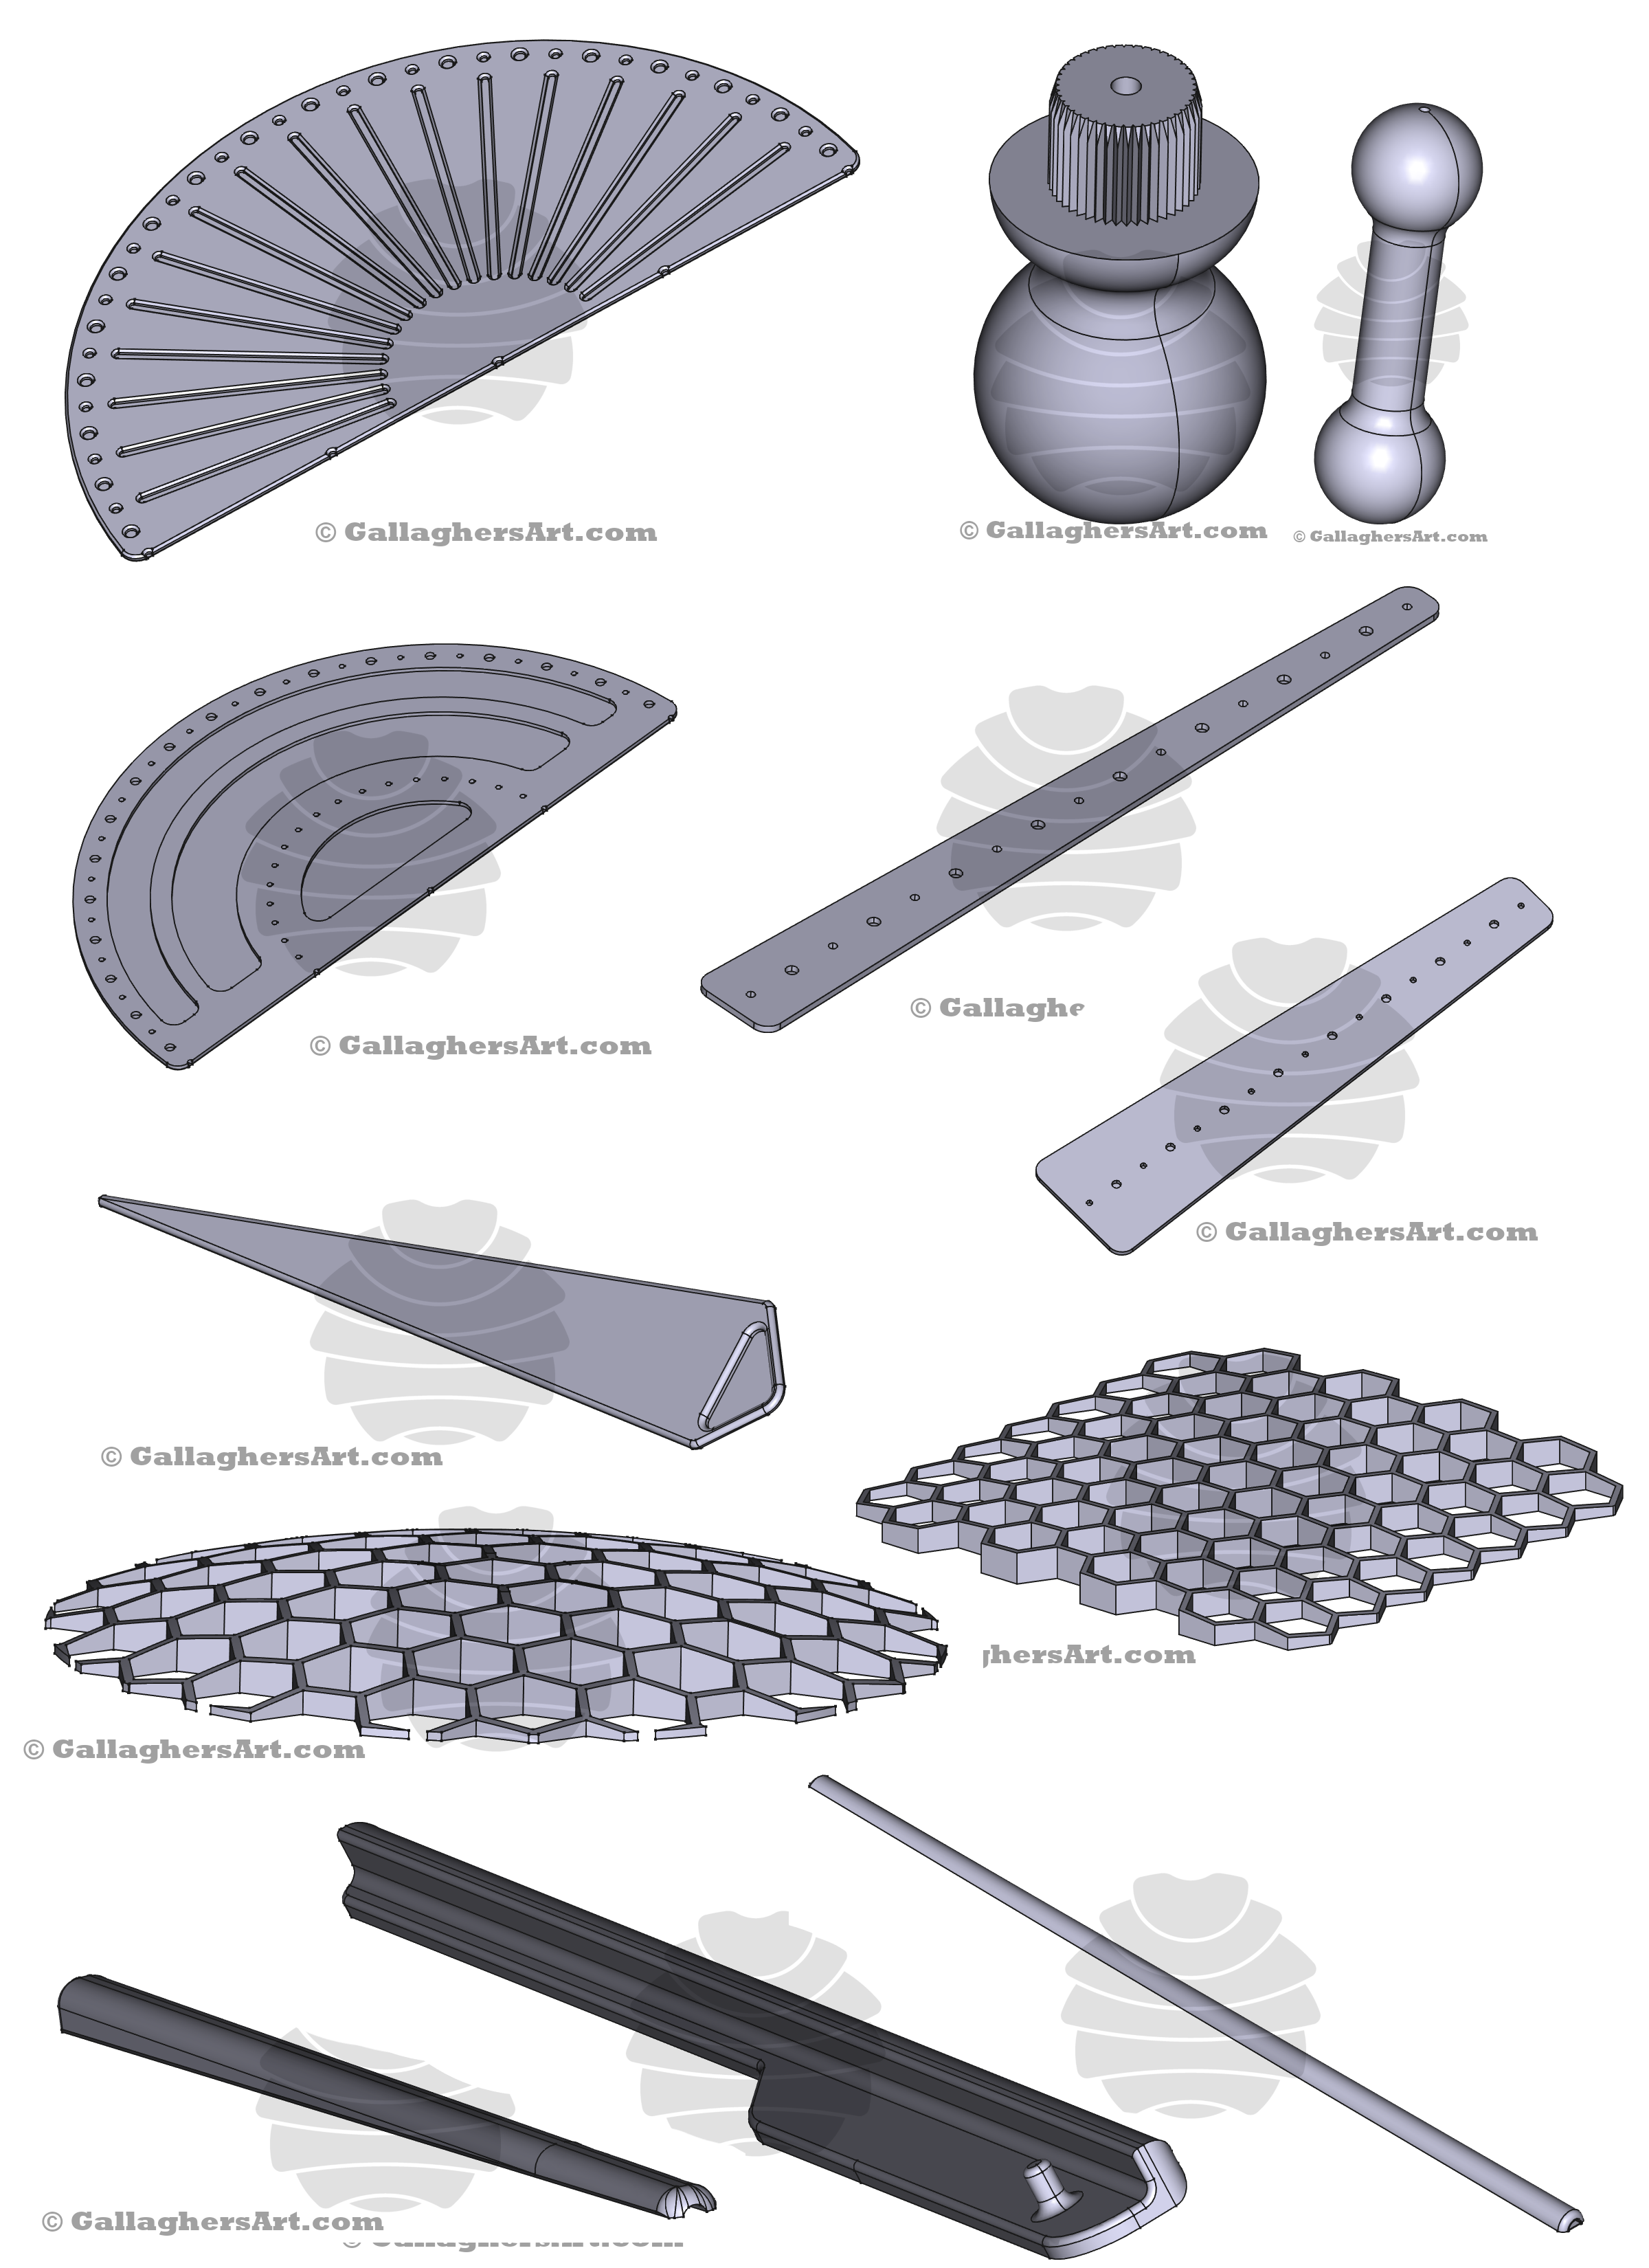

This page will house all my 3D-printed files that I share for personal use. You can download the STP files and 3D print them yourself.
4th batch (version 1.4, does not include parts from version 1.3, you must download 1.3 if you have not already)
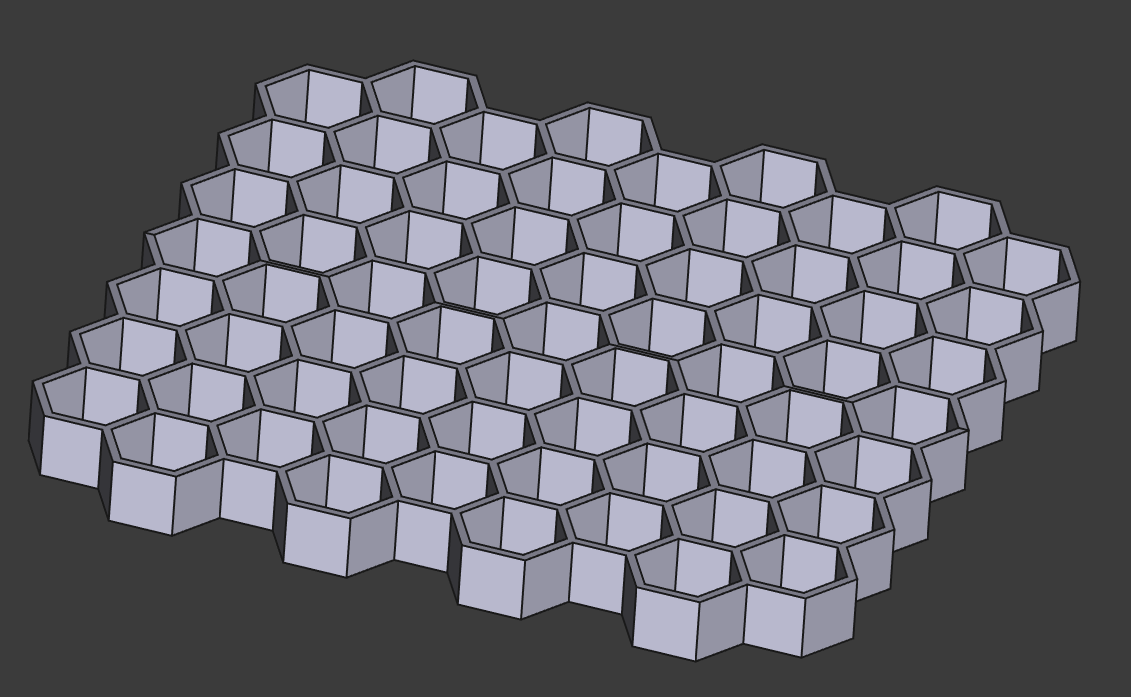
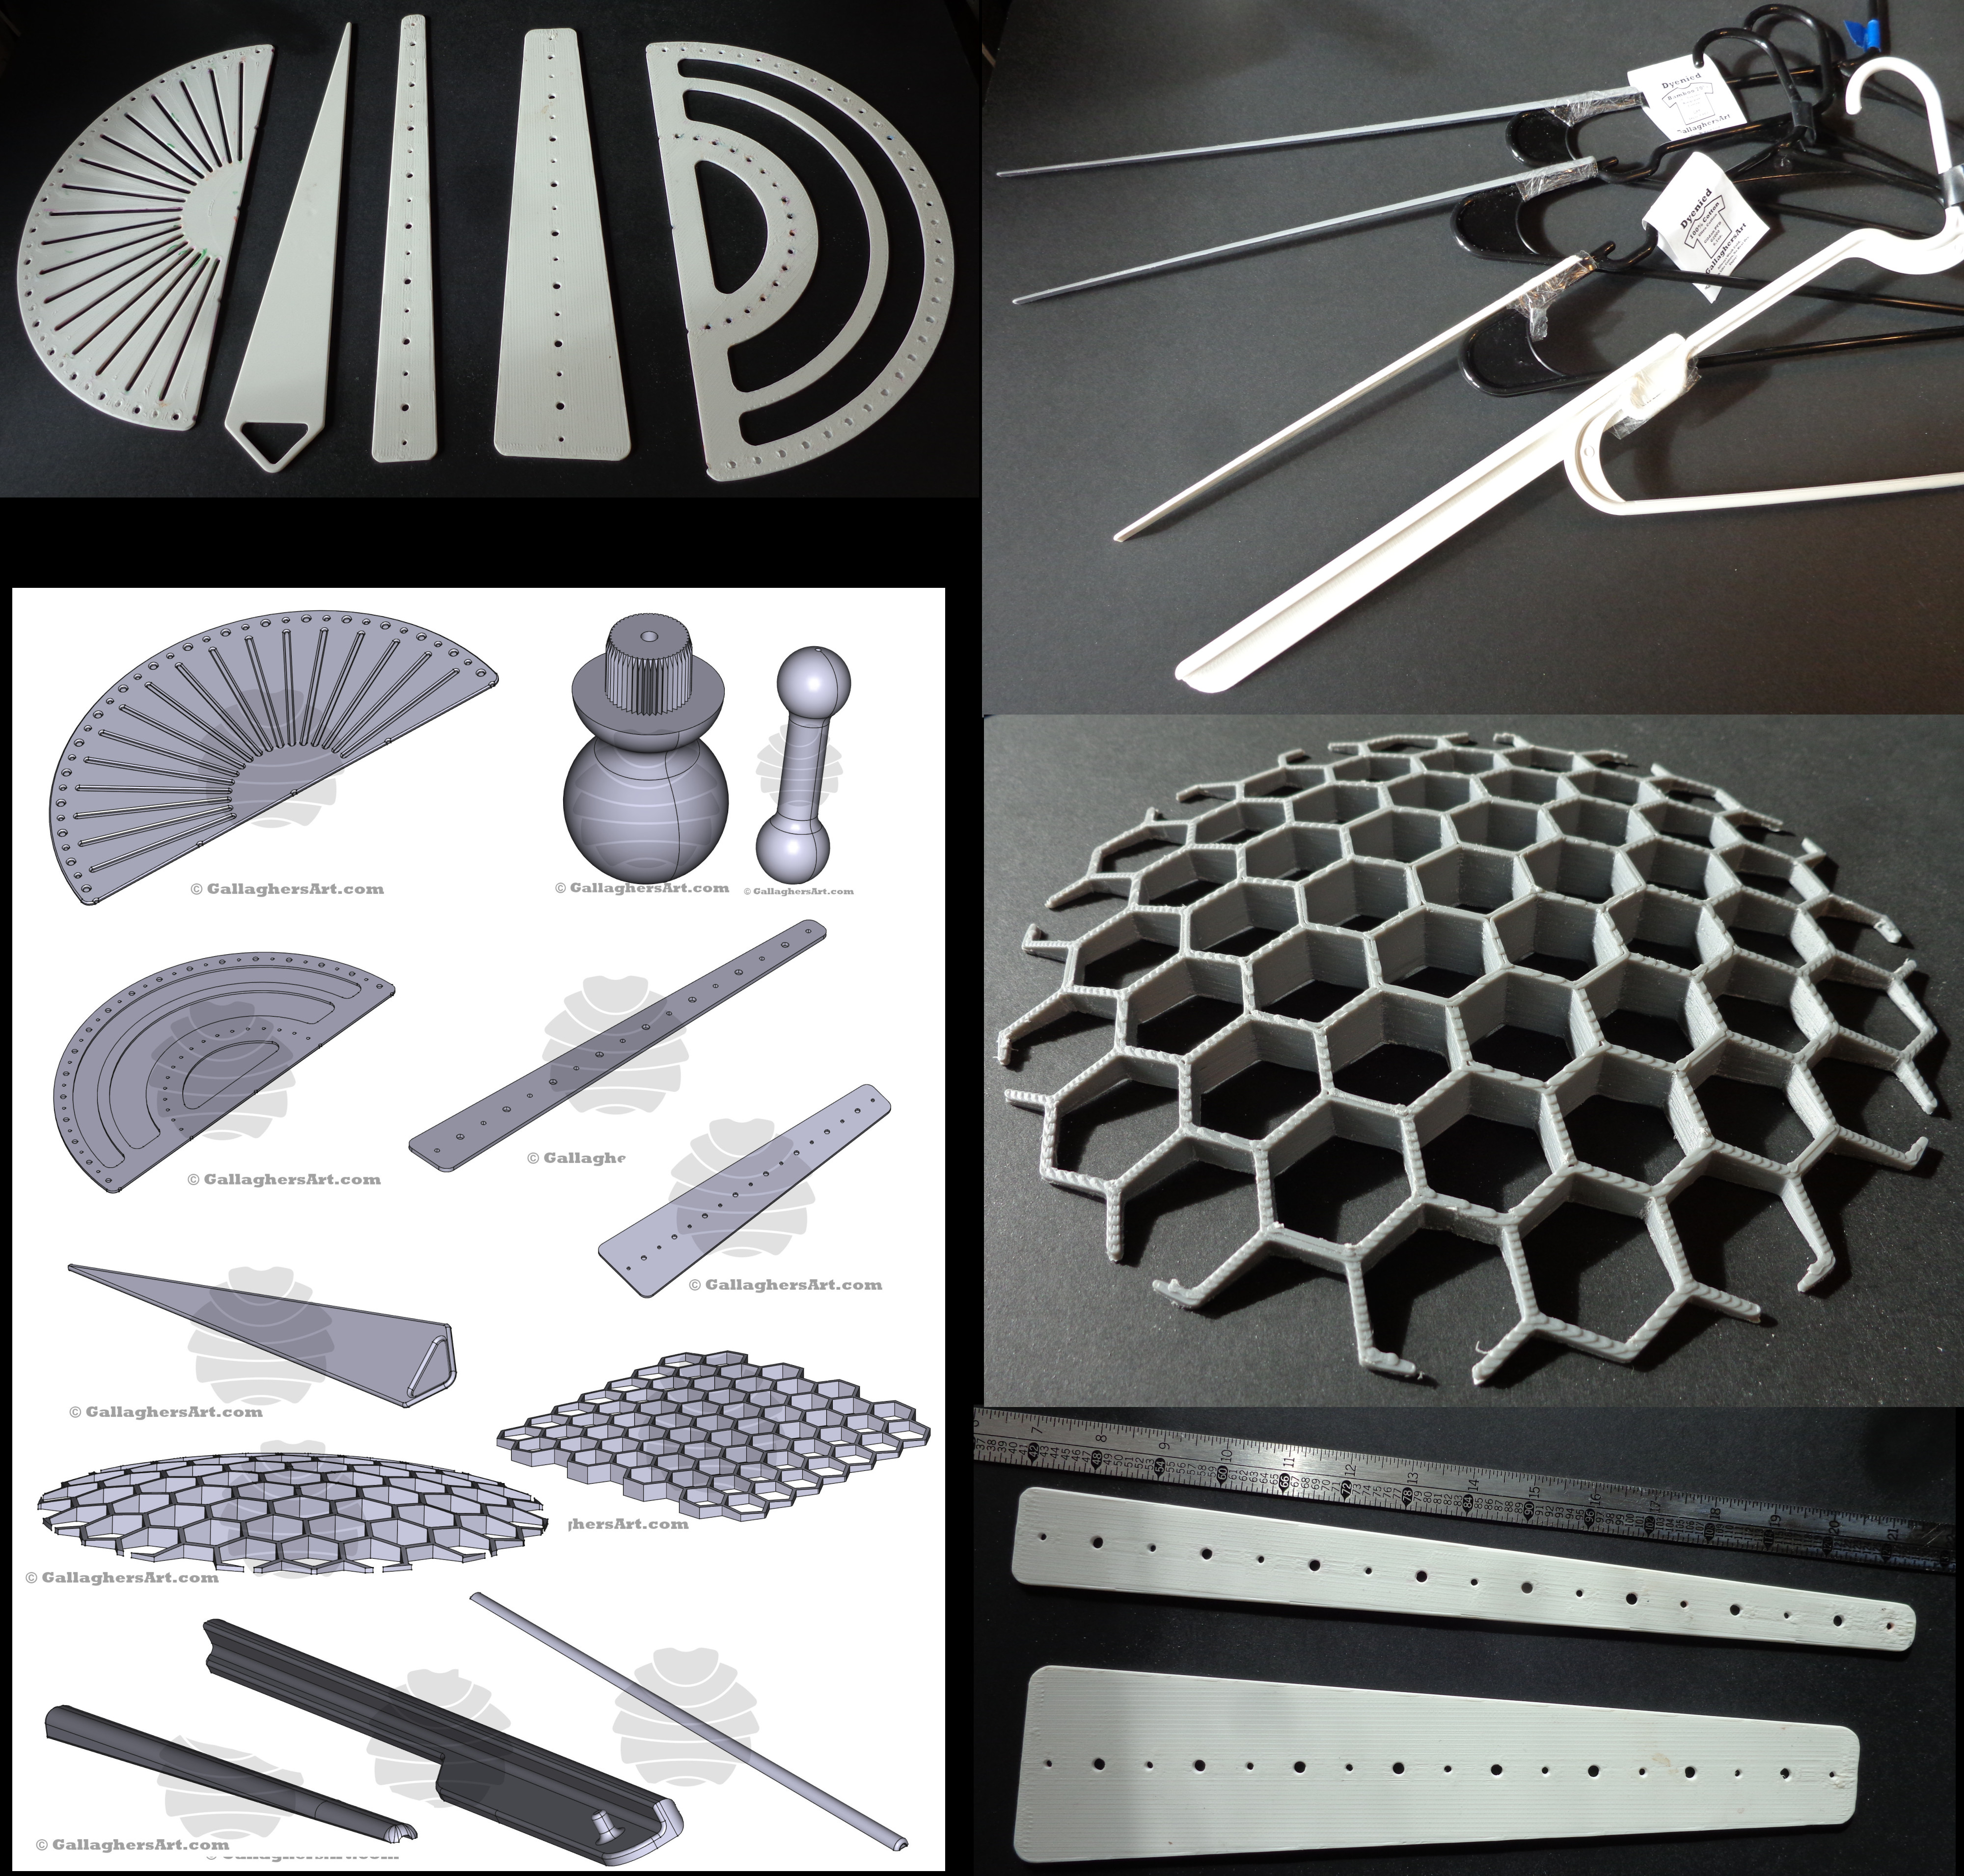
• Many flat hexagonal racks can be used for drying, tie downs, and more.
• Rubber bands, clips, or side holders
• Next version of my Spiral helper, with many additional items and extensions.
3rd batch of 3D printable dye-related tools that you can download for free and 3D print for your personal use*. (version 1.3
I have non-parallel straight edges. (It gives “Glitch” a different look when each fold is not parallel, like a big mandala.) I’ll post on this later…
Currently, I’m doing 10-degree Mandalas, so my helpers are for 5 and 10 degrees.
Hex support for varying thickness of folds, the Sphere works to keep the centers of spirals level with the top edges.
Clothes hanger extensions: Using Dollar Store hangers and some box tape, you can extend the hangers to support the arm sleeves (short). This way, you can see the whole shirt; there is no hanging fabric for the arms. Several versions started thick and heavy (I use these to dry shirts), then thin and flexible, just enough to support the arm sleeves. They are also able to bend and are lightweight.
Handles for string,
Sting spool handles that fit into factory spools. No need to rewind. Only wind as much as needed around the handle, then use the handle to apply force. Only wind out so much string, too much, and the string will slip on the handle when you pull. (I’ll post more about this later)
I will add more to this page over time.
If you have any ideas, let me know, and I might post them!
New templates for easy design marking of fabric. Both are a quarter of a complete circle. If printed to scale:
• ¼ circles with a spacing of 10mm.
• Angle increments of: 5, 11.25, and 18 degrees.
• Metric with 20mm separated holes, ruler in 3,5,7, and 10 degrees. I used 3 or 5 for the glitch variant.
• Inch with 1inch separated holes, ruler in 3,5,7, and 10 degree.
Multi-Part Hangers for 3D Printers that can not print parts as a single part. These will require additional post-sanding and Gluing.
New Hangers Sizes and Colors. I use to print each Size.
• X Small = Gray, 300mm.
• Small = White, 320mm.
• Medium = Red, 360mm.
• Large = Blue, 380mm.
• X Large = Yellow, 450mm
• 2X Large = Gray, 490mm.
• 3X Large = White, 520mm.
• 4X Large = Red, 550mm.
• 5X Large = Blue, 600mm.
• 6X Large = Yellow, 650mm
My Spiral Helpers (ver. A) allow for quick (less than 5min) spirals of various thicknesses and more. Not going to give out all the ways I use these… I like to see what others do… well, use slots to trim up things as you fold, the Center handle has various amounts of teeth and height, hold the center handle down, and do not spin it. Start pulling on the far edges of the shirt in a repeating circular motion as you pull the fabric tight against the center handle. Before or after pulling up the fabric into the center of the handle and twistin itg.
Enjoy!
`mike
*Please 3D Print for your personal use. No commercial sales. If you have them printed for your own personal use by paying someone to make you a batch is OK. If you will be 3D printed for your own in-house commercial use, please think about a small donation. No one should have to pay to get my files for these items.
Print Settings:
As usual, use your printer’s best settings. I use ABS. All Parts need sanding after printing. Make sure everything is nice and rounded, and nothing is going to snag the fabric
• Angle and Circle Templates: Solid, Iron top
• Hangers, Multi-Part Hangers: Solid, all Parameters.
• Spiral helpers: Base (solid base, top can be vase if using 5 top layers), Handles 100% solid.
3D Printing and usage info:
• Use fine jewelers’ Files or Sandpaper to smooth all items down before use. Leave no area where the fabric could get snagged.
• Print Solid, if the item will come into contact with dye, then over-extrude as much as you can.
• 1st layer is 0.3mm for most items cause this gives the part a complete 1st layer. Helps strengthen and better printing. Pop out 1st layer only, then fillet and sand.
• Iron top layers. If the item will be coming into contact with Dye.
• String spool handle inserts come in 3 Radius sizes listed at the end of the file name 13mm, 13.97mm, and 14.8mm. Slice just part of the threads 1st to verify size fits your spool. Should fit tightly but not split the tube. If no size works, use a slicer to change the size and test again.
• For me (I’m right-handed), I place the Spool handle on a single side of the spool. If I have the spool of string in my hand with the holes facing up and down. The string comes from the back left of the spool to the front to wrap around the spool on the right. I then place the handle on the top. Pull out 20 or so feet of string, then tightly wrap it around the handle. I place all force on the round handle, not the spool of string, when Tie Dyeing.
• When using templates, I’m using the then markers. The pen should be slanted towards the direction of the marking of the fabric for more of a slide. To keep things as tight as possible, you also need to make sure the pen is at 90 degrees on the side for each line. The hard plastic sides of the thin pins should slide in the middle of the slots to keep them centered.
• You can use your slicer to crop the length of the clothes hangers to fit various sizes. You can resize on the long side “some” but not height or width. They need to still wrap around the hangers some.
• To attach hangers: Using good box tape with a length of 6” -8” wrap the tape in a few tight loops around the hanger. With the tape pulled tight,t place the end of the hanger extension under the tape and hold firm against the hanger. Pull the tape tightly around the hanger extension and hanger for at least a few wraps. Press all tape down tight, and leave no sticky areas.
